
Every December I promise myself I will buy Christmas gifts early, and every December I end up at my dining table with scissors, glue, and paper cuts on three fingers. Honestly, that has become my favourite part of the season. A handmade paper gift carries something no shop-bought present can: visible proof that someone sat down and made it. Here are ten paper gift projects I have actually made for real people, with the lessons, messes, and small triumphs that came with each one.
1. Handmade Greeting Cards with Pressed Flowers
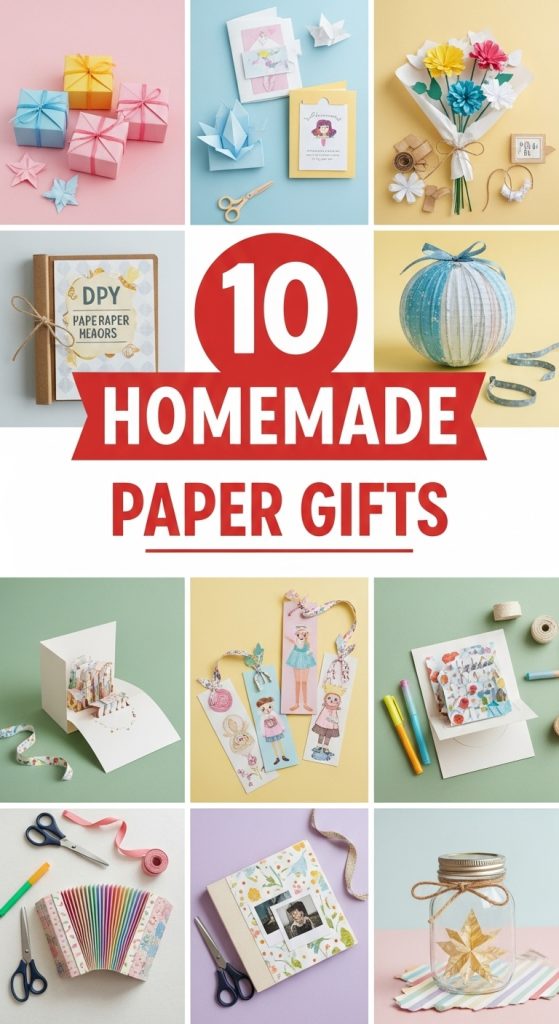
I started pressing flowers in the summer of 2019 with a secondhand flower press I found at a flea market for 8 EUR, mostly because my balcony geraniums were too pretty to throw away. For a birthday card I take a heavy cardstock blank — at least 300 gsm, otherwise the glue warps it — and arrange the dried blossoms while they are still in the press, because they go brittle fast once exposed to air. My approach now is simple: a cluster of small flowers in one corner, a sprig of fern as a stem, and one handwritten line in the middle. I seal everything with a thin coat of clear-drying mod podge, and I have learned to apply it from the centre outward so the petals do not shift. The card I am proudest of went to my mother; she framed it instead of reading it and putting it in a drawer, which tells you everything about how a pressed-flower card lands compared to a shop one.
2. Origami Jewelry: Folded Paper Earrings & Necklaces
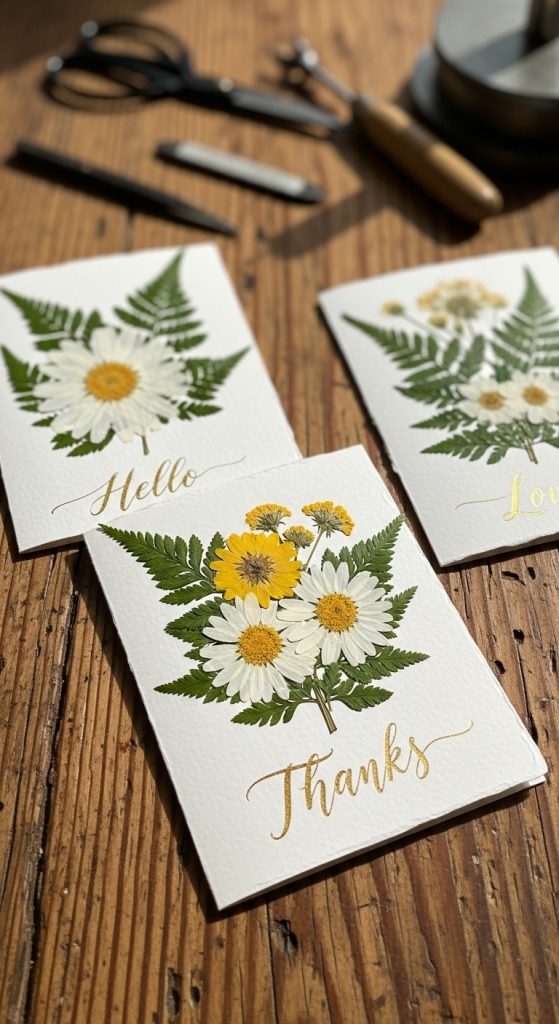
A friend wore a pair of paper crane earrings to a wedding and spent the whole evening explaining they were made from an old bus timetable, which is exactly the kind of gift reaction I live for. I make mine from sturdy origami paper, 15 cm squares at minimum, because standard thin paper tears at the fold points. After folding — cranes for earrings, a small geometric star for the pendant — I thread a jump ring through the top fold and attach a hypoallergenic hook, which costs about 3 EUR for a pack of ten at the craft shop. The crucial step I skipped the first time: sealing. One coat of clear nail polish over the finished piece makes it survive rain and sweaty summer afternoons; my first unsealed pair disintegrated at a garden party and taught me that lesson permanently. They weigh almost nothing, which is the whole selling point — big statement earrings with none of the earlobe ache.
3. Custom Paper Jewelry Boxes
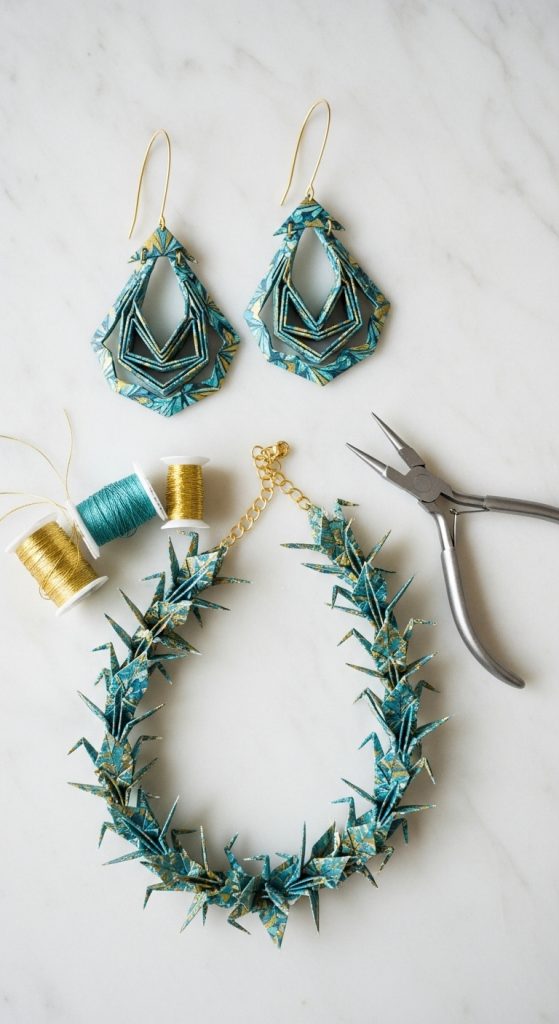
The first time I gave someone a necklace in a box I had made from chipboard and marbled paper, she spent longer admiring the box than the necklace inside it. I cut the box template with a craft knife and a steel ruler on 2 mm chipboard — freehand cutting is where boxes go wrong, so I print a template and tape it down first. The outside gets marbled paper or a hand-painted motif; the inside I line with a scrap of velvet from an old dress, which sounds fancy but costs nothing. A tiny self-adhesive magnetic clasp, about 4 EUR for a set, keeps the lid shut with a satisfying click. My boxes are small, roughly 8 by 8 cm, because a handmade box that is too big looks empty and sad. Fill it with tissue, tuck the actual gift inside, and the box becomes half the present.
4. Personalized Paper Flower Bouquets
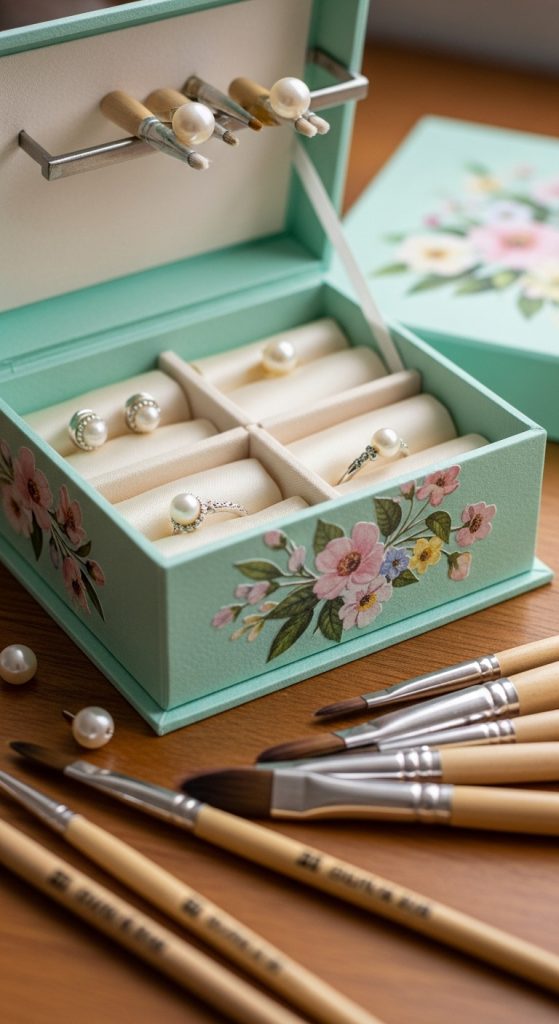
I made a paper peony bouquet for my sister’s birthday in February, when real flowers cost a fortune and die within a week, and three years later it is still on her bookshelf. I cut petals from crepe paper — it stretches, which is what lets you cup each petal into a realistic bowl shape — and wired them around a floral-wire stem with green tape. A wash of watercolour at the petal edges, pink fading to white, makes them look alive; I use one brush and keep a reference photo of a real peony on my phone. Twelve blooms take me about four hours, which sounds like a lot until you remember the bouquet never wilts and never needs watering. I finish mine with a few paper leaves and dried grasses for texture, tie the stems with twine, and attach a small handwritten tag. Recipients always touch the petals first, convinced they must be silk, and that moment never gets old.
5. Decoupage Photo Coasters
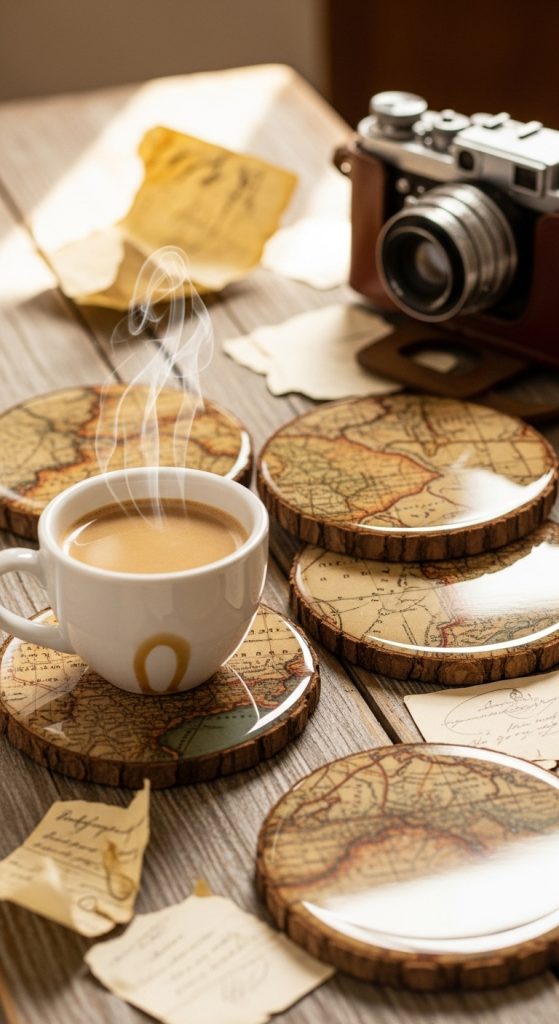
For my father’s sixtieth I decoupaged a set of four cork coasters with photos from family holidays, and he uses them every single day, which is more than I can say for most gifts I have given. I printed the photos on regular paper with a laser printer — inkjet ink bleeds under mod podge, a mistake I made exactly once — and cut them into circles slightly smaller than the coaster. One coat of mod podge on the cork, press the photo down from the centre to push out air bubbles, then three more coats on top, letting each dry for about an hour. The final step matters most: a waterproof sealant over everything, because coasters meet condensation and coffee rings. I added small felt pads underneath for about 1 EUR the sheet. They feel like proper objects now, weighty and glossy, and every time someone sets down a mug the photos come back into the conversation.
6. Quilled Paper Wall Art
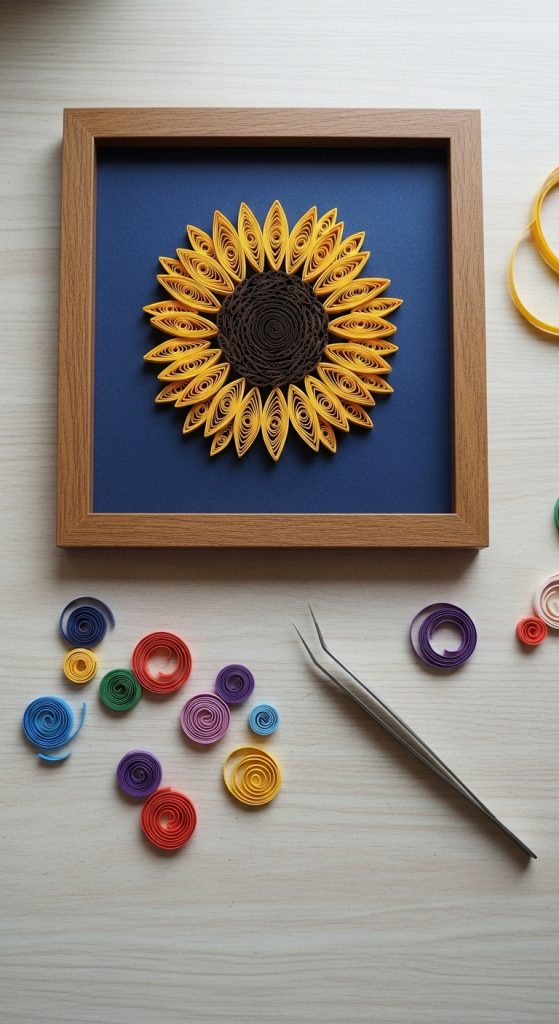
Quilling looks like it requires saintly patience, but my first piece — a simple flower made of rolled coils on a canvas board — took one rainy Sunday afternoon and now hangs in my hallway. I bought a starter set of pre-cut paper strips and a slotted quilling tool for under 10 EUR, and rolled my first coils while watching a film; the muscle memory comes fast. Each coil gets a dab of glue at the end to hold it, then I pinch the circles into teardrops and petals and arrange them on the canvas before committing. My trick is to photograph the layout with my phone first, because once the glue touches canvas there is no repositioning. A deep box frame keeps the dust off and gives it a gallery look. I gave a monogram version to a friend for her new flat — her initial in floral quilling — and she thought I had ordered it from an artisan. Total cost: about 12 EUR and an afternoon.
7. DIY Paper Bead Necklaces
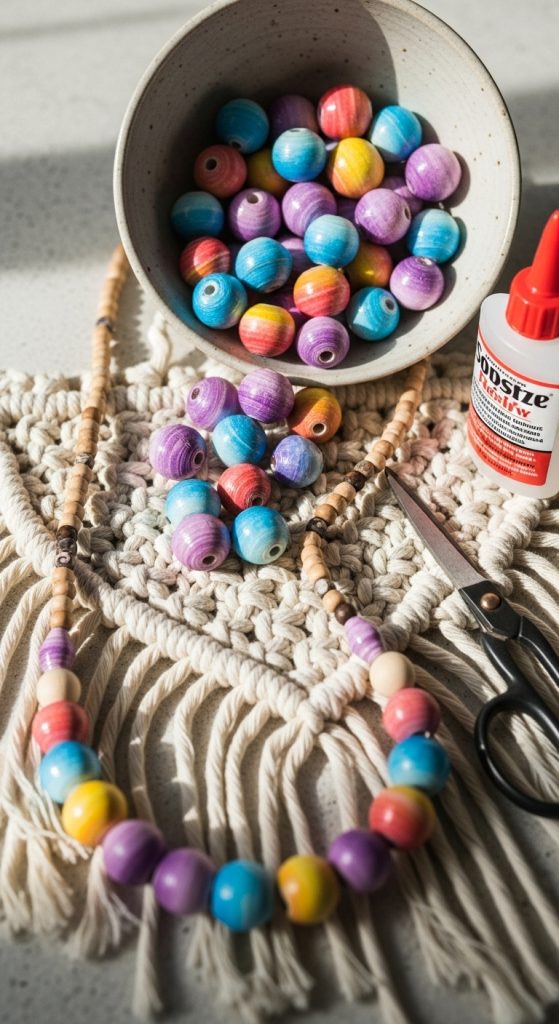
Paper beads are the craft I recommend to anyone who says they are not crafty, because the materials are literally old magazines and glue. I cut long triangles — about 3 cm wide at the base and 20 cm long — from glossy magazine pages, roll each one tightly around a toothpick starting from the wide end, and glue the tip down. A coat of water-based varnish gives them a ceramic shine; I dip them in batches of ten and hang them on a line to dry. The printed side of the paper shows through in swirls, so I choose pages with colours I like rather than worrying about the images. Strung on elastic cord with a few wooden spacer beads, they make a necklace that weighs nothing and costs pennies. My niece made a matching bracelet set for her teacher and came home glowing, which is the entire point of a handmade gift.
8. Handbound Journals & Notebooks
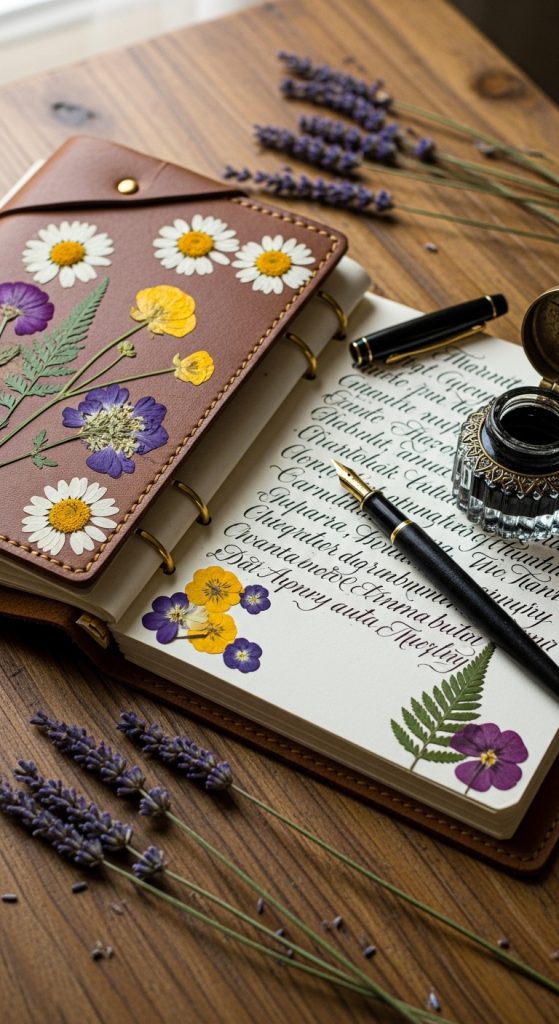
I bound my first journal after watching a twenty-minute tutorial and wondering why I had ever bought notebooks; three hours later I had something sturdier and prettier than anything from a shop. I folded printer paper into signatures of five sheets each, punched holes along the fold with an awl, and sewed them together with waxed thread in a simple coptic stitch that I learned from a diagram. The covers are two pieces of decorated cardboard — I used a vintage map print — and a strip of linen tape over the spine hides my amateur stitching beautifully. A ribbon bookmark glued under the back cover and one pocket page inside make it feel considered. The journal I gave my best friend now holds two years of her travel notes, and she tells me the binding has outlasted every shop-bought notebook she owned before it.
9. Paper Lanterns with Cut-Out Designs
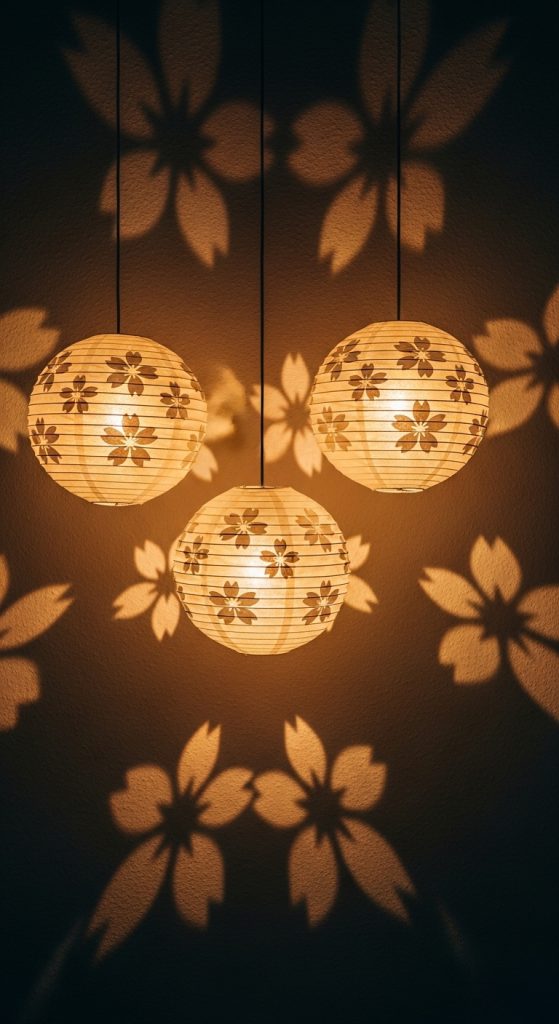
Paper lanterns are my go-to winter gift because they look expensive and take an evening, and they glow on the darkest afternoons. I roll a sheet of heavy cardstock — 250 gsm minimum, lighter paper sags — into a cylinder and glue the seam with a 2 cm overlap. The cut-out pattern goes on before rolling: I sketch it lightly in pencil, then cut with a sharp craft knife on a cutting mat, working from the centre outward so the sheet stays stable. A circle of tissue paper glued inside diffuses the light, and I only ever use battery-operated LED candles inside — real flames and paper are a combination I will not gift to anyone I like. Hung by twine from a ceiling hook, mine cast lace-like shadows across the whole room. I made three as a set for my aunt, each with a different pattern, and she lights them every evening from November to March.
10. Custom Pop-Up Greeting Cards
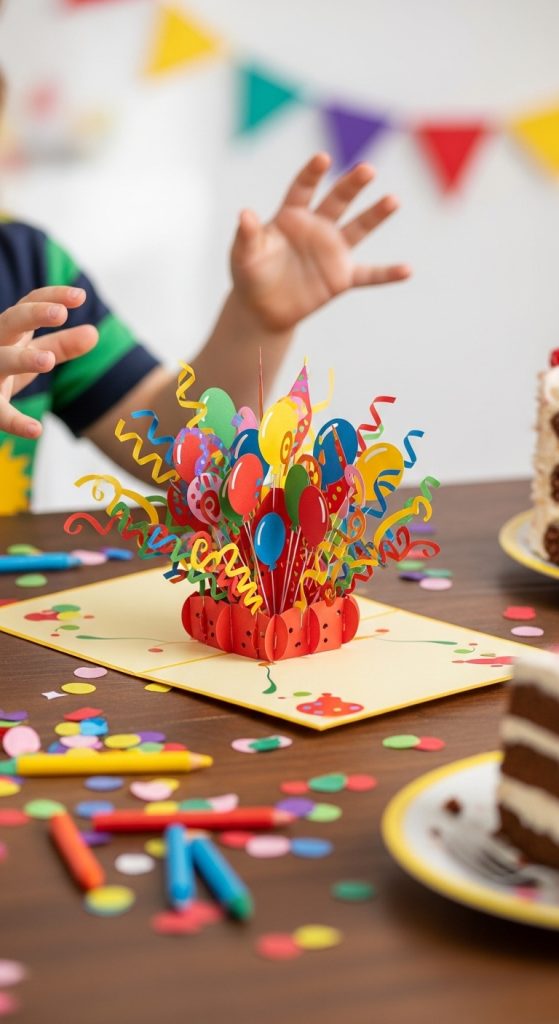
A pop-up card is the paper equivalent of a magic trick, and the first one I ever received — a birthday cake that sprang up when I opened it — made me gasp out loud as an adult. I build mine on a standard folded card base, then add a simple box-fold mechanism: two parallel cuts in a folded strip, pushed inward, create the platform that holds the pop-up element. The 3D piece itself can be as simple as a layered heart or a tiny birthday cake drawn on cardstock; precision matters more than complexity, so I score every fold with a bone folder before bending. My advice is to make the card, open and close it twenty times, and fix anything that catches before you write the message — a pop-up that jams is worse than no pop-up. The one I made for my nephew had a pull-tab dinosaur that moved when you tugged it, and he has kept it standing on his shelf for a year.
Conclusion
Ten gifts, ten afternoons at my dining table, and not one of them cost more than 15 EUR in materials. What they cost instead was time and attention, which is precisely why people keep them. Start with the pressed-flower card — it is the gentlest entry point — and work your way up to the pop-up. Your scissors are waiting.