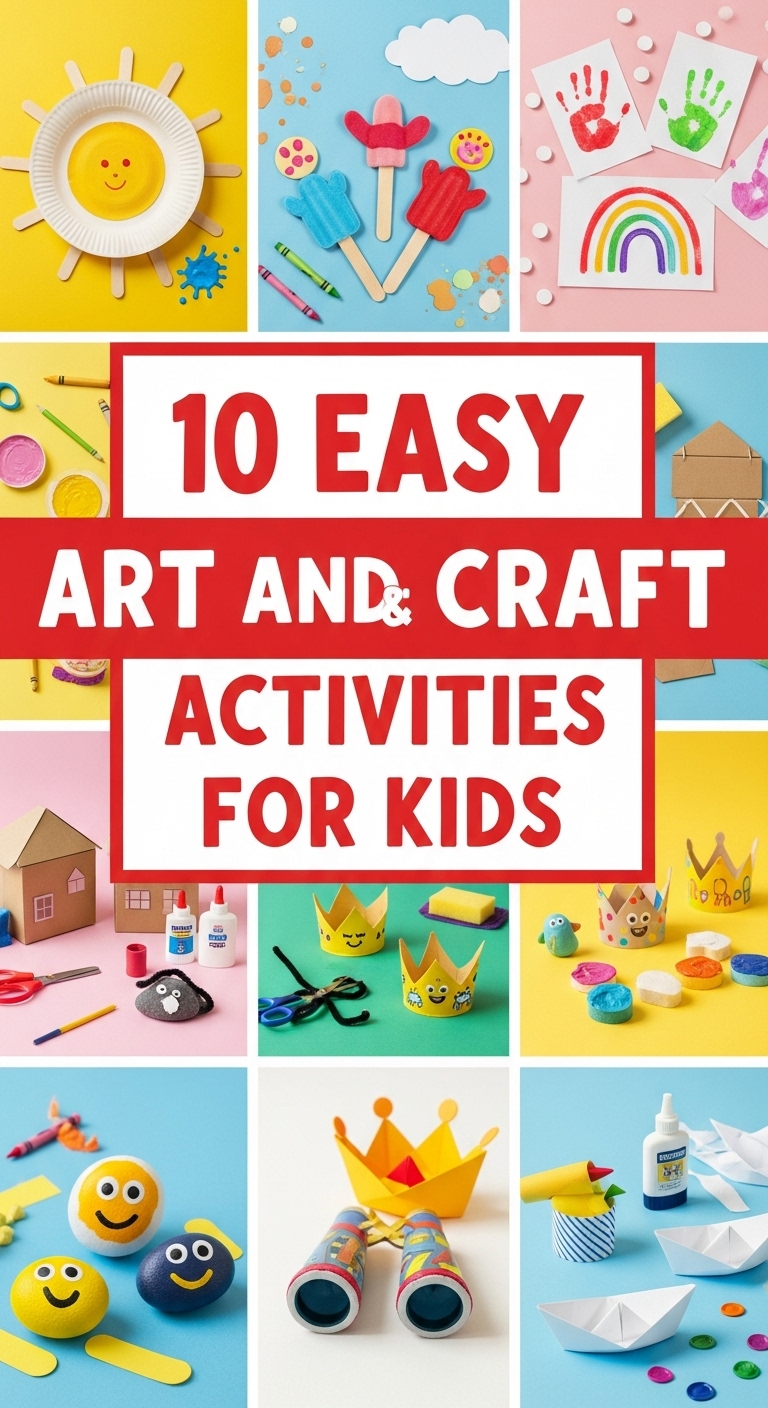
There is a specific kind of Munich Sunday when it has rained since breakfast, the playground is a puddle, and both kids are looking at me like I am supposed to be the entertainment. That is when my craft box earns its keep. I keep a big IKEA box in the hallway cupboard — paper plates, washable paint, glue sticks, googly eyes, the works — and over the last five years I have learned exactly which activities hold small attention spans and which ones end with someone crying next to a glitter volcano. These are the ten that survived the real-world test in our flat, in the order I would reach for them on a wet afternoon.

1. Paper Plate Masks

The first time we made masks, I made the rookie error of attaching the elastic with staples, and my daughter’s lion mask launched itself across the living room mid-roar. Punch two small holes at the edges with a hole punch and thread elastic through — it takes an extra minute and the masks survive actual play. We cut eye holes with small scissors, then the kids paint the whole plate: lions, cats, monsters, whatever the morning’s drama requires. A paper plate costs almost nothing — a pack of fifty at the Euro shop is about two euros — and the painting keeps them busy a solid forty minutes. Once the elastic is on, the masks trigger the best part: an hour of pretend play that needs nothing from me except applause. I keep three or four painted masks hanging on the playroom door, and visitors always assume it was some big project. It was a rainy Tuesday.
2. Salt Dough Sculptures

Salt dough is the craft I reach for when I want something that ends with a keepsake rather than recycling-fodder. The recipe could not be simpler: one cup of flour, half a cup of salt, half a cup of water, knead until it feels like playdough. My kids roll it out about five millimetres thick, press in cookie cutters, and poke a hole at the top with a straw for the ribbon. The part that took me two tries to get right is the baking — low and slow, around 100 degrees for two to three hours depending on thickness, flipping once. My first batch went in at 180 degrees and puffed up like dinner rolls. Paint only when completely cool, and seal with a dab of clear varnish if they will hang on the Christmas tree. Every December our tree has a new set, dated on the back, and the early lopsided ones are my favourites.
3. Finger Painting

I avoided finger painting for years because our flat is rented and the deposit is real money. Then a friend showed me her setup: a washable tablecloth on the floor, washable paints in a muffin tin, aprons, and a bowl of warm soapy water waiting at the edge of the zone. With that system, the mess stays contained and the stress stays low. We use proper washable kids’ paint — a set of eight colours costs about six euros at the drugstore — because the cheap stuff stains everything it touches. The kids make rainbow handprints, swirls, whole arm paintings, and I photograph the best ones before they go in the wash. Our playroom wall has a row of framed handprints from ages two to six, and it is the cheapest gallery I will ever own. The secret really is the zone: spend ten minutes setting boundaries and you get an hour of gloriously messy fun instead of a disaster.
4. Cardboard Tube Animals

Somewhere along the way our household became the kind of family that saves every toilet roll tube, and I have stopped being embarrassed about it. Toilet paper tubes become giraffes, lions, pandas — the kids paint the whole tube first, let it dry properly (the impatient ones learn why), then glue on ears, eyes, tails and legs cut from cardboard. Painting before gluing is the order of operations that matters; I learned this after a giraffe whose spots were painted over its glued-on ears. A tube giraffe takes maybe thirty minutes including drying, and they genuinely look good lined up on the shelf. We use acrylic paint for the tubes because it covers in one coat, and a glue stick plus a dab of hot glue from me for the wobbly bits. It is the perfect craft for the “I want to make something NOW” mood — no shopping, no prep, just a pile of tubes and whatever paint is open.
5. Pom-Pom Creatures

There is something about googly eyes that turns a ball of fluff into a pet with a personality, and my kids’ shelf of pom-pom monsters all have names, backstories, and assigned sleeping spots. A pom-pom maker costs about five euros and makes the whole thing dramatically easier than the cardboard-ring method, though rings cut from a cereal box work fine if you are patient. Wrap the yarn about eighty times for a fat pom-pom, tie it tight in the middle — tighter than you think, loose tying is why my first batch fell apart — then trim into a sphere. Googly eyes go on with a drop of craft glue while the pom-pom is still slightly warm from the friction, which sounds odd but works. Little felt feet, pipe-cleaner arms, whatever the monster needs. Each one takes fifteen to twenty minutes, they cost almost nothing, and the kids play with them for weeks. Crafts with a play afterlife are the only ones I repeat.
6. Leaf Rubbing Art

This is the craft that gets us out of the house first, which on a stir-crazy afternoon is half the value. We walk to the park with a bag and collect leaves with strong veins — maple, oak, chestnut — because flimsy leaves give flimsy rubbings. Back home, leaf goes vein-side up under a sheet of thin paper, and the crayon goes sideways across the top with firm, even pressure. The kids figured out fast that peeling the paper off the crayon wrapper and using the whole side gives a much better print than the tip. We layer different leaves in different colours on the same page and they look like proper autumn art. My son once brought thirty leaves home and we spent the whole evening at it. Framed in cheap four-euro frames, the best ones genuinely look like botanical prints. It is the lowest-cost craft on this list and one of the prettiest results.
7. Rock Painting

We collect smooth flat stones at the Isar in summer and keep a bowl of them by the craft box, because painted rocks have become our family’s little kindness project. Acrylic paint pens are the tool that changed everything — a set of twelve costs around ten euros, they draw on stone like markers, and there is no brush-cleaning mutiny afterwards. My daughter paints ladybirds and flowers, my son paints monsters, and then I spray the finished ones with outdoor varnish so they survive the weather. We hide them around the neighbourhood on walks — on walls, at the base of trees, near the playground — and the kids get genuinely excited thinking about who will find them. Wash the stones first, by the way; dusty stones shed the paint. A painted rock is a ten-minute craft that creates a treasure hunt and a small act of generosity, which feels like a lot of return on ten minutes.
8. Bead Bracelets

Bead stringing is the quietest craft in the box, and on days when the flat feels loud, that matters more than the result. We use elastic cord — about three euros for a roll — because a knotted elastic bracelet actually gets worn instead of sitting in a drawer. The lesson I pass on: tie the knot three times and dab it with a drop of clear nail polish or glue, because my first attempt at helping used a single knot and the bracelet exploded beads across the kitchen within the hour. We sort the beads into a muffin tin by colour first, which is practically a craft in itself for a five-year-old. Wooden beads, alphabet beads for names, a few glass ones for sparkle — the mix is what makes them look like real jewellery rather than a kit. The kids make them as gifts for grandparents and friends, and a handmade bracelet has never once failed to land. Twenty minutes, full concentration, wearable pride.
9. Paper Bag Puppets

Brown paper lunch bags cost a couple of euros for a pack and transform into a full theatre company in an afternoon. The fold at the bottom of the bag is the mouth — that is the whole mechanism — so the decorating happens while the bag lies flat: face on the flap, body on the rest. My kids drew the faces with markers first, then added yarn hair, paper ears, button eyes. One bag even got a tiny paper crown. Once the decorating is done, hands go inside and the shows begin — our living room has hosted puppet retellings of every story we own, plus several original dramas about a frog who loses his crown. This is the craft with the longest afterlife on the list: twenty minutes of making, then days of performance. Keep the finished puppets in a box rather than flat, or the mouths lose their spring. I recommend starting with two each, because one puppet alone never puts on a show.
10. Bubble Wrap Printing

Every package that arrives at our door gets its bubble wrap confiscated before the box is even opened, because bubble wrap printing is the craft that never gets a boring result. Brush a thin layer of paint onto the bubbles — thin is the operative word, because too much paint fills the bubbles and smears instead of printing — then press a sheet of paper on top, smooth it with your hands, and peel it back for the reveal. The kids love that moment of lifting the paper; it is genuinely exciting every time, like unwrapping something. We layer two colours, letting the first dry, and the overlapping prints look like modern art. Thick paper or card stock works better than thin printer paper, which goes soggy. It is a pure process craft — the joy is in the doing and the surprise, not in making anything recognisable — and that is exactly why kids ask for it again and again.
Conclusion
The rule I have settled on after five years of rainy Sundays: it is about the doing, not the done. Cover the table, use the washable paint, embrace the mess, and put the best ones on the fridge. The process is the point — and a well-stocked craft box means you never have to dread the forecast again.