
10 Easy Paintings For Beginners Flowers Ideas
Painting flowers is one of the most rewarding ways to learn art. Flowers naturally come in forgiving organic shapes, vibrant colors, and diverse forms, meaning there is no single “correct” way to draw or paint them. Whether you are using acrylics, watercolors, or gouache, focusing on simple brushwork techniques—like dabbing, looping, or stamping—allows you to create stunning floral art without needing advanced technical skills.
Below are 10 easy flower painting ideas for beginners, complete with step-by-step guides, basic brush technique tips, and text-based image prompts to inspire your next creative session.
Essential Beginner Painting Supplies
- Paints: Acrylics or watercolors (acrylics offer easy opacity and layering, while watercolors excel at soft, fluid blends).
- Brushes: A medium round brush (#6 or #8) for general petal work, a fine detail liner brush (#2) for stems and centers, and a flat/filbert brush for broad petals.
- Surface: Stretched canvas, canvas board, or heavy 140lb (300gsm) watercolor paper.
- Extras: Palette, clean water jars, paper towels, and a pencil for soft initial sketching.
10 Easy Flower Painting Ideas
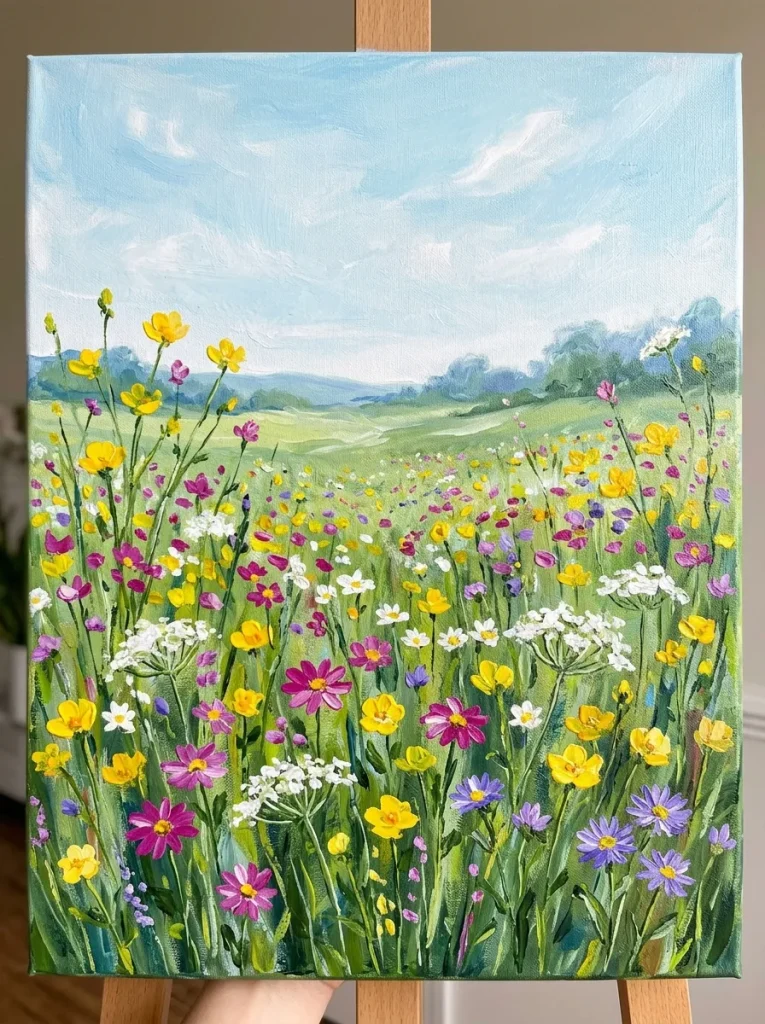
1. Simple Dotted Wildflower Meadow
Technique: Brush Tip Dabbing
A colorful, impressionistic meadow that relies on quick, light dabs of paint rather than detailed petal construction.
Paint a soft gradient background (such as light blue sky transitioning to soft green grass) and let it dry. Using the tip of a medium round brush, dab small dots and clusters of bright yellow, magenta, white, and violet paint across the bottom two-thirds of the canvas. Connect some of the dots down to the ground using fine green stem lines to create a lush, airy field of spring wildflowers.
2. Loose Watercolor Lavender Stalks
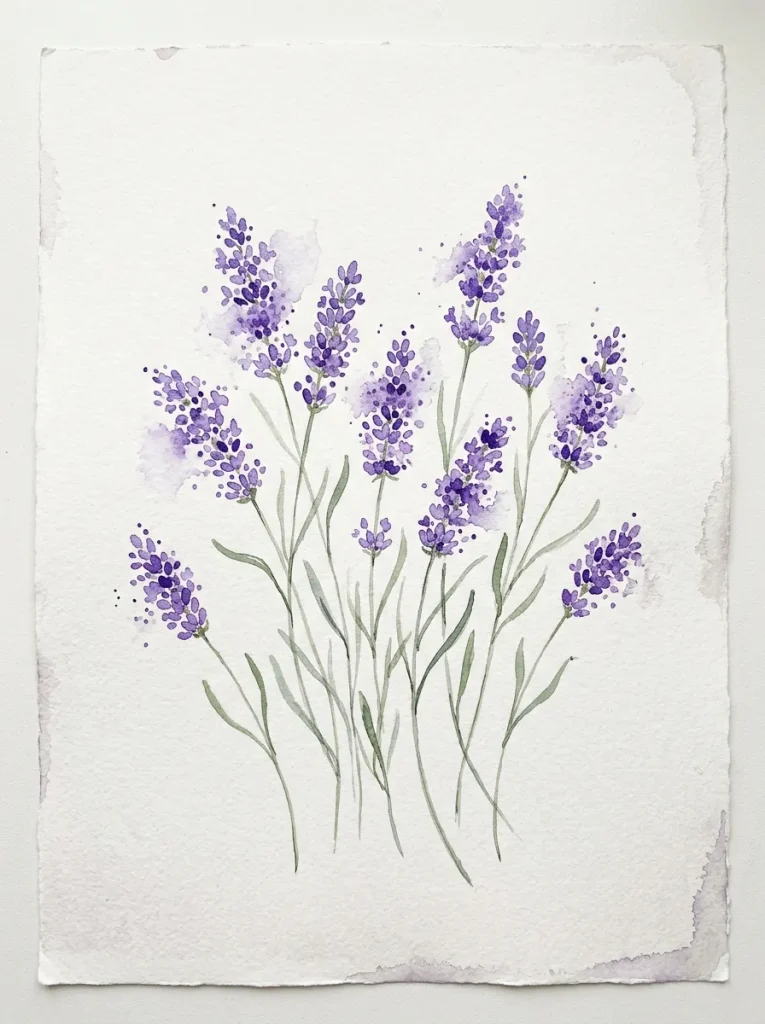
Technique: Side-Brush Stippling
Soft, fragrant-looking lavender stalks created by pressing the side of a round brush onto paper.
Draw thin, slightly curved green stems using a fine brush. Dip your round brush into violet or dark purple paint, holding it at a 45-degree angle. Gently press the side of the brush head along both sides of the stem, tapering the dots toward a point at the top. Leave small white gaps between the purple dabs to give the flowers light, dimension, and fluffiness.
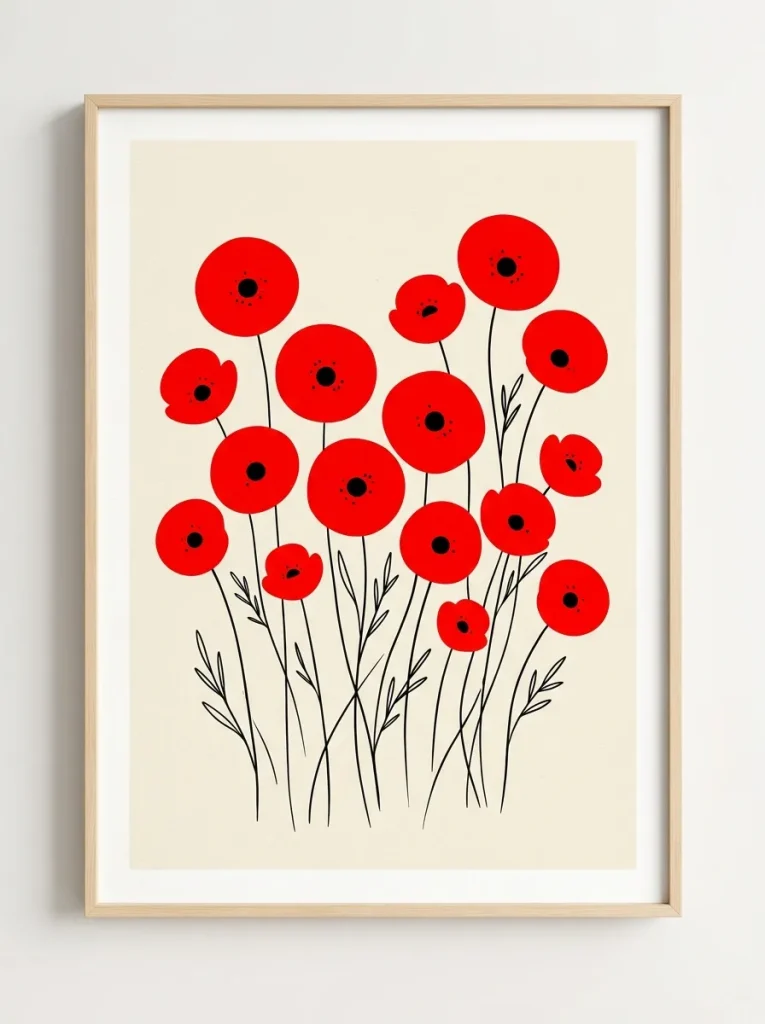
3. Modern Minimalist Poppy Silhouettes
Technique: Flat Shape Color Blocking
Bold, graphic red poppies featuring simple flat shapes and dark contrasting centers against a neutral background.
Paint the background a clean off-white or soft cream. Paint three to four large, irregular overlapping red circle shapes to represent open poppy blooms. Once the red paint dries, paint a bold black dot in the center of each flower, adding a few tiny black specks around the center circle. Finish with thin, curving black or dark green stems.
4. Fluffy Hydrangea Blooms
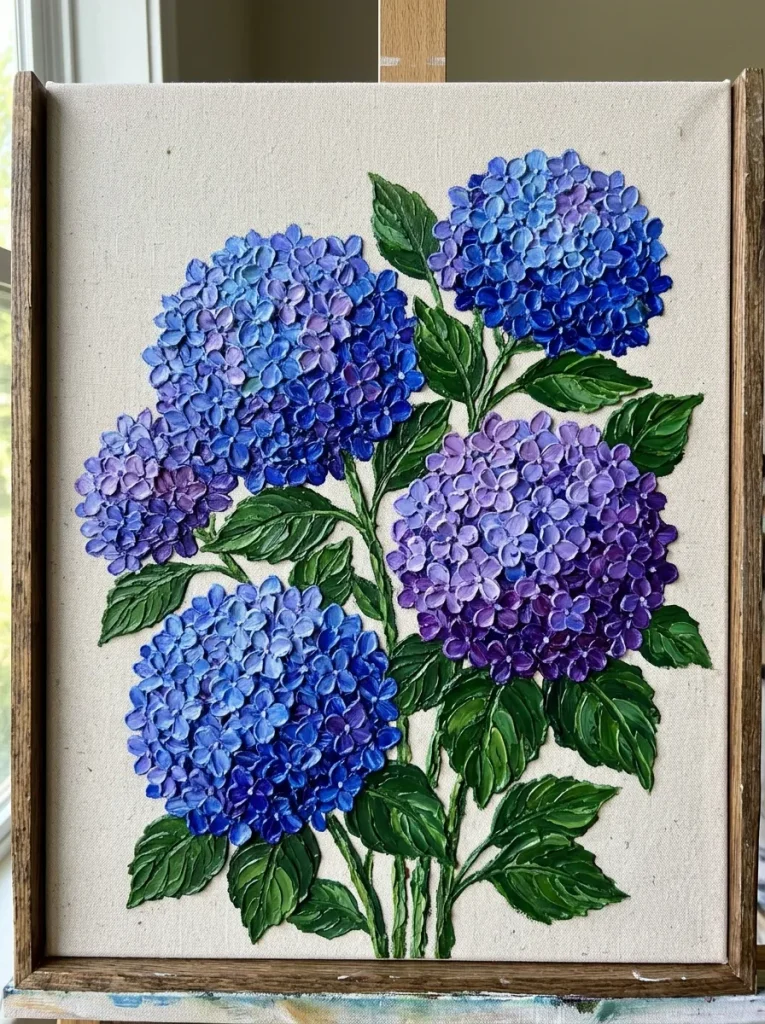
Technique: Q-Tip Bundle Stamping
A clever, foolproof shortcut that uses a bundle of cotton swabs (Q-tips) as a stamp to create dense, textured hydrangea petals.
Bundle 5 to 6 Q-tips together with a rubber band. Dip the cotton end into a mix of light blue, lavender, and white acrylic paint. Stamp the bundle repeatedly in a loose, fluffy circular shape on your canvas to instantly form a cluster of mini petals. Add a dark green leaf underneath each large hydrangea ball to ground the composition.
5. Sunlit Sunflower Head
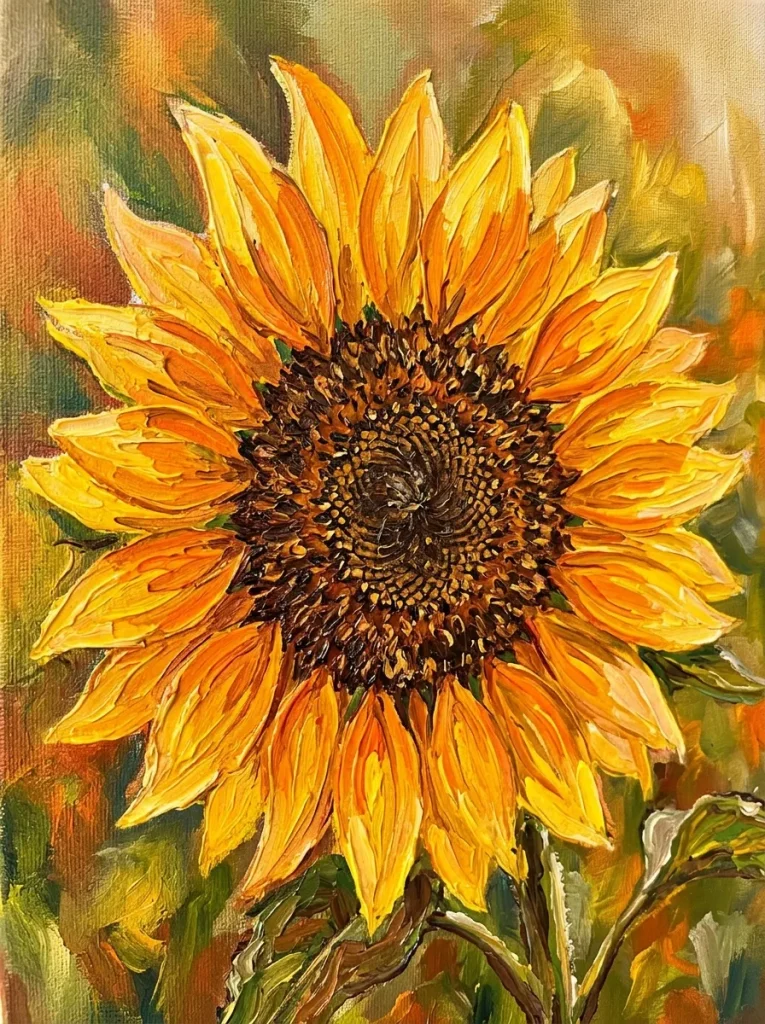
Technique: Radiating Teardrop Strokes
A bright, joyful close-up of a sunflower focusing on simple directional petal strokes expanding from a large central disc.
Paint a large brown circle in the center or corner of your canvas. Using bright yellow and warm orange paint, place your round brush near the outer edge of the brown circle and press down, pulling outward and lifting the brush to form a tapered teardrop petal. Work all the way around the brown center, layering shorter yellow petals over longer orange ones for rich depth.
6. Cute Cherry Blossom Branches
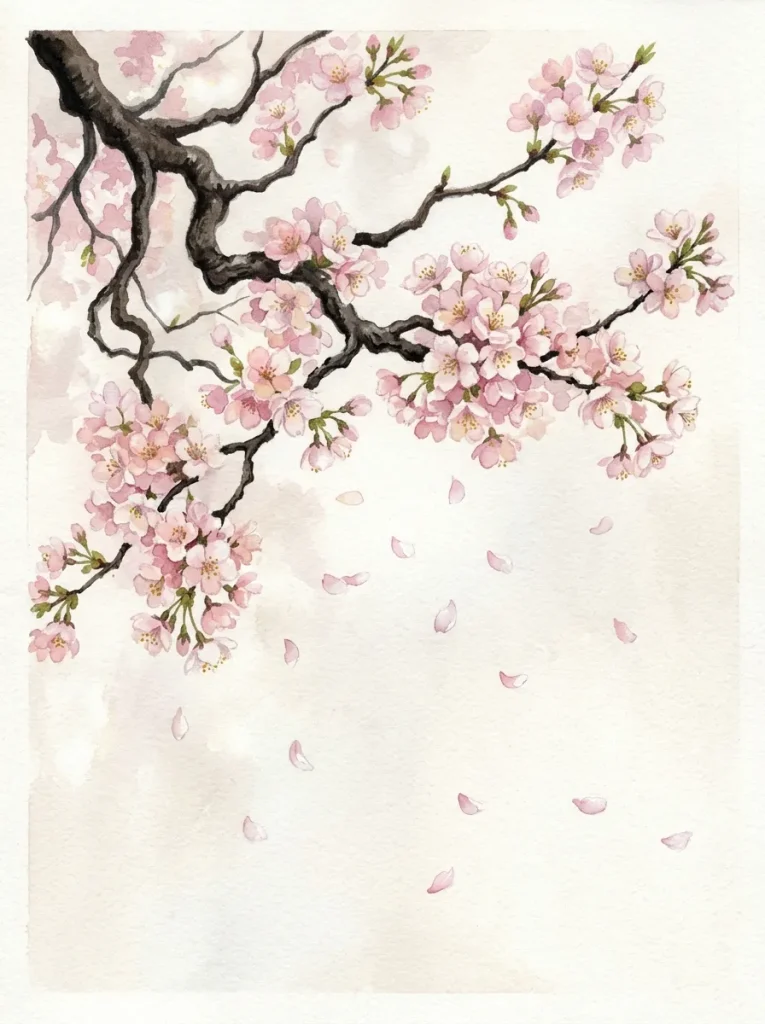
Technique: Branch Linework + Fingertip / Sponge Stamping
A serene Japanese-inspired artwork featuring delicate pink blossoms clinging to dark, twisting tree branches.
Use dark brown or black paint to render thin, angular branches extending across the canvas from one side. Use your pinky finger or a small piece of sea sponge dipped in light pink and white paint to dab soft blossom clusters along the length of the branches. Add a few falling petal dabs drifting down the canvas for movement.
7. Moody Dark Background Tulip
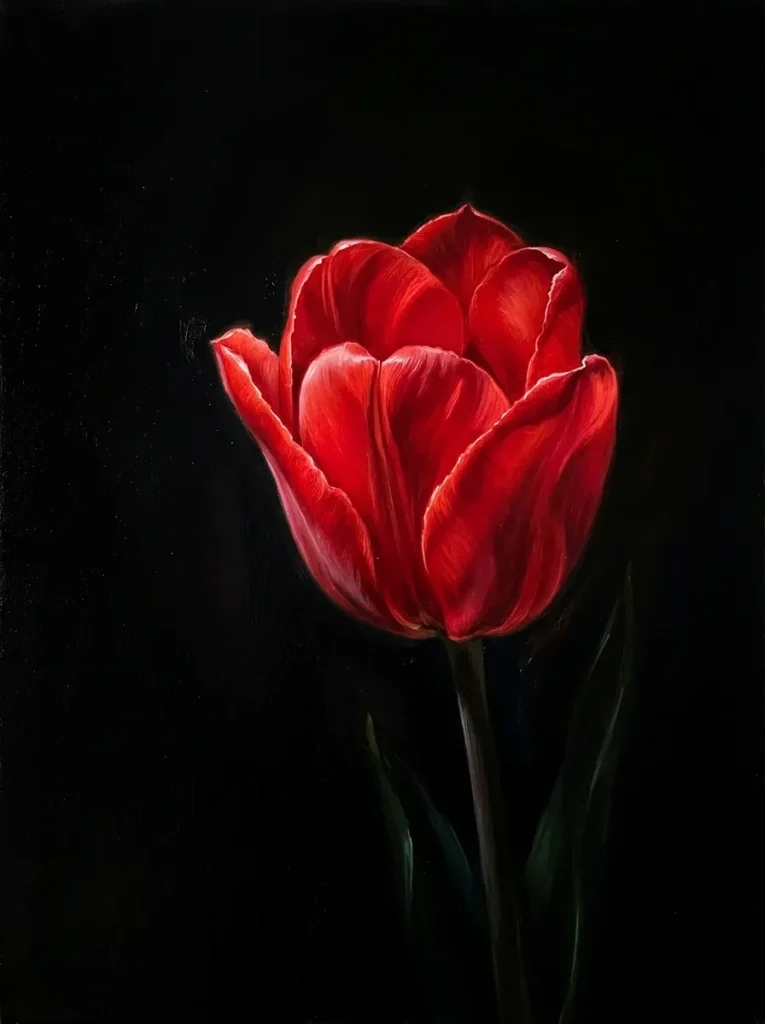
Technique: High-Contrast Color Layering
A single dramatic tulip painted in rich red or coral against a solid black or dark navy backdrop, making the colors pop.
Coat your canvas in matte black acrylic paint and let it dry completely. Paint a smooth, goblet-shaped cup using crimson or coral paint in the center. Add two to three overlapping petal curves along the top rim. Highlight the outer edge of each petal with a touch of bright pink or white paint to create clean light reflections and form.
8. Loose Expressionist Peony
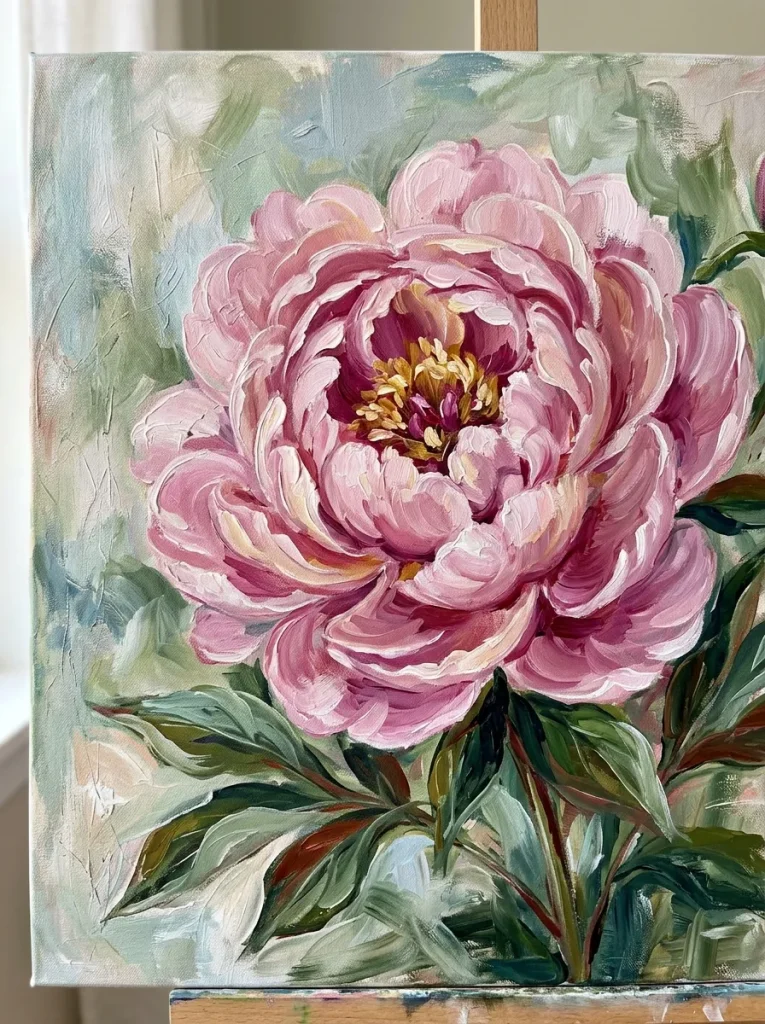
Technique: Swirled Curved C-Strokes
A romantic, voluminous peony created by layering curved “C” shaped brushstrokes over a soft base color.
Paint a loose, light pink circle on your surface as the base shape. Using a flat or filbert brush loaded with darker magenta paint, paint short, overlapping curved “C” marks inward from the outer edges toward the middle. Switch to pure white paint and layer smaller “C” strokes over the center to define tight, delicate inner petals.
9. Sweet Daisy & Chamomile Pattern
Technique: Radial Petal Pulls
A charming, retro pattern of white daisies scattered across a pastel pastel background.
Paint your background a soft pastel mint green or sky blue. Paint solid yellow circles scattered evenly across the surface. Using a small round brush loaded with opaque white paint, pull thin petal strokes outward from each yellow center like sunburst rays. Keep the shapes simple and playful for a wallpaper-like pattern effect.
10. Abstract Acrylic Pour Floral Blow
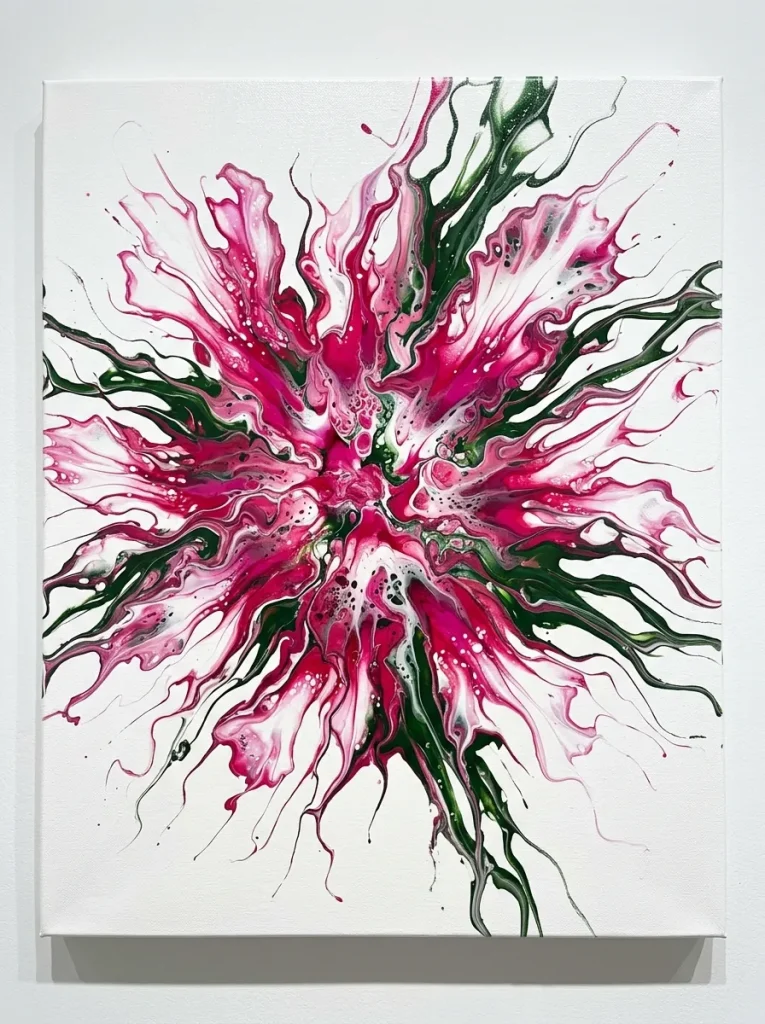
Technique: Straw / Hairdryer Paint Blowing
An exciting fluid art technique where liquid paint is blown outward using a drinking straw to form organic flower shapes.
Pour a small puddle of black or dark green acrylic paint in the center of a canvas, flanked by puddles of pink and white fluid acrylic paint. Take a simple drinking straw and blow air directly onto the paint puddles, forcing them to spread outward into irregular, petal-like tendrils. The result is a dynamic, modern abstract flower with zero drawing required!
Quick Flower Painting Technique Summary
| Technique | Best For | Recommended Medium |
| Q-Tip Stamping | Hydrangeas, Lilacs, Allium | Acrylic Paint |
| Side-Brush Stippling | Lavender, Delphinium, Salvia | Watercolor or Acrylic |
| Curved C-Strokes | Peonies, Roses, Ranunculus | Acrylic or Gouache |
| Flat Color Blocking | Poppies, Anemones, Tulips | Acrylic or Poster Paint |