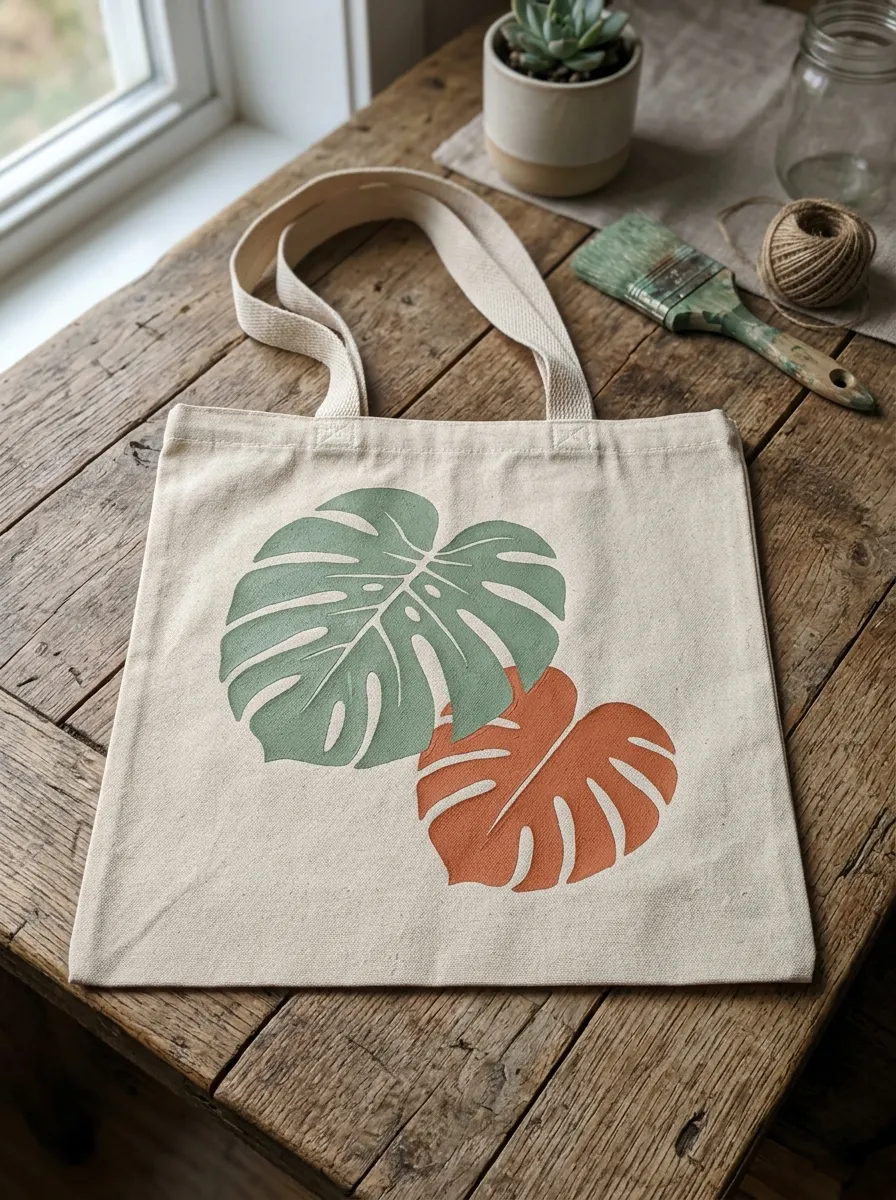
Last Christmas I wanted to give my friends something personal, but my budget was tight and shop-bought gifts felt impersonal. I remembered a plain cotton tote I had painted years earlier in an art class, and I decided to try again, this time properly. I bought five blank totes for 3 euros each, a basic set of fabric paints, and spent a December weekend at my kitchen table. The results were far from perfect, but my friends still use those bags today, and that weekend turned into a hobby I return to again and again.
Since then I have painted dozens of totes, and I have learned what works through plenty of smudged leaves and one memorable incident involving gold paint on my favourite jumper. Fabric paint behaves differently from acrylic on canvas, cotton totes wrinkle and shift, and a design that looks lovely on paper can turn muddy on fabric. The ten ideas below are the ones I have tested myself, with the honest details of what each one needs.
Every design here uses the same simple setup: a plain cotton tote, fabric paint or fabric markers, a piece of cardboard slipped inside the bag to stop paint bleeding through, and an iron to heat-set the finished design. Once you have that kit, you can try any of them in an afternoon.
1. Minimalist Botanical Leaf Silhouettes

My first successful tote was a simple row of leaf silhouettes in deep green on natural cotton, and it remains my most complimented design. I pressed real leaves from my balcony plants flat in a book overnight, then used them as stencils, dabbing paint around the edges with a sponge. The result looks clean and modern, and the slight imperfections in each leaf make it clear the bag was made by hand, which is exactly the charm.
The key detail is the paint consistency. My first attempt used paint straight from the bottle, and it bled under the leaf edges into blurry blobs. Thinning it slightly and dabbing, never brushing, gave me crisp outlines. I also press the stencil down firmly with one hand while dabbing with the other, so nothing shifts mid-print. I heat-set the design by ironing on the reverse side for three minutes, and the bag has survived at least twenty washes at 30 degrees without fading.
2. French-Country Lavender Sprigs & Calligraphy

I painted this design after a summer holiday in Provence, where lavender grew along every path, and I wanted to keep a little of that feeling at home. I painted three slender sprigs in soft purple and sage green, then added a single word beneath them in loose calligraphy, “lavande”, using a fine fabric marker that I already owned from an earlier lettering project. The combination feels elegant and old-fashioned, and it suits the natural cotton colour beautifully.
Calligraphy on fabric was intimidating at first, and my early letters wobbled badly. What helped was practising the word ten times on paper, then writing it on the bag in one slow, steady pass without stopping to correct anything. I also learned to let the painted sprigs dry fully, at least two hours, before adding the lettering, because one rushed attempt smeared purple across the whole word and ruined an otherwise lovely bag.
3. Modern Abstract Color Block & Arch Motif

When a friend asked for a tote that would look at home in a design studio, I painted bold blocks of terracotta, ochre, and cream with a simple arch shape cutting through them. I masked the shapes with painter’s tape, which gave me the crisp edges that make abstract designs look intentional rather than accidental. The finished bag looks like a small piece of modern art, and it took less than an hour.
Painter’s tape on fabric needs a firm press along every edge, or paint creeps underneath. I burnish the tape down with the back of a spoon before painting, and I peel it off while the paint is still slightly damp, which leaves the sharpest line. One caution: cheap tape left sticky residue on my first bag, so I now use a good-quality brand, which costs about 5 euros a roll and is worth every cent.
4. Splattered Celestial Gold Constellations

This is the design that taught me to embrace mess. I flicked gold fabric paint across a deep navy tote with an old toothbrush, then dotted in a few constellations with the end of a paintbrush handle. The splatter looks like a night sky, and because no two flicks land the same way, every bag comes out completely unique. It is my go-to gift for friends who love stars and a bit of sparkle.
Splattering is joyful but messy, so I now work outside or over a large sheet of newspaper, and I wear an old shirt after the gold paint incident I mentioned earlier. I load the toothbrush lightly and flick from about 30 centimetres away, building the stars up gradually. Too much paint at once gives heavy blobs instead of fine speckles, and I ruined my first attempt exactly that way.
5. Stamped Citrus Slice Pattern

For a summer market bag, I stamped a repeating pattern of citrus slices using a potato stamp I carved myself, and it turned out so cheerful that I made three more. I cut a lemon shape into half a potato, painted it with orange and yellow fabric paint, and stamped it in rows across the tote. The handmade stamp gives each slice a slightly different texture, which looks far more interesting than a perfect printed pattern.
Potato stamps dry out quickly, so I carve a fresh one for each bag, which takes about ten minutes with a small kitchen knife. I also test the stamp on scrap fabric first, because the first print is always too heavy with paint and the third is often too faint. The sweet spot is usually the second and fourth prints, and I plan my rows around that, starting from the centre of the bag outward.
6. Vintage Pressed Wildflower Garden

This design came from my grandmother’s old herbarium, which I still keep on my bookshelf, where pressed flowers were arranged on faded paper with handwritten labels. I painted a loose cluster of wildflowers in muted pinks, yellows, and greens, with thin stems and tiny buds, keeping the colours soft and slightly faded on purpose. The result looks like something found in a vintage shop, and it is the bag I reach for most often myself.
Muted colours are harder to achieve than bright ones, and my first version came out far too vivid. I learned to mix a touch of cream into every colour, which softens the whole palette at once, and to use a dry brush for the stems so they stay thin and delicate. I also keep the composition loose and off-centre, because a perfectly symmetrical flower arrangement looks stiff on a tote.
7. Ocean Wave & Line Art Silhouette

I painted this tote after a weekend on the Baltic Sea, where I sketched waves in a notebook until my fingers were cold. The design is a single continuous line drawing of rolling waves, done with a black fabric marker, with one wave filled in solid for contrast. It is simple, elegant, and surprisingly quick, taking about forty minutes from first line to finished bag, and I now make one for every seaside holiday.
Continuous line drawing on fabric is unforgiving, since you cannot erase a wobble. I practise the wave shape on paper at least five times first, and I draw on the bag slowly, resting my hand on the table for stability. If a line does go wrong, I have learned to turn it into a feature, extending it into a splash or a bird shape, rather than trying to cover it up, which always looks worse.
8. Elegant Monogram with Floral Wreath

Monogram totes make wonderful personalised gifts, and I have made them for weddings, birthdays, and one very grateful bridesmaid. I paint a large initial in the centre of the bag, then surround it with a wreath of small leaves and flowers in two or three coordinating colours chosen to suit the recipient. The wreath frames the letter beautifully, and the whole design feels thoughtful in a way that a plain initial never quite manages.
The letter itself needs care, and I sketch it lightly in pencil first, then paint over the lines. My early monograms looked uneven because I painted freehand, but the pencil guide fixed that completely, and the lines disappear under the paint. I also recommend choosing the recipient’s favourite colours for the wreath, which takes a quick text message to confirm and makes the gift feel truly personal, rather than guessing and getting it wrong.
9. Terrazzo Stone Pattern

Terrazzo is everywhere in home decor right now, and I wanted to see if the speckled stone look would work on a tote. I painted a cream background, then added irregular chips and fragments in terracotta, sage, black, and mustard, scattered randomly across the bag. The result is modern and playful, and it hides stains better than any other design I have made, which is a genuine practical bonus for a bag I carry every day.
Randomness takes more discipline than it sounds, because my instinct is to space the chips evenly, which looks like wallpaper instead of stone. I close my eyes and drop a few chips wherever my hand lands, then fill in the gaps, which gives a much more natural scatter. I use the flat end of a cork for round chips and a small brush for angular ones, and I let each colour dry before adding the next to avoid muddy edges.
10. Golden Sunburst & Geometric Horizon

My most recent design is a golden sunburst rising over a simple geometric horizon of triangles and lines, and it has become my favourite after a friend asked for something bright for her birthday. I painted the sun as a semicircle with radiating lines in metallic gold, then added a horizon of soft geometric shapes in cream and dusty pink below it. The bag glows in sunlight, and the geometric shapes keep it feeling modern rather than retro.
Metallic gold paint needs two thin coats to look rich, and my first attempt with one thick coat looked patchy and dull. I let the first coat dry completely, about an hour, before adding the second, and the difference is striking. I also use a ruler and light pencil lines for the horizon shapes, because even a small wobble in a geometric line stands out immediately on a plain background.
Painted totes have given me some of my happiest afternoons, sitting at the kitchen table with paint on my hands and a podcast playing. If you try one of these designs, start with the simplest, forgive the first wobble, and remember that the little imperfections are exactly what make a handmade bag worth carrying.