Few crafts capture a child’s sense of wonder quite like taking a simple, flat piece of paper, folding it a handful of times, and tossing it into the air to watch it soar.
Paper airplanes sit at the perfect intersection of creative art, tactile crafting, and early STEM (Science, Technology, Engineering, and Math) learning.
Unlike standard crafts that sit still on a display shelf, paper aircraft are interactive toys. They invite children to experiment with aerodynamics, gravity, lift, drag, and thrust.
By making minor adjustments to a wing flap, nose fold, or paper weight, kids can directly witness how physics shapes flight paths—turning a simple living room corridor or backyard lawn into an active flight test zone.
Whether you are a parent seeking an engaging weekend activity, a teacher structuring a hands-on physics lesson, or a caregiver organizing a fun group activity, this comprehensive guide covers ten unique, detailed paper airplane projects.
From ultra-fast darts and long-distance gliders to stunt fliers and futuristic sci-fi jets, explore step-by-step instructions, flight tuning secrets, and essential troubleshooting tips to make your paper fleet take flight!
Why DIY Paper Airplanes Are Essential STEM & Creative Activities
Paper aeronautics offers far more than a quick afternoon of fun—it serves as a foundational gateway into hands-on science and physical coordination.
            [ DIY Paper Airplanes ]
                       │
       ┌───────────────┼───────────────┐
       ▼               ▼               ▼
[ Aerodynamic    ]  [ Fine Motor &  ]  [ Low-Cost     ]
[ Engineering    ]  [ Spatial Logic ]  [ Accessibility]
1. Hands-On Aerodynamic Principles
Folding and flying paper planes introduces core principles of flight dynamics:
- Lift: The upward force generated by air pressure differential moving over and under the wing surface.
- Drag: The rearward friction force created as the plane cuts through the surrounding air mass.
- Gravity (Weight): The downward force pulling the plane toward the ground, requiring structural balance.
- Thrust: The forward propulsion force imparted by a child’s hand during a launch.
2. Spatial Reasoning & Precision Folding
Translating a 2D sheet of paper into a 3D flying machine builds visual-spatial intelligence. Children learn that symmetry and crisp, accurate creases directly dictate whether a plane flies straight or spirals into the ground.
3. Accessible, Low-Cost Experimentation
Paper planes require no batteries, special kits, or expensive tools. They encourage trial-and-error problem solving—if a design crashes, a child can simply adjust the tail flaps, refold a seam, or try a new folding pattern.
Materials, Preparation & Setup Guide
Building a high-performance fleet requires understanding how different paper weights, workspace setups, and basic tools affect flight aerodynamics.
Essential Paper Aeronautics Tool Kit
| Material / Tool | Specification / Type | Flight Purpose |
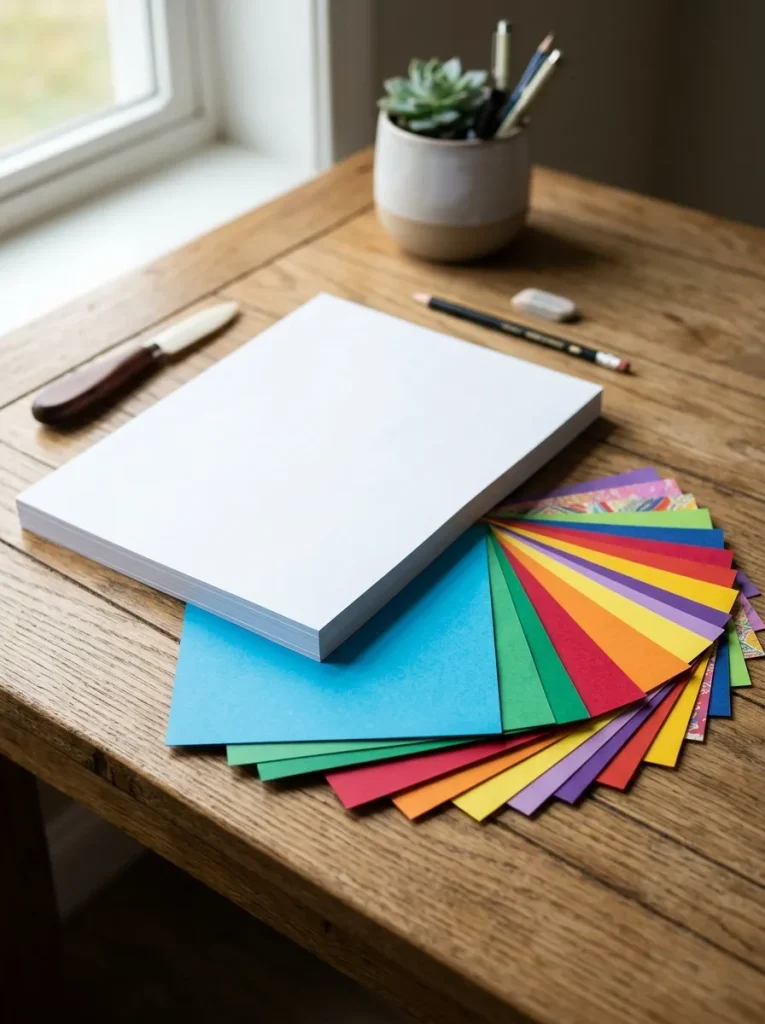
| Standard Printer Paper | 20lb Letter size (8.5×11 inch) | Ideal baseline for distance and speed darts |
| Origami Paper | 6×6 inch lightweight square sheets | Crisp, precise folds for intricate stunt planes |
| Construction Paper | Heavyweight colored sheets | Sturdy structural frames for larger gliders |
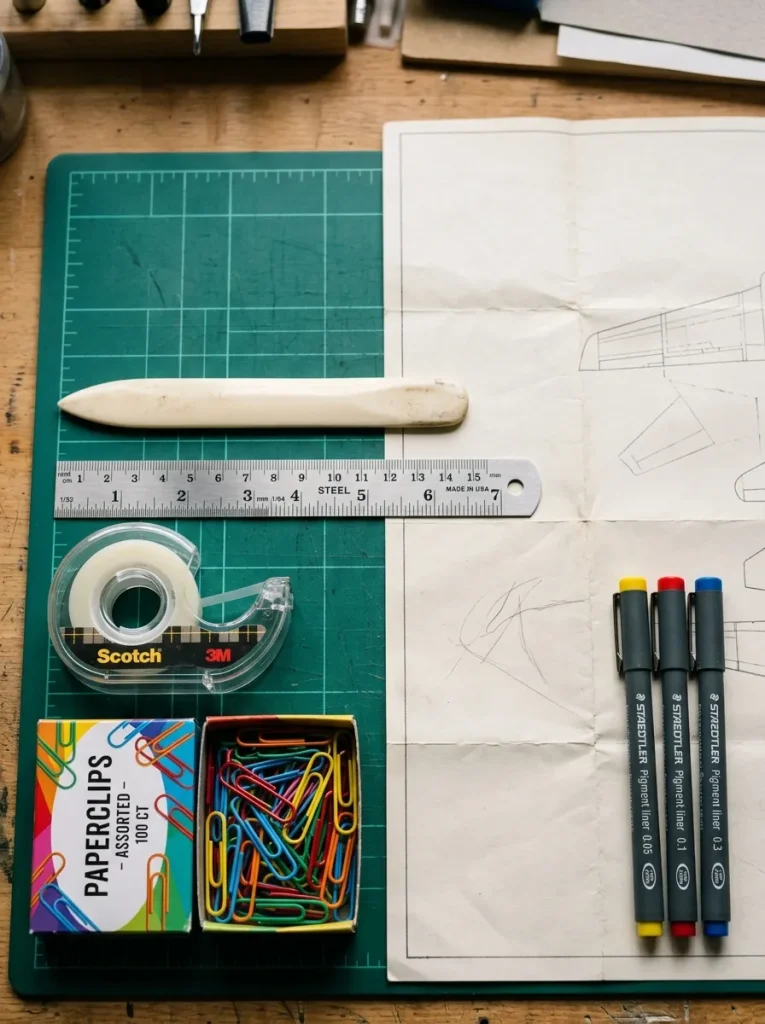
| Bone Folder / Ruler | Plastic folder or smooth wooden ruler | Pressing sharp, permanent, low-drag creases |
| Clear Tape | Light-duty transparent tape | Securing wing seams and preventing air pocket ballooning |
| Paperclips | Standard metal or plastic clips | Adjusting nose weight and center of gravity (CG) |
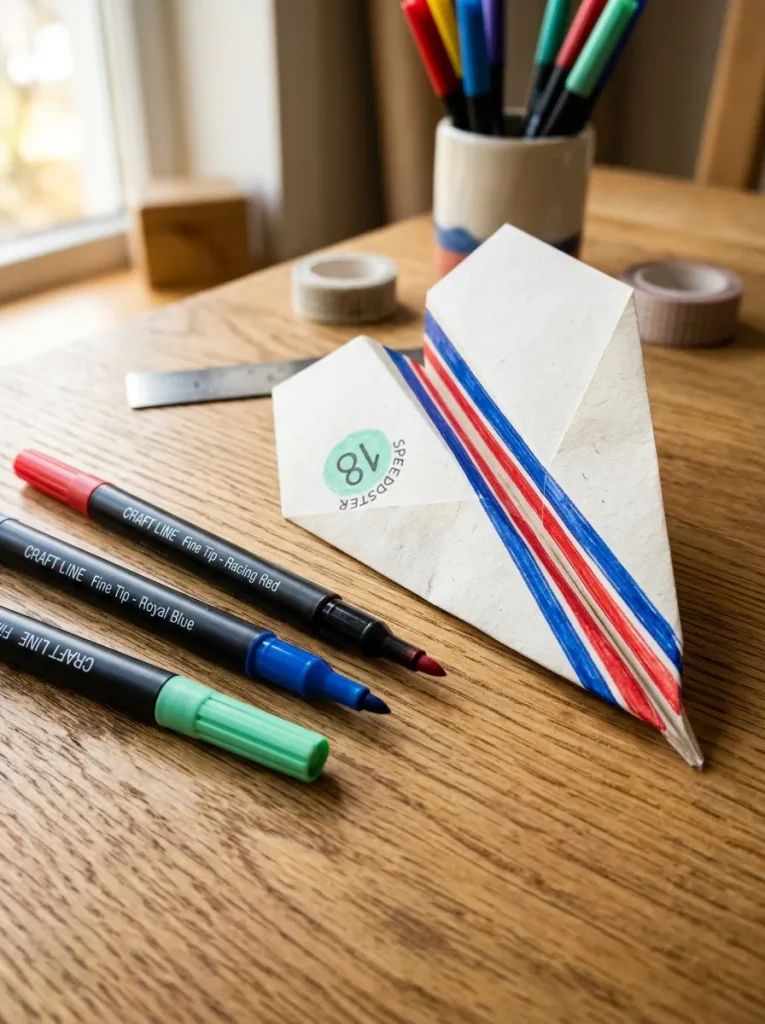
| Markers & Stickers | Washable fine-point markers | Customizing fleet liveries and tail logos |
Step-by-Step Prep & Precision Protocol
- Establish a Hard, Flat Work Surface: Always fold paper planes on a smooth, hard surface like a wooden desk, dining table, or cutting mat. Folding in mid-air creates loose, uneven creases.
- Prioritize Absolute Symmetry: Ensure the left and right halves of the airplane are mirror images. Misaligned wings or uneven folds create asymmetrical drag, causing the plane to bank or roll uncontrollably.
- Smooth Every Crease Firmly: Use a bone folder, plastic ruler, or thumbnail to press down along every fold line. Sharp creases keep the airframe rigid and aerodynamic under flight stress.
10 Detailed DIY Paper Airplane Crafts for Kids
1. The Classic Dart (Distance Champion)

The timeless, sleek paper airplane design built for high-speed straight flight and maximum throw distance.
        /|
       / |  <-- Narrow Triangular Nose
      /  |
     /___|  <-- Long Straight Wings
Concept Overview & Aesthetic Appeal
The Classic Dart features a low-drag, streamlined triangular profile. It cuts through the air quickly and predictably, making it the best design for speed trials and long-distance hallway flights.
Step-by-Step Execution Guide
- Center Fold: Fold an 8.5×11-inch sheet of paper in half lengthwise (hot dog style), crease sharply, and unfold flat.
- Top Corner Folds: Fold the top two corners inward to meet the center crease, forming a point at the top.
- Second Angled Fold: Fold the new angled top edges inward to meet the center crease line a second time, sharpening the nose point.
- Main Center Fold: Fold the entire plane in half along the original center crease line so the folded flaps are tucked inside.
- Form the Wings: Fold each side wing down to align with the bottom edge of the plane’s main body, leaving a 1-inch tall fuselage strip at the bottom to hold.
- Launch: Hold the bottom keel near the front and throw with a swift, straight forward thrust.
Pro Tuning Tips
- Apply a small piece of tape across the top rear wing seam to prevent the wings from spreading apart during fast throws.
Common Mistakes to Avoid
- Blowing Out the Nose: Throwing the Dart with excessive force against walls can crush the nose tip, shifting the weight balance backward and ruining future glides.
2. The Basic Glider (Smooth & Floating)
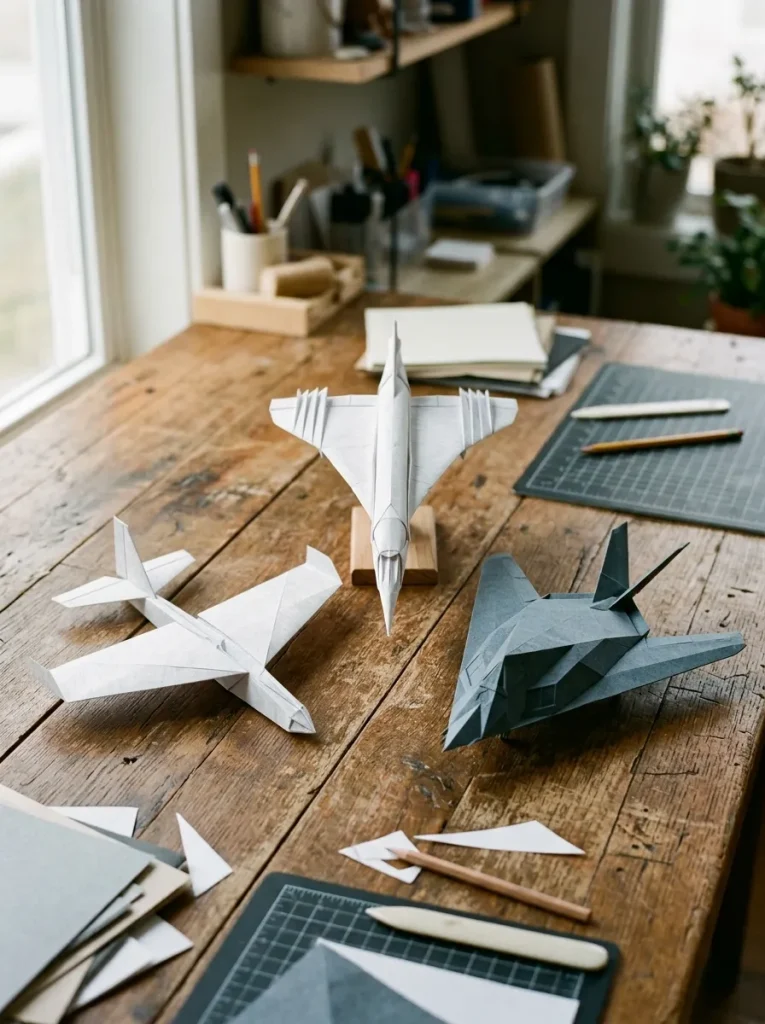
A wide-winged airplane designed for smooth, long-duration floating flight rather than high-speed distance.
Concept Overview & Aesthetic Appeal
With a blunt, reinforced nose and wide wing surface area, the Basic Glider catches air currents easily. It glides gracefully in wide, gentle circles across open rooms.
Step-by-Step Execution Guide
- Vertical Crease: Fold a sheet in half lengthwise, crease, and unfold.
- Top Corners to Center: Fold top corners to the center line to create a top triangle.
- Fold Triangle Down: Fold the entire top triangle downward like an envelope flap, leaving a 1-inch gap at the bottom.
- Second Corner Fold: Fold the top two corners inward so their points meet at the center line roughly 1 inch above the downward-facing triangle tip.
- Locking Tab: Fold the small exposed triangle tip upward over the corner folds to lock them firmly in place.
- Wing Folding: Fold the plane in half outward (away from the locking tab), then fold down wide wings parallel to the bottom keel.
Pro Tuning Tips
- Slightly bend the very back trailing edges of both wings upward by 1/16 of an inch to give the plane extra pitch lift!
Common Mistakes to Avoid
- Forgetting the Locking Tab: Skipping the center lock flap allows the internal folds to pop open in mid-flight, causing the plane to stall and drop.
3. The Concorde Jet (Sleek Supersonic Design)
Inspired by supersonic passenger airliners, this craft features long, swept-back delta wings and a needle-sharp nose.
         /\
        /  \   <-- Delta Wing Profile
       / /\ \  <-- Swept-Back Trailing Edge
      /_/  \_\
Concept Overview & Aesthetic Appeal
This design mimics high-speed delta-wing aircraft. It features an aggressive, high-tech silhouette that looks dynamic both on a display stand and soaring across a yard.
Step-by-Step Execution Guide
- Baseline Fold: Fold paper in half lengthwise, then unfold.
- Double Corner Fold: Fold top corners to the center line. Then, fold those outer angled edges into the center line a second time.
- Tuck Nose Point: Fold the long sharp nose tip downward until it touches the bottom edge of the paper.
- Re-Angle Nose: Fold the nose tip back up so it extends roughly 1 inch past the top folded edge, creating a reinforced nose tip.
- Final Wing Shaping: Fold the plane in half, then fold down long, narrow swept-back wings.
- Add Winglets: Fold the outer 1/2-inch tips of both wings upward vertically at a 90-degree angle to serve as winglet stabilizers.
Pro Tuning Tips
- Winglets reduce wingtip vortex drag, keeping the Concorde flying straight over long distances without rolling side to side.
Common Mistakes to Avoid
- Uneven Winglet Angles: If one winglet is folded higher than the other, the plane will continuously veer off in a wide circle.
4. The Loop-de-Loop Stunt Plane
A specialized paper aircraft designed to perform dramatic 360-degree aerial loops, flips, and tricks when launched upwards.
Concept Overview & Aesthetic Appeal
Stunt planes trade straight distance for maneuverability. By utilizing short, broad wings and dramatic tail flaps, this craft turns indoor throws into an acrobatic spectacle.
Step-by-Step Execution Guide
- Horizontal Base Crease: Fold paper in half horizontally (top to bottom), crease, and unfold.
- Square Top Folds: Fold top corners down to the horizontal crease, forming a wide square top section.
- Fold Top Down: Fold the top horizontal edge downward to the center, creating a thick, weighted front rim.
- Roll Front Rim: Roll that top edge downward two more times to build a heavy, multi-layered nose bar.
- Fold & Create Wings: Fold the plane in half. Fold wide wings down toward the base.
- Elevator Cuts: Use safety scissors to make two small 1/2-inch vertical cuts on the back trailing edge of each wing, creating adjustable elevator flaps.
Pro Tuning Tips
- Bend both back elevator flaps upward significantly. Throw the plane forward and slightly upward to trigger a tight, dramatic loop-de-loop!
Common Mistakes to Avoid
- Bending Flaps Downward: Bending the tail flaps downward forces the nose toward the ground, causing the plane to dive-bomb straight into the floor.
5. The Origami Jet (Fighter Jet Aesthetic)
A striking, multi-creased jet plane reminiscent of modern stealth fighters, featuring angled air intakes and twin vertical tail fins.
       /\__/\  <-- Twin Vertical Tail Fins
      /  ||  \
     /__/  \__\
Concept Overview & Aesthetic Appeal
Using advanced origami folding techniques, this plane mimics military stealth jets. It combines tactical aesthetic appeal with balanced, stable flight dynamics.
Step-by-Step Execution Guide
- Diagonal Base Lines: Start with a square piece of paper (6×6 or 8×8 inches). Fold diagonally both ways to form an “X” crease pattern, then unfold.
- Form Waterbomb Base: Push the side edges inward along the creases to collapse the paper into a double-layered triangle.
- Fold Front Flaps: Fold the top layer’s bottom corners upward to the top point, forming a center diamond shape.
- Create Side Intakes: Fold the outer edges of the diamond inward to the center line to form angled jet intakes.
- Shape Tail Fins: Fold the back outer points of the lower triangle layer upward at 90-degree angles to form twin vertical tail fins.
- Lock & Launch: Fold the central body in half to lock the frame, smooth out the broad under-wings, and launch with a gentle horizontal toss.
Pro Tuning Tips
- Decorate this craft with dark gray, black, or olive-green markers before folding to emphasize its military stealth jet aesthetic!
Common Mistakes to Avoid
- Looming Wrinkles: Layering multiple origami folds can make the nose thick. Ensure you use a ruler to press every layer flat to avoid bulky seams.
6. The Wide-Wing Cargo Transport Plane

A heavy-duty, broad-bodied paper plane designed to carry small cargo (like a paperclip payload) while maintaining stable, level gliding.
Concept Overview & Aesthetic Appeal
Inspired by massive military transport planes, this craft features high-lift wings and a spacious body structure capable of carrying added payload weight.
Step-by-Step Execution Guide
- Crease Center: Fold an 8.5×11-inch sheet in half lengthwise, then unfold.
- Top Blunt Fold: Fold the top 2 inches of the paper straight down flat (forming a blunt top border).
- Corner In-Folds: Fold the top corners inward to meet at the center crease line.
- Fold Down Body: Fold the entire top assembly down again by 2 inches to build a thick, heavy front structure.
- Form Wide Wings: Fold the plane in half outward. Fold down massive, broad wings that cover almost the entire side height of the fuselage.
- Add Payload: Attach a metal paperclip to the underside fuselage to simulate cargo payload.
Pro Tuning Tips
- Move the paperclip forward or backward along the bottom keel to observe how changing the Center of Gravity (CG) affects flight stability.
Common Mistakes to Avoid
- Overloading Weight: Adding more than 2 or 3 metal paperclips makes the plane too heavy, causing it to drop like a stone.
7. The Batwing Stunt Glider

An eye-catching, curved-wing plane inspired by bat wings and fantasy aircraft, offering swooping, erratic flight paths.
       /\____/\  <-- Curved, Scalloped Wing Edges
      (  \  /  )
       \__\/__/
Concept Overview & Aesthetic Appeal
Featuring unique scalloped or angled wing cutouts, the Batwing plane looks dramatic in flight, performing gentle swoops, sudden banking turns, and glides.
Step-by-Step Execution Guide
- Square Paper Prep: Start with a square sheet of paper. Fold it in half diagonally to form a triangle.
- Base Fold: Fold the top point of the triangle down so it meets the long bottom edge.
- Side Wing Angles: Fold the two outer points of the triangle upward at an angle so they extend past the top folded edge like bat ears.
- Scallop Cuts (Optional): Use safety scissors to trim small rounded curves out of the back trailing wing edges to create a batwing silhouette.
- Center Keel: Fold the plane in half, fold down wide sweeping wings, and secure the top center seam with a small piece of clear tape.
Pro Tuning Tips
- Use black, deep purple, or dark blue construction paper and draw glowing eyes on the nose using neon gel pens!
Common Mistakes to Avoid
- Cutting Too Close to the Center Keel: When trimming scalloped wing details, keep cuts away from the central spine so the plane retains its structural strength.
8. The Straw & Paper Ring Flying Cylinder
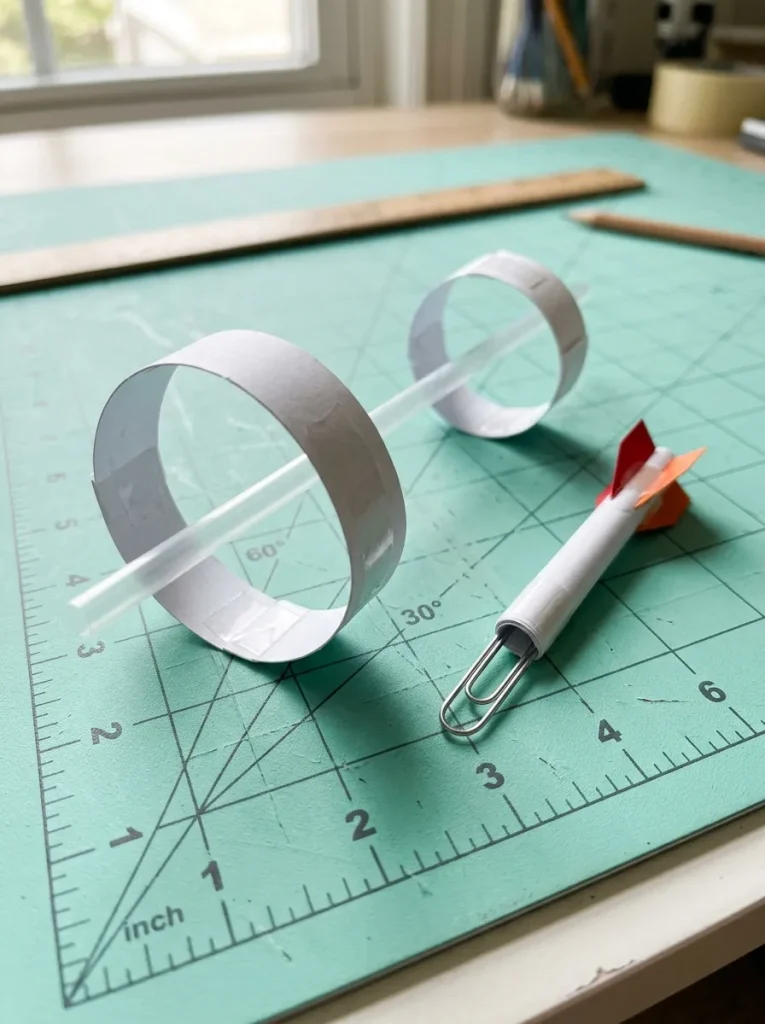
An unconventional, circular aircraft made from two paper loops attached to a straw—defying traditional wing shapes while flying remarkably far!
      ( O )=======| OO |
     Small Loop  Straw  Large Loop
Concept Overview & Aesthetic Appeal
This STEM favorite doesn’t look like a plane at all! By utilizing two hoop rings, it creates a stable tunnel of air (hoop glider effect) that cuts straight through the room.
Step-by-Step Execution Guide
- Cut Paper Strips: Cut two strips from a sheet of cardstock or heavy paper:
- Strip A (Small Loop): 1 inch wide by 5 inches long.
- Strip B (Large Loop): 1 inch wide by 10 inches long.
- Form Paper Rings: Bend each strip into a circle, overlap the ends by 1/2 inch, and tape them securely to form two open paper hoops.
- Attach to Straw: Lay a plastic or paper drinking straw inside the hoops. Tape the small paper hoop to the front end of the straw, and tape the large paper hoop to the back end.
- Align Hoops: Ensure both paper hoops are perfectly lined up along the straw axis.
- Launch: Hold the straw in the middle with the small hoop facing forward, and throw it gently like a dart!
Pro Tuning Tips
- Ensure the straw is completely straight. If the straw is bent, the hoop glider will wobble mid-air instead of sailing straight forward.
Common Mistakes to Avoid
- Throwing Backward: Throwing the plane with the large hoop facing forward will cause it to tumble instantly. The small hoop must lead the way.
9. The Futuristic Sci-Fi Cruiser

A multi-winged, space-fighter design featuring futuristic geometric angles, angled twin stabilizers, and an aggressive nose profile.
Concept Overview & Aesthetic Appeal
Combining elements from sci-fi movies and space cruisers, this complex paper craft is built for aesthetic display and dramatic short-range glides.
Step-by-Step Execution Guide
- Double Diagonal Prep: Fold an 8.5×11-inch sheet diagonally both ways, then unfold to create a large “X” crease across the top half.
- Collapse Top Tent: Push the side edges inward along the “X” creases to form a flat triangular top tent.
- Fold Wing Flaps: Fold the bottom points of the top triangle layer upward to the top nose point.
- Locking Angles: Fold those same flap points outward to the side edges, creating small forward-pointing winglets.
- Fuselage Folding: Fold the lower half of the paper upward over the flaps to lock the assembly. Fold the entire plane in half.
- Form Dual Wings: Fold down the main wings, then fold up 1-inch vertical fins on both wingtips to complete the cruiser profile.
Pro Styling Tips
- Add silver foil tape or metallic paint pens to highlight panel lines and engine ports across the cruiser wings!
Common Mistakes to Avoid
- Heavy Center Buildup: Because this design layers paper multiple times, press all internal folds flat using a hard ruler so the wings sit flush.
10. The Target-Shooting Precision Mini Dart

A compact, highly weighted mini plane designed specifically for high-accuracy target shooting into boxes or through hanging paper hoops.
[====> <-- Compact, Weighted Mini Nose
Concept Overview & Aesthetic Appeal
By using a half-sheet of paper (5.5×8.5 inches), this mini dart offers high speed, high density, and pinpoint accuracy—perfect for carnival-style target games!
Step-by-Step Execution Guide
- Cut Paper in Half: Cut a standard letter sheet in half horizontally to create a smaller 5.5×8.5-inch sheet.
- Fold Micro Center: Fold in half lengthwise, then unfold.
- Triple Corner Fold: Fold the top corners to the center line. Repeat this step two more times, folding the new angled edges into the center line to create a super-narrow, dense paper needle.
- Flatten & Lock: Fold the plane in half.
- Form Short Wings: Fold down short, rigid wings parallel to the bottom. Apply a small strip of tape along the top body to keep the mini airframe compressed.
- Target Practice: Set up a cardboard box target with circular cutout holes and launch the mini darts at the targets!
Pro Tuning Tips
- Attach a tiny piece of blue poster tack inside the nose tip to give it extra kinetic momentum for hitting targets dead-center.
Common Mistakes to Avoid
- Soft Throws: Mini darts require high forward speed to stay stable. Throw them with a quick, firm wrist snap for best results.
Flight Physics & Troubleshooting Guide
If your paper airplane is diving, rolling, or stalling, don’t throw it away! Use this simple flight-tuning chart to diagnose and fix flight issues:
    [ Flight Diagnostics ]
              │
  ┌───────────┼───────────┐
  ▼           ▼           ▼
[ Nose Dive ] [ Stall &   ] [ Veering  ]
[ (Too Heavy)] [ Drop     ] [ Off-Course]
| Flight Symptom | Probable Cause | Quick Mechanical Fix |
| Nose Dives Straight Down | Front end is too heavy or wings lack lift | Bend the back trailing edges of both wings slightly UPWARD. |
| Stalls & Drops (Swoops Up, Then Falls) | Front end is too light or wings have too much lift | Bend back wing edges slightly DOWNWARD, or add a paperclip to the nose. |
| Veers Continuously to the Left | Right wing has higher drag or left wing flap is bent | Bend the back edge of the left wing slightly UPWARD to correct turn balance. |
| Plane Rolls Over in Mid-Air | Wings are drooping downward (negative dihedral) | Angle wings UPWARD in a shallow “V” shape when viewed from the front. |
| Wings Open Up Mid-Flight | Air pressure is blowing the fuselage open | Apply a small piece of clear tape across the top wing seam near the center. |
Pro Maintenance, Safety & Longevity Strategies
- Maintain a Positive Dihedral Angle: When looking at your plane from the front, the wings should form a subtle “V” shape (dihedral angle) relative to the body. This provides automatic roll stability during flight.
- Store Planes Horizontally: Store your favorite paper aircraft flat inside a shoe box or wide tray. Storing them resting on their nose tip will crush the front point over time.
- Indoor vs. Outdoor Paper Selection: Use standard 20lb printer paper for indoor flights. For outdoor flights where light breezes are present, use slightly heavier construction paper or cardstock to handle wind currents.
Flight Competition & Game Ideas
Turn paper airplane crafting into a fun, interactive event for kids and families with these game setups:
- The Runway Distance Challenge: Lay a tape measure across a long hallway or lawn. Give every player 3 throws and mark their maximum landing distance with colored tape!
- Hanging Target Hoop Shoot: Hang embroidery hoops or paper plate rings from a doorway at varying heights. Assign point values to each hoop and take turns firing mini darts through them.
- Hangar Landing Accuracy Pad: Draw a target bullseye on a large piece of poster board laid flat on the floor. Players launch gliders from 10 feet away, aiming for a soft precision landing on the target center.
Budgeting & Time Planning
Paper aeronautics offers unmatched cost efficiency and immediate entertainment value:
| Airplane Design | Prep Time | Folding Time | Estimated Cost | Recommended Skill Level |
| The Classic Dart | 1 min | 2–3 mins | $0.01 (paper sheet) | Beginner |
| The Basic Glider | 1 min | 3–4 mins | $0.01 | Beginner |
| Loop-de-Loop Stunt Plane | 2 mins | 5–7 mins | $0.02 | Intermediate |
| Origami Stealth Jet | 2 mins | 7–10 mins | $0.05 (origami paper) | Advanced |
| Straw Ring Flying Cylinder | 3 mins | 5 mins | $0.05 (straw + tape) | Easy |
Creative Expansion & Advanced Inspiration
When your young aviators master these 10 core aircraft designs, take their paper engineering skills further with these advanced activities:
- Wind Tunnel Flight Testing: Place a small desk fan at one end of a table. Hold paper planes in front of the airstream to observe how air currents interact with different wing shapes and elevator angles!
- LED Night-Flyers: Tape a tiny battery-operated micro LED light (or mini glow stick) underneath the central fuselage to create glowing night-flight aircraft!
- Livery Design Contests: Supply kids with metallic markers, stickers, and stamps to design official airline liveries, racing stripes, and insignia graphics for their paper fleet before flight testing.
Frequently Asked Questions (FAQs)
What type of paper flies the farthest for paper airplanes?
Standard 20lb copy/printer paper provides the ideal balance of weight, structural rigidity, and flexibility for most distance darts. Flimsy newspaper bends too easily under flight pressure, while heavy cardstock can be too heavy for long glide times.
Why does my paper airplane keep spinning out of control?
Spinning is usually caused by asymmetry. Check your plane from the front to ensure both wings are folded at the exact same angle and height. If one wing edge is bent slightly higher than the other, it will act like a rudder and spin the plane.
How do I make my paper airplane fly higher and longer?
To increase glide duration, build a plane with wide wing surface area (like the Basic Glider), ensure the wings form a shallow “V” angle when viewed from the front, and bend the rear trailing edges of the wings upward by a tiny fraction of an inch to generate continuous lift.
Can I use tape or paperclips on official paper airplanes?
Yes! Adding a small piece of tape across the top seam keeps the airframe locked tightly together, while sliding a metal paperclip along the nose or keel allows you to fine-tune the plane’s Center of Gravity (CG) for maximum performance.