
10 Easy Paintings For Beginners Watercolors Ideas
Watercolor is a dreamy, versatile medium that is wonderfully accessible for beginners. Its fluid nature allows for soft color bleeds, glowing gradients, and expressive brushwork without requiring complex technical drawing skills.
The secret to enjoying watercolor as a beginner is focusing on wet-on-wet blends, simple silhouette overlays, and loose wash techniques. Below are 10 easy watercolor painting ideas, complete with step-by-step guides, basic techniques, and text-based image prompts to inspire your art practice.
Essential Beginner Watercolor Supplies
- Paper: 140lb (300gsm) Cold Press Watercolor Paper (prevents warping when wet).
- Paints: Student-grade pan or tube watercolors (Cotman, Van Gogh, or MeiLiang).
- Brushes: Round brushes (Sizes #2 for detail, #6 or #8 for general painting, and a large flat brush for washes).
- Extras: Painter’s tape (to secure edges), two jars of clean water, paper towels, and a white gel pen.
10 Beginner Painting Ideas
1. Minimalist Sunset Silhouette
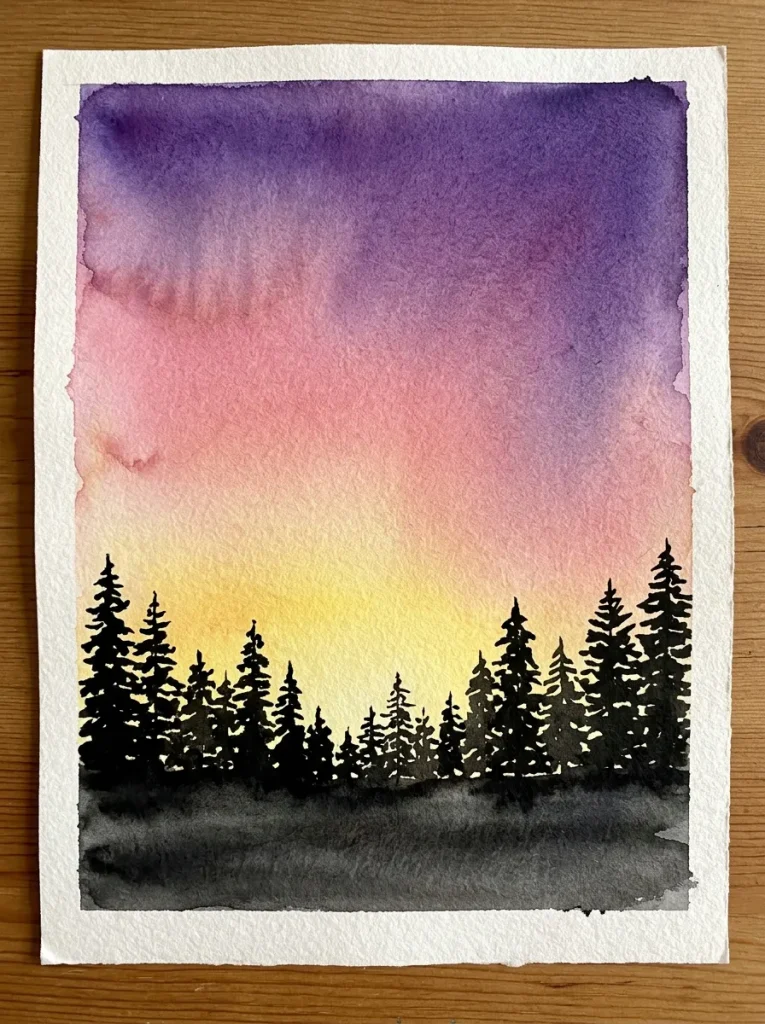
Technique: Wet-on-Wet Gradient + Black Silhouette
A breathtaking sunset created by blending warm colors smoothly into one another while the paper is wet, finished with simple black tree or bird silhouettes once dry.
Paint a clean water wash across the paper. Apply bright yellow at the bottom, blending upward into orange, magenta, and deep violet at the top while still wet. Allow the background to dry completely, then use dark black or indigo paint with a small round brush to add simple silhouettes of pine trees or flying birds across the bottom horizon.
2. Loose Floral Lavender Stalks
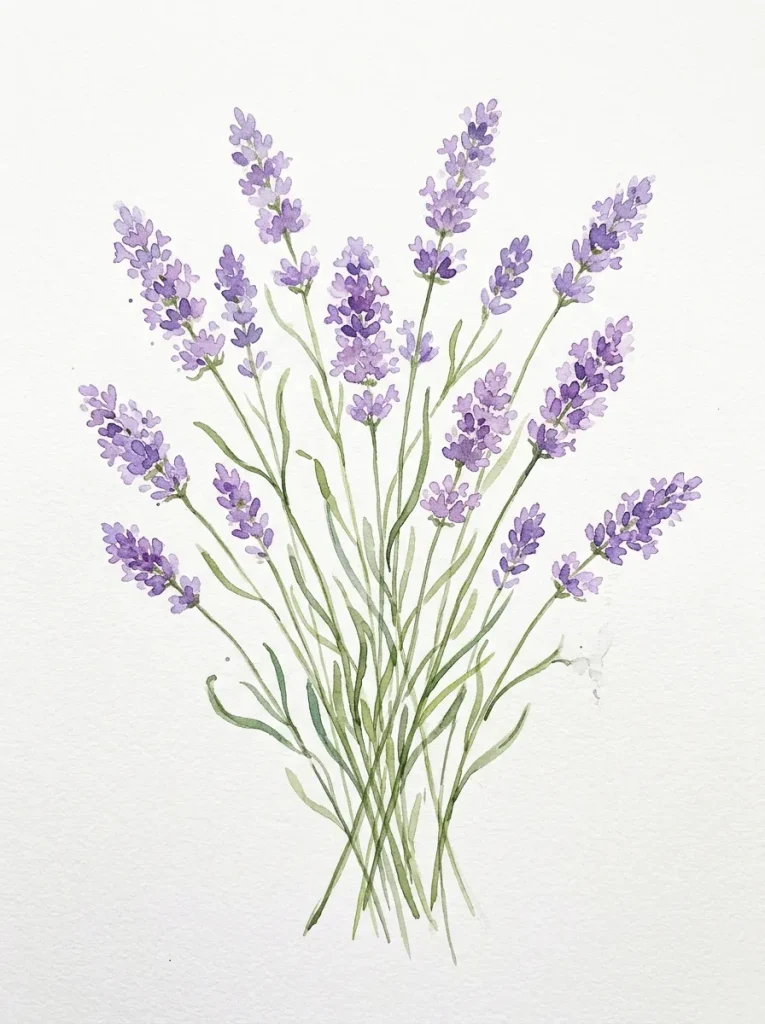
Technique: Wet-on-Dry Loose Stippling
Soft, Impressionistic lavender stalks that rely on simple brush dabs rather than precise petal drawing.
Paint thin, curving stems using olive green paint and a fine round brush (#2). Dip your brush into violet or ultramarine blue paint and gently dab the brush tip along both sides of the stem to form flower clusters. Leave small white gaps between the dabs for light and texture, varying the shade of purple for depth.
3. Cosmic Galaxy Night Sky
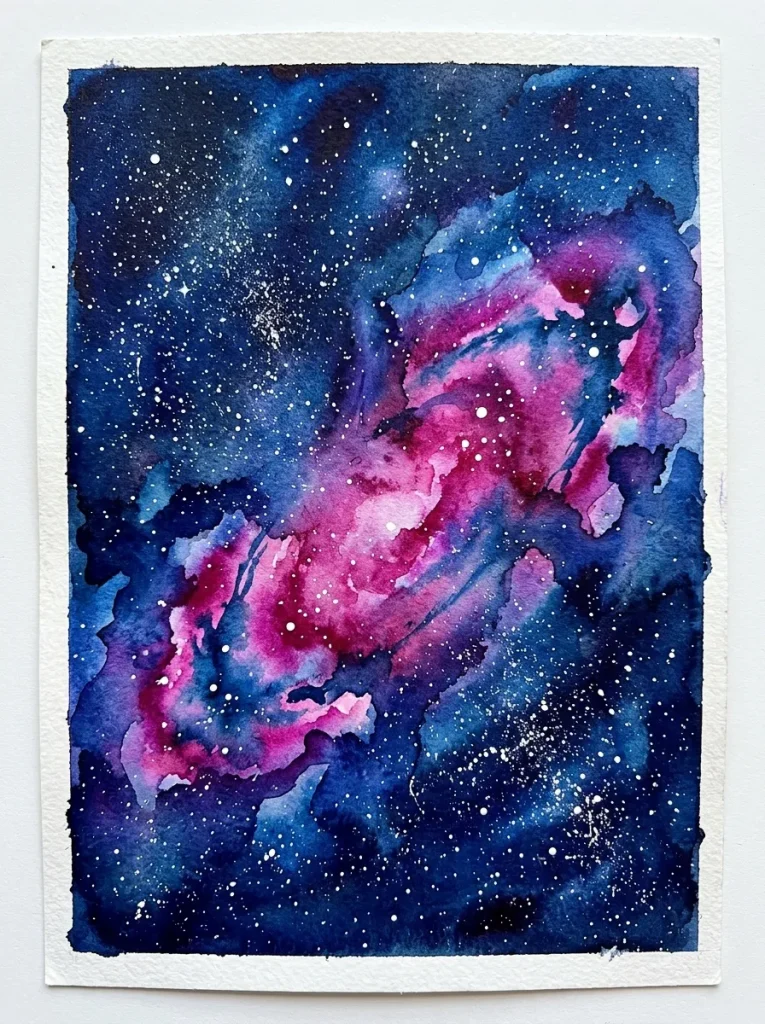
Technique: Wet-on-Wet Bleeding + Salt / White Paint Splatter
A dreamy galaxy sky created by dropping dark blue, purple, and pink pigments onto wet paper and splashing white paint stars over the top.
Wet your paper and drop in pools of cobalt blue, dark purple, and magenta, letting them bleed together naturally. While the paint is still shiny and wet, sprinkle a few grains of table salt over it to create tiny starburst textures. Once fully dry, brush off the salt, dip an old toothbrush into opaque white watercolor or gouache, and flick the bristles over the painting to create a twinkling star field.
4. Simple Monstera & Palm Leaves
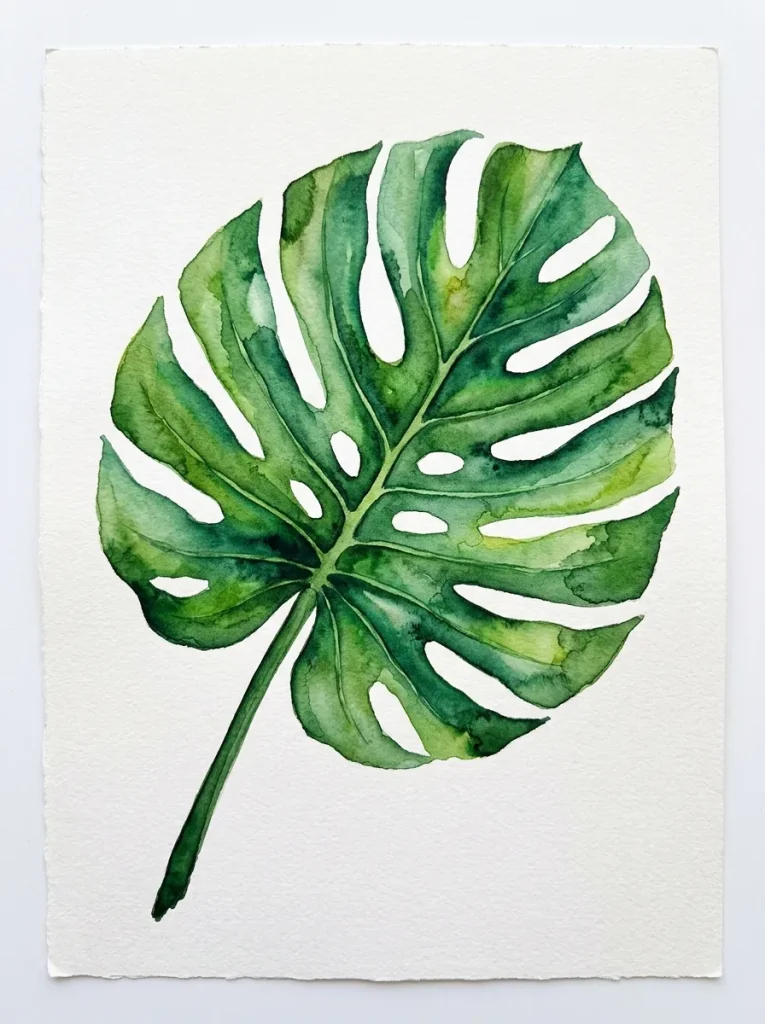
Technique: Flat Wash + Negative Space
Vibrant tropical monstera leaves using bold green shapes and simple cutout details.
Lightly sketch a broad monstera leaf outline with a pencil. Fill the leaf shape using a rich mix of sap green and viridian blue, leaving the natural oval leaf slots unpainted (negative space). While the paint is wet, drop a darker shade of green into the center vein area to add dynamic gradient depth.
5. Soft Ombré Mountain Ranges
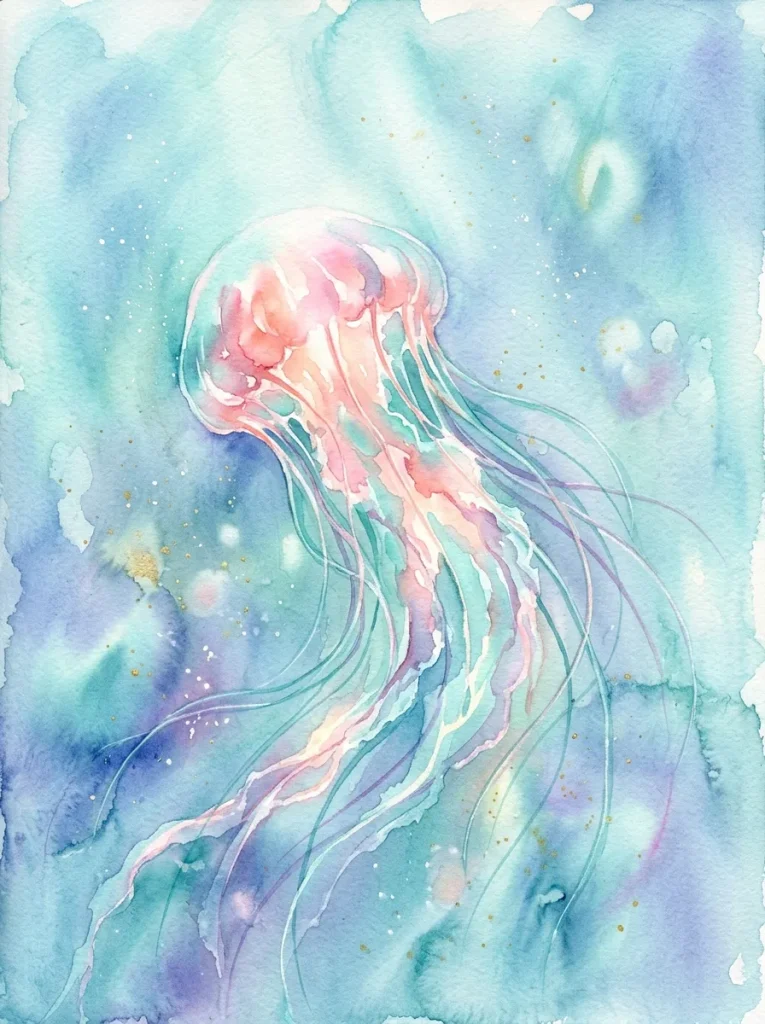
Technique: Layered Flat Wash (Light to Dark)
Receding mountain peaks created by layering flat washes of color, starting with pale shades at the top and darkening toward the foreground.
Mix a dilute wash of indigo or slate blue. Paint a wavy mountain ridge across the top third of the paper and fill everything below it with the pale wash; let it dry completely. Mix a slightly darker shade of blue, paint a second mountain ridge lower down, and fill below it. Repeat 3 to 4 times, making each overlapping mountain layer progressively darker to create instant atmospheric depth.
6. Translucent Watercolor Jellyfish
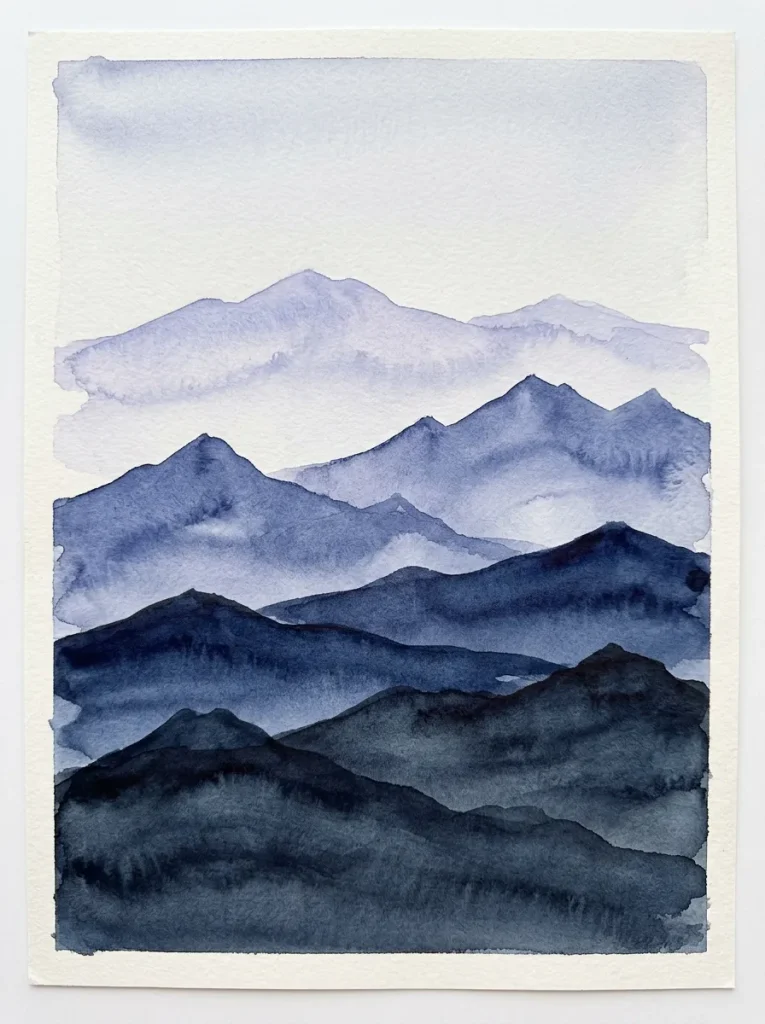
Technique: Wet-on-Wet Bloom + Flowing Linework
Floating, ethereal jellyfish that highlight watercolor’s natural transparency and flowing water movement.
Paint a dome-shaped cap using wet-on-wet blending with teal, pink, and purple. While the bottom edge of the dome is still wet, pull down thin, wavy lines of paint with a fine brush to form soft tentacles. Use clean water on your brush to bleed out some of the tentacle edges, creating a floating, transparent underwater effect.
7. Cheerful Watercolor Citrus Slices
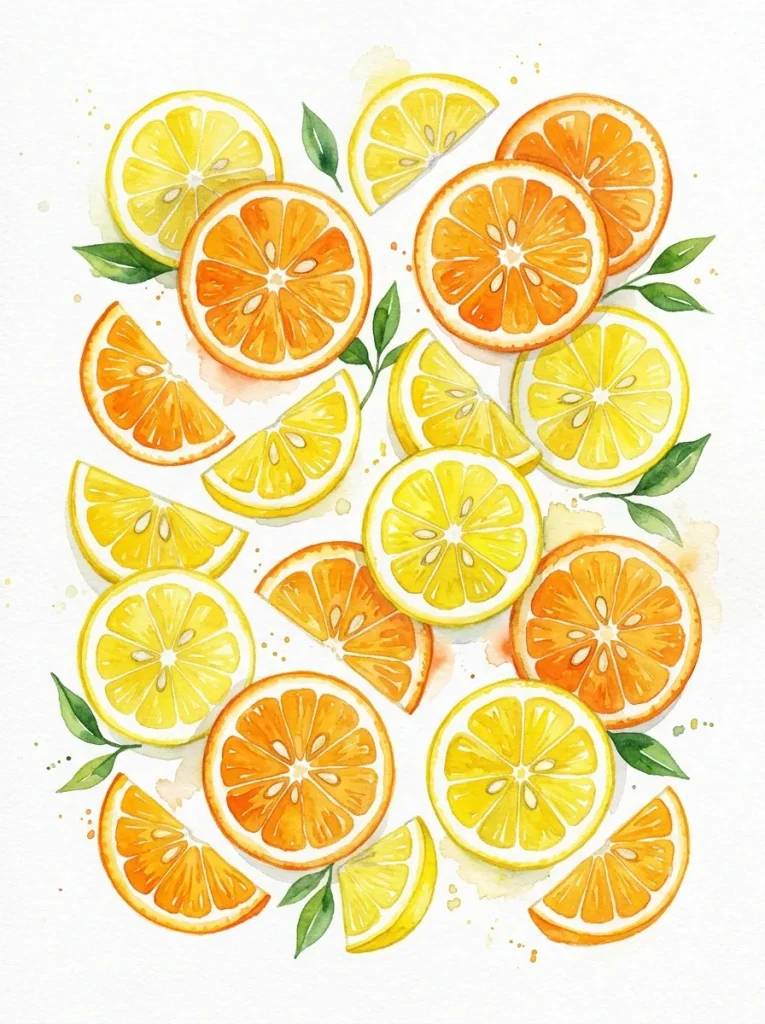
Technique: Layered Radial Glazing
Vibrant lemon, lime, and orange slices using bright geometric shapes and simple white space highlights.
Lightly pencil a circle and divide it into wedge segments. Paint each wedge with bright yellow or orange paint, leaving a thin white paper gap between the wedges and the outer rind to represent the pith. Once dry, add a darker coat of yellow or orange along the outer rim and center point for a juicy, multi-dimensional look.
8. Loose Abstract Watercolor Circles (Palo Santo / Modern Art)
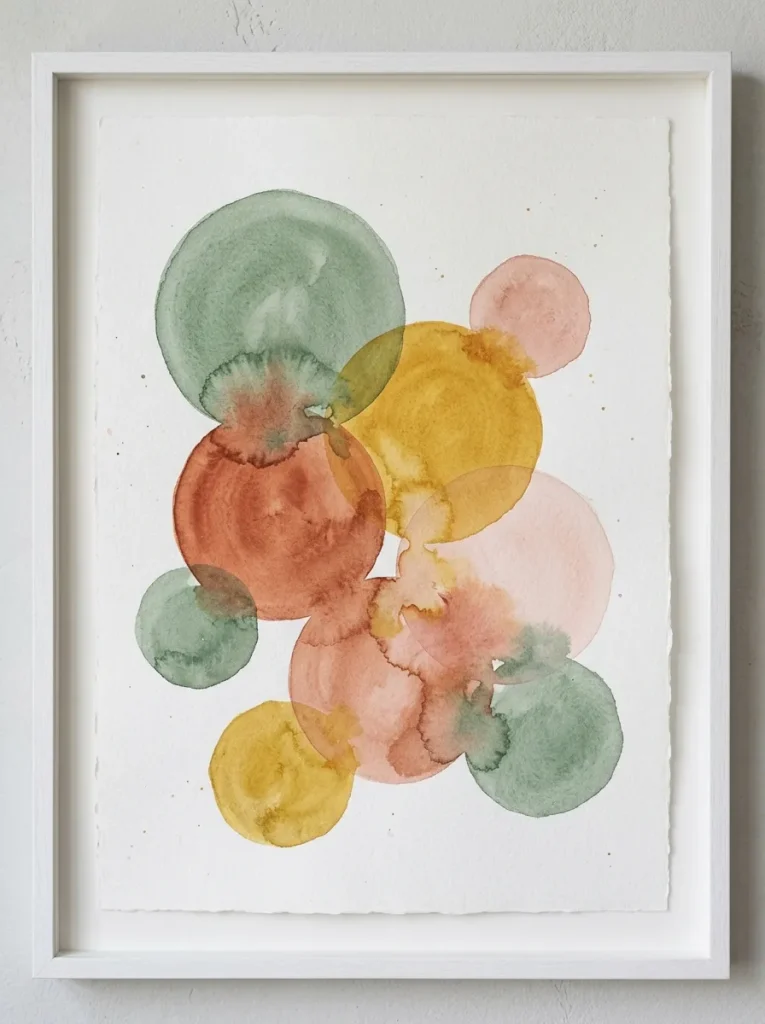
Technique: Color Mixing & Wet Bleeds
A relaxing, modern abstract exercise exploring how different colors bleed into one another inside simple geometric circles.
Paint several overlapping or floating circles of varying sizes across the page using different color combinations (e.g., ochre, sage green, blush pink, and terracotta). Touch the edges of adjacent wet circles together to watch the pigments bleed and blend organically across the boundaries.
9. Snowy Birch Tree Forest
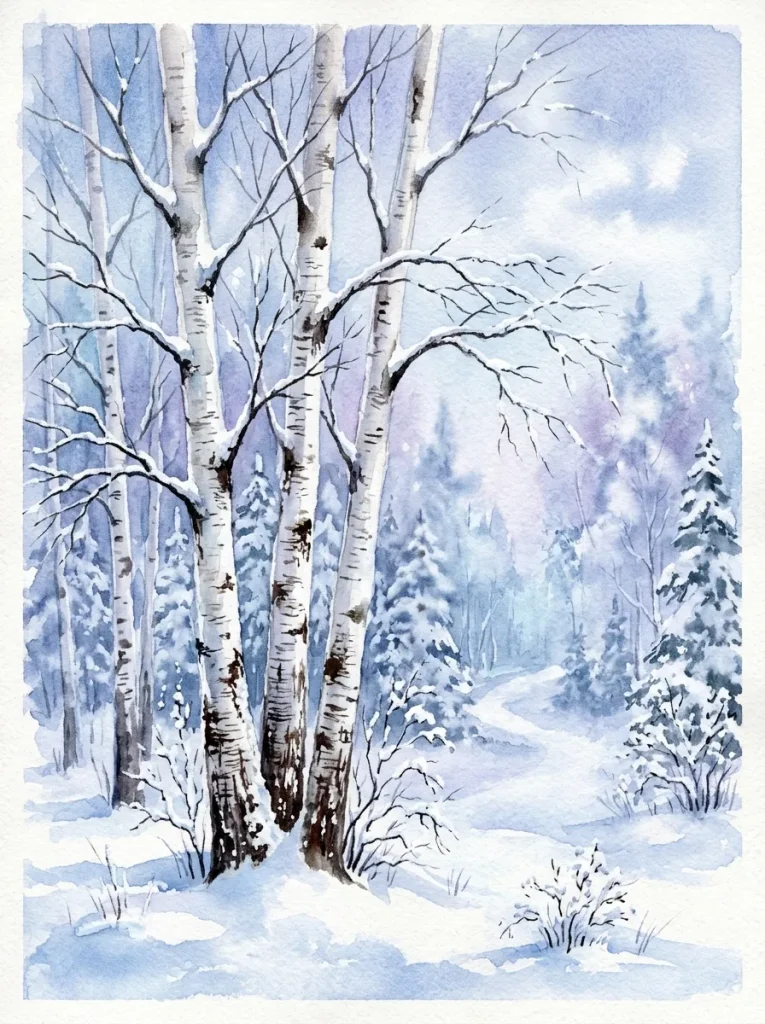
Technique: Painter’s Tape Resist
A winter scene where painter’s tape protects the white paper to form stark, realistic birch tree trunks against a soft winter backdrop.
Apply thin strips of painter’s tape vertically across your paper to block out tree trunks. Paint a soft blue, purple, and gray wet-on-wet wash across the entire background, right over the tape. Once dry, carefully peel off the tape to reveal bright white paper stripes. Use a fine brush and dark gray paint to add small horizontal bark lines and branches along the white tree trunks.
10. Moody Pine Tree Horizon
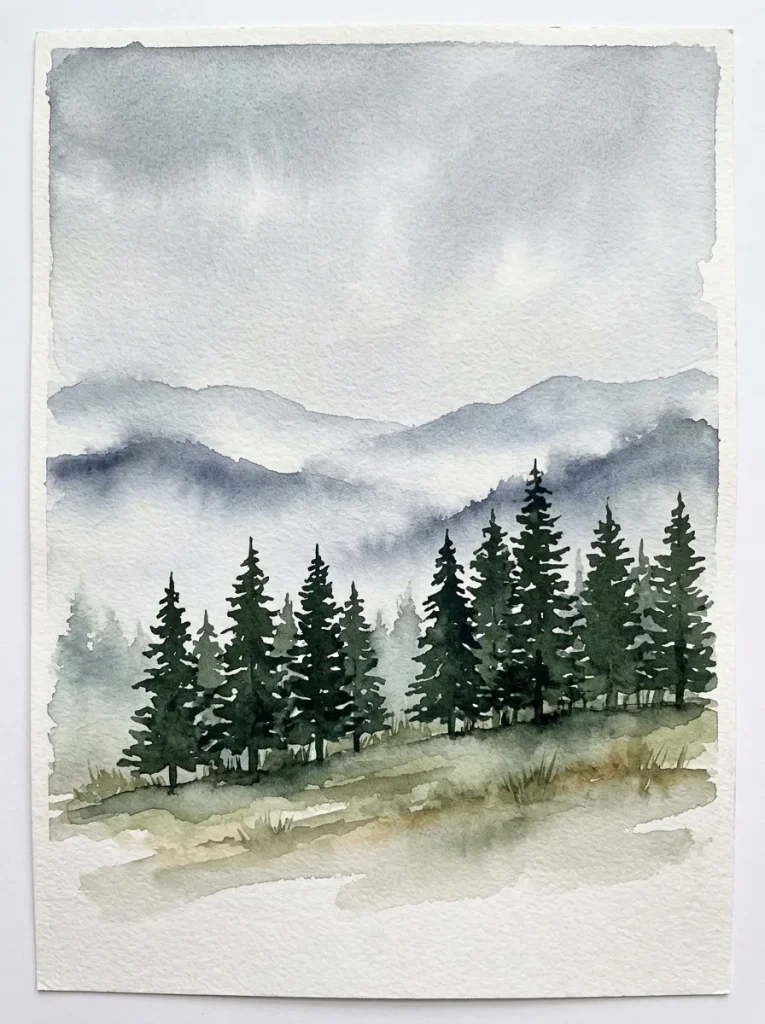
Technique: Wet-on-Dry Layering
A simple, serene forest horizon showcasing layered pine trees created with simple directional brushstrokes.
Paint a pale sky wash using soft gray or blue. Using a dark forest green or indigo paint and a pointed round brush, paint a straight vertical line for a tree trunk, then make short, zig-zagging horizontal strokes down both sides to form a pine tree silhouette. Repeat across the page, varying the tree heights and overlapping them to build a dense, atmospheric forest line.
Quick Watercolor Techniques Summary
| Technique | How to Do It | Best For |
| Wet-on-Wet | Apply wet paint onto paper pre-wetted with clean water | Soft background washes, galaxy skies, gradients |
| Wet-on-Dry | Apply wet paint directly onto completely dry paper | Sharp details, tree trunks, leaf outlines, silhouettes |
| Glazing / Layering | Apply a translucent layer of paint over a dry previous coat | Mountain ranges, depth building, shadows |
| Salt Texture | Sprinkle table salt over wet paint; brush off when dry | Starry skies, snow textures, organic blooms |