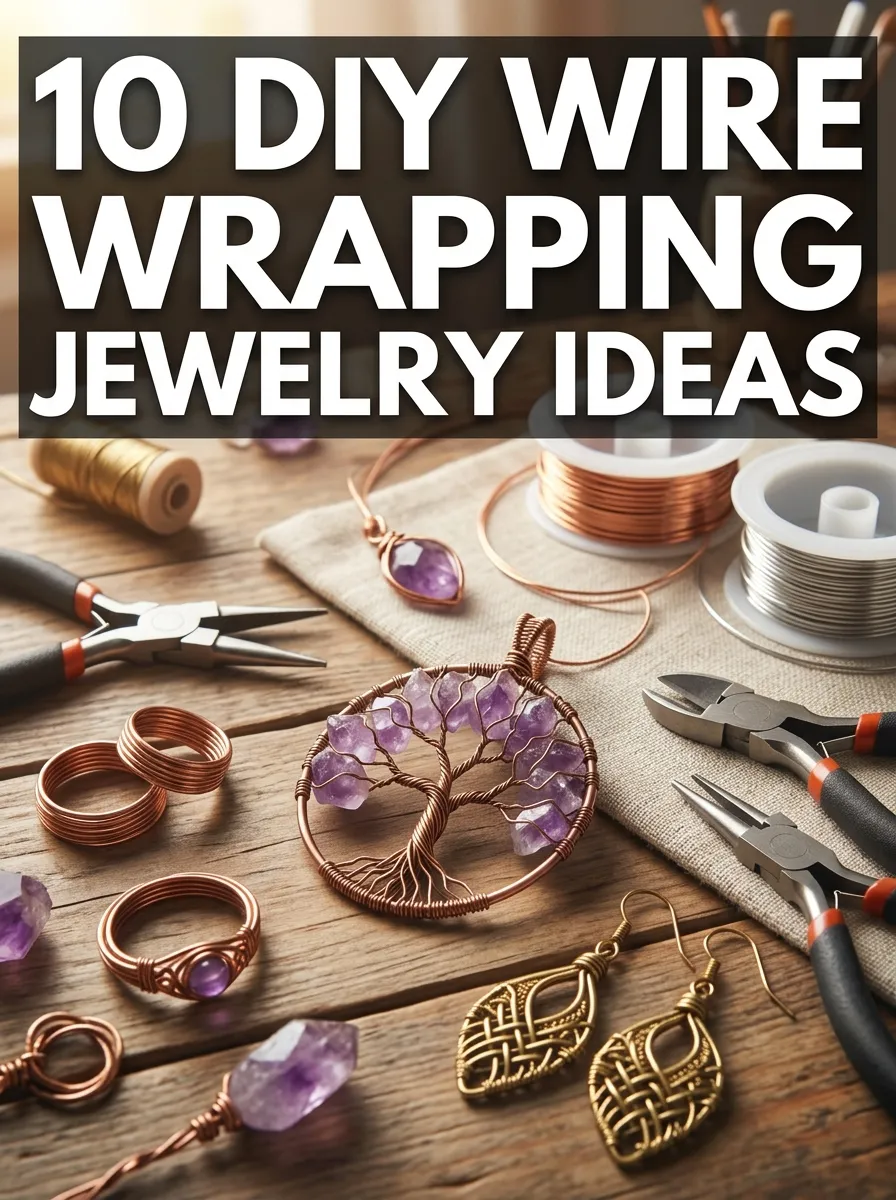
I picked up wire wrapping three autumns ago, mostly because I wanted a craft I could do at my kitchen table in Munich without buying a kiln or a soldering station. A few pliers, a spool of copper wire, and I was making pendants by the weekend. It is genuinely one of the most forgiving jewelry techniques I know — you can unwrap your mistakes and start over, which I did a lot at first. These are the ten things I wish someone had told me in order, from tools to the finishing touches that make pieces look store-bought.
1. Essential Tools for Wire Wrapping
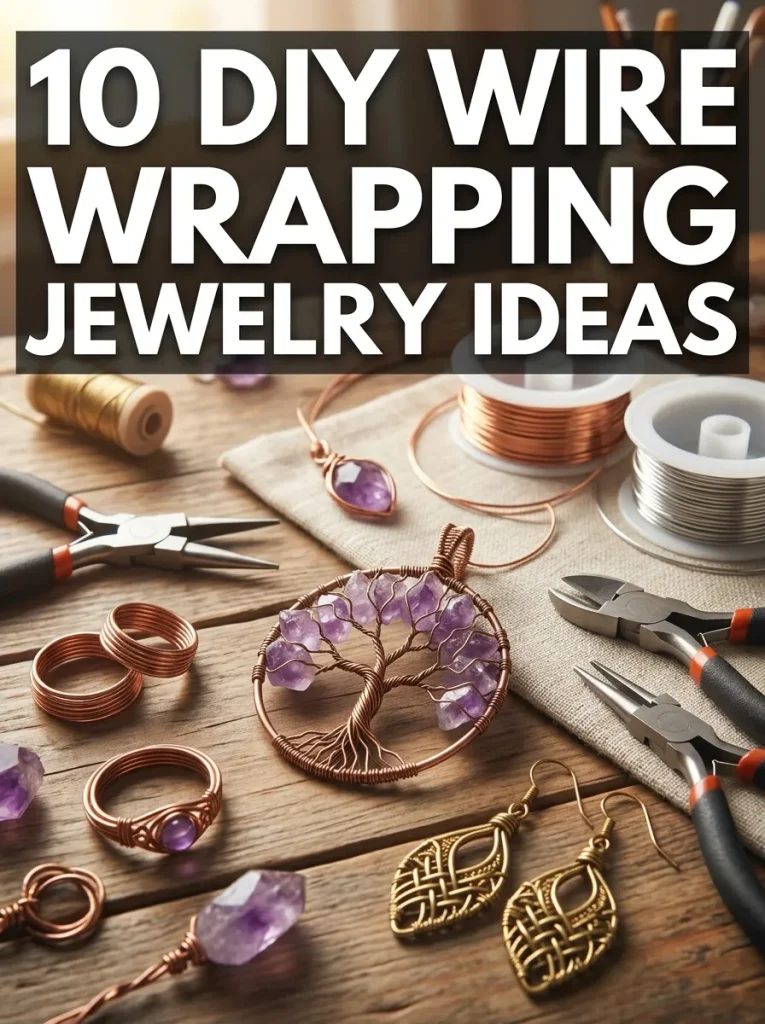
My starter kit was embarrassingly small: round-nose pliers, chain-nose pliers, and a pair of flush cutters I bought for under fifteen euros. That trio honestly covers ninety percent of beginner projects. I added a nylon-jaw plier later for straightening wire without scratching it, and a cheap ring mandrel that I now use constantly. One tip from experience: wipe your pliers’ jaws with a dry cloth before working with silver wire, because any grit leaves marks you will see forever. Keep everything in one box — I lost an entire Sunday to hunting for my cutters once, and now they live in a pencil case that never moves.
2. Choosing the Perfect Wire Type
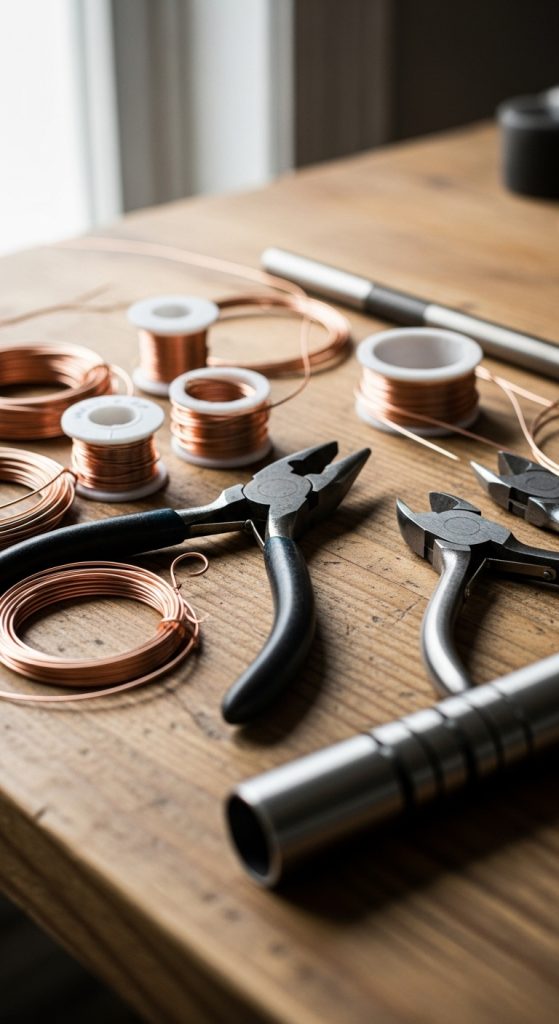
Start with copper. It is cheap, soft, and you will not cry when you ruin a piece, which you will. I practiced every new technique in 20-gauge copper before touching sterling silver. For delicate work like earring hooks I reach for 22 or 24 gauge; for anything structural, like a ring band, 16 or 18 gauge holds its shape. Dead-soft wire is lovely for weaving, but it will not hold a crisp coil, so match the temper to the job. One thing I check now before buying: nickel content. My sister breaks out from nickel, so everything I make as gifts is nickel-free, and I label it as such when I sell at the local market.
3. Mastering Basic Coiling Techniques
Coiling is the first technique that made my work look professional instead of homemade. The trick is tension: hold the base wire steady and let the wrapping wire feed with even pressure. My first coils were lumpy because I kept stopping and starting. Now I do them in one continuous motion, and if I need to pause, I keep the wire taut with my thumb. I use coils for pendant bails, to reinforce jump rings, and as decorative spacers between beads. A coiling gizmo helps, but honestly, after a dozen practice coils you will not need one. Save your money for better wire.
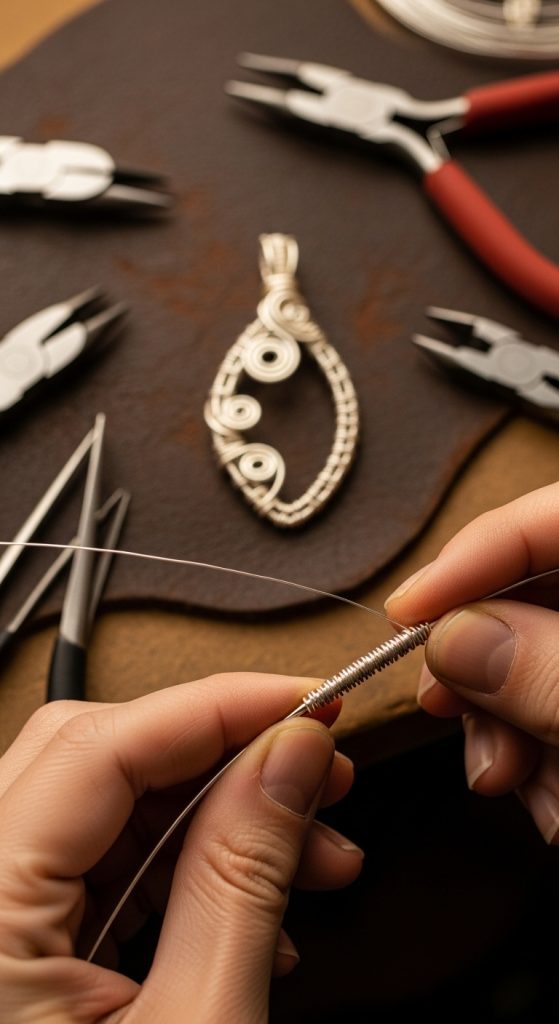
4. Creating Wire-Wrapped Stone Pendants
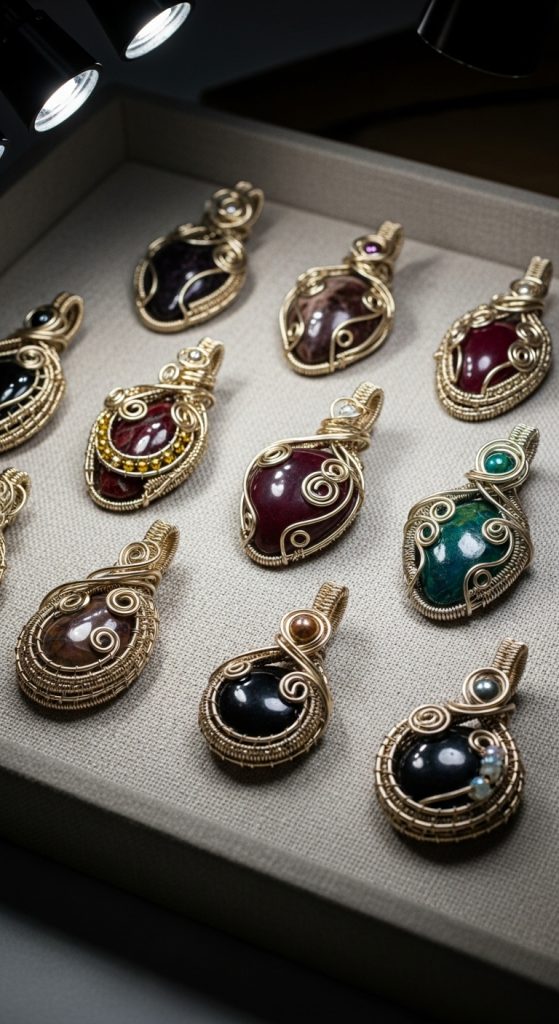
My first sellable piece was a wire-wrapped agate pendant, and I still use the same method: two base wires crossed behind a flat cabochon, woven wraps up the sides, finished with a spiral bail. Start with flat-backed stones — round ones roll around and will test your patience. For irregular beach stones, I let the wire follow the stone’s natural edge instead of forcing symmetry; those organic pieces get the most compliments. Always tug-test the stone before you call it done. I once had a pendant shed its stone at a craft fair, and I now check every setting twice before it leaves my table.
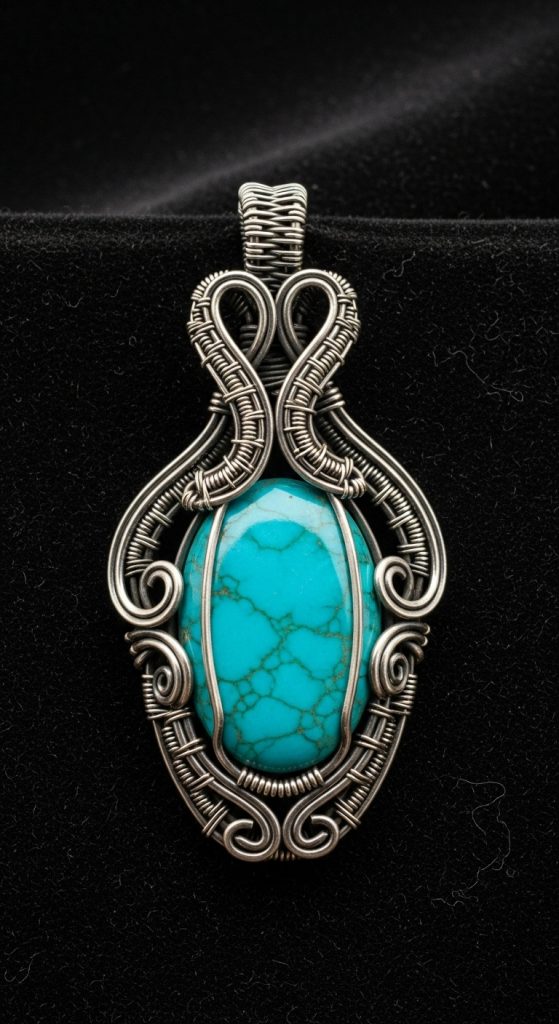
5. Designing Wire-Wrapped Earrings
Earrings taught me about weight the hard way — my first chandelier pair was so heavy I took them off after an hour. Now I keep dangles light: 20-gauge hooks, thin wrapped loops, and I always wear-test a new design for a full day before listing it. French hooks are easy to form on round-nose pliers, and a tiny coil above the bead hides the join neatly. For a bit of texture I hammer the lower third of the hook flat with a chasing hammer; it catches the light beautifully. Match both earrings on the mandrel as you go, because “close enough” is very visible when they hang next to each other.
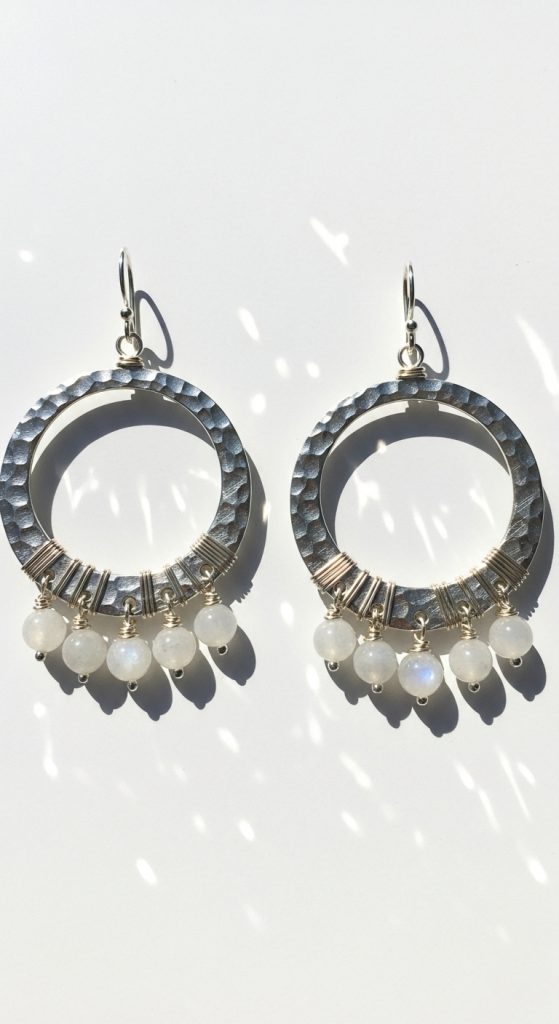
6. Crafting Adjustable Wire-Wrapped Rings
Adjustable rings solved my gift problem completely — no more guessing ring sizes. I form the band on a mandrel with 18-gauge wire, then coil each end into a small spiral that slides along the base. The spirals grip well enough for daily wear but still adjust. I set small cabochons or beads into the top with a simple cage of four prongs. Round every cut end with a file; a sharp wire end inside a ring is miserable. Copper and brass give a lovely vintage look for these, and they are kind to beginners’ budgets while you practice.
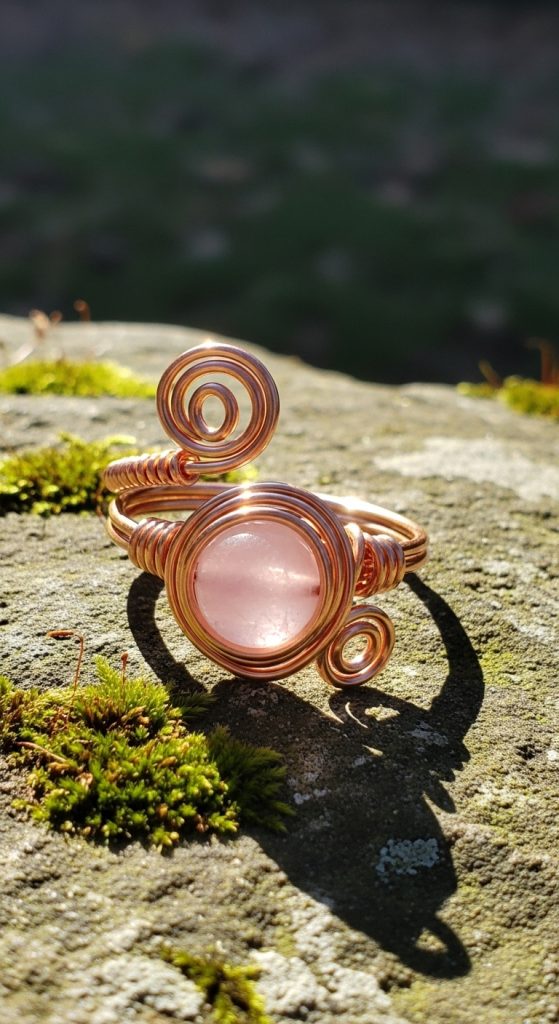
7. Advanced Wire Weaving Patterns
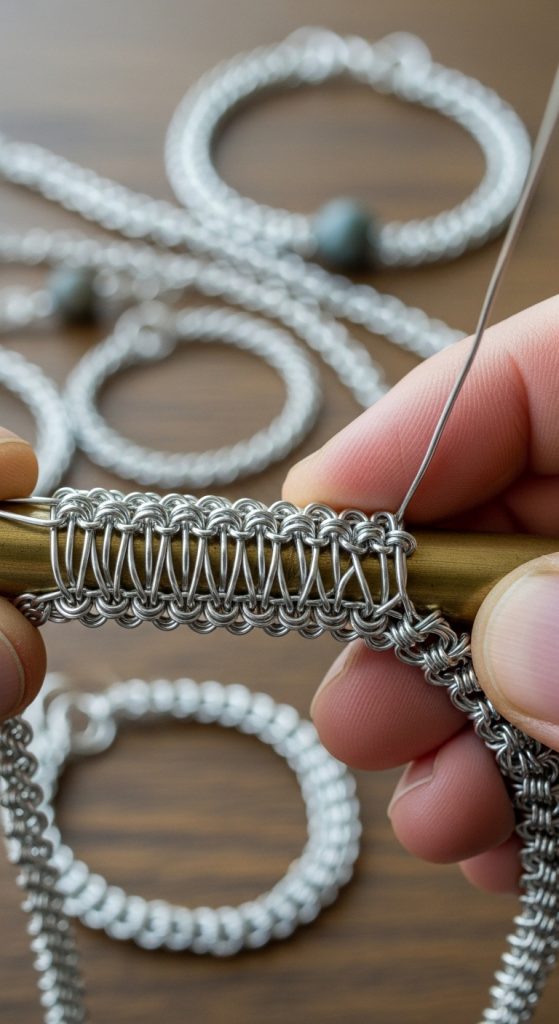
When basic wrapping started feeling easy, I moved to weaving — Viking knit first, then simple figure-eight weaves with 26-gauge wire. It is slow work; a woven cuff takes me a full evening. My advice: work under a good lamp and take breaks, because eye strain creeps up on you. I keep a small notebook with my wire counts and measurements for each pattern, since one miscount throws off the whole symmetry. The payoff is real, though — woven pieces look like they came from a proper goldsmith’s bench, and they are the ones people ask about first at markets.
8. Incorporating Beads Into Wire Designs
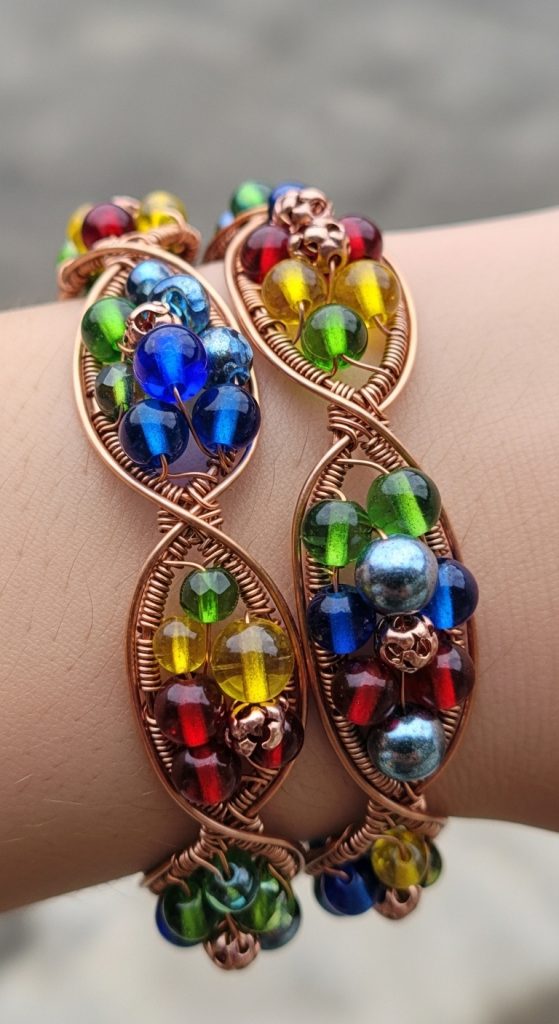
Beads are where wire wrapping gets playful. I thread them onto headpins for quick dangles, but my favorite trick is trapping a bead inside a wire cage so it looks suspended. Check that the bead hole actually fits your wire before you commit — I have a small bead reamer for stone beads that run tight. Mixing materials is where the magic happens: sea glass with copper, wooden beads with brass, a single pearl in an otherwise rustic piece. Just keep the weight balanced; a heavy focal bead on thin wire will pull a necklace off-center all day.
9. Fixing Common Wire Wrapping Mistakes
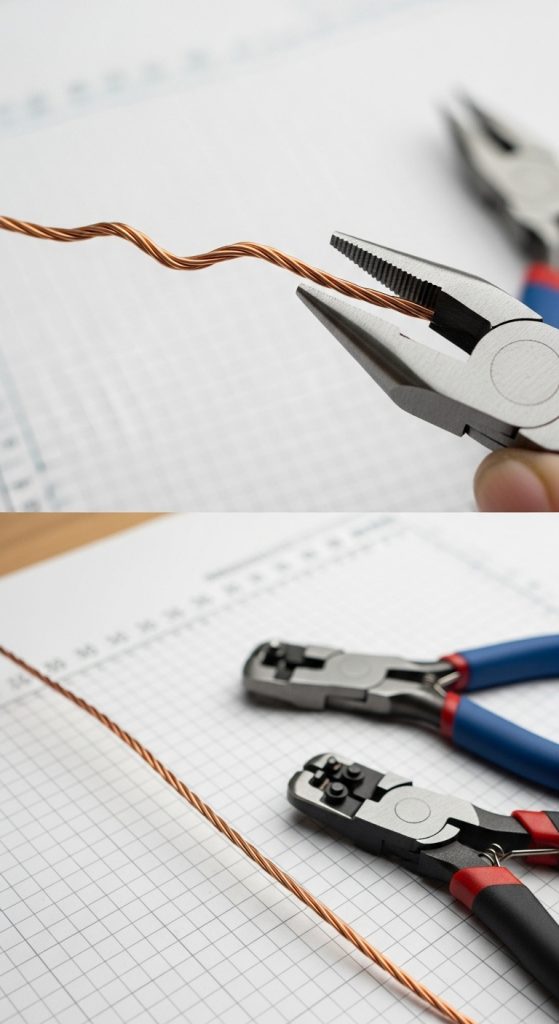
I keep a “hospital box” of half-finished pieces that went wrong, and I fix most of them eventually. Kinks in copper or silver can be eased out by gently rolling the wire under a nylon plier — go slowly or it snaps. Loose wraps tighten up with careful pressure from chain-nose pliers. Tarnish comes off with a quick lemon-juice dip followed by a rinse, though I keep plated wire away from acids. My biggest lesson: stop trying to rescue a piece that has fought you for an hour. Cut your losses, keep the beads, and start fresh. The second attempt is always better.
10. Professional Finishing Techniques
Finishing is what separates “nice craft project” from “I would pay for that.” I polish everything with a microfiber cloth, and for silver and copper I use liver of sulfur when I want that darkened, antiqued look in the crevices — a little goes a long way, and good ventilation is non-negotiable. I make my own jump rings now so every finding matches, and I close every ring with two pliers so there is no gap to snag sweaters. Pieces I sell go into small anti-tarnish pouches with a handwritten care card. It costs me almost nothing and people remember it.
That is my whole wire-wrapping playbook, learned one tangled mess at a time. If you are just starting, buy copper wire and make the ugliest pendant you can — then make ten more. By the eleventh, you will have something you are proud to wear, and that is exactly how this craft hooks you.