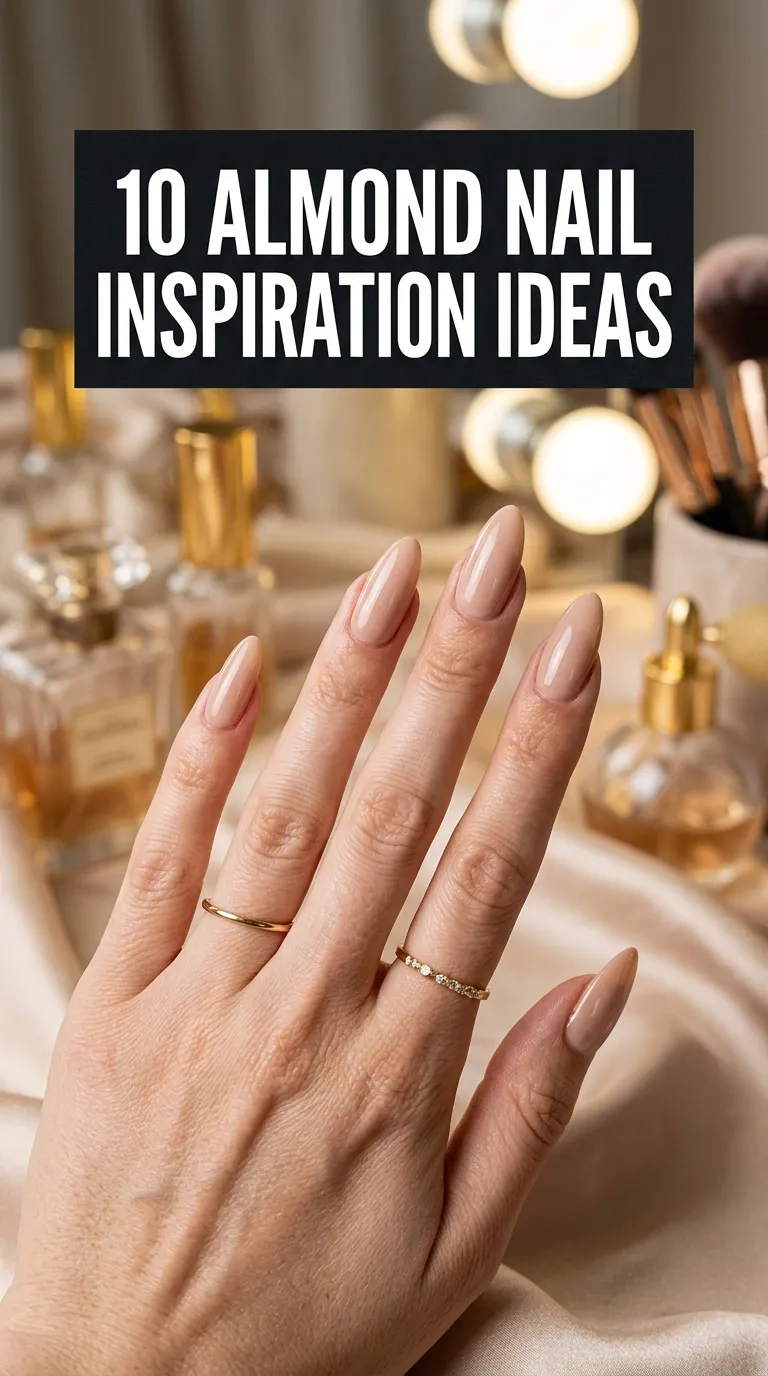
I switched to the almond shape three winters ago after years of square tips that chipped if I so much as looked at a zipper, and I have never gone back. Almonds are the shape that makes short fingers look long and long fingers look elegant, and they are dramatically harder to break — the tapered tip distributes impact instead of catching it. Over the last few cold seasons I have worked through a whole rotation of almond designs, some in the salon and several at my kitchen table with a 15 EUR lamp. These are the ten that earned a second wearing, with honest notes on difficulty, wear time, and which ones survived actual real life with a toddler nephew and a garden.
1. Frosty Icy Blue Glazed Almonds
This was my gateway almond design: a pale icy blue base with a chrome glaze rubbed over the top, the famous “glazed donut” finish but in winter tones. I did it at home — two coats of a sheer blue, no-wipe top coat, then chrome powder buffed on with a silicone tool before it fully cures, then sealed. The powder step feels like magic the first time; the nail goes from flat color to liquid glass in one swipe. It wore beautifully for two and a half weeks with only tip wear, and the blue is pale enough to work with everything I own. My one lesson: buy the actual chrome powder, not the “chrome effect” polish, because the polish version dulls in three days. Difficulty is genuinely beginner — if you can paint neatly, you can glaze.
2. Deep Espresso & Velvet Cat Eye

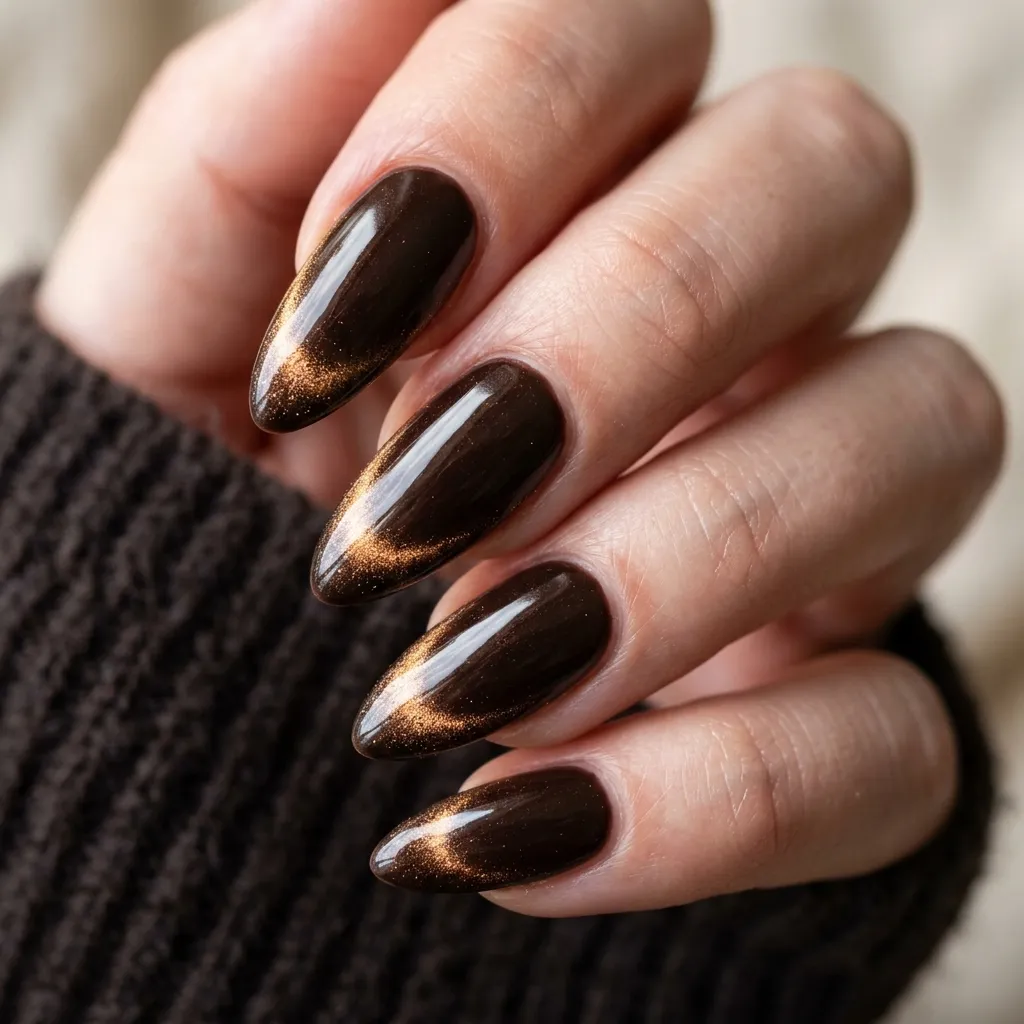
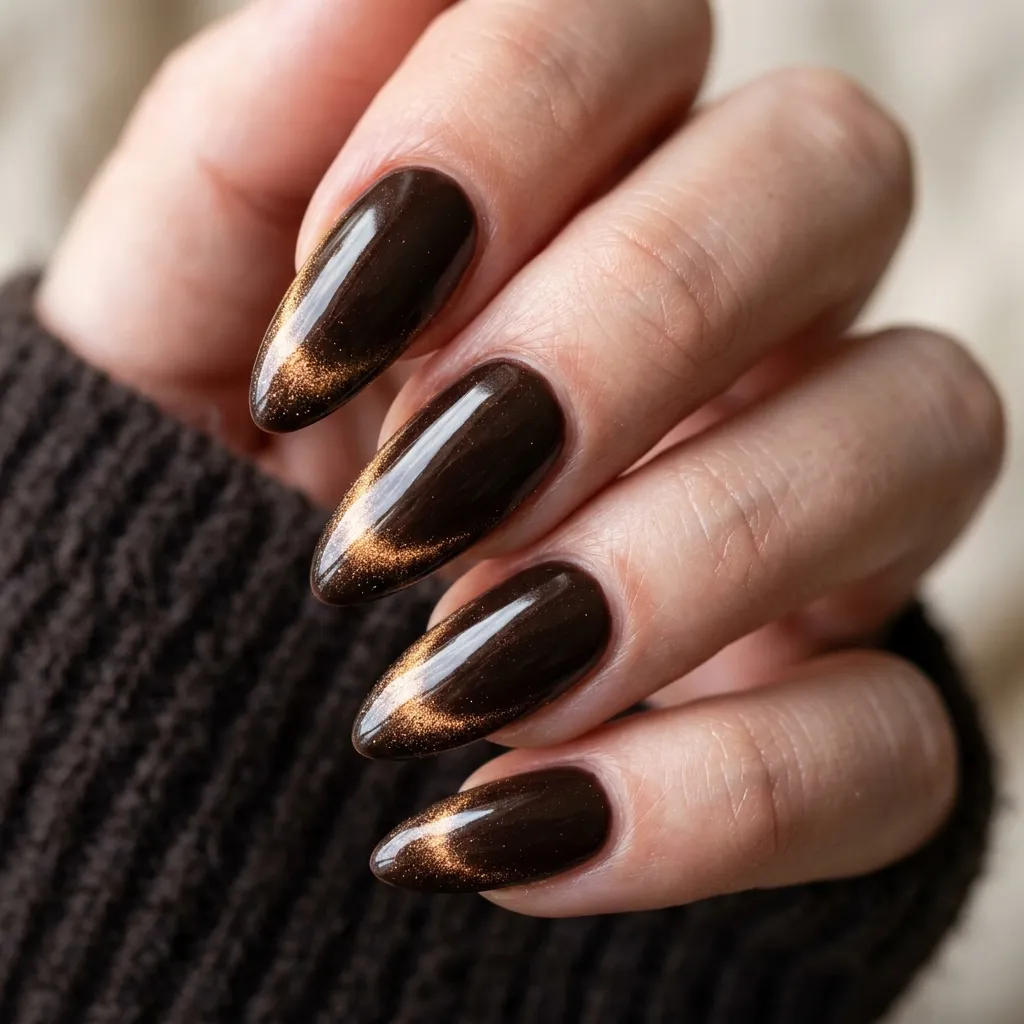
For the darkest weeks of January I wore deep espresso brown with a velvet cat-eye effect, and it was the most complimented manicure I have ever had. The velvet finish comes from a special magnetic polish: you paint it on, hold the magnet close without touching, and the metallic particles arrange into a soft shifting band that looks like crushed velvet. Over espresso it reads as impossibly rich, like the inside of a chocolate truffle. I had it done at the salon because the magnet technique takes practice — the technician did each nail individually while I held still, about 45 minutes total. It lasted three full weeks without a chip. If you wear a lot of black and camel in winter, this is your color; it goes with everything and looks expensive.
3. Minimalist White Snowflake French Tips
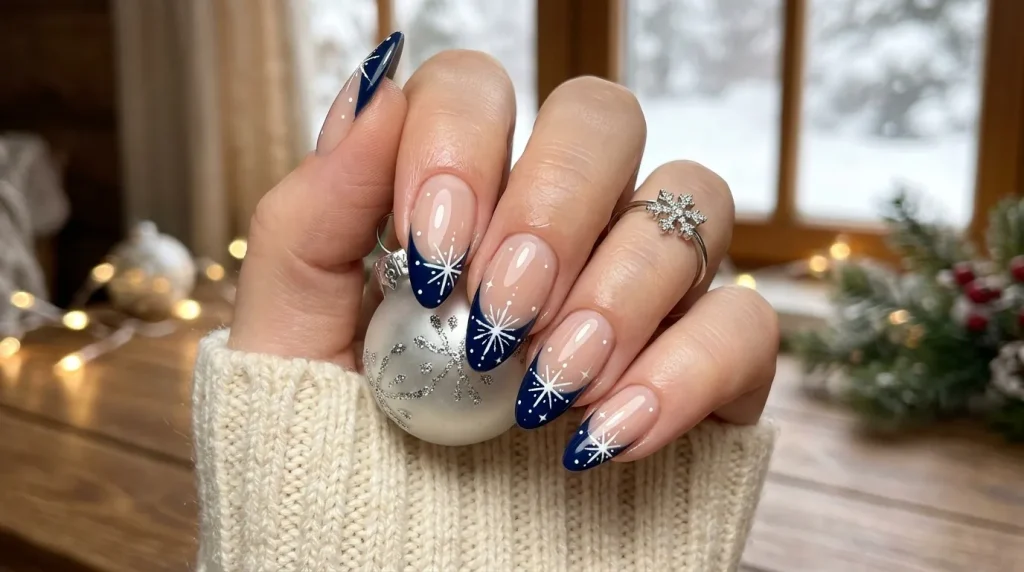
On almond nails, the French tip follows the tapered shape into a soft V that is far more flattering than the blunt square-tip line. I wore a sheer milky base with crisp white tips and a single tiny hand-painted snowflake on each ring finger — minimalist enough for the office, festive enough for December. The snowflakes were done with a detail brush and white gel paint: six thin lines crossing at the center, with the tiniest dots at the ends. My first attempt looked like a spider; the trick is loading almost no paint on the brush and letting the lines be imperfect — real snowflakes are. I sealed everything with two top coats because white tips show every scuff. Two weeks of wear, endless compliments, and I will absolutely repeat it this year.
4. Matte Burgundy with Glossy Raindrop Accents
This is the texture-contrast design that looks far harder than it is. The base is a deep burgundy with a matte top coat — velvety, moody, perfect against knitwear — and then you add “raindrops” by dotting glossy top coat in random droplet shapes over the matte. The drops catch the light like actual water beading on the nail. I did this at home on a Sunday evening in about an hour; the dotting tool does all the work, and irregular drops look more realistic than perfect ones. The matte base shows oils from your skin, so I kept a little alcohol wipe in my bag for touch-ups — one swipe restores the velvet finish instantly. It lasted twelve days before the matte started shining at the tips, which is honestly good for matte. Striking, cheap, and weirdly addictive to look at.
5. Coarsely Knitted Sweater Accent Almonds
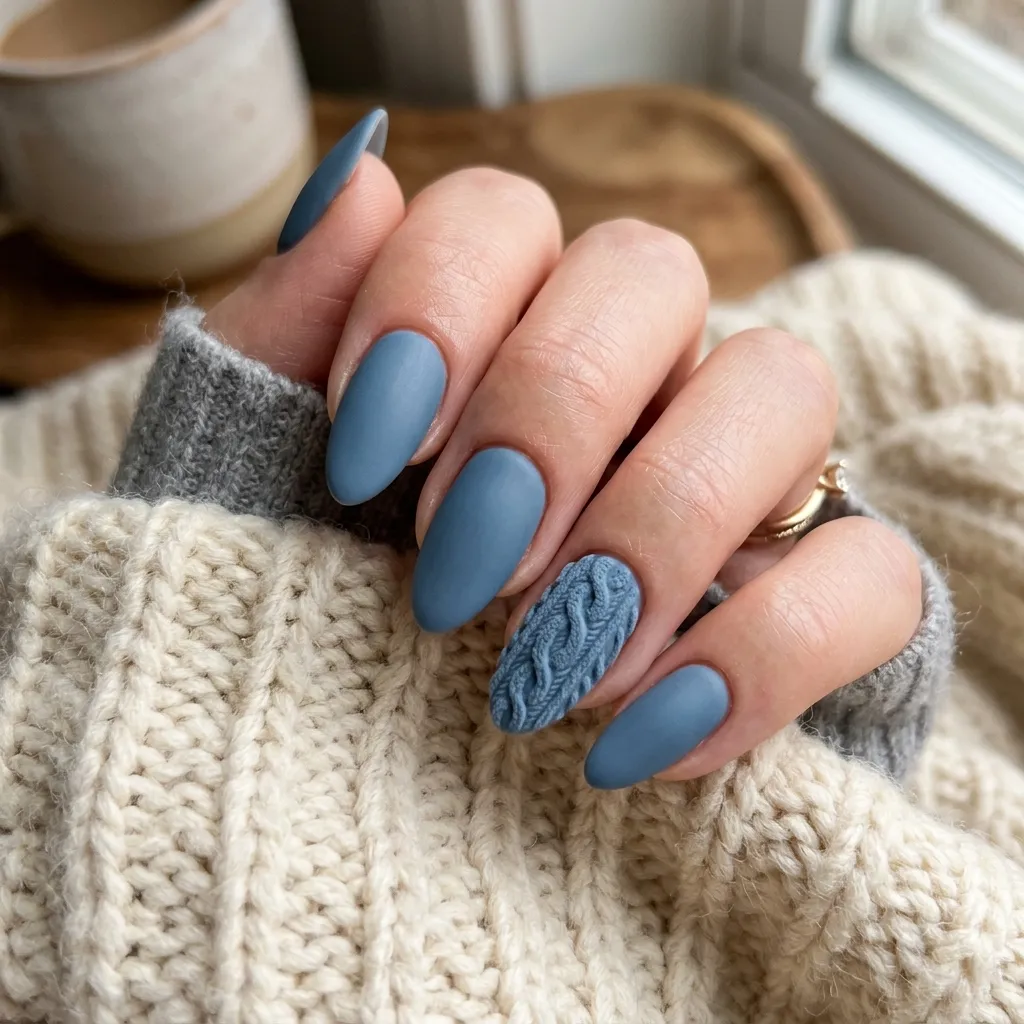
The sweater-texture nail is a winter classic for a reason: matte gel painted in cable-knit patterns, then sugared with clear acrylic powder before curing so it sets with a fuzzy 3D knit feel. I wore it as an accent — sweater texture on the ring fingers in cream, solid deep green on the rest — because full textured sets catch on everything. Doing it at home took patience: you paint the knit lines with a detail brush, dip or sprinkle the powder on while wet, cure, and brush off the excess. My first nail was a lumpy disaster; by the fifth I had the rhythm. The texture genuinely feels like a sweater under your fingertip. It wore eleven days, and the accent-nail approach meant the textured nails were the ones I was careful with anyway.
6. Silver Chrome Celestial Stars
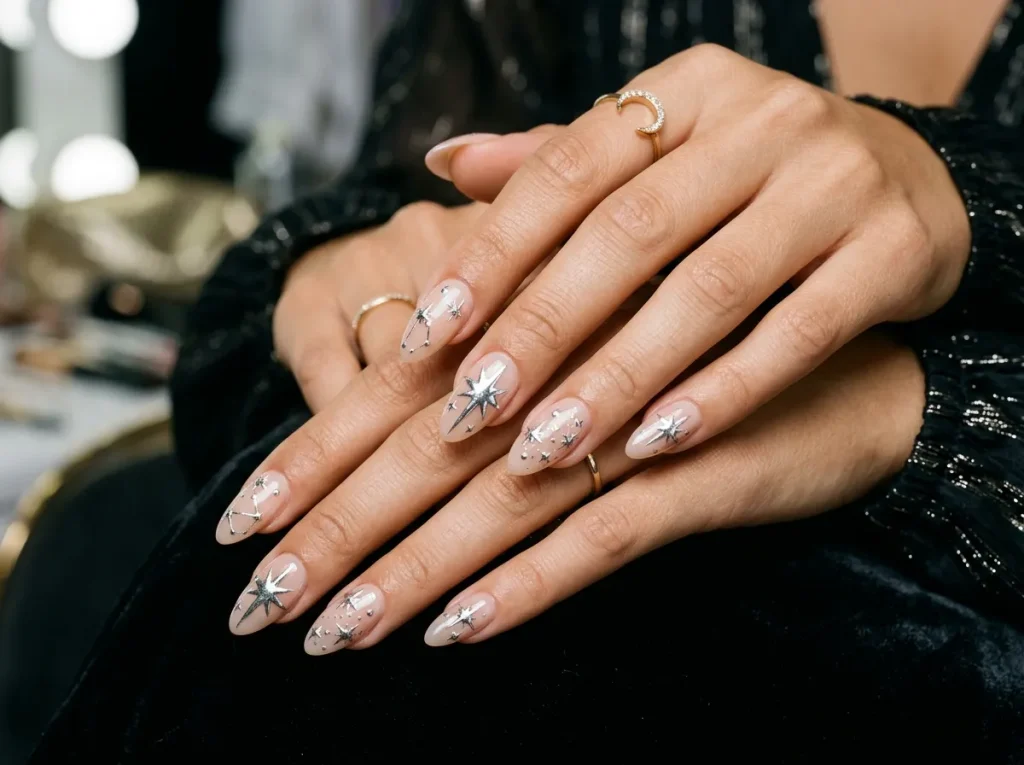
For New Year’s Eve I went full celestial: a deep navy base with silver chrome stars stamped and hand-dotted across, denser at the cuticle fading toward the tip like a night sky. The stars were a mix — a stamping plate for the crisp small ones, a dotting tool dragging tiny four-point sparkles for the rest. Chrome over dark polish is the highest-contrast combination there is, and in candlelight it genuinely glitters. I sealed it with two layers of top coat because chrome art lifts at the edges if you skimp. Application took the salon about an hour; at home I would budget ninety minutes and good lighting. It lasted through the holidays into mid-January, and I caught myself staring at my own hands the entire time. Worth every minute.
7. Emerald Green Marble & Gold Leaf

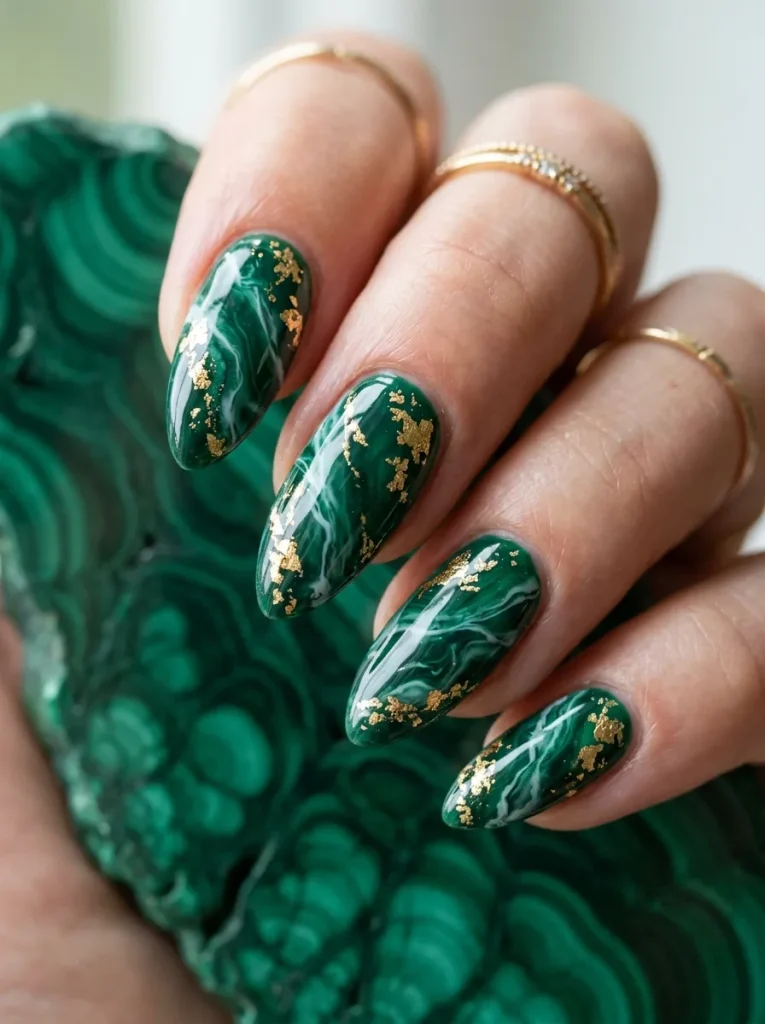
Emerald marble with gold leaf is the design that makes people ask which salon you go to, and I am going to tell you the secret: it is embarrassingly easy. You paint the green base, then while it is still tacky you swirl in white and gold with a dry brush using almost no pressure — the colors marble themselves. Then you press tiny torn pieces of gold leaf onto the tacky surface with tweezers and seal the whole thing under top coat. The leaf never lies flat, and that is the point; the crinkles catch light like veins in real stone. No two nails match, which reads as artisanal rather than sloppy. I did mine at home in just over an hour, and they looked like 80 EUR salon work. Two and a half weeks of wear, and the gold never dulled under the top coat.
8. Translucent Royal Blue “Jelly” Glass Nails
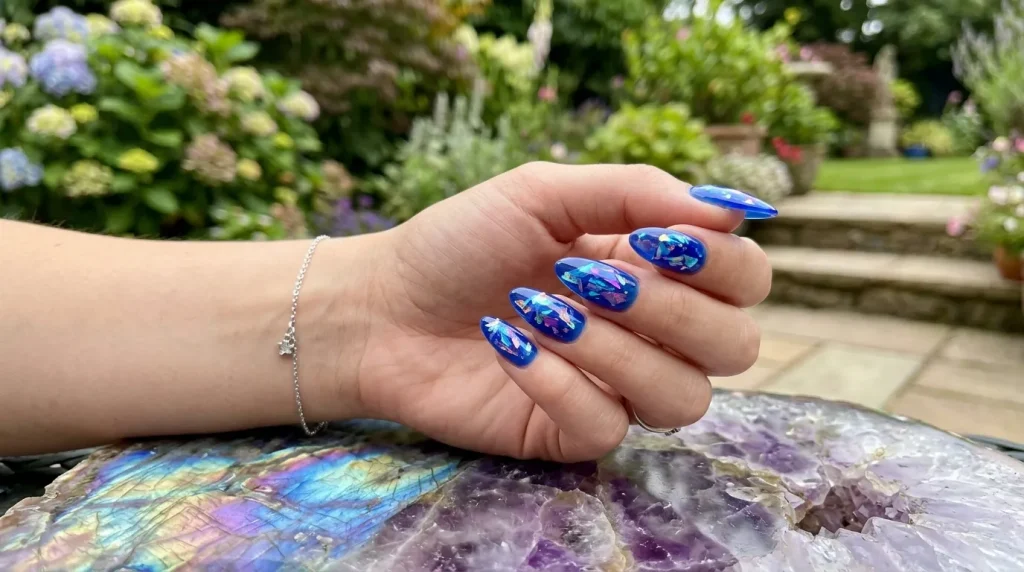
Jelly nails — sheer, translucent color built up in layers like stained glass — are stunning on the almond shape because the tapered tip glows where the light passes through. I wore royal blue jelly over a clear extension, three thin coats deepening toward the tip, and the effect in sunlight was unreal, like sea glass. The application is simple but unforgiving: every coat must be perfectly even because sheer polish shows every streak, and you need thin coats or it pools at the cuticle. I did two practice nails before committing to the full set, which I recommend. They wore two weeks, and the grow-out is graceful because the base is clear. If you have never tried jelly, blue is the color to start with — it is the most forgiving of the sheer shades.
9. Northern Lights (Aurora) Aura Almonds
The aura nail — a soft blurred halo of color blooming from the center of the nail — looks like the northern lights when you do it in teal and violet over a deep base. I had this done at the salon with an airbrush, and watching the technician build the gradient was genuinely mesmerizing: whisper-light passes of color, building slowly, then a chrome glaze over everything for the shimmer. At home you can approximate it with a sponge and patience, but the airbrush version is on another level. Mine shifted from deep indigo at the edges to glowing teal-green centers, and people stopped me on the street. It lasted three weeks — the gradient hides tip wear beautifully. This is my special-occasion pick; it photographs like a dream and feels like wearing the sky.
10. Tortoiseshell Almond Tips
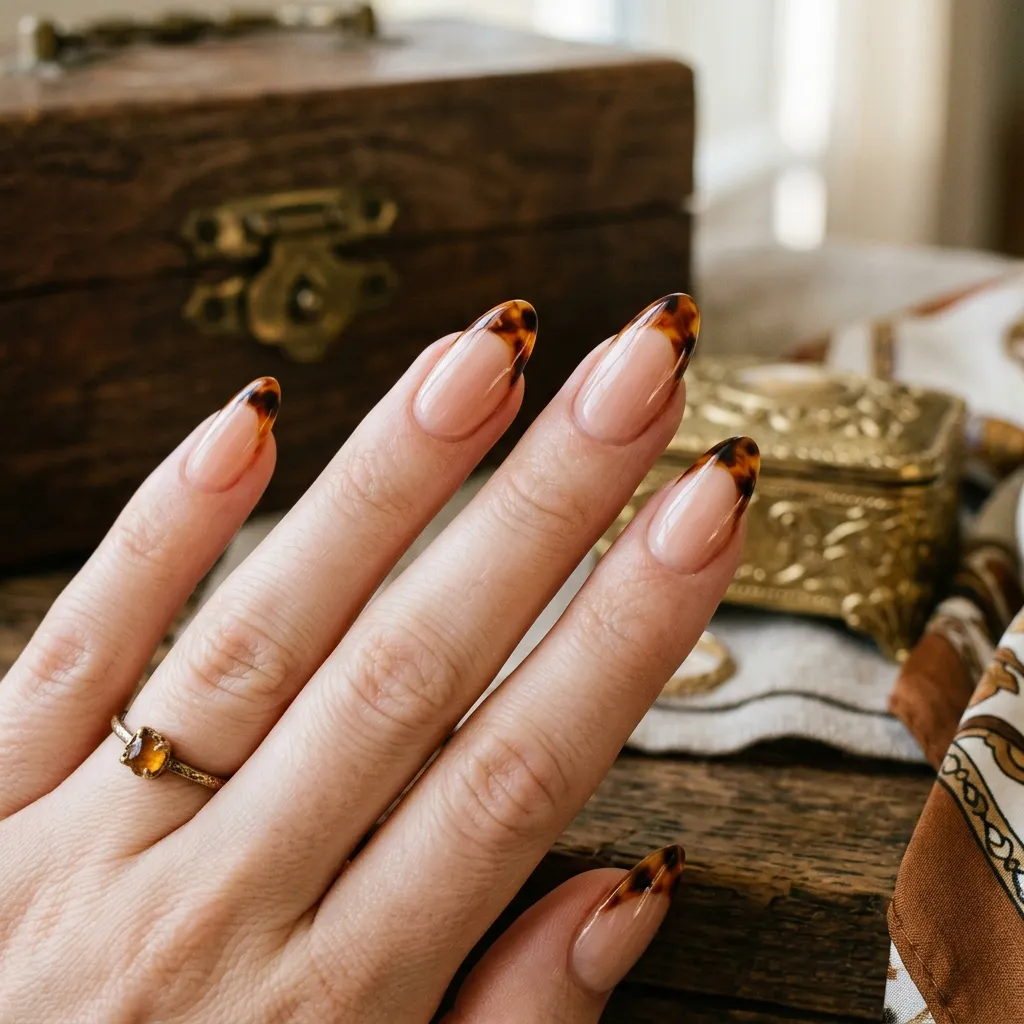
Tortoiseshell is the pattern that goes with literally everything — amber, brown, and black marbled together like the vintage sunglasses — and on almond tips it looks timeless rather than trendy. The technique is layering: an amber jelly base, then irregular blobs of brown and black jelly dabbed on while tacky, then another amber coat to melt it all together. The blobs should be random and overlapping; my first attempt was too neat and looked like leopard print, which is a different (also fine) design. I wear tortoiseshell when I want nails that work with every outfit for weeks — it is the denim of nail art. Two and a half weeks of wear, zero regrets, and the grow-out blends because the pattern is busy. If you only try one design from this list, make it this one.
Conclusion
Three winters of almond nails taught me that the shape does half the work — everything looks more elegant tapered — and that the best designs are the ones you will actually maintain. My rotation now is simple: tortoiseshell for everyday, espresso velvet for evenings out, and one fun one (this year, the aurora) for the holidays. Start with the glazed or the jelly if you are doing it at home; save the airbrush aura for the salon. And buy the good top coat — it is the difference between ten days and three weeks, whatever is underneath it.