10 Elegant Sterling Silver Wire Wrapped Pendant Patterns
I picked up my first spool of sterling silver wire three winters ago at a little bead shop near Marienplatz, mostly because I was tired of paying boutique prices for pendants I knew I could make myself, and I have been hooked ever since. There is something deeply satisfying about coaxing a stiff length of 925 silver into a frame that holds a stone exactly the way you imagined it, with nothing but pliers, patience and a steady hand. Over the past couple of years I have wrapped dozens of pendants at my kitchen table in Munich, ruined a fair few, and learned which patterns are genuinely worth the silver they use. The ten designs below are the ones I keep coming back to, whether I am making a gift for a friend or a piece I plan to wear myself.
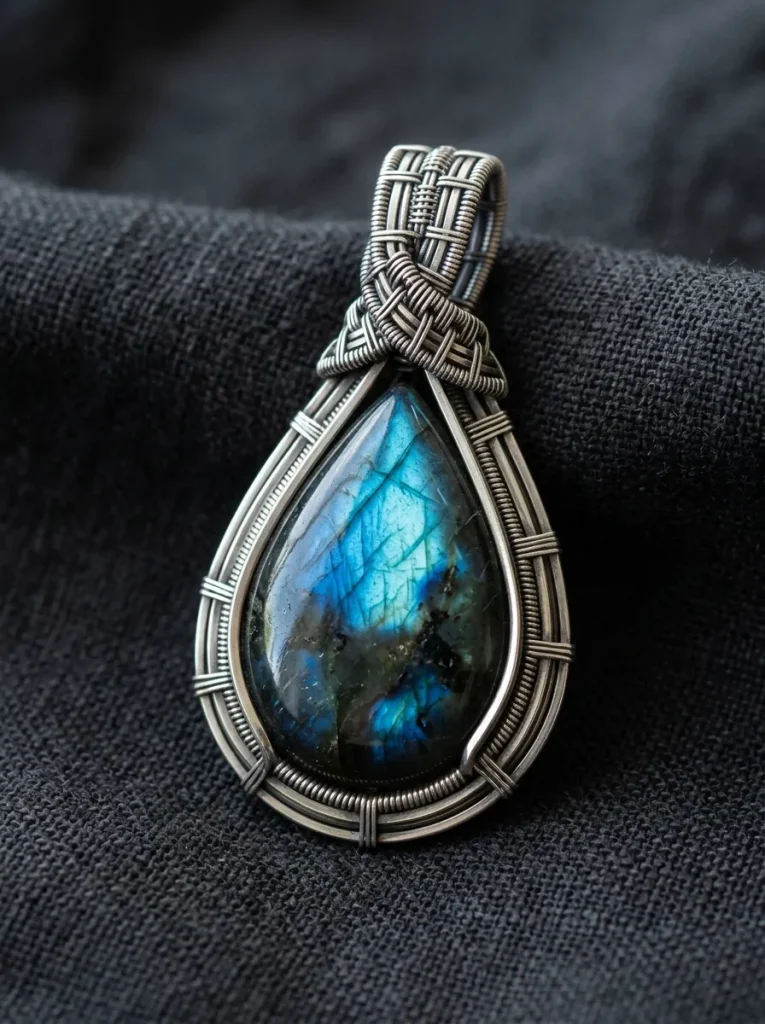
1. The Classic Teardrop Cabochon Frame Pendant
This was the very first sterling silver pendant I ever finished, and it is still the one I recommend to anyone starting out, because the shape is forgiving and the result looks far more polished than the effort suggests. I used two 10-inch lengths of 20-gauge half-hard square wire for the frame around a 25mm labradorite teardrop, with 22-gauge half-round wire for the binding, and the whole piece cost me roughly eight euros in materials. What worked for me was binding the two frame wires together at the centre first, then bending them around the stone so the bezel wires pressed gently over the front and back rims to lock it in. My mistake the first time was rushing the bail, which ended up too narrow for a normal chain, so now I always form it around a 6mm mandrel and check that a chain passes through before I finish the wraps.
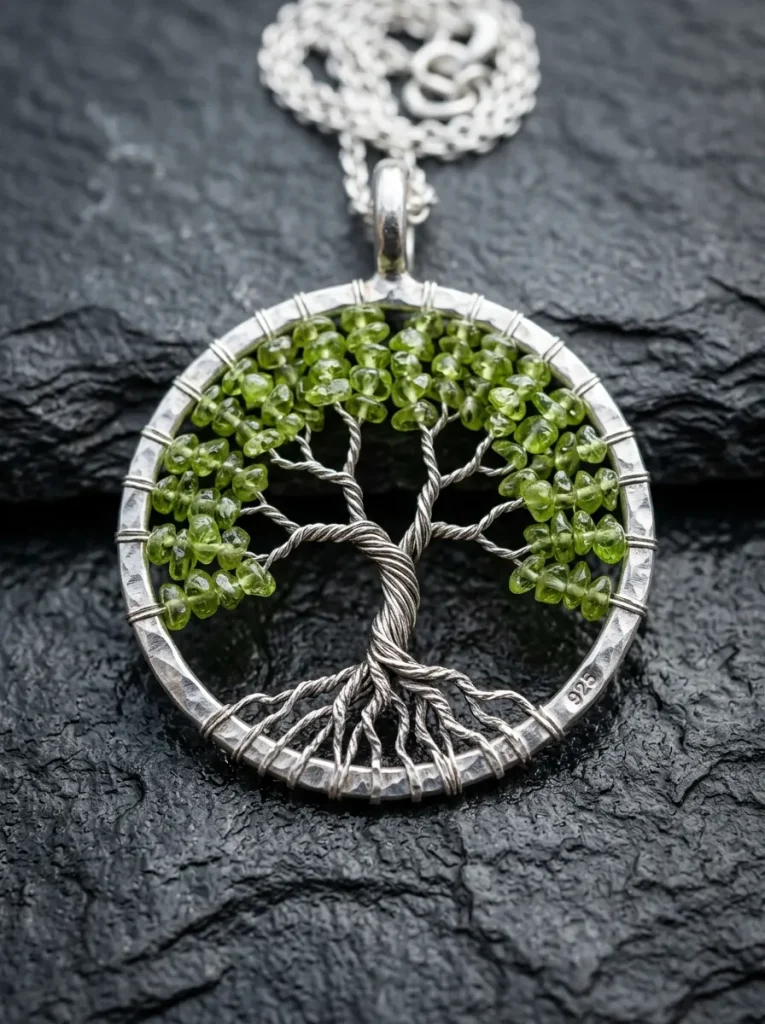
2. The Wire-Woven Tree of Life Gemstone Ring Pendant
I made my first tree of life pendant as a birthday gift for my sister, and I will admit the first attempt looked more like a tangled bush than a tree, which taught me that the branches need to stay slightly irregular but never chaotic. I formed a 30mm circle from 18-gauge round wire, then anchored seven folded lengths of 26-gauge dead-soft wire along the bottom curve and twisted them into a trunk before splitting them into three or four branch directions. Threading small peridot and amethyst chips onto the branch wires before anchoring the tips to the frame made the whole piece come alive, and the finished pendant took me just under an hour. What I learned is to keep the wire tension even as you twist, because one overtightened branch pulls the whole circle out of round, and I always tap the frame flat on a bench block before I start so it holds its shape.
3. The Swirling Filigree Raw Crystal Point Pendant
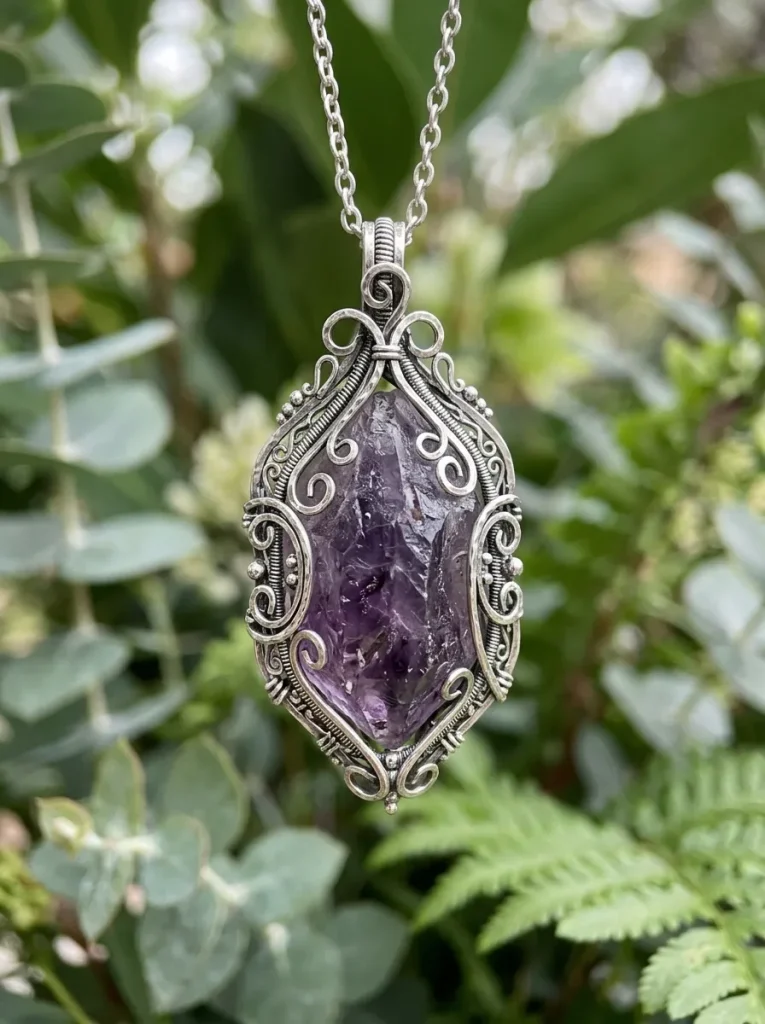
Raw crystal points are my favourite stones to wrap because no two are alike, and the filigree style lets the stone do most of the talking while the silver just frames it. I built this one around a 30mm amethyst point using 20-gauge dead-soft wire for the spine and scrolls, with 28-gauge wire for the fine lace weaving across the front, and the trick that saved me was guiding the weaving wire into the crystal’s natural grooves so the stone could not slide out. I form the sweeping S-curves with round-nose pliers first, before the stone goes in, because trying to bend scrolls around a fragile point is asking for a crack. The finished pendant has a lovely bohemian feel, and I wear mine on a dark leather cord in winter when the deep purple shows up beautifully against a black jumper. One warning from experience: file every wire end smooth, because a sharp scroll tip against the collarbone is miserable.
4. The Goddess Crown Briolette Pendant
This is the quickest pendant on this list, and honestly the one that gets me the most compliments, which still surprises me because it took barely twenty minutes from start to finish. I threaded a 6-inch piece of 20-gauge half-hard wire through the drill hole of a faceted aquamarine briolette, crossed both ends upward at an angle, and wove a dense little figure-8 cap over the top with 26-gauge wire to form the crown. The important part, and the one I got wrong on my first try, is keeping that first wire pass through the stone completely straight, because any sideways pressure on a drilled tip can crack the stone, and a cracked briolette is money in the bin. I finished the bail by bending the longer tail over a mandrel and wrapping the shorter tail around its base three times, and the result sits beautifully on a fine 1.5mm cable chain. It is a lovely choice for a first gift piece.
5. The Double-Wrapped Marquis Frame Pendant
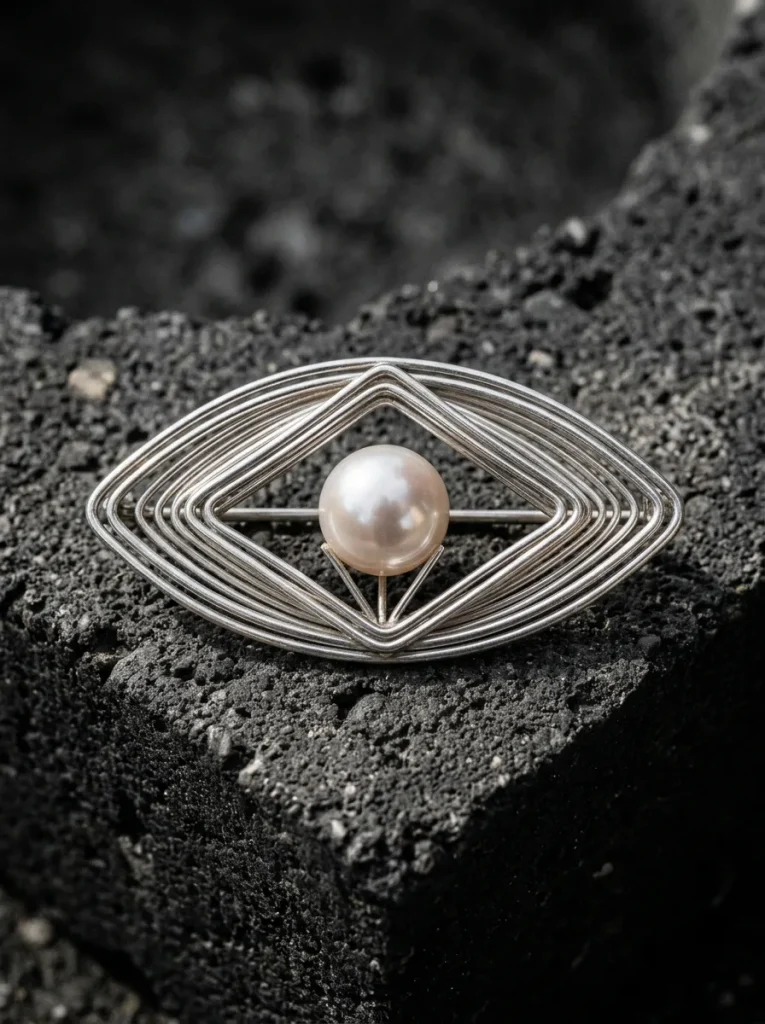
I fell for this design the moment I saw the negative space it creates, because the stone seems to float inside the pointed marquise frame with nothing but fine wire holding it in place. I bent 18-gauge half-hard wire at its midpoint into a sharp top peak, curved the arms out and back together into the eye shape, then tapped the whole frame gently on a steel bench block to flatten and harden it. The 8mm round garnet in mine hangs from a 26-gauge suspension weave anchored to both inner sides of the frame, with a second fine wrap running from the top peak down to the stone for extra security. My advice is to measure the suspension height twice before you anchor anything, since a stone that sits even two millimetres off-centre is obvious once it is worn. When the frame is polished, the hammered silver catches the light in a way that makes the whole piece look far more expensive than the roughly ten euros of silver it contains.
6. The Ornate Renaissance Scroll Caged Pendant
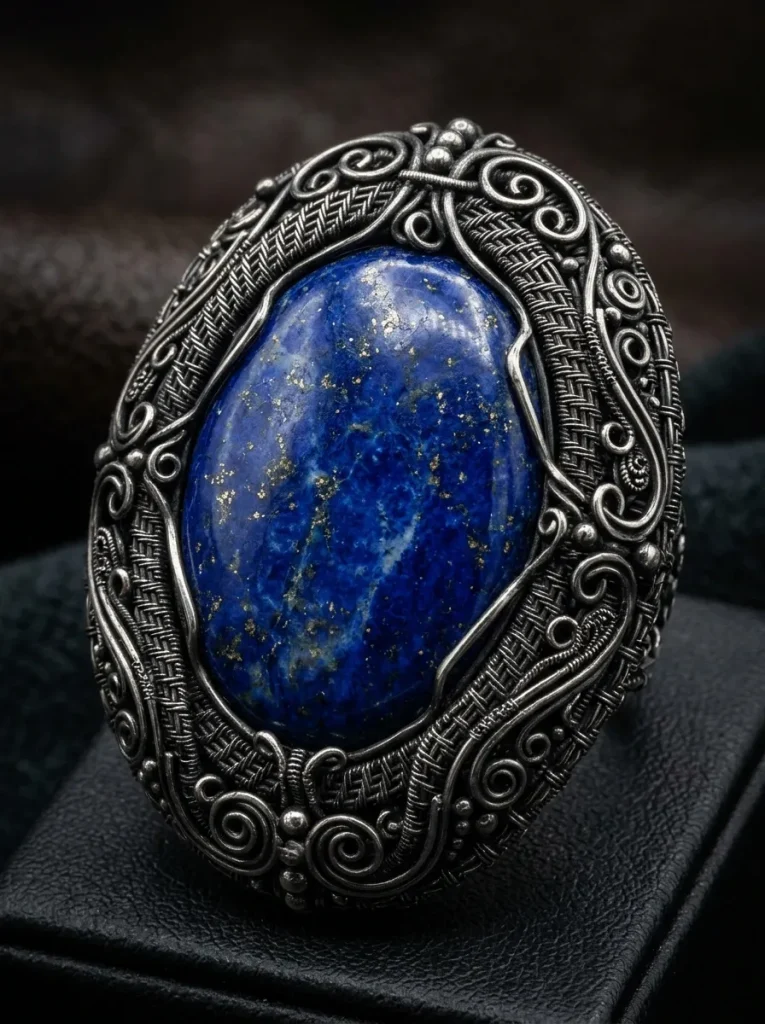
This is the most demanding pendant I have made, and also the one I am proudest of, because the finished piece genuinely looks like something from a museum cabinet. I built a two-strand base ring around a 30mm oval labradorite, slid pre-coiled 28-gauge sleeves over sections of the 20-gauge frame for texture, and connected the strands with a modified basketweave around the circumference before rolling symmetrical S-scrolls onto the front face. The whole thing took me well over an hour spread across two evenings, and I needed a proper break in between because the weaving is fiddly work. The finishing step that made all the difference was a quick dip in liver of sulfur to darken the recessed weaves, followed by polishing the scrolls back to a bright shine, which gives the piece real depth. If you try this one, work on a dark mat so you can actually see the fine silver, and keep your pliers smooth-jawed, because serrated jaws will gouge the soft silver beyond repair.
7. The Minimalist Geometric Prism Frame Pendant
After the ornate scroll pendant, I needed something clean and simple, and this geometric prism frame became the pendant I reach for most days because it goes with absolutely everything. I bent 18-gauge half-hard square wire into a crisp U-shaped channel around a 35mm black onyx cylinder, bound the open top with six dense coils of 24-gauge half-round wire, and added small 90-degree micro-bends at the corners to act as retaining tabs. Square wire is the key here, because its flat edges sit neatly against the stone and polish up to razor-sharp reflective lines that look almost machine-made. I wear mine on a short 16-inch box chain, and it works just as well with a linen shirt in summer as with a roll-neck in winter. The one thing to watch is symmetry: measure both arms of the channel before you bend, because an uneven U is very hard to fix once the stone is seated inside it.
8. The Woven Spiral Sunburst Pendant
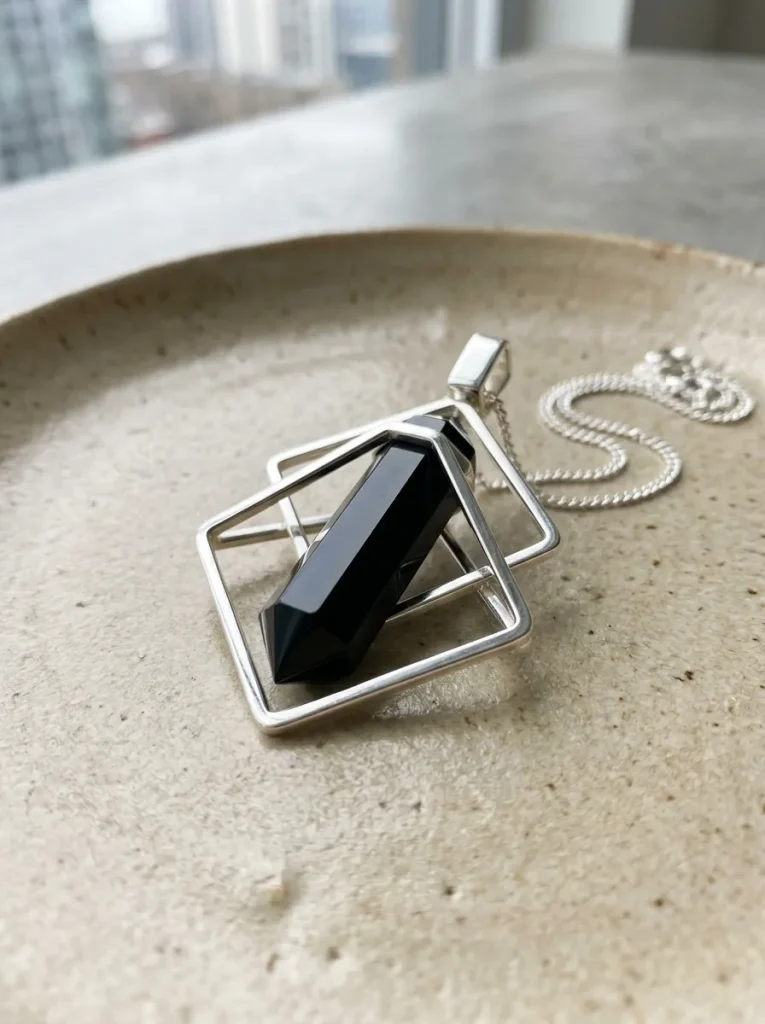
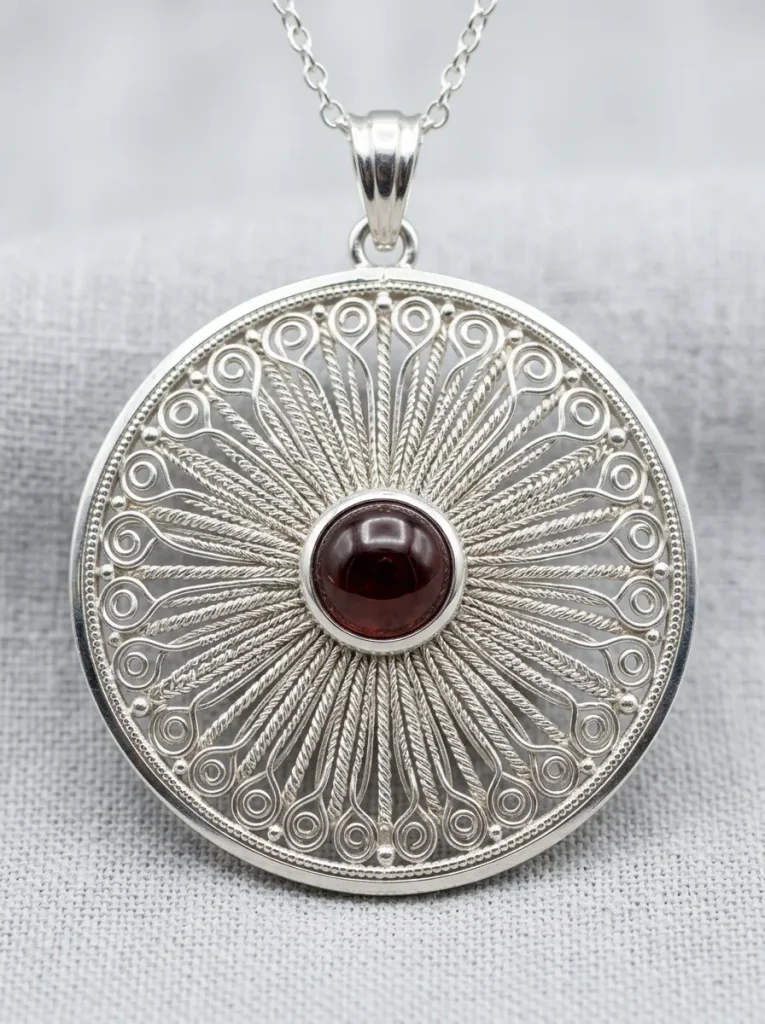
This sunburst pendant started as an experiment on a rainy Sunday afternoon, and it turned into one of my favourite designs because the radiating weave catches the light from every angle. I threaded a 10mm round moonstone onto the centre of four 8-inch lengths of 20-gauge wire, bound them into eight radiating spokes, and worked a continuous over-under soumak weave outward with 28-gauge wire until the disc reached about 25mm across. Then I rolled each spoke end into a small 4mm spiral and adjusted them with chain-nose pliers until they sat evenly in a flat plane. The hardest part is keeping the weaving tension consistent across all eight spokes, because one loose section makes the disc buckle, and I learned to stop and check the flatness every few rows rather than powering through. I attached the bail to the upper back spokes so the front stays perfectly clean, and the finished piece makes a wonderful centrepiece on a simple silver chain.
9. The Infinity Loop Wrapped Pearl Pendant
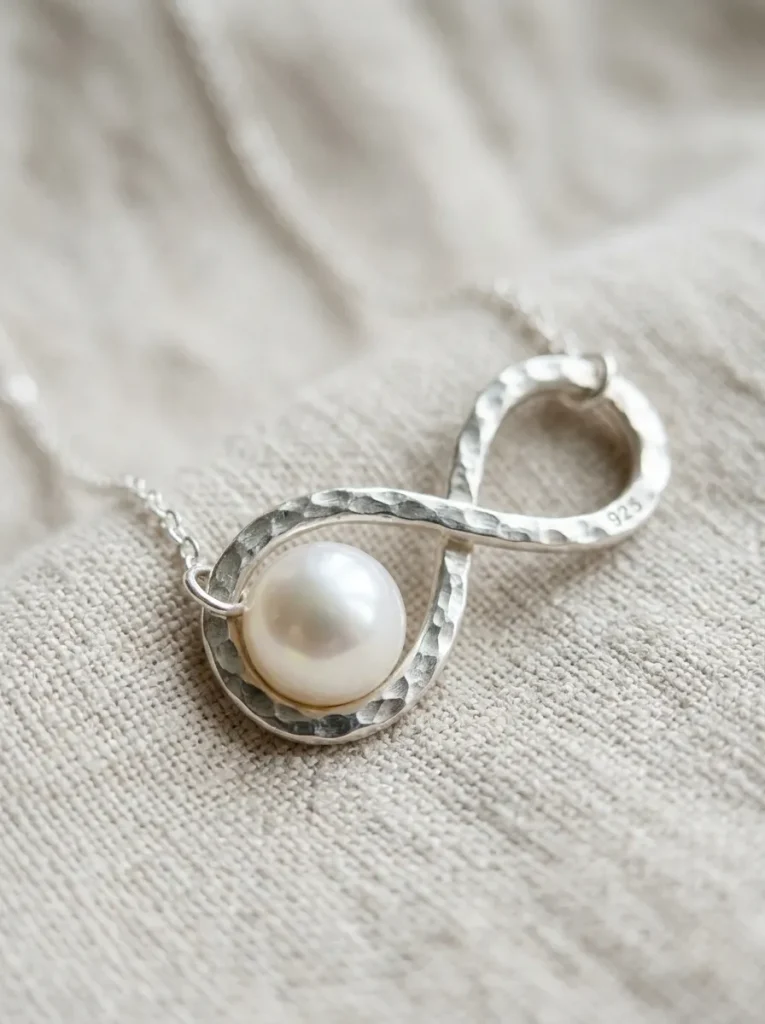
I made this infinity loop pendant for a friend’s wedding, and it remains the most romantic piece in my collection, with the pearl sitting in the lower loop of a single flowing strand of silver. I shaped 18-gauge soft round wire into a 35mm figure-8 with round-nose pliers, keeping the upper loop small at about 10mm to serve as the bail and the lower loop larger at 18mm to cradle the pearl. After hammering the outer curves gently on a bench block to widen the profile, I suspended an 8mm freshwater pearl in the lower loop with fine 26-gauge wire and locked the crossover point with four tight turns. A word of caution from my own bench: never tumble a finished pearl pendant, because the tumbler will dull the nacre, and always store it in its own little pouch so the silver does not scratch the pearl. The finished piece took about twenty-five minutes, and it cost less than twelve euros in materials, which still feels like a small miracle for something that looks this refined.
10. The Multi-Tiered Layered Gemstone Cluster Pendant
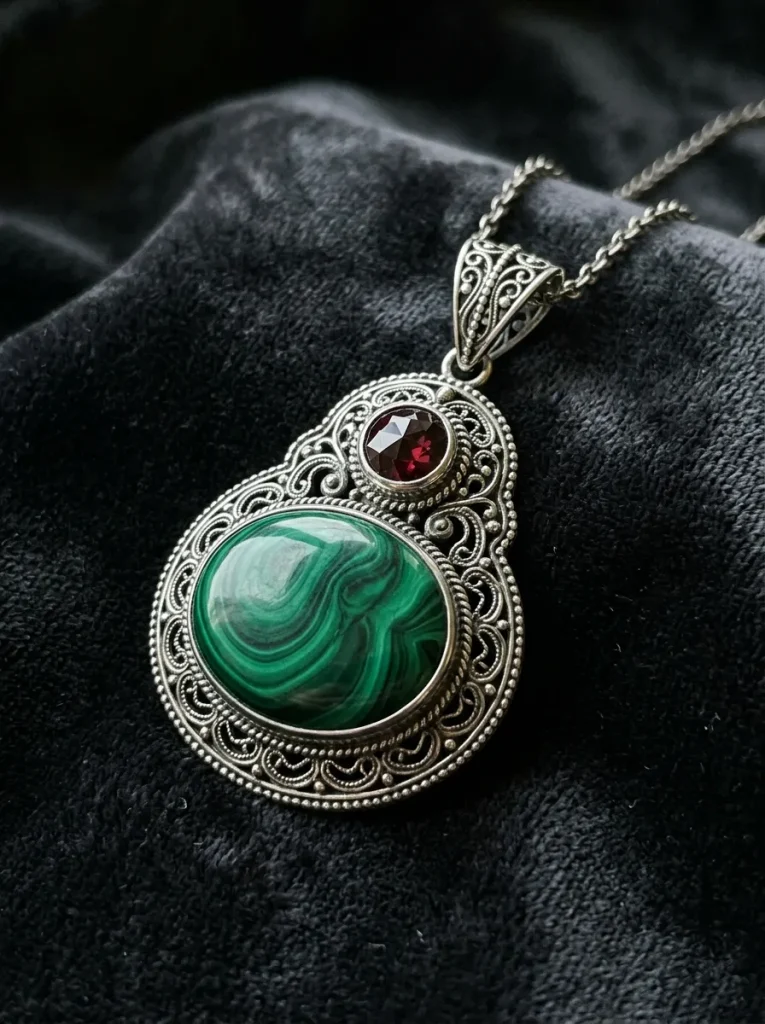
This layered cluster is the showpiece of my collection, and I save it for evenings out because it genuinely stops people mid-sentence, which is not something I say lightly about my own work. I built the lower frame around a 25mm oval lapis lazuli base stone using two 10-inch lengths of 20-gauge wire, then formed a smaller circular setting directly above it for a 6mm faceted garnet, binding the two tiers together with a dense ladder weave so the whole thing reads as one rigid vertical piece. The colour contrast is what makes it work, because the deep blue base against the bright orange-red accent is striking without being loud. It took me over an hour, and I used roughly thirty inches of 26-gauge weaving wire, so it is not a quick make, but the result feels like estate jewellery rather than a home project. For care, I keep it in an airtight zip bag with an anti-tarnish strip, and I give it a quick polish with a silver cloth before wearing it, which keeps the silver bright for months.
Conclusion
Ten patterns in, and I still get the same little thrill every time I snip the last wire end and hold a finished pendant up to the light. If you are just starting, begin with the teardrop cabochon or the briolette crown, because both forgive small mistakes and reward you quickly, then work your way toward the tree of life and the Renaissance scroll once your hands know the wire. Sterling silver costs a little more than copper, but the pieces last, they polish back to a mirror shine again and again, and there is nothing quite like wearing something you shaped yourself.