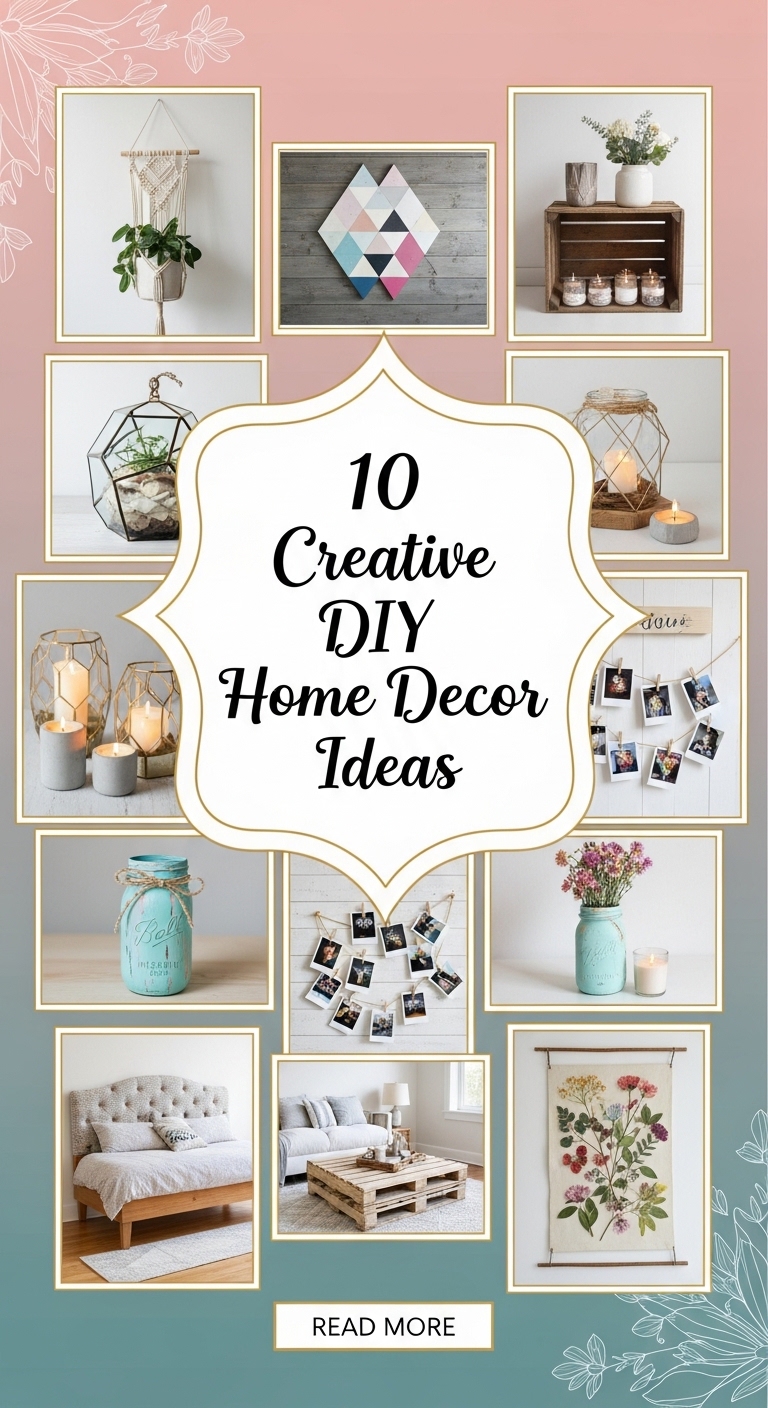
I have been slowly working my way through my Munich flat over the last two years, and honestly, almost nothing on my walls is store-bought anymore. The big blank wall in the hallway drove me mad for months until I finally stopped scrolling for art and painted something myself on a Sunday afternoon with cheap acrylics. These fifteen projects are the ones that actually worked — the ones I finished, lived with, and still love. Grab a paintbrush.

1. DIY Painted Wall Art

I used to be genuinely scared of a blank canvas, so my first piece was just three broad brushstrokes in sage green over a warm white background — and it turned out so well that I made two more to match. What worked for me was picking two colors already in the room and adding one metallic, which kept everything coordinated even when my technique was shaky. I buy stretched canvases when they are on sale at the craft store, usually around twelve euros for a set of three, and plain acrylic paint does the job perfectly fine. A triptych over the sofa looks far more expensive than it was, and every visitor has assumed it is shop-bought. My best tip is to step back often and stop earlier than you think; most homemade art is ruined in the last ten minutes.
2. Upcycled Furniture Makeover

My beloved sideboard came from a neighbor who was throwing it out, all scratches and one missing handle, and I honestly hesitated for a week before dragging it upstairs. The makeover itself took one weekend: a light sanding with 120-grit paper, two coats of matte chalk paint in a soft clay tone, and new brass handles that cost me nine euros for four. The lesson I learned is that prep is everything — the paint only failed where I got lazy with sanding, and I had to redo one drawer front. I left the inside of the drawers unpainted, which looks intentional and saved me a coat. It now holds my table linens and sits right by the dining table where I see it every single day.
3. Indoor Plant Wall Display

My kitchen wall used to be completely bare, and now it holds eleven plants on three floating shelves, which sounds excessive but somehow looks right. I started with the easy ones — a pothos, a snake plant, a philodendron — because I am not someone who remembers a watering schedule, and I wanted to set myself up to succeed. The trick, if there is one, is mixing heights: tall trailing vines at the top, chunky small pots in the middle, and one statement plant at the bottom. I drilled into the wall on a Saturday morning using a proper masonry bit, and the whole installation took about two hours including coffee breaks. The wall drinks up so much visual attention now that guests always comment on it before anything else in the room.
4. Mason Jar Candle Holders

I made a set of these as a last-minute dinner party decoration and they were such a hit that four are still on my dining table months later. The process is almost embarrassingly simple: a coat of frosted glass spray, a strip of linen ribbon tied around the neck, and a real tealight inside. What surprised me was how the frosted finish softens the candlelight — the room feels genuinely cozier at half past eight than it ever did with the overhead lamp. I tried the food-coloring tinting method once for an autumn dinner and it worked, though I would warn that the color bakes darker than you expect. Use LED tealights if you have cats; mine are real and I supervise them like a hawk.
5. DIY Floating Shelves

The floating shelves above my desk were my very first power-tool project, and I say this with pride because I spent half an hour just figuring out how to hold the drill straight. I bought two pine planks from the hardware store, stained them with a walnut oil I already had, and mounted them with concealed brackets that cost about fifteen euros. The advice I wish someone had given me: check your wall anchors for your wall type before you buy anything, because concrete and drywall need completely different hardware. I keep books, one small plant, and a framed photo on mine, deliberately leaving empty space so it reads as styled rather than cluttered. They have held everything without a wobble for over a year.
6. Gallery Wall with Personal Touches

My hallway gallery wall took shape over about six months, and I would not rush it — the best walls are the ones that collect over time rather than arriving all at once. I mixed proper frames with postcards from trips, a ticket stub collection, and one embarrassingly bad watercolor I painted in an evening class that I love anyway. Before hanging anything, I laid the whole arrangement on the living room floor and lived with it for two days, shifting pieces around. Removable hooks are worth their weight in gold for renters; every frame on my wall is hung with them and nothing has fallen. The wall has become a genuine conversation piece, and I get to relive small memories every time I walk past it.
7. DIY Pendant Light or Lampshade

I will be honest: electrical work intimidates me, so I used a plug-in pendant kit instead of touching any wiring, and it changed my living room completely. I wrapped the cord with natural jute twine, clipped on a rattan-look shade from the flea market, and hung it from a ceiling hook over the reading chair. The whole thing cost under thirty euros and took about an hour, and the warm pool of light it creates is now my favorite corner of the flat. If you do the same, check the maximum wattage on the kit before choosing a bulb — I went with a warm 2700K LED that draws almost nothing. My one regret is not doing it two years earlier.
8. Decorative Mirror Frame

The mirror in my entryway was a plain frameless one from the hardware store, and it sat there looking apologetic for a year before I did anything about it. One weekend I glued driftwood pieces around the border with strong mounting adhesive — I collected the wood on a trip to the Baltic Sea, so it has actual personal meaning. The trick with driftwood is to lay out your arrangement first and trim pieces with a small saw so the silhouette stays roughly even. It took an afternoon, cost me nothing but glue, and the entryway finally feels finished. Mirrors also bounce light beautifully into dark corners, so this one earns its keep twice over.
9. Fabric Wall Hangings or Macramé Art

My first macramé wall hanging is hanging in the bedroom, and while it is absolutely not perfect, it is one of my favorite things in the flat. I learned the square knot from a video, bought cotton cord for about ten euros, and knotted for three evenings in front of the television. What I discovered is that knotting is weirdly calming — my shoulders physically dropped while I worked. I wrapped the finished piece on a wooden dowel with two brass hooks, and it softens the whole corner where the wall used to feel cold and hard. For anyone without the patience, a patterned fabric clipped to curtain clips gives you eighty percent of the effect in five minutes.
10. DIY Seasonal Centerpieces

I keep a wooden tray on my dining table year-round and just swap its contents with the seasons, which means the table always looks considered without me doing much. In autumn it holds pinecones, a small candle, and chestnuts I collected on a walk; in spring it becomes a few small glass bottles with whatever is flowering. The base never changes: the tray, one candle, and something green or natural. I learned the hard way not to crowd it — three to five items is the sweet spot, and anything more reads as clutter. Rotating the centerpiece is also the cheapest way I know to make the flat feel fresh, since the tray itself cost me four euros at a flea market.
11. Handcrafted Texture Decor: Turning Everyday Materials into Art

I got into textured wall art last winter when I wanted something large for above the console but could not justify gallery prices. My version started life as a flattened cardboard box, which I layered with wall putty using an old spatula, then painted in warm off-white once it was dry. The whole thing cost me under eight euros and honestly looks like something from a boutique — the uneven surface catches the lamplight in a way flat paint never could. Working slowly was the key: I built it up in two thin layers rather than one thick one, and stepped back constantly to check the light. When styling it, I kept everything around it simple so the piece carries the wall on its own, and I left the slightly rough edges alone because they are what make it feel handmade.
12. Repurposed Object Decor: Giving Old Items a New Life

My favorite repurposing win is the old wooden ladder that now holds towels and a trailing plant in the bathroom — it was my grandfather’s, and I nearly sent it to the recycling center before a friend stopped me. I gave it a light sanding, two coats of clear sealant so it handles the humidity, and leaned it against the wall; that was genuinely the entire project. I find the objects with a bit of wear actually work best, because the scratches and patina become part of the look rather than over-decorating them. If you try this, pick items with strong bones — solid wood, sturdy metal, thick glass — and give them one clear job rather than over-decorating them. My ladder gets complimented more than almost anything else I own.
13. DIY Wall Art Statements: Expressing Personality Through Creativity

Separate from my gentle first canvases, I later made a bold statement piece for the living room that divides opinion — which I take as a sign I did it right. I taped off big blocks on a large canvas, filled them with deep terracotta and ink blue, then pulled the tape for crisp edges and added one rough brushstroke across everything to break the neatness. It took one evening, cost about fifteen euros in materials, and completely changed how the room feels. I hung it at eye level with breathing room around it, and I resisted the urge to add more pieces to that wall. My advice is to commit to the colors you actually love, not the ones you think you should — my timid neutrals phase produced nothing I wanted to keep.
14. Handmade Soft Decor Accents: Cozy Details That Transform Spaces

I sewed my first cushion covers on a friend’s machine after years of buying whatever matched vaguely, and the difference in how the sofa feels is absurd for such a small change. I chose a natural linen in a warm tone, cut simple envelope-style covers so there were no zips to wrestle with, and sewed four in an afternoon. The fabric cost about twenty euros total and the covers look far more considered than the flat-pack ones they replaced. I keep the colors calm and consistent, varying the textures instead — linen next to a chunky knit throw — so the sofa feels layered but not busy. Small soft things are where handmade shows up most, because you actually touch them every day.
15. DIY Minimal Decor Projects: Creating Beauty with Less

After years of accumulating, I recently went through the flat and removed about a third of my decor, and the minimal pieces I made myself are the ones that stayed. My favorite is a simple oak shelf bracket pair I made from offcuts, holding a single ceramic vase — nothing else, and that restraint is the entire point. Working minimal taught me to be picky: one project at a time, honest materials, and placement that gives the object room to breathe. I keep the palette to natural wood, white, and one plant green, so the flat feels calm rather than sparse. If your home feels noisy, removing things is a project too, and it is free.
Conclusion
None of these projects required real talent to start — most of them required just a free weekend and the willingness to look a bit silly with a paintbrush. The flat I live in now feels unmistakably mine in a way it never did when it was full of generic prints. Pick the one that made you pause while reading, and give it a Saturday.