
Our garage spent three years as the place where things went to be forgotten — paint cans from 2019, a box labeled “cables??”, Christmas decorations avalanching every time I opened the door. The turning point was the Saturday I needed the drill and spent forty minutes excavating for it. That afternoon I drove to the hardware store, bought shelving and a stack of clear totes, and rebuilt the whole garage around one principle: everything visible, everything labeled, everything reachable. Two years later the system still holds. Here are the ten shelf-and-tote combinations I installed, tested, or refined since — with the practical lowdown on what survives garage life.

1. Heavy-Duty Wall Shelving with Clear Totes
This is the backbone of my garage: steel wall-mounted shelving rated for serious weight, loaded with clear plastic totes. The two halves of this idea matter equally. The shelving has to be genuinely heavy-duty — I bought the cheap wire stuff first and watched it bow under paint cans within a month, so I replaced it with 25 mm steel uprights bolted into the wall studs, and nothing has moved since. And the totes must be clear, not opaque. I know the colored ones look tidier, but clear totes mean you can see the contents without opening anything, which is the entire point of the system. Mine are all the same size (60-liter), which stacks neatly and means lids are interchangeable — a small detail that saves real annoyance. Label every tote on two sides with a label maker; “see-through” still benefits from a label when you’re scanning a wall of twenty identical boxes.
2. Adjustable Wire Shelving with Labeled Totes
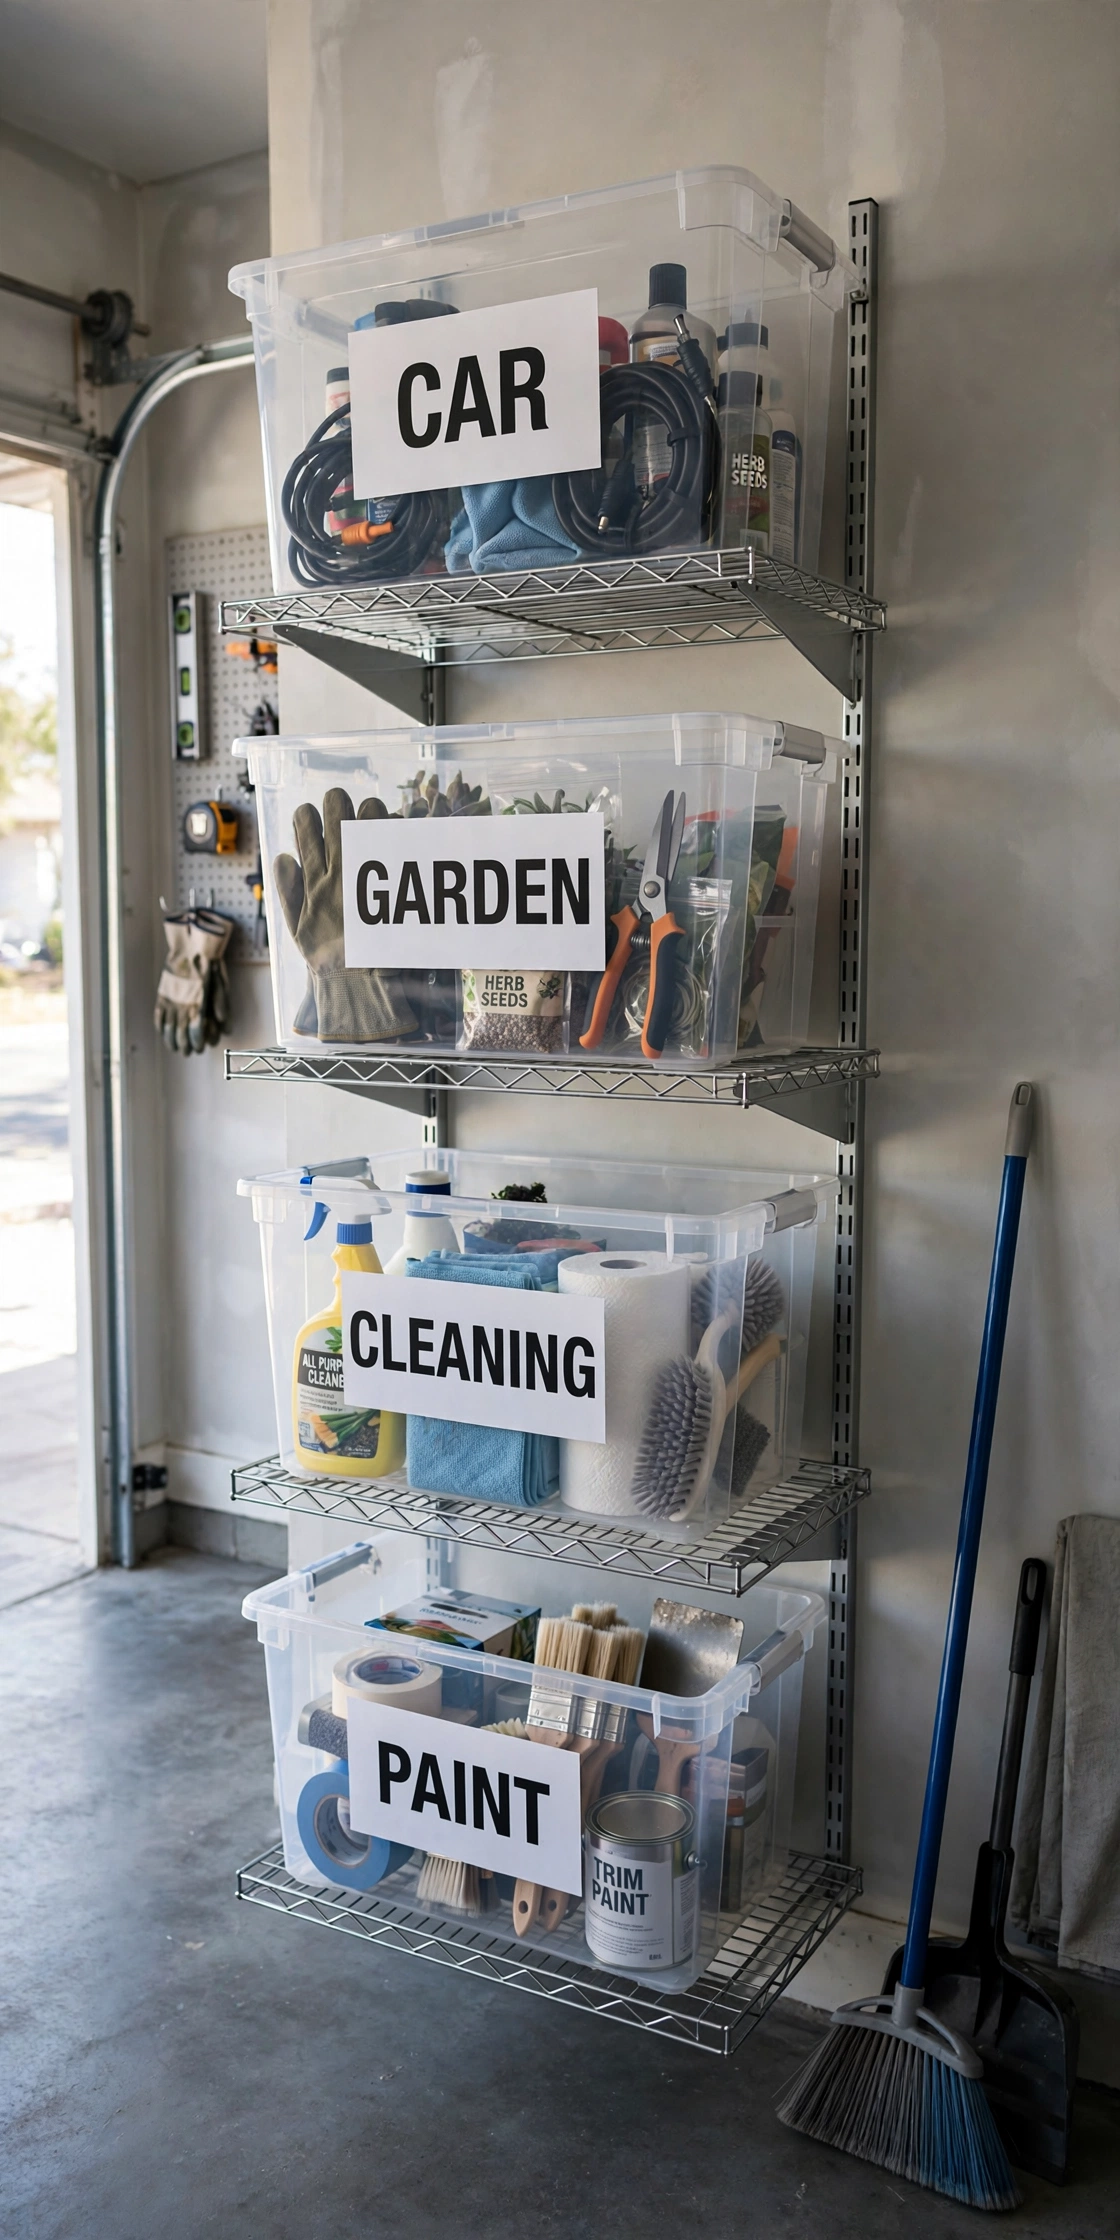
Wire shelving gets a bad reputation from the flimsy freestanding racks, but wall-mounted adjustable wire units are a different animal — I have a run of them along the back wall for the medium-weight stuff: cleaning supplies, gardening chemicals, the car-care kit. The adjustability is the selling point: shelf heights move in 2.5 cm increments, so when the tall fertilizer bags arrived I just dropped a shelf and everything fit. Wire shelves have one quirk — small items fall through — so I line each shelf with a cut-to-fit plastic mat, which also stops totes sliding around. Every tote on these shelves has a big label facing out, written with the label maker in large type I can read from the doorway. My categories are broad on purpose: “CAR”, “GARDEN”, “CLEANING”, “PAINT”. Broad categories survive; hyper-specific ones (“spray bottles, blue”) collapse within a month.
3. Ceiling-Mounted Tote Storage Racks
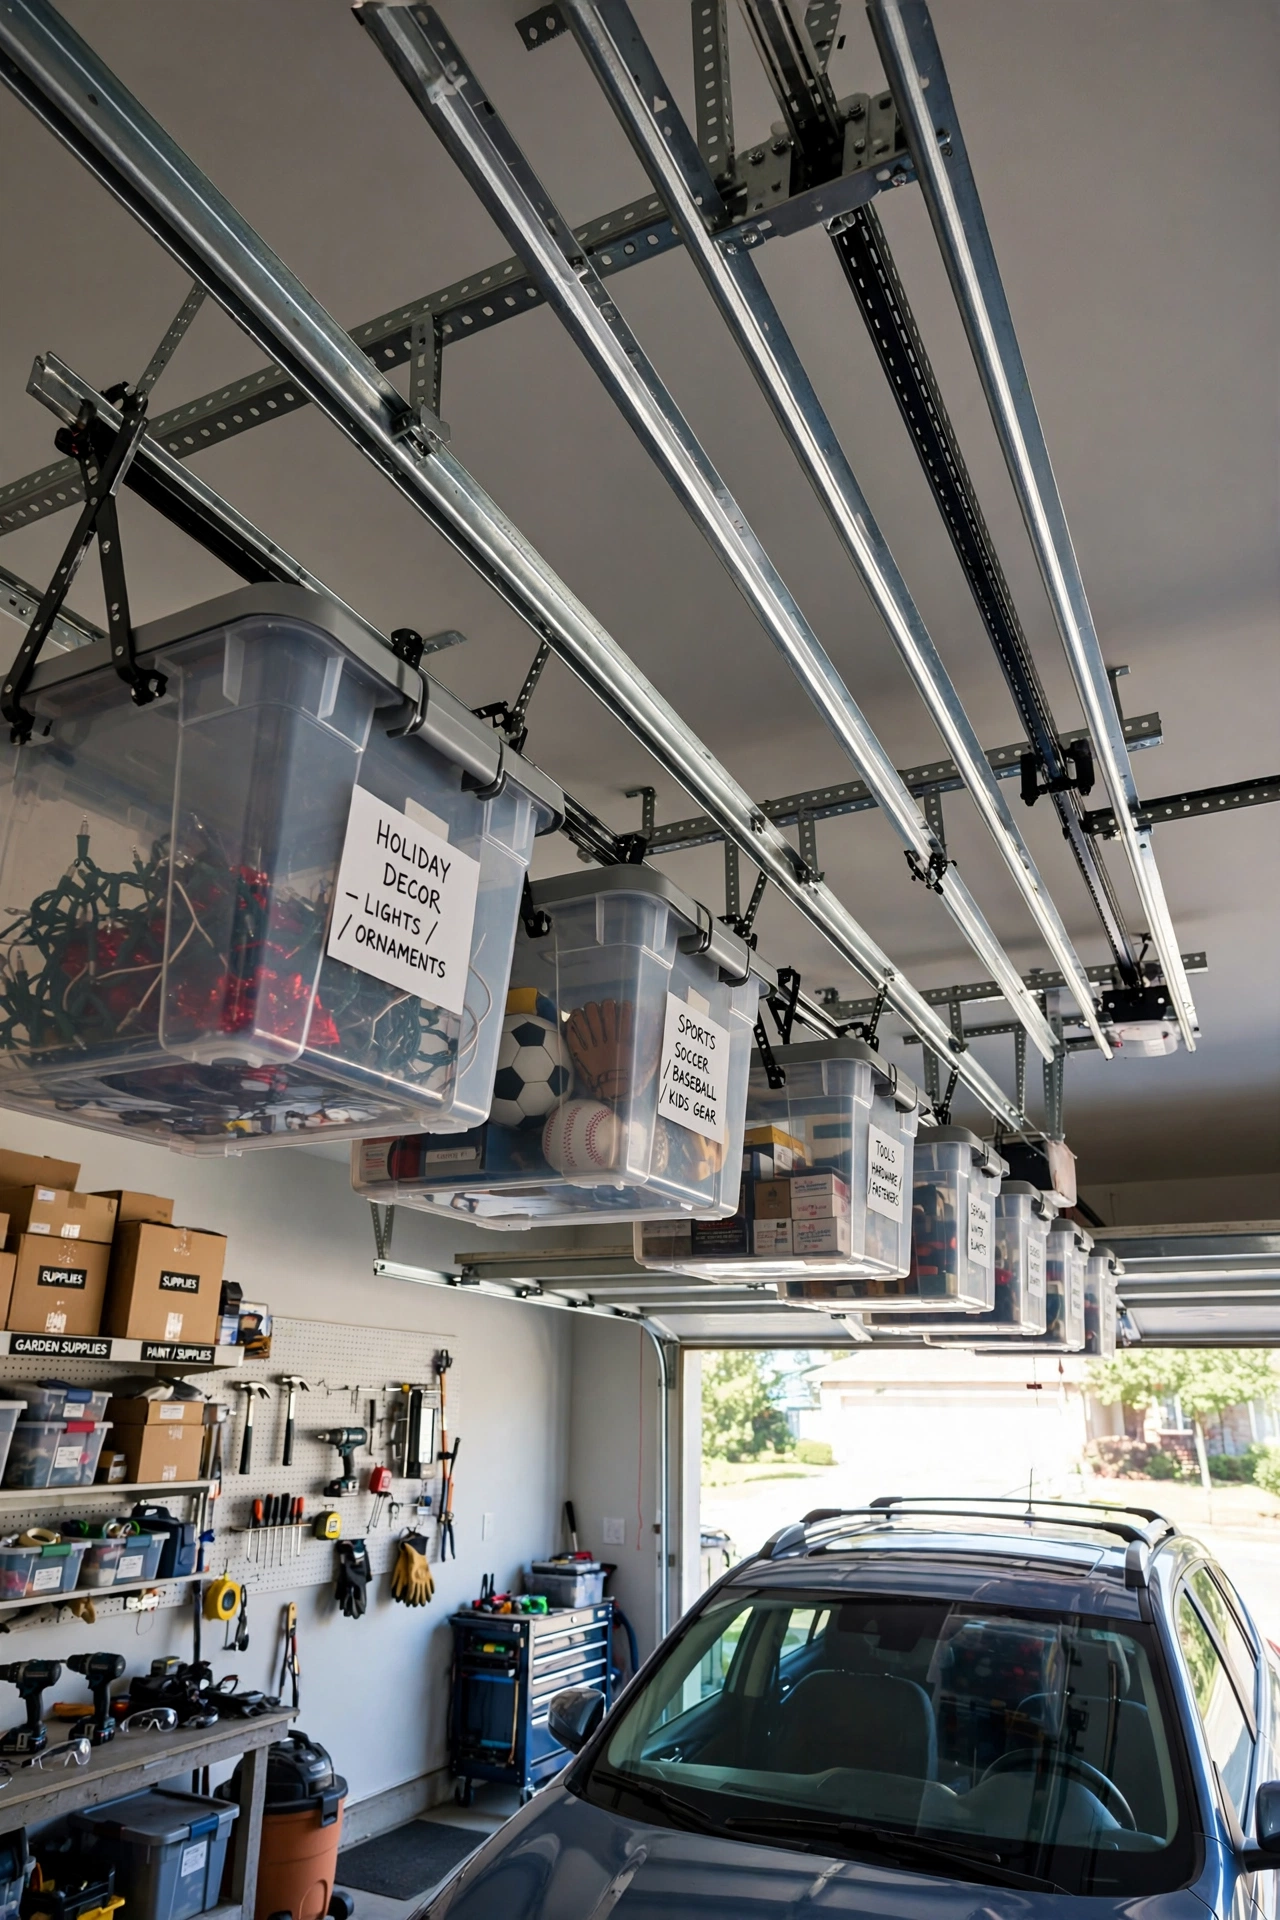
The ceiling is the most underused storage in any garage, and it’s perfect for the things you need twice a year: holiday decorations, camping gear, the suitcase collection. I installed two ceiling-mounted sliding racks — the kind where totes hang from rails and slide in and out — and freed up an entire wall of floor-level shelving. Installation is the serious part: these racks hold real weight overhead, so they must bolt into ceiling joists, not just drywall, and I had a friend help because holding a loaded rack overhead while drilling is a two-person job minimum. I keep the totes up there light on purpose (nothing over 15 kg each) and labeled on the bottom edge so I can read them from below. Getting things down needs the step ladder, which is exactly right — if I needed it weekly, it wouldn’t live on the ceiling.
4. DIY Wooden Shelf System for Bulk Storage
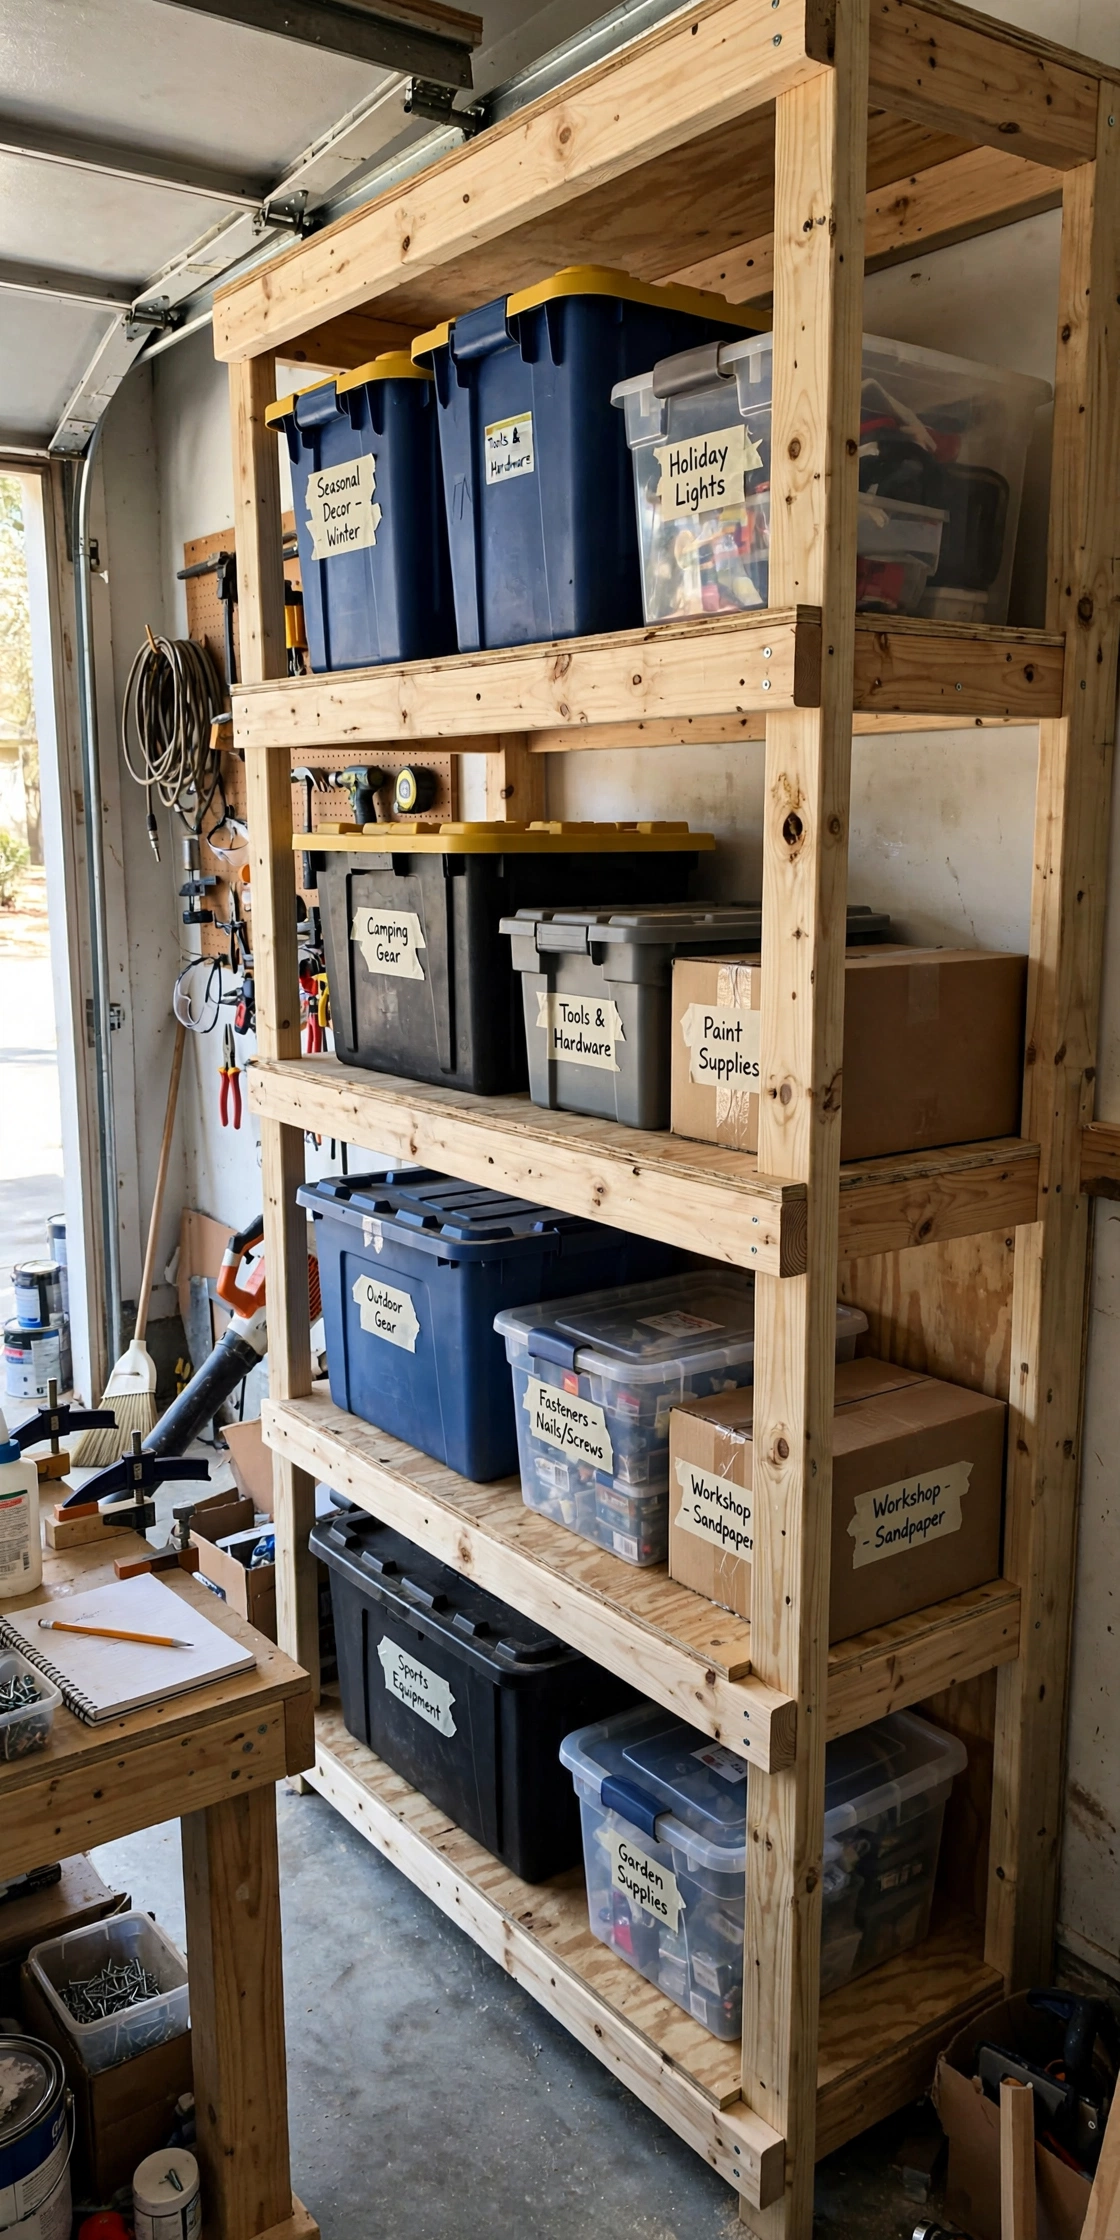
When I needed deep shelves for bulky items — the leaf blower, stacks of firewood bags, the enormous tote of Halloween costumes — I built them from lumber instead of buying a unit. Two-by-fours and plywood, screwed together in an afternoon for about eighty euros, and the result holds more than any flat-pack shelf I’ve owned. The advantage of DIY is dimension: I built the shelves 60 cm deep instead of the standard 40, which fits the awkward bulky stuff that never fits commercial shelving. I left the wood unfinished (it’s a garage) but I did sand the front edges — splinters and tote-handling don’t mix. Everything on these shelves lives in totes too, because open bulky items collect dust and spiders with enthusiasm. The system isn’t pretty, but it’s the hardest-working storage in the garage, and I built it exactly to my measurements, which no store unit ever is.
5. Metal Utility Racks with Matching Totes
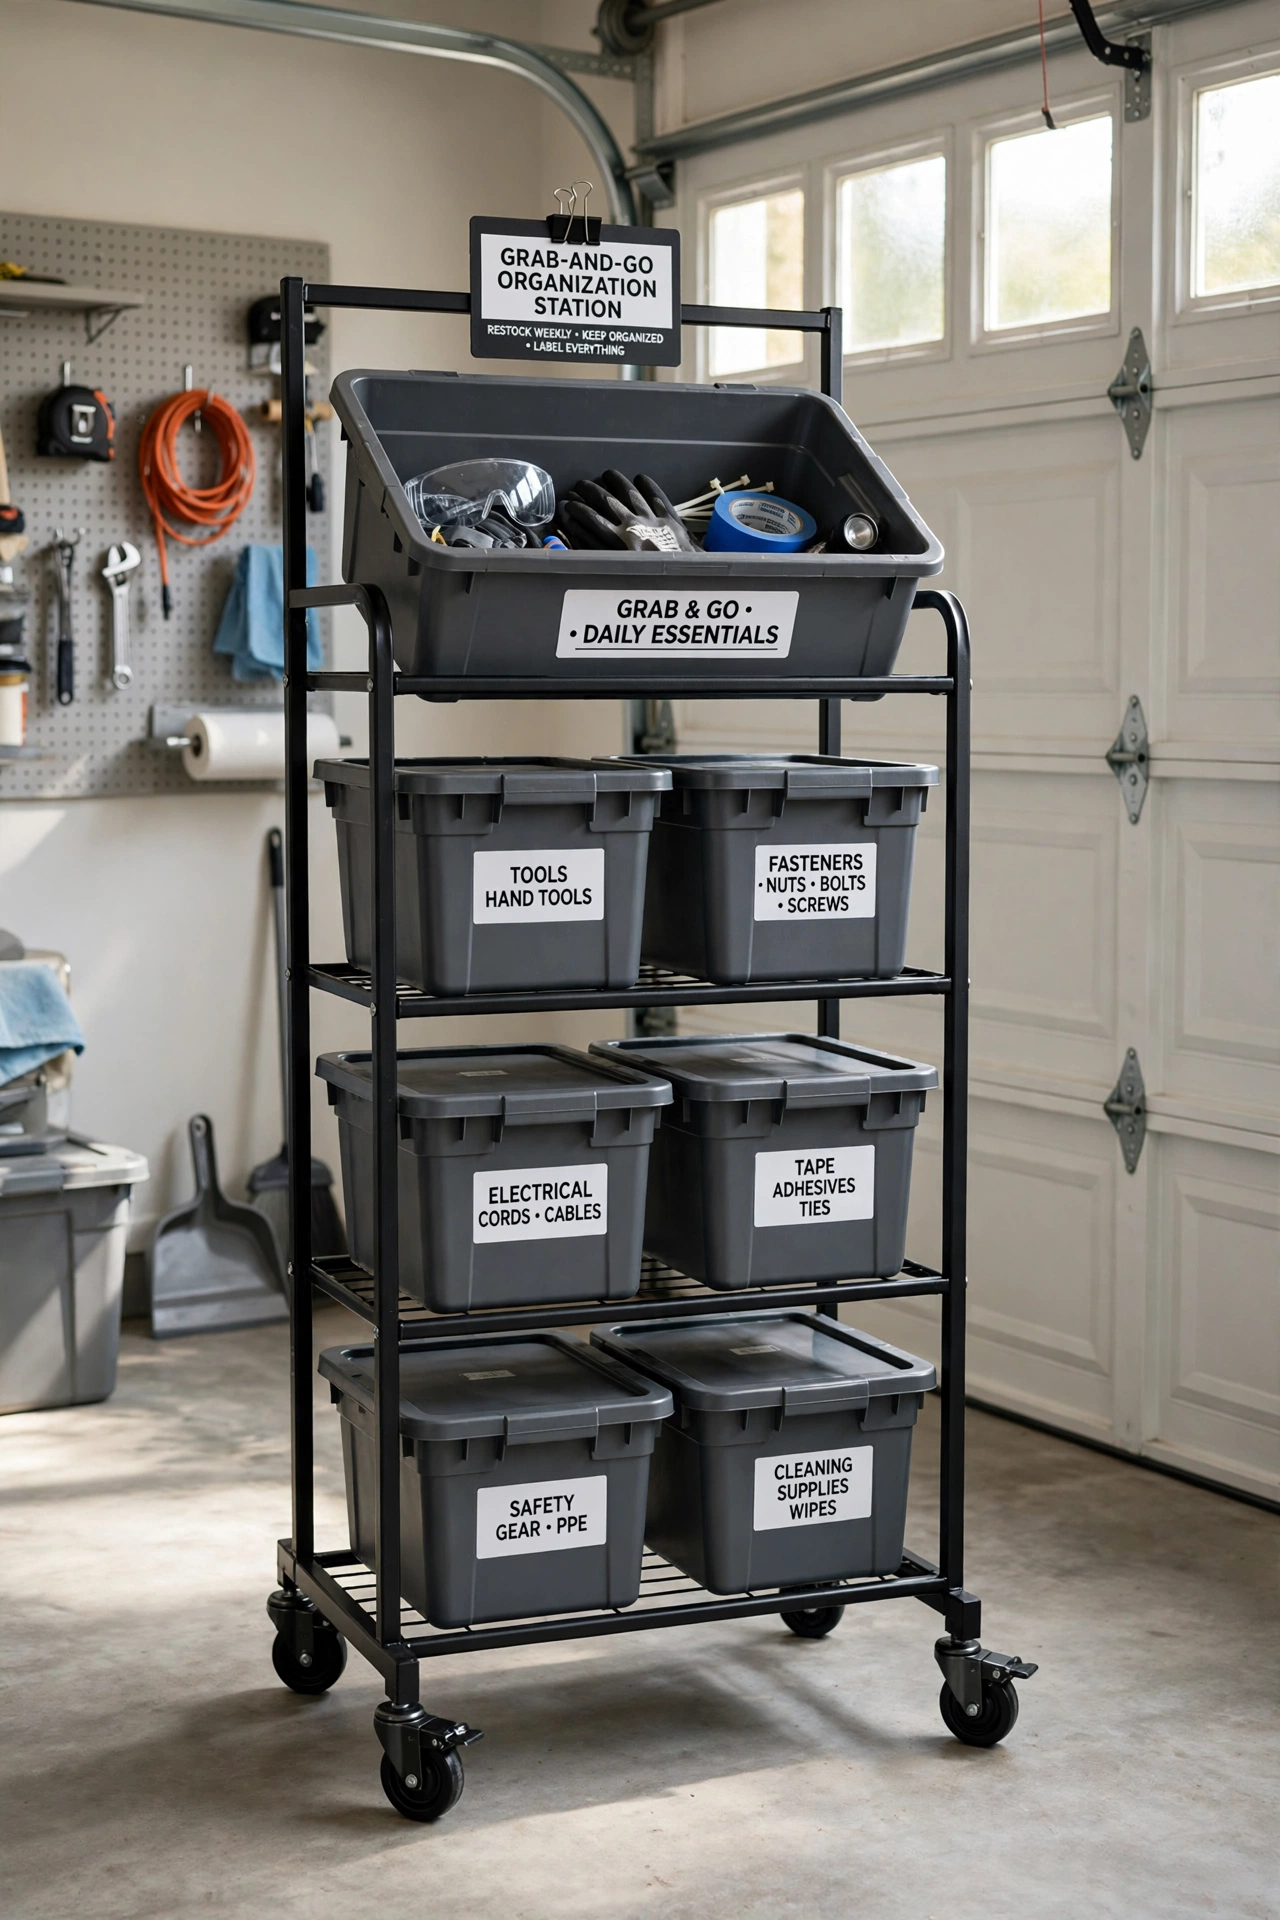
For the everyday-access zone near the garage door — the place I grab things on the way out — I use open metal utility racks with matching totes, and the matching part is deliberate. Uniform totes in a single color look calm and intentional, which matters because this rack is the first thing you see when the garage door opens. I went with dark grey, which hides dust and scuffs far better than the clear ones (these are for frequently-handled items, so I don’t need the see-through). Each tote has a purpose: “SHOES” for the muddy boots, “DOG” for the leash and towels, “SPORTS” for balls and rackets, “RECYCLING SORT” for the in-between bag. The rack itself is on wheels — I can roll the whole thing out to the driveway when I’m loading the car for a trip, which I do several times a summer. Matching totes, labeled lids, wheels: the grab-and-go station.
6. Built-In Shelves with Decorative Totes
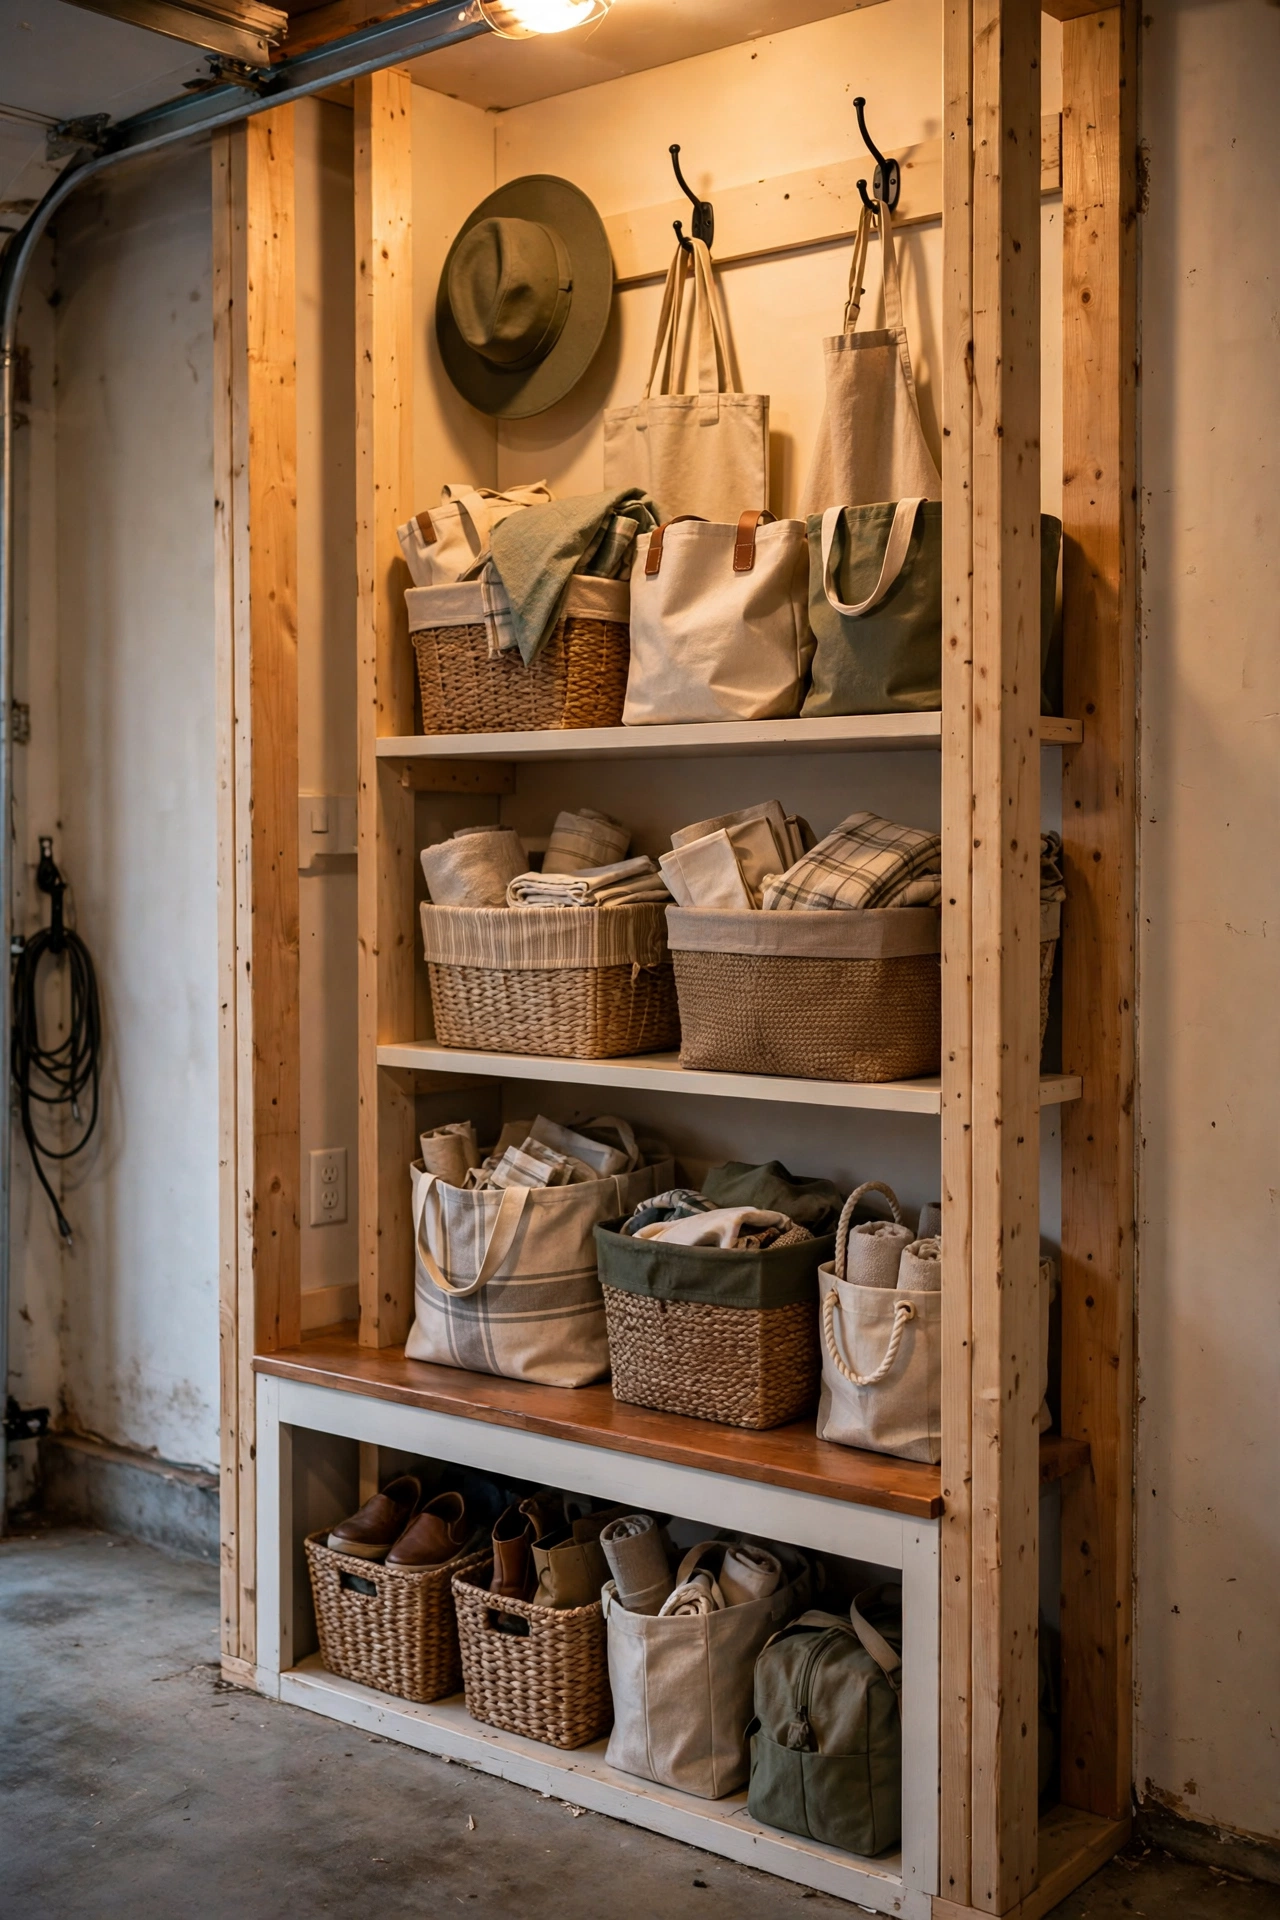
Yes, decorative totes in a garage — hear me out. The wall facing the house door is visible from the kitchen window, so I built simple recessed shelves between the studs and filled them with woven-look and fabric totes instead of plastic. It looks like a mudroom, not a storage unit, and I see it every day. The built-in part is easier than it sounds: the studs were already 40 cm apart, so I just added horizontal cleats and shelf boards between them — no framing, no drywall work, an afternoon’s project. The fabric totes hold the presentable stuff: gift wrap, table linens for outdoor dinners, the good picnic set. I wouldn’t put motor oil here, but that’s the point — zoning the garage by “how nice does this need to look” keeps the presentable zone presentable. Guests who see this wall assume the whole garage looks like this. It does not, and that’s fine.
7. Rolling Shelf Units with Stackable Totes
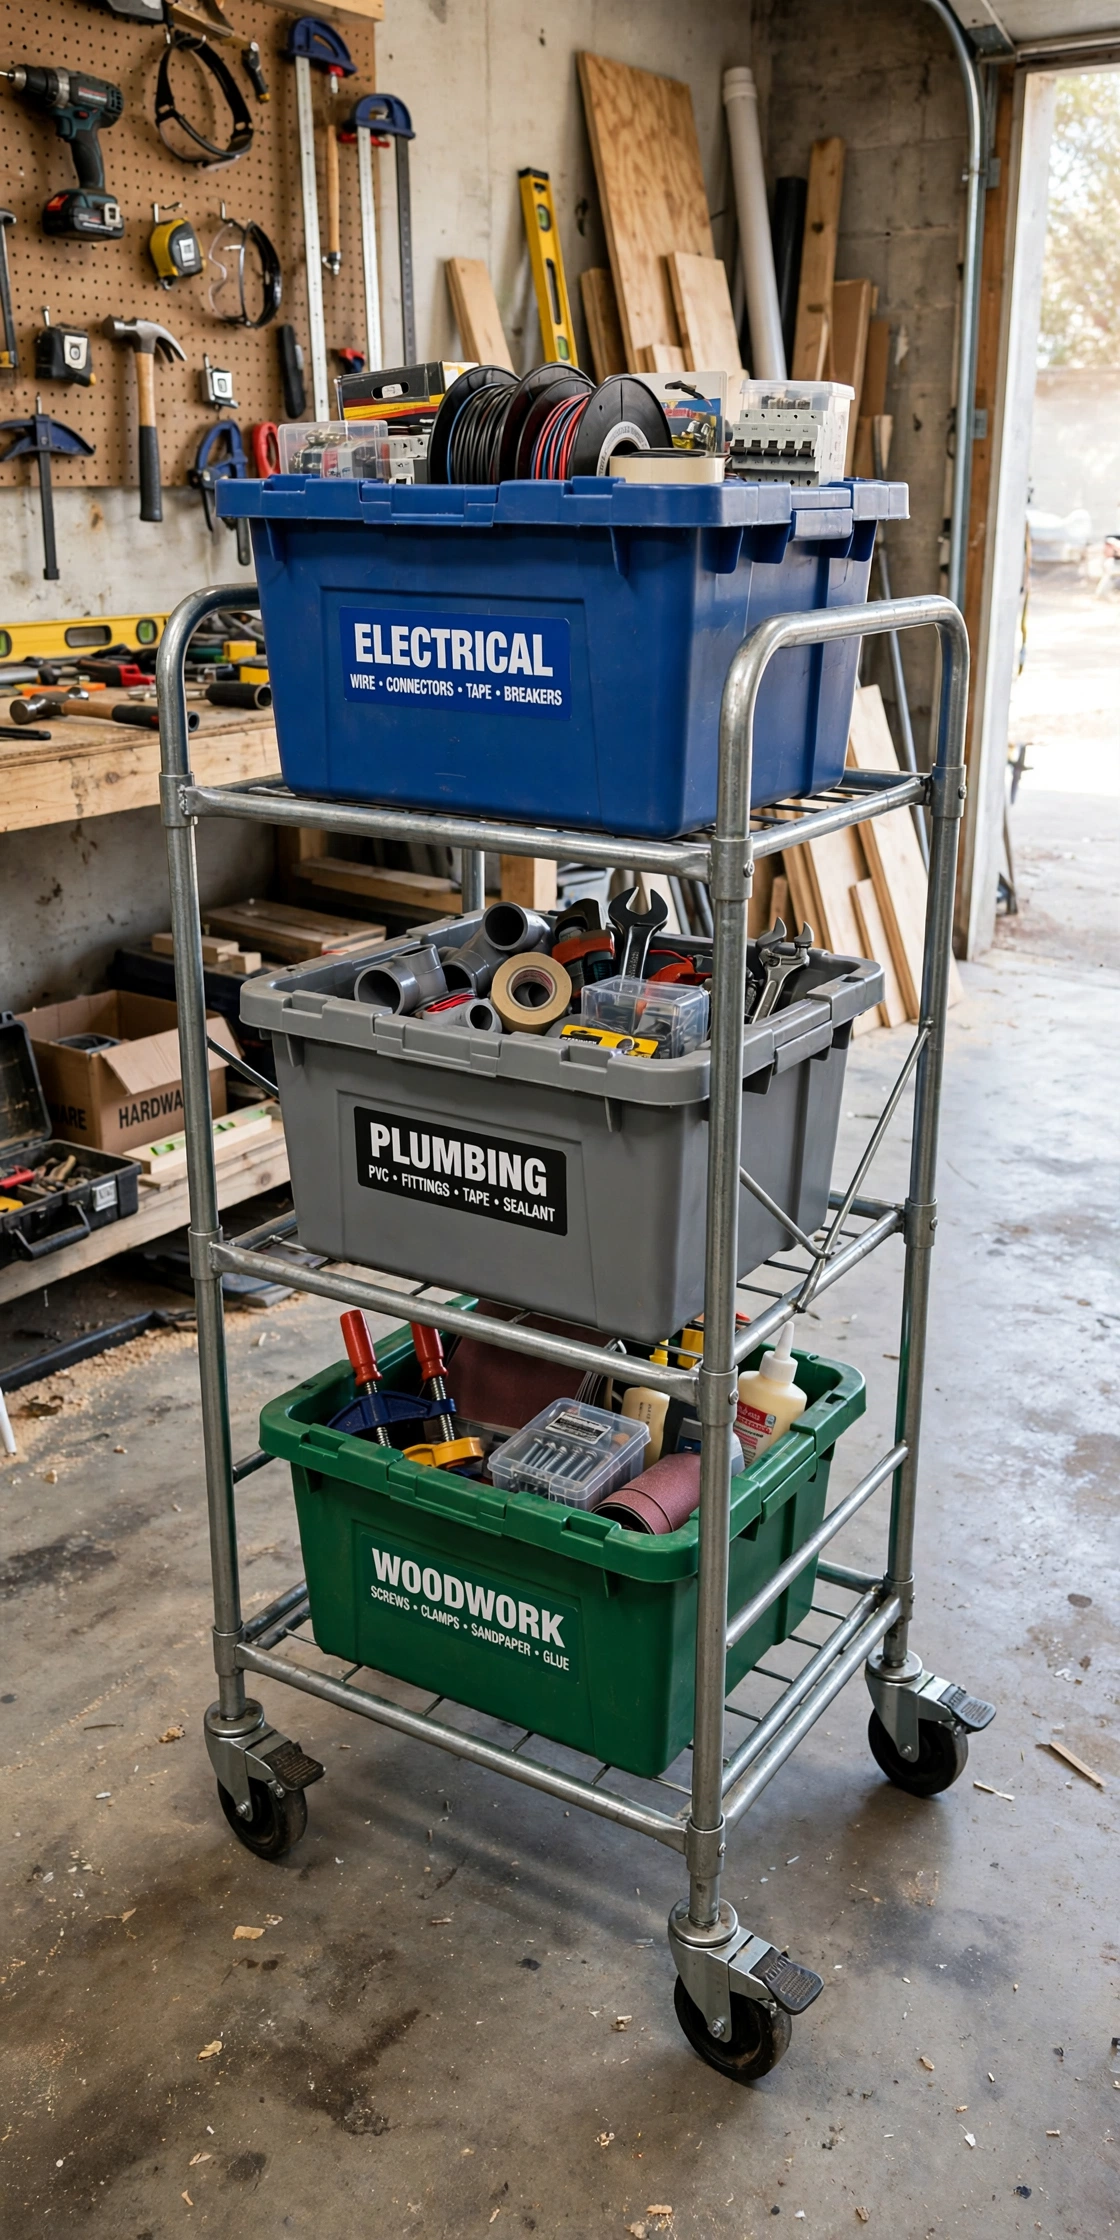
Two of my shelf units are on heavy-duty casters, and they’re the most flexible storage I own. When I’m working on a project, I roll the tool tote unit to wherever I’m standing; when the car needs the space, I roll them against the wall. The casters must lock — non-locking casters on a sloped garage floor mean your shelves go for a walk, which I discovered at 2 a.m. during a storm when one rolled into the car door. Stackable totes are the right container here because they nest when empty and stack securely when full; I use the interlocking-lid kind that click together so a rolling unit doesn’t shed totes over bumps. I keep project totes on these: “ELECTRICAL”, “PLUMBING”, “WOODWORK”, each with the tools and consumables for that trade. Roll the trade to the work, not the work to the trade.
8. Corner Shelving with Specialty Totes
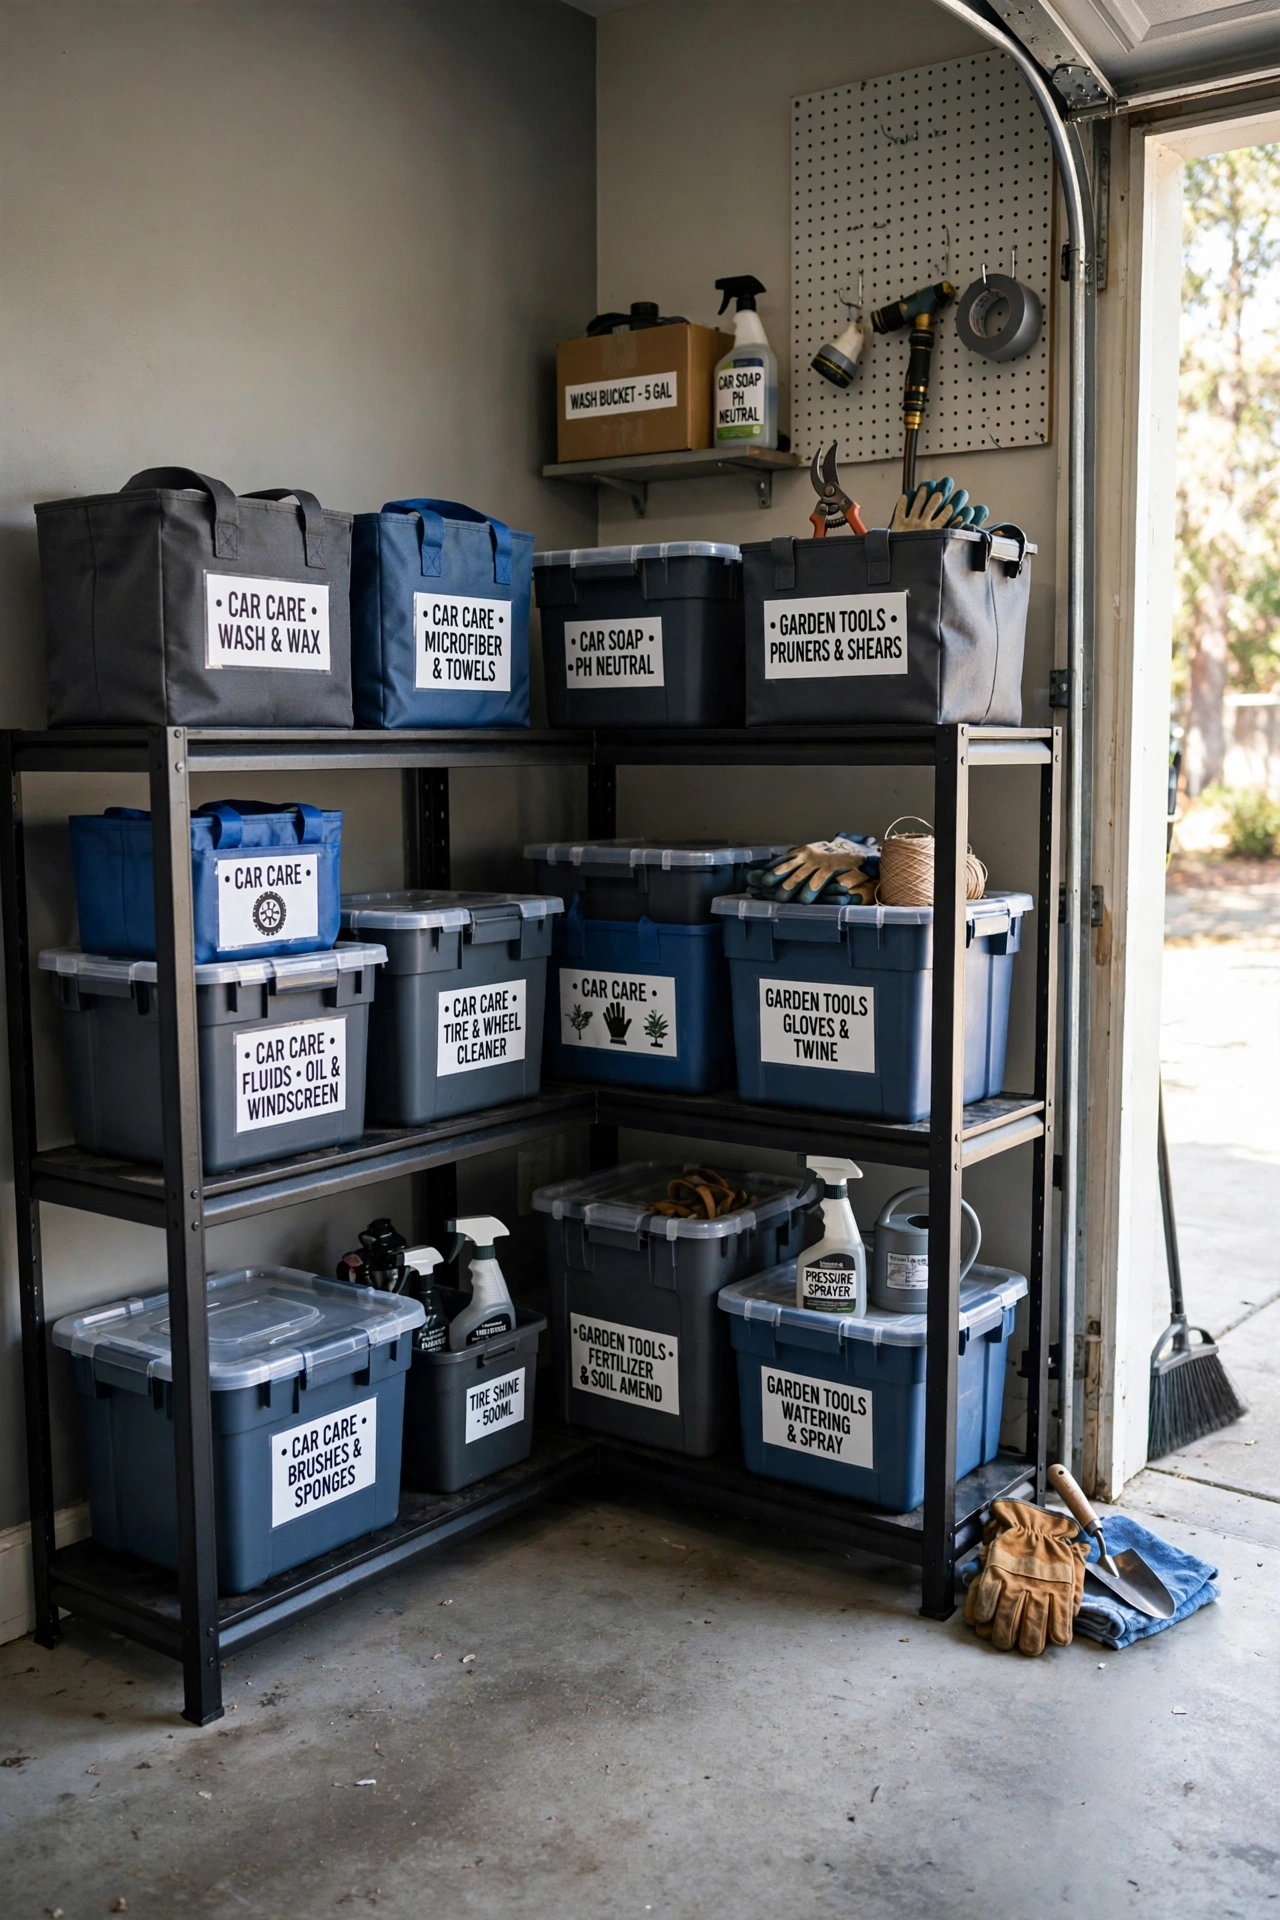
Garage corners are where things go to die — the dead triangle behind the door swing, the dark corner by the water heater. I put corner shelving units in both of mine and gave each a specialty: one corner is the “car corner” (washing supplies, tire chains, the emergency kit), the other is the “garden corner” (pots, soil, hand tools). Corner units designed as actual corners — L-shaped or triangular — use the space far better than a rectangular shelf shoved into a corner, which wastes the deepest part. The specialty-tote principle keeps these corners from becoming junk magnets: every tote has a defined category, and anything that doesn’t fit a category doesn’t live in the corner. I audit these corners twice a year because corners attract clutter like nothing else; fifteen minutes with a bin bag keeps them honest.
9. Open Shelving with Transparent Totes for Quick Access
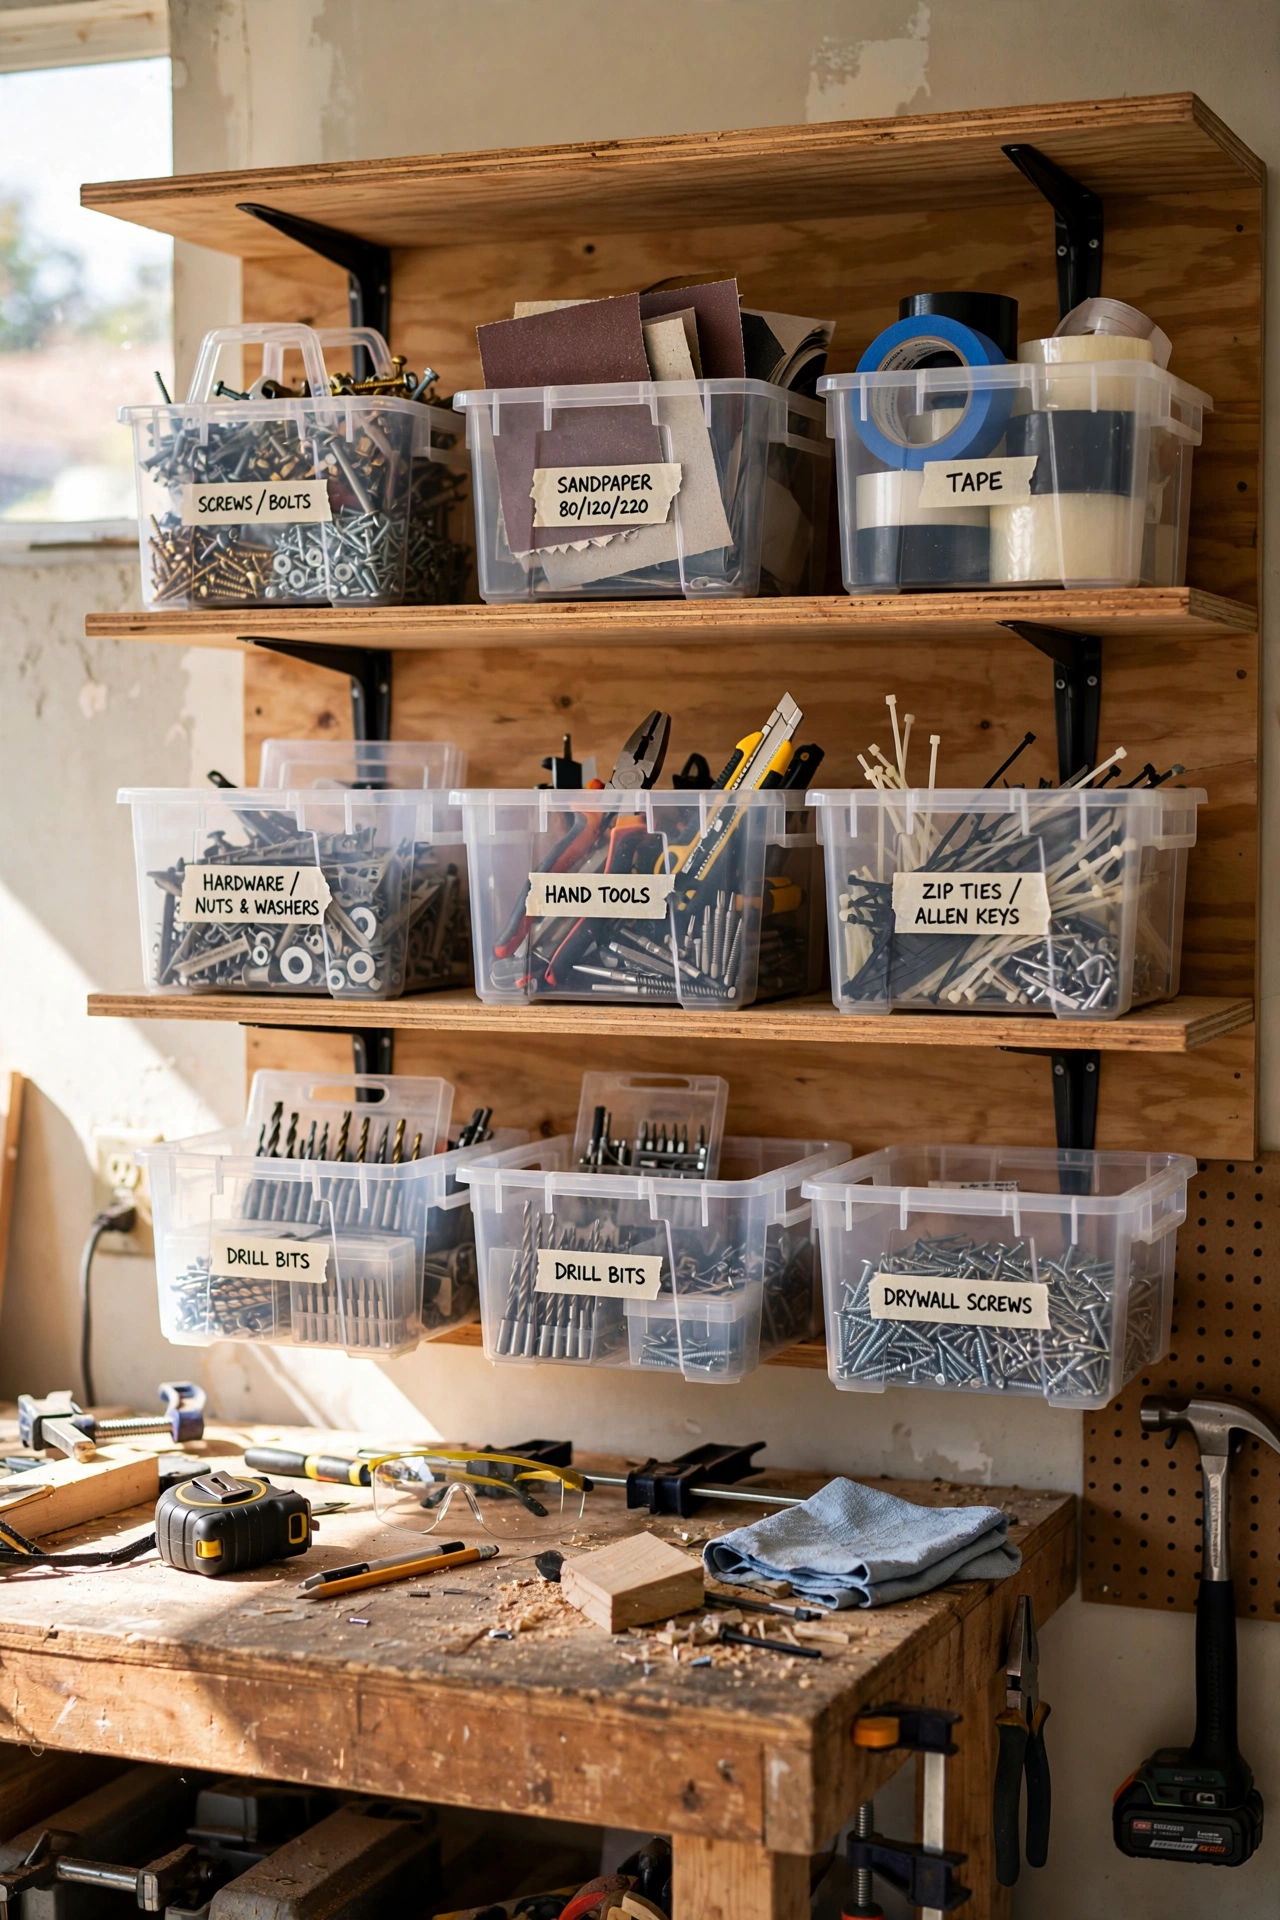
Right by the workbench I keep open shelving — no doors, no curtains — with transparent totes for the things I reach for mid-project: screws, wall plugs, sandpaper, tape, glue. The transparency is non-negotiable here; when your hands are full and you’re mid-task, you need to see the right tote without opening three wrong ones. I sort these by project phase rather than by item type: “MEASURE & MARK”, “FIX & FILL”, “FINISH & PAINT”. It sounds odd, but when I’m working I think in phases, not in categories, and the tote I need is always the phase I’m in. The totes are small (20-liter) because small totes get opened and closed constantly and big ones become rummage bins. Open shelving collects dust — accept it, and keep a microfiber cloth on the shelf itself so wiping takes ten seconds, not a dedicated cleaning session.
10. Hybrid Storage System: Shelves + Tote Wall
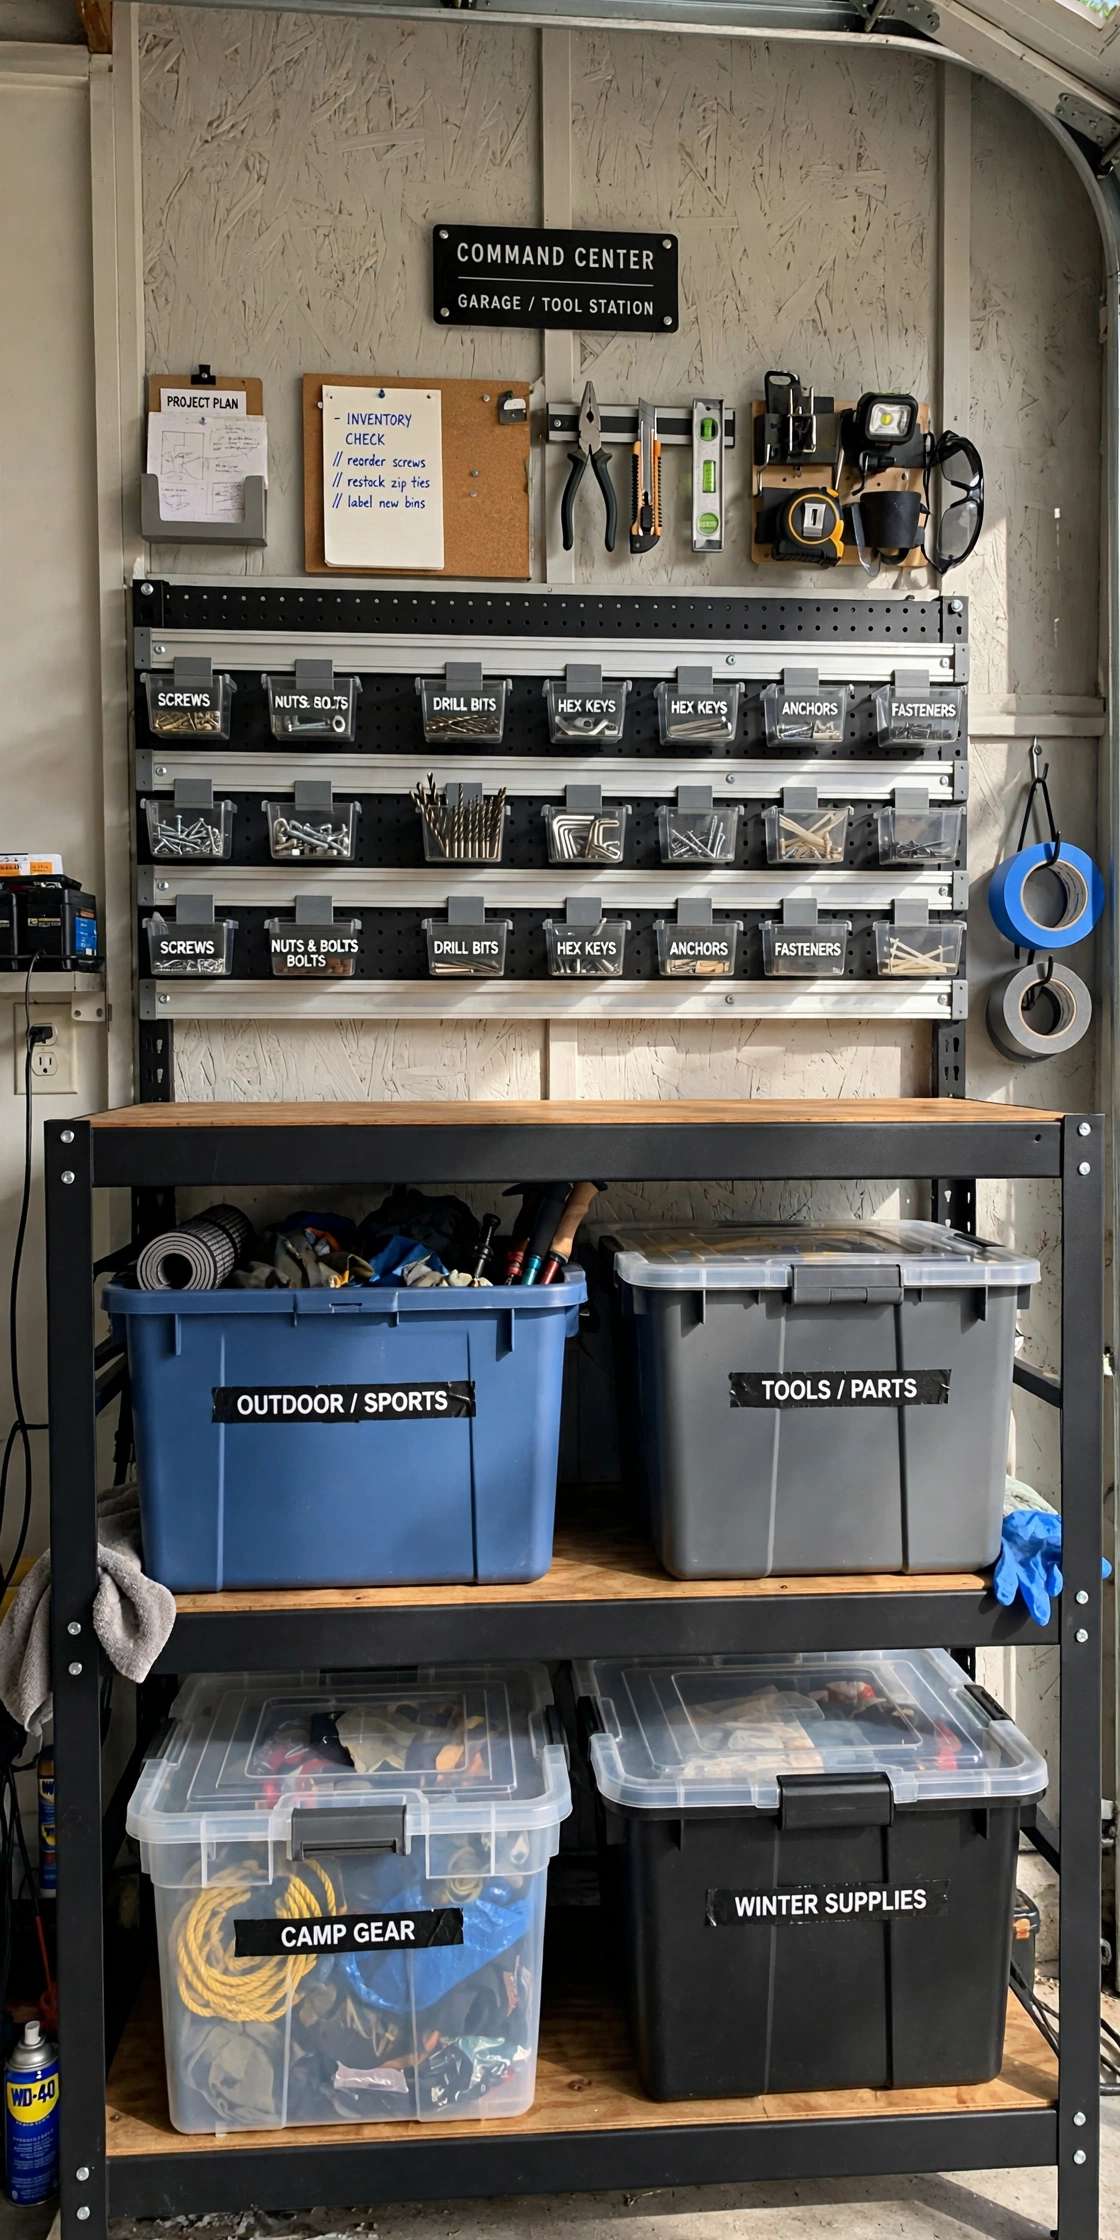
The final evolution of my garage is the hybrid wall: deep shelving on the lower half for bulky totes, and a pegboard-style tote wall above with small hanging bins for the fiddly stuff. The lower shelves hold the 60-liter totes; above them, at eye level, a rail system with clip-on bins holds screws, hooks, batteries, zip ties — everything too small for a tote and too annoying for a drawer. This wall is the command center: I can see every small consumable at a glance, and the bins lift off their rails to carry to the workbench. Building it took a weekend — French cleats for the rails, so the whole bin wall is reconfigurable — and it’s the part of the garage I show people. The principle underneath it: big things in totes on shelves, small things in bins on the wall, nothing on the floor. Two years on, the floor is still clear, and that’s the real victory.
Conclusion
The drill test is my benchmark: can I find the drill in under a minute, in the dark, without moving anything else? These days, yes — it’s in the “POWER TOOLS” tote on the heavy-duty shelf, second from the left, labeled on two sides. Clear totes, real shelving, honest labels, nothing on the floor. That’s the whole system, and it survived two years of real garage life.