I started saving toilet paper rolls the winter my nephew came to stay with us in Munich, because I had promised him a rainy-day project and the weather kept its side of the bargain for a full week. We had a drawer full of empty rolls, a box of wooden craft sticks left over from a birdhouse that never quite happened, and about three euros’ worth of acrylic paint from the discount shelf at the craft shop. By the end of that first afternoon we had five wobbly little planes lined up on the windowsill, and I had learned that a cardboard tube, a bit of patience, and glue that actually dries are all you really need to keep a child happily busy for hours.
Before you start, gather the basics: empty toilet paper rolls (paper towel rolls cut in half work just as well), wooden craft sticks, cardboard scraps, acrylic or washable kids’ paint, school glue or a low-temperature glue gun, split pins for spinning propellers, and small extras like buttons, wooden beads, stickers, and washi tape. I keep most of this in one shoebox now, and it costs almost nothing to restock.
1. The Classic Popsicle Stick Biplane
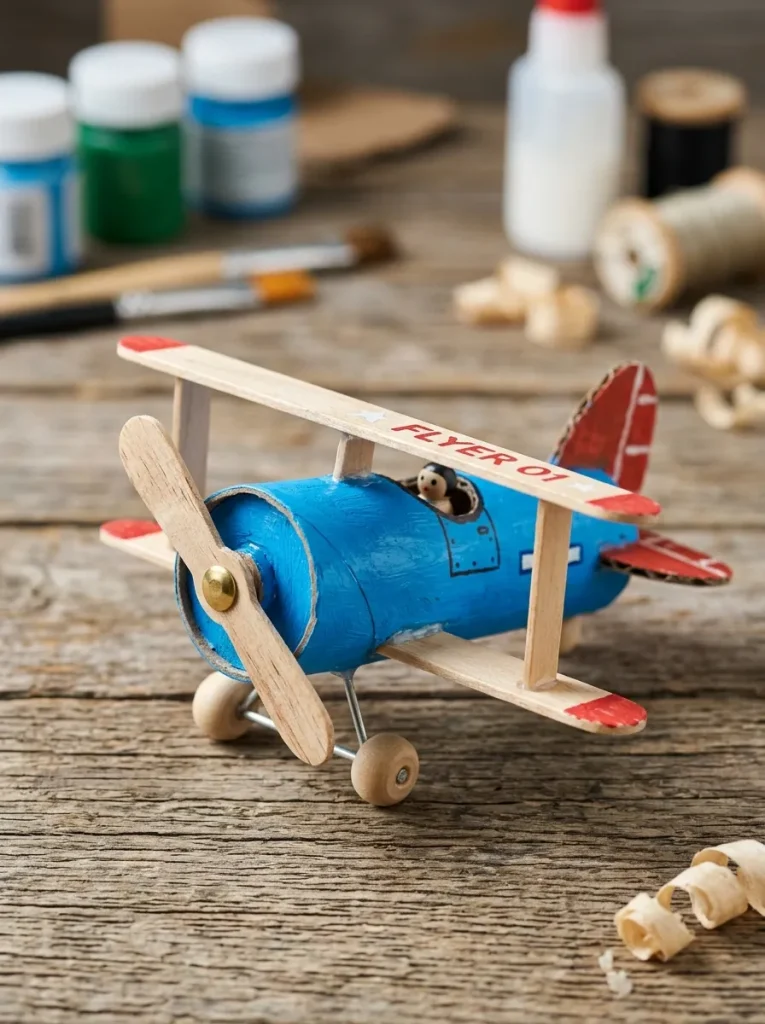
This was the very first plane my nephew and I built, and it is still the one I recommend to anyone starting out, because it forgives almost every mistake a small pair of hands can make. I painted the roll a cheerful red first and let it dry properly — a full twenty minutes on the radiator, because paint that looks dry on cardboard usually is not — then glued two large craft sticks across the top and bottom of the front for the double wings. The trickiest part is the propeller: I cut a small craft stick in half, punched a hole through its middle, and fixed it to the front of the tube with a split pin so it spins freely. My nephew spent the rest of the afternoon blowing on it to make it turn, which honestly felt like the whole point.
2. The Sleek Jet Fighter
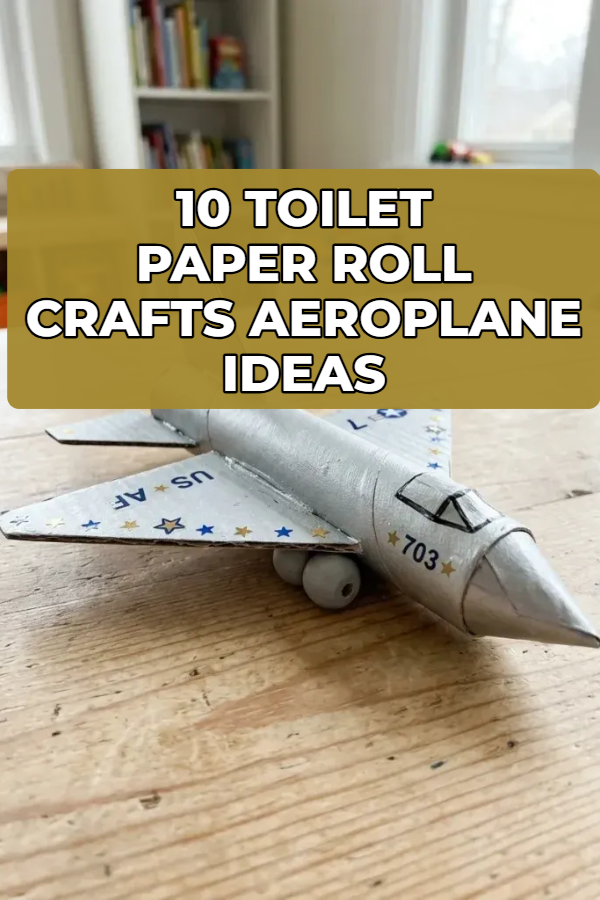
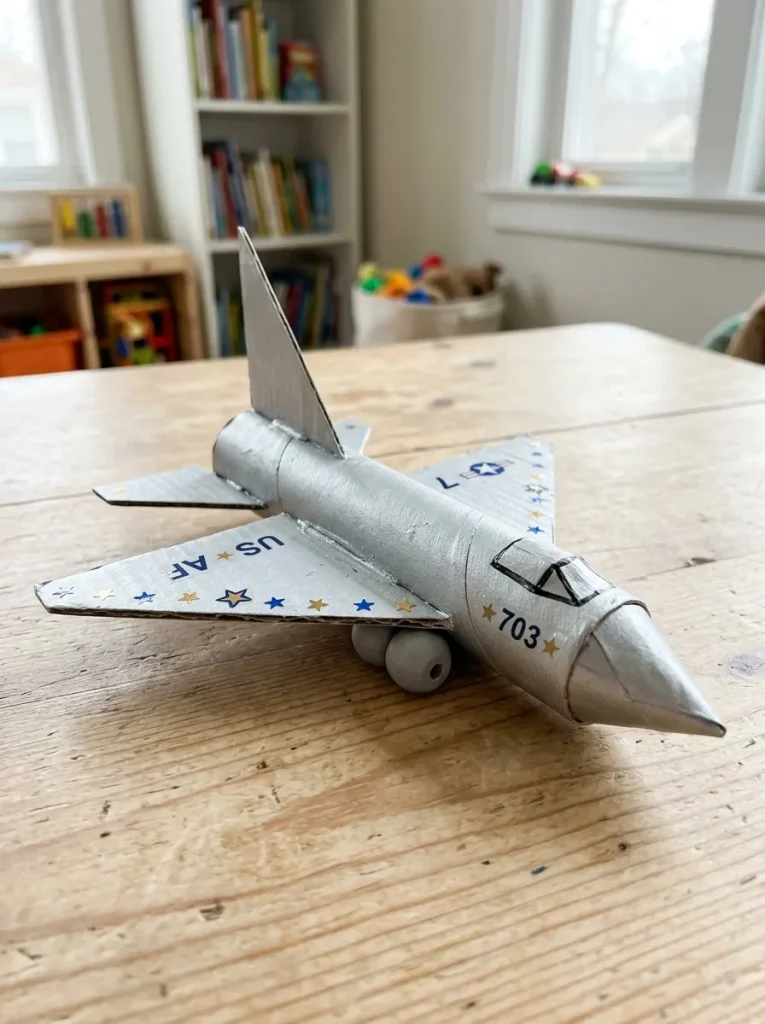
Once the biplane worked, my nephew immediately wanted something faster, so we made this jet the next morning and I learned that a little bit of silver paint goes a long way on a cardboard tube. I painted the roll slate grey, then cut two long angled wings from thick cardboard and glued them flush to the sides, sweeping them back toward the tail so the plane actually looks like it is going somewhere. Two small wooden beads glued underneath became the engines, and a few star stickers and a racing stripe along the side finished it off. The wings need a good ten minutes of holding or a couple of pegs to keep them in place while the glue sets, and I learned the hard way that rushing this step means re-gluing a wing mid-flight, usually at the least convenient moment.
3. The Colorful Cartoon Flyer
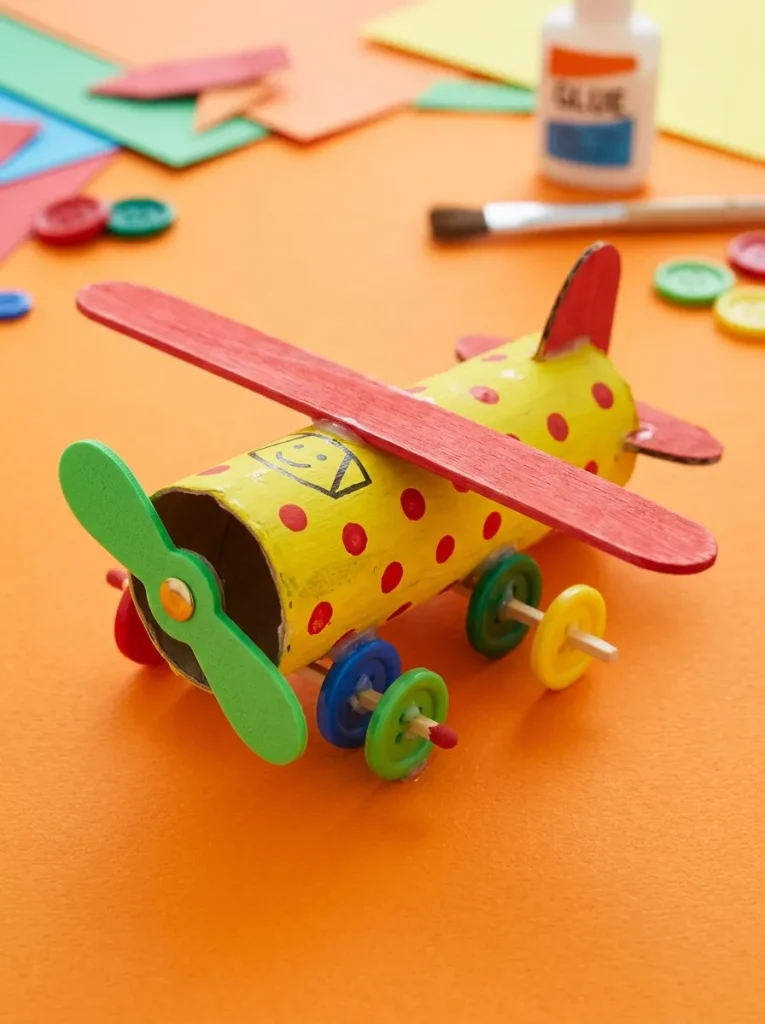
This is the plane for the child who wants to use every colour in the paint box at once, and I have stopped trying to talk anyone out of it because the result is always joyful. I painted the tube bright yellow and added red polka dots with the end of a cork, then glued a wide craft stick across the middle for wings and stuck four colourful buttons along the bottom as landing wheels. A small foam propeller at the nose completes it, and the whole thing takes about half an hour including drying time. What I love about this one is that there is no wrong way to decorate it, so even a three-year-old can make something they are genuinely proud of, and the buttons double as wheels that actually roll across the kitchen table.
4. The Rescue Seaplane (Water Bomber)
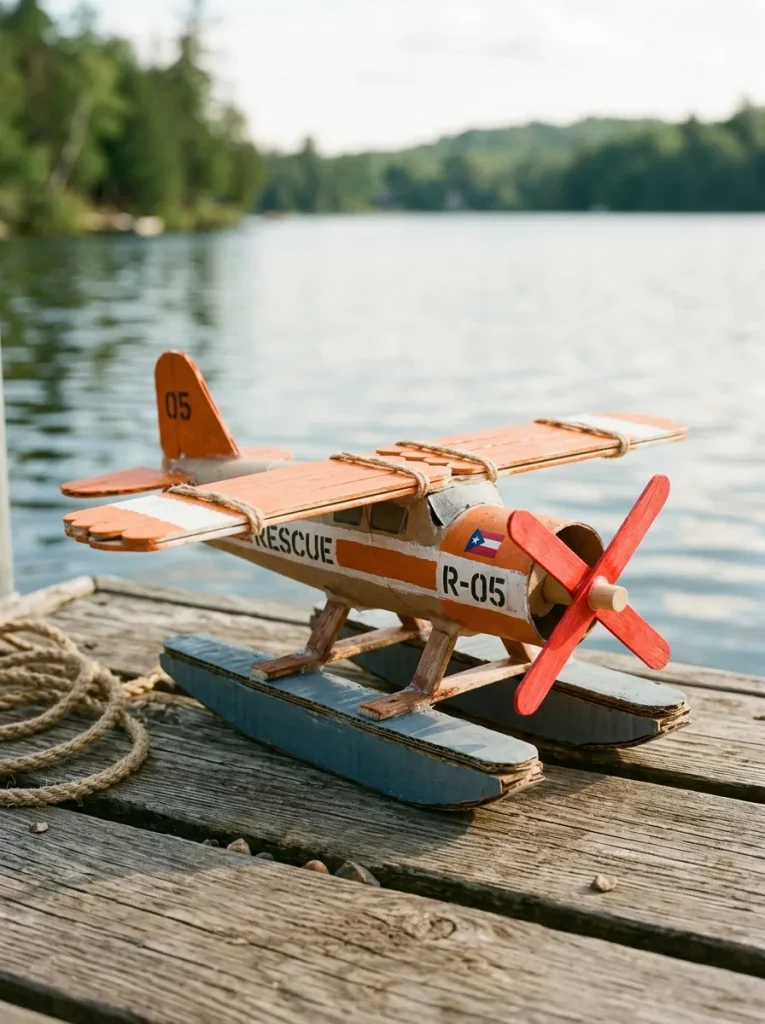
The seaplane came about because my nephew insisted his plane needed to land on water, and once he said it I could not argue with the logic. I painted the roll bright orange and white, glued wide popsicle stick wings across the top, and then built the pontoons from two extra-wide craft sticks fixed underneath the belly, raised slightly on small wooden bead spacers so they sit like proper floats. A red propeller at the nose finished it, and we tested it in the bathtub that evening, where it floated perfectly and earned a round of applause. If you make this one, use waterproof glue or a glue gun for the pontoons, because school glue softens the moment it gets wet and you will be rebuilding floats before bedtime.
5. The Recycled Cardboard Monoplane
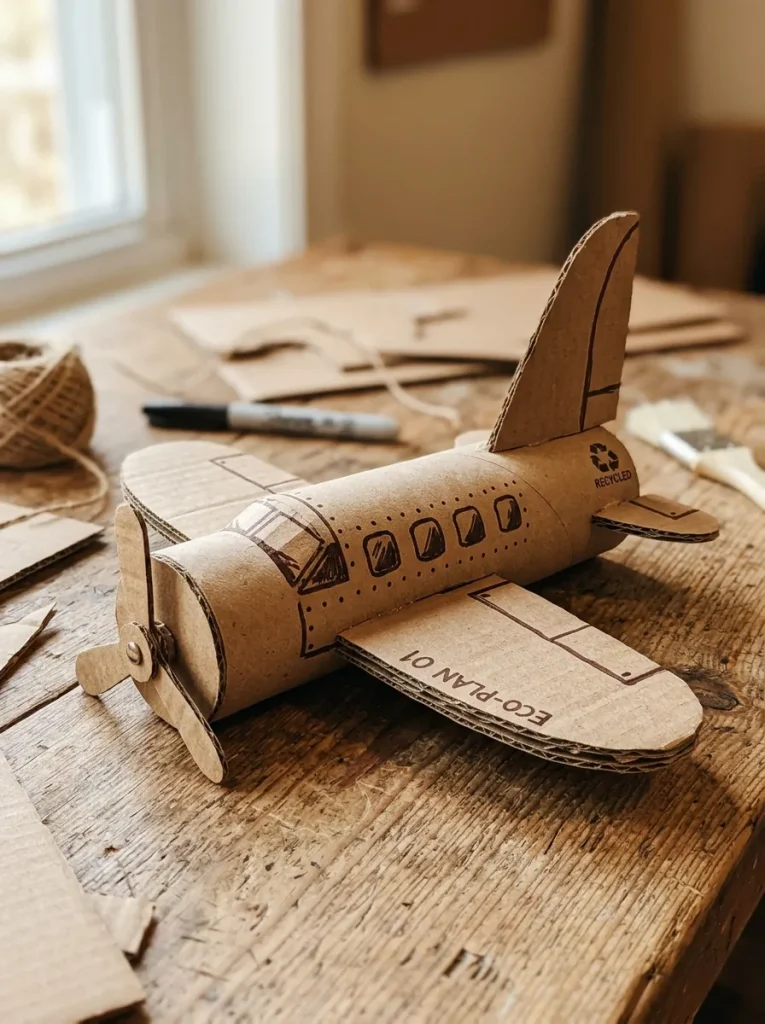
This is my favourite of the ten, partly because it costs literally nothing and partly because it looks so honest sitting on a shelf. I left the roll in its natural brown, cut wide rounded wings and a curved tail fin from an old shipping box, and slid the wing straight through two small slits cut into opposite sides of the tube, which makes a joint so sturdy it has survived being dropped down the stairs more than once. A dark brown marker gave it pilot windows and little rivets along the fuselage, and that was it — no paint, no glitter, no drying time. It is the plane I make when I want to show a child that you do not need a craft shop to build something good, just a box that was heading for the recycling bin anyway.
6. The Flying Superhero Jet
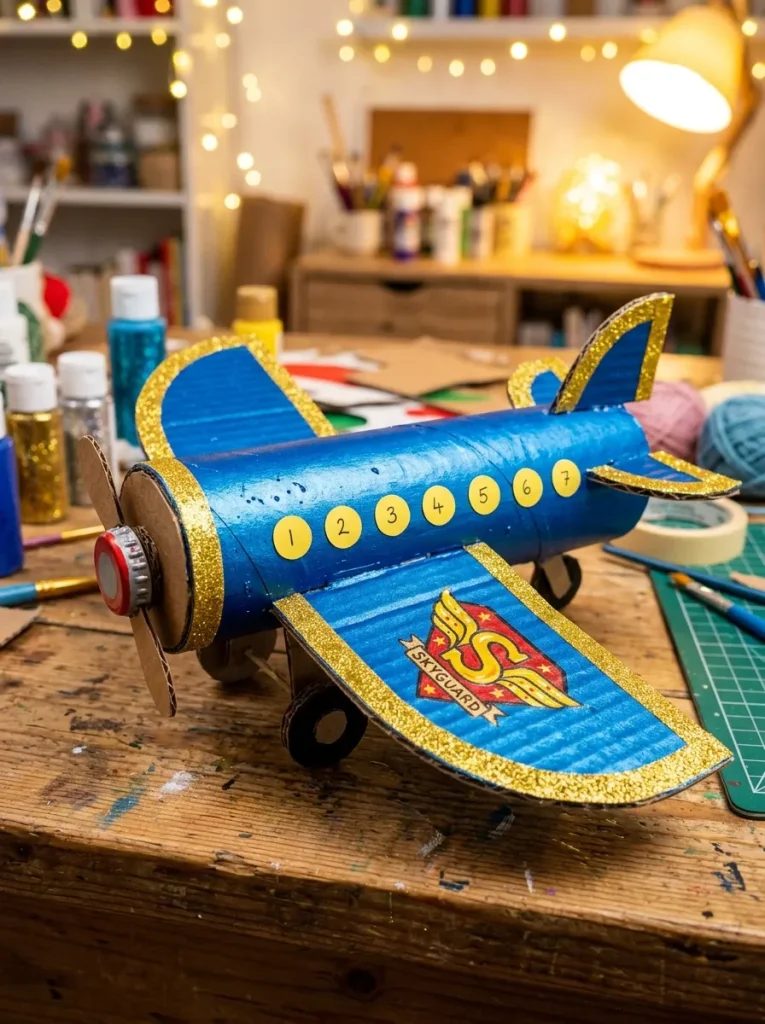
Every child I know has a favourite superhero, and this jet lets them paint that hero straight onto a plane, which is why it disappears from the windowsill faster than any of the others. I painted the roll deep blue, glued broad cardboard wings to the top, and painted a simple shield emblem on the front wing with gold and red acrylic — it does not need to be perfect, just bold. Yellow paper circles along the fuselage became the windows, and a strip of metallic gold tape along the wing edges gave it the shine that makes it feel special. My nephew flew this one around the flat for a week straight, and the tape is the detail I would never skip now, because it catches the light and makes a cardboard tube look like something worth protecting.
7. The Vintage Propeller Glider
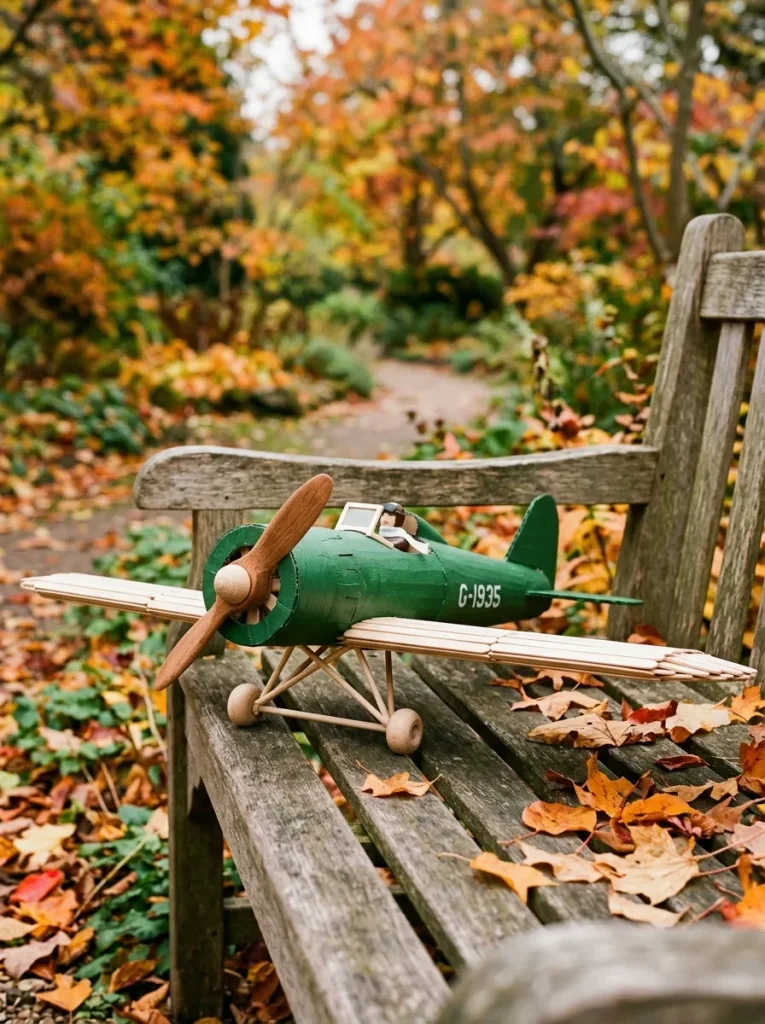
This one is for a quieter afternoon, when you want to sit and make something elegant instead of racing through a pile of paint. I painted the roll forest green, used extra-long craft sticks for the wings to give it that long glider silhouette, and fixed a large two-blade wooden propeller to the front with a brass brad so it spins with a satisfying little whirr. A small wooden bead under the nose and one under the tail became the landing gear, and I left the decoration minimal — just a thin gold stripe — because the shape does the work here. It took a little longer than the others, mostly waiting for paint to dry between coats, but it is the plane that still sits on my bookshelf months later, and guests keep asking where I bought it.
8. The Space Shuttle Transport
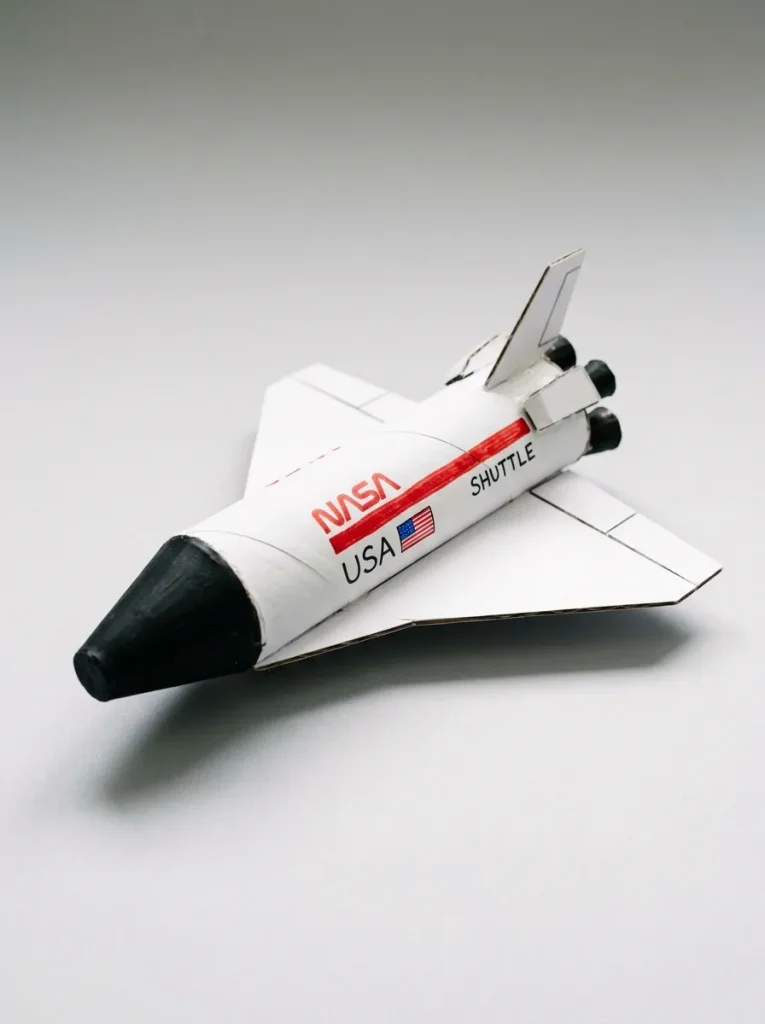
After the superhero jet, my nephew decided we needed a spaceship, and this shuttle was my compromise between a plane and a rocket. I painted the tube solid white with a black nose cone at the front, then cut two large triangular delta wings from black cardstock and glued them along the bottom edges of the tube. A red marker gave it the stripes and little flag details along the fuselage, and the whole thing looks surprisingly convincing for something made from a toilet roll. The white paint needs two coats on cardboard or it goes patchy, which I discovered halfway through the first one and had to fix, so save yourself the trouble and do the second coat before you glue anything on.
9. The Washi Tape Racer

If you have a very young child, or a very short window before lunch, this is the plane to make, because there is no paint and no drying time at all. I wrapped the whole roll in overlapping strips of colourful washi tape, did the same for two wooden craft sticks, and glued the taped sticks to the top and bottom of the roll before adding a bright foam propeller at the nose. My nephew finished his in about fifteen minutes and then immediately wanted to make a second one in different colours, which tells you everything about how well it works. Washi tape is forgiving in a way paint is not — you can peel it off and start again — and a mixed pack from the euro shop costs about two euros and lasts for dozens of planes.
10. The Twin-Engine Passenger Airliner
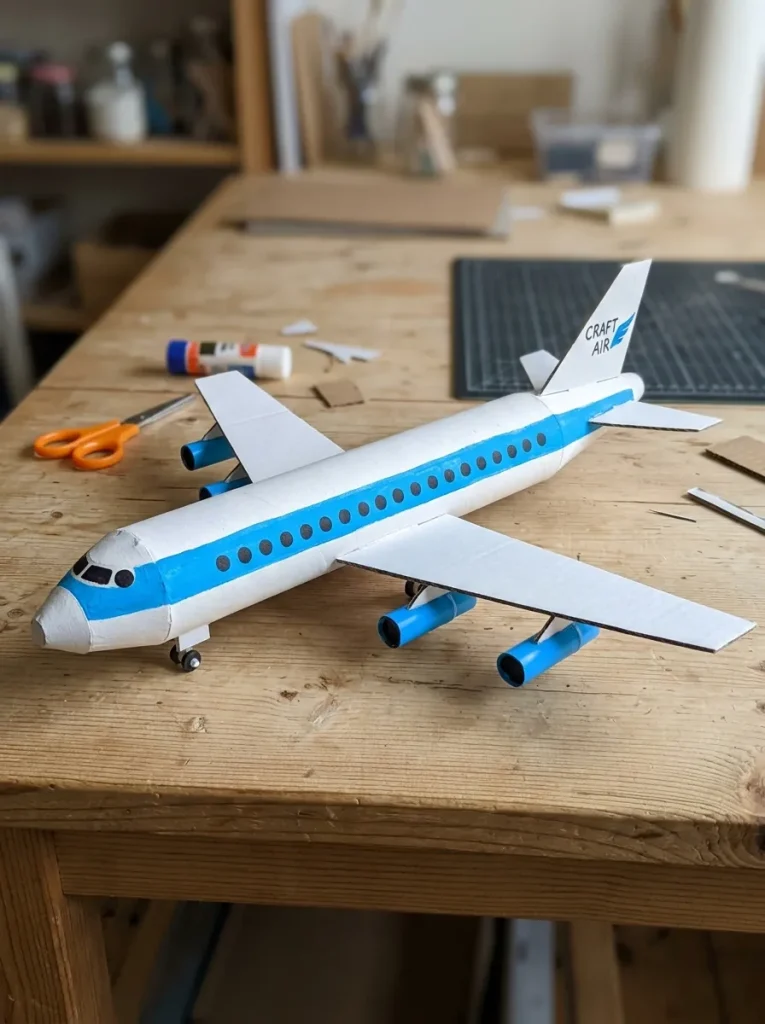
This is the most ambitious plane in the set, and the one my nephew shows off to anyone who visits, because it looks like a real airliner once the windows go on. I painted the tube white with a bright blue stripe running along the middle, cut long straight cardboard wings and attached them underneath, then made the two engines from a drinking straw cut into short segments and glued one under each wing. The passenger windows are the detail that sells it: I punched small black paper dots with a hole punch and glued them in a neat row along the blue stripe, which takes patience but is the kind of fiddly work children love. It took us the best part of an hour, and it now hangs from the ceiling on a piece of fishing line, circling gently whenever someone opens a window.
Conclusion
Ten planes later, I still keep a small stash of empty rolls in the cupboard, because I have learned that the best craft afternoons are the unplanned ones. Start with the biplane if you are new to this, pick whichever of the others catches your eye after that, and let the child choose the colours — the plane will fly just as well in pink as it does in silver. The windowsill squadron in my flat keeps growing, and honestly, I would not have it any other way.