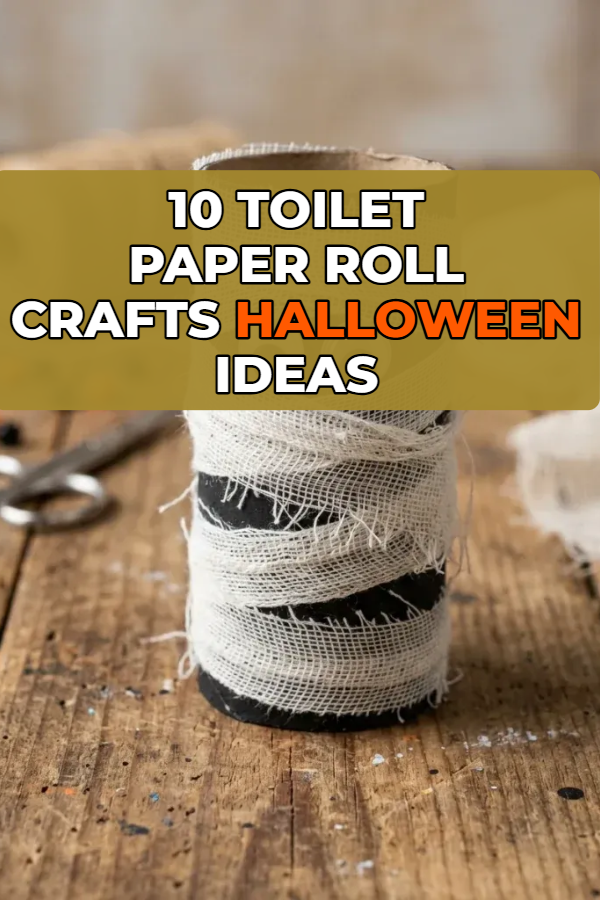
Last October I looked at the kitchen bin in my Munich flat and realised I had been throwing away the best free craft supply in the house. I had a shoebox full of empty toilet paper rolls, a half-used set of acrylic paints, and a weekend with nothing planned, so I decided to see how far ten cardboard tubes could go as Halloween decoration. By Sunday evening my windowsill looked like a small haunted village that had cost me almost nothing. These are the ten figures I made, in the order I tried them, with everything I learned along the way.
1. The Gauze-Wrapped Mummy
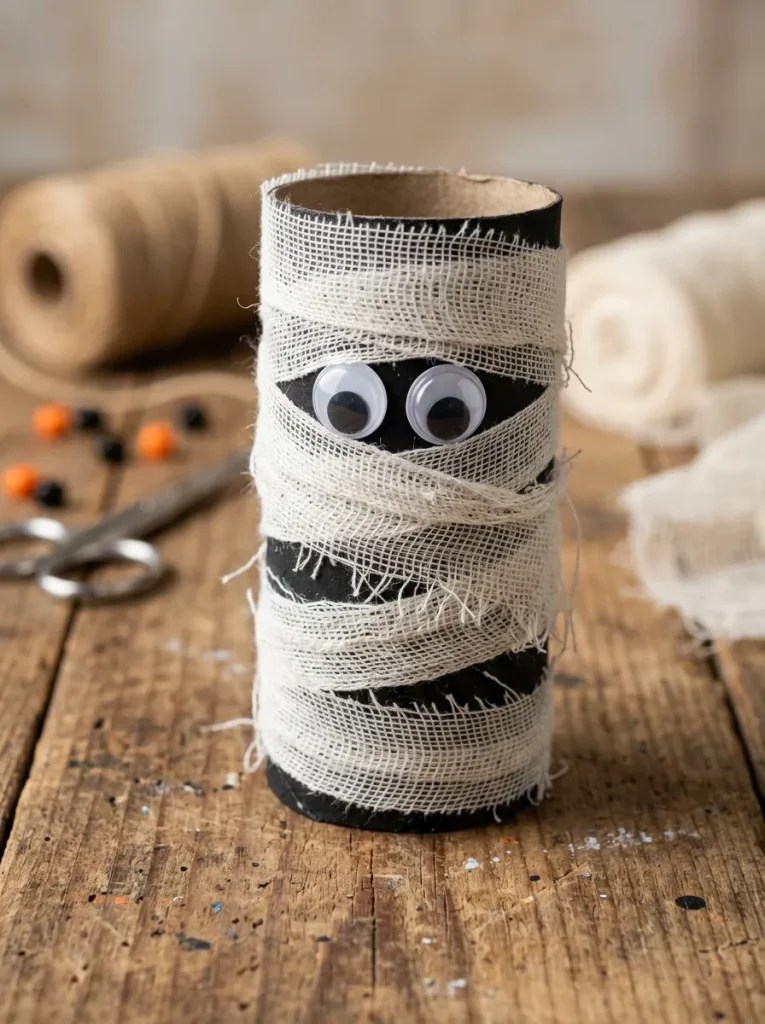
I started with the mummy because it forgives almost every mistake, and I needed an easy win before the paint dried on anything else. I painted the tube a dark brown first, which took about ten minutes with one coat of acrylic, and while it dried I cut strips of gauze from an old first-aid roll I found in the bathroom cupboard. I glued two large googly eyes near the top third of the tube, then wrapped the gauze strips around it at random angles, leaving the eyes peeking through the gaps. The dark paint underneath matters more than I expected, because it makes the white wrapping look shadowy instead of clean, and that is what gives the mummy its properly spooky face. I learned the hard way not to wrap too tightly near the eyes, since my first attempt covered one eye completely and I had to peel the whole thing off and start again. A dab of glue at the end of each strip keeps everything in place, and mine has survived two Octobers on the shelf without unravelling.
2. The Spooky Black Bat
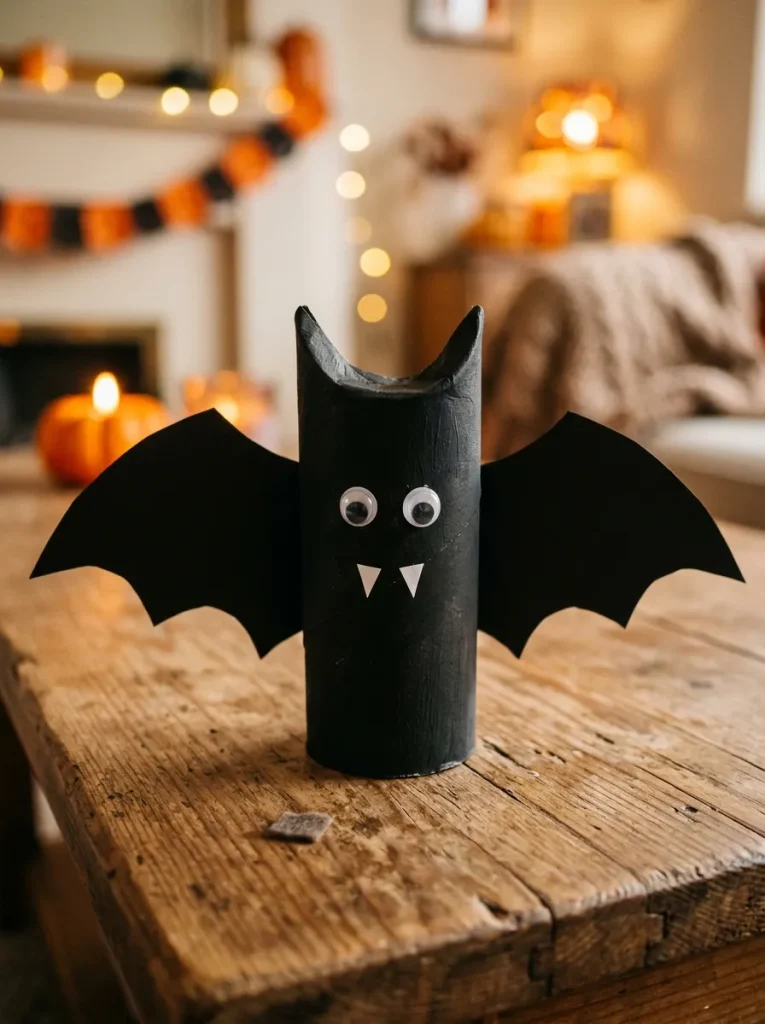
The bat was the second one I made, and it is still the one visitors pick up first when they come into the flat. I painted the whole tube black and let it dry for a good half hour, because black acrylic on cardboard looks grey and patchy until the second coat goes on, and rushing it is the fastest way to a disappointing result. Once the paint was dry I folded the two top edges of the roll inward toward each other, which forms those curved little ears without any cutting at all, and I was surprised how sturdy the fold feels once it sets. I cut two wing shapes from black construction paper and glued them to the back, then added small googly eyes and two white paper triangles for fangs. What worked for me was gluing the wings on last, after the ears, because I could then hold the tube up and see exactly where the wings should sit so the bat looks balanced. Mine hangs from a thread on the hallway mirror every October, and the wings have never torn, even after being packed away in a box all year.
3. Frankenstein’s Monster
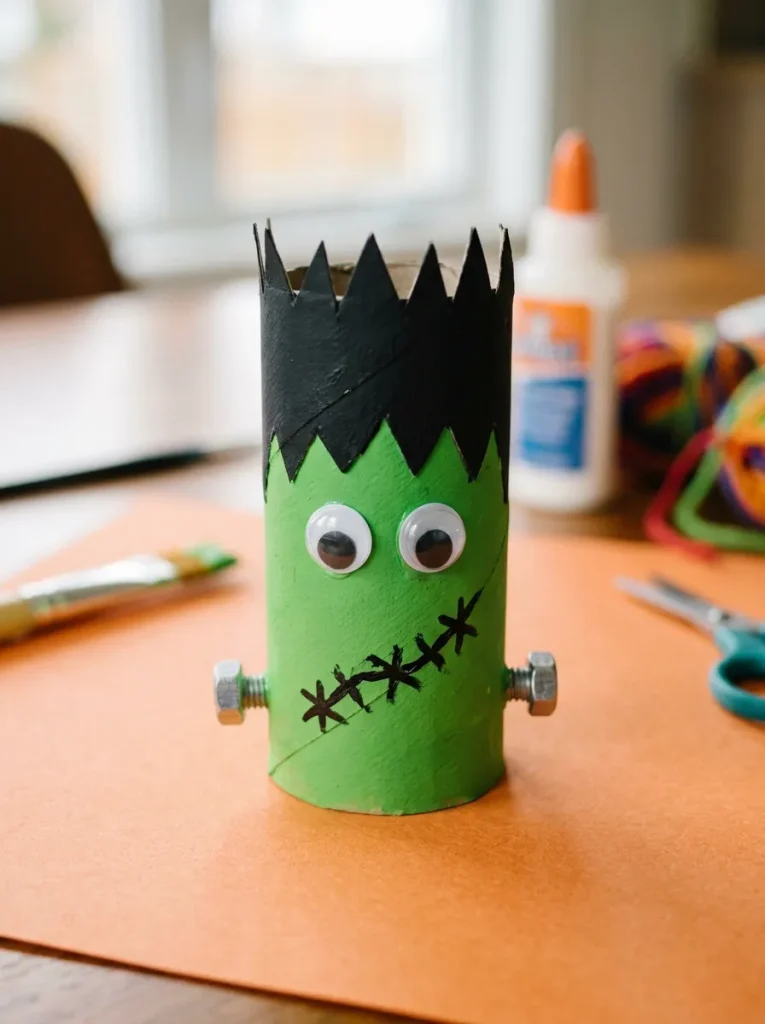
Frankenstein took the most paint of all ten figures, but he also got the biggest reaction from my neighbour’s kids, so I consider the effort well spent. I painted the top quarter of the tube black for his hair and the lower three quarters a bright green, and I used a small brush to paint a jagged black fringe down from the black section so the hairline looked uneven and properly monstrous. I drew a stitched scar across his forehead with a black marker, added two googly eyes that sit slightly crooked on purpose, and glued two small grey paper circles to the sides near the bottom for his neck bolts. In my flat I used silver-painted pasta shapes for the bolts on the second one I made, and honestly those looked even better because they catch the light. The mistake I made the first time was painting the green over wet black, which turned the edge muddy, so now I always let the black dry completely before I touch the green. He stands on my bookshelf next to the mummy, and the pair of them together looks far more expensive than the few cents of paint they used.
4. The Glowing Jack-O’-Lantern
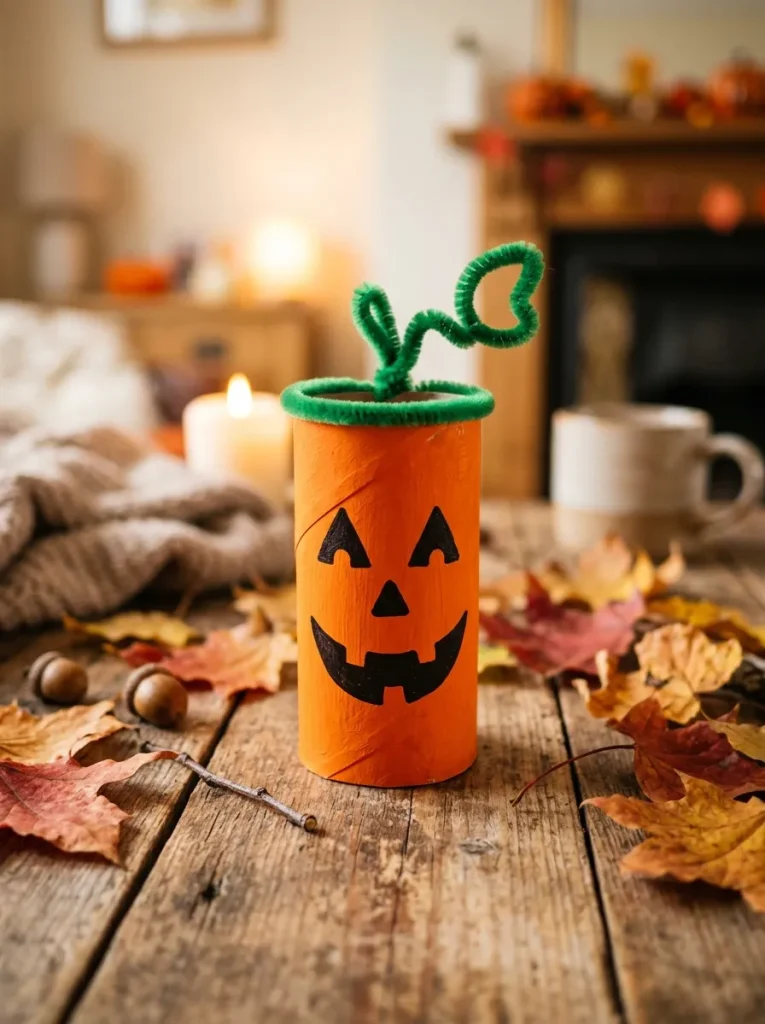
The jack-o’-lantern is the simplest figure in the whole set, and I made three of them in one evening because they are so quick once you have the orange paint out. I painted the tube bright orange with two coats, letting the first dry for about twenty minutes, and then I drew the face with a black marker: two triangle eyes, a small triangle nose, and a wide jagged mouth. On one of mine I cut the face shapes from black construction paper instead and glued them on, which gives a flatter, bolder look that photographs really well. I punched a tiny hole at the top rim and pushed a green pipe cleaner through it for the stem, twisting it into a little curl, and that one small detail is what makes people realise it is a pumpkin and not just an orange tube. If you want a glow effect, a battery tea light tucked inside the open bottom throws a soft light through the paper face, and I have done that on the windowsill on Halloween night itself. Just remember to use a battery light, never a real candle, because cardboard and flame do not mix.
5. The Friendly Vampire (Count Dracula)
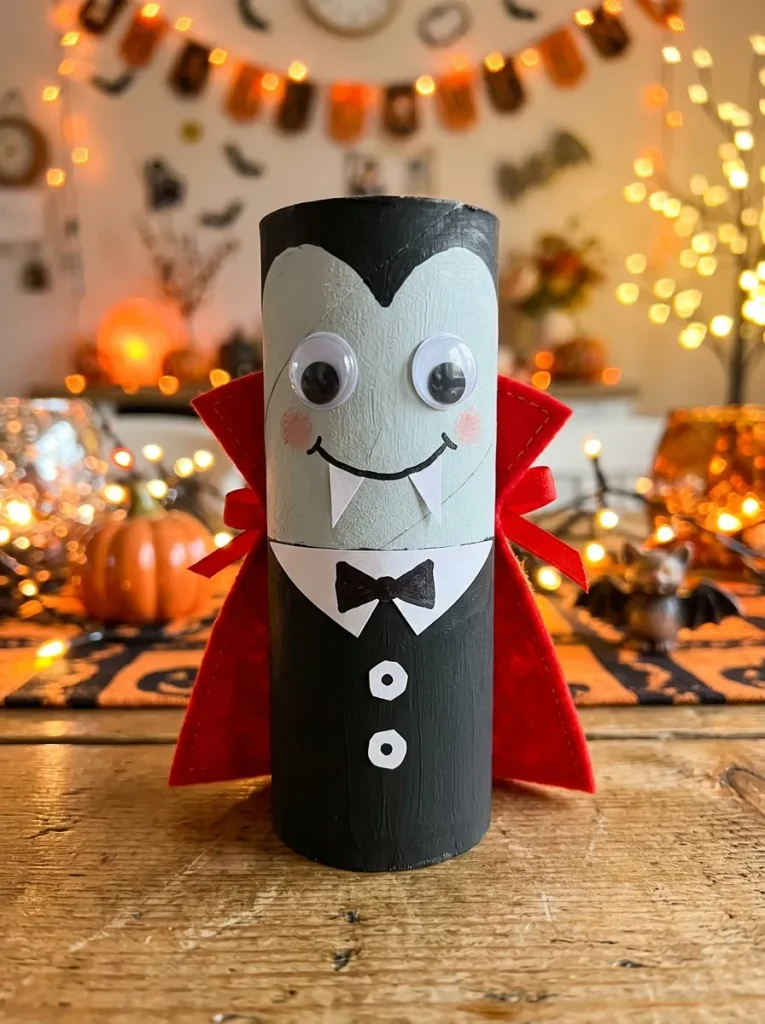
The vampire was the figure I enjoyed painting most, because the two-tone design makes him look dressed up even though he is made from a cardboard tube. I painted the top half a pale skin tone and the bottom half black for his suit, then painted a black widow’s peak hairline across the top so his forehead came to that classic pointed shape. I glued a small red paper cape to the back, which took one rectangle of red construction paper and about a minute, and I drew a red mouth with two sharp white paper fangs sticking down from it. The googly eyes went on last, and I chose slightly different sizes for each eye, which gives him a charmingly lopsided expression instead of a flat stare. What I learned is that the cape needs to be glued high enough that it does not cover the black suit section, or the whole figure reads as one dark block. Mine sits on the sideboard with the witch, and the two of them look like they are having a conversation every time I walk past.
6. The Wicked Witch
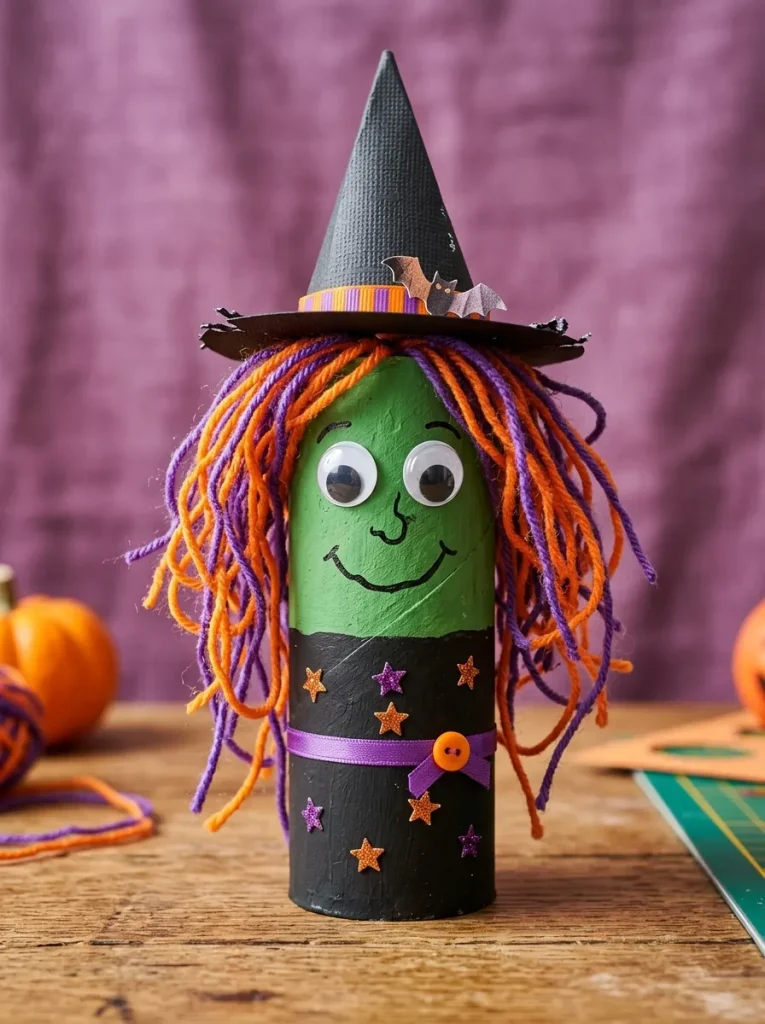
The witch took the longest to assemble, mostly because of the hat, but she is the one I am proudest of. I painted the tube green for her face and black for her dress, then glued strands of black and orange yarn along the top rim for messy hair, letting the strands hang down unevenly over the green face. I cut a circle from black cardstock for the hat brim, slid it over the top of the roll, and topped it with a paper cone to form her pointed hat, fixing the cone in place with a strip of tape hidden inside. I added a crooked black marker smile and two googly eyes, and the crooked smile is genuinely the detail that makes her look wicked rather than just green. My first hat cone was too tall and kept tipping the whole figure over, so I shortened it by about a third and the balance improved immediately. If your tube tips over easily, by the way, a small stone or a coin glued inside the bottom rim with hot glue sorts the weight out in seconds. She now guards the front door every October, and I still smile every time I see her.
7. The Woven Yarn Monster
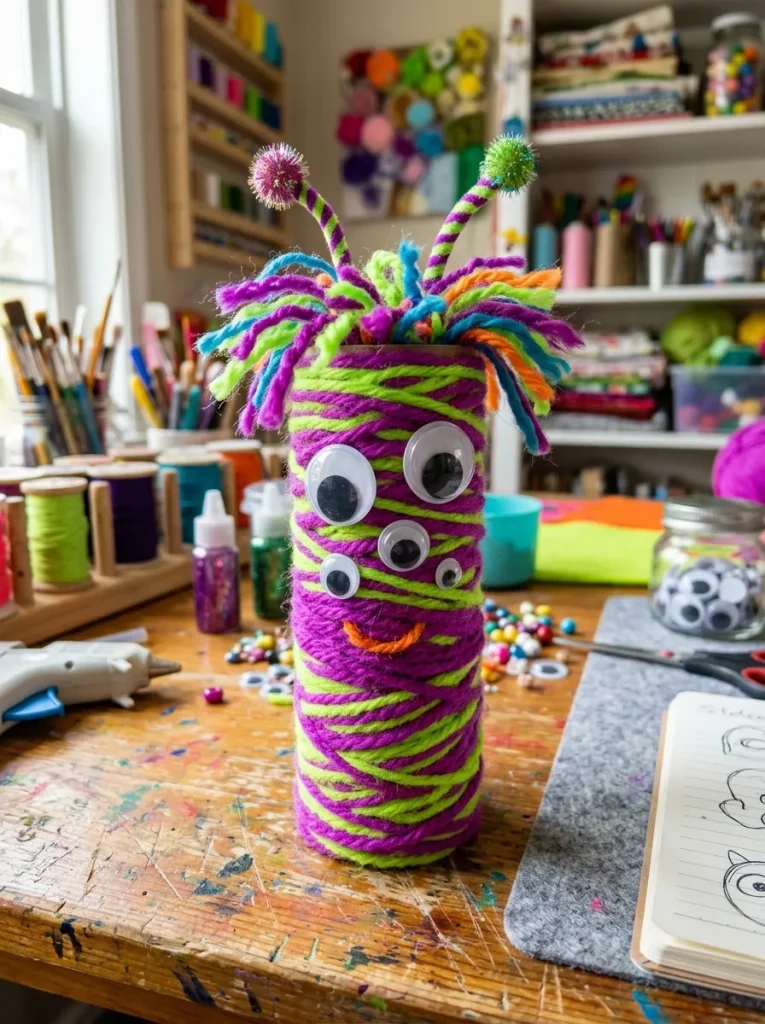
The yarn monster is the messiest and the most fun of the ten, and it is the one I would hand to a child first because there is no way to get it wrong. I coated the middle section of a cardboard tube with craft glue and wrapped bright purple yarn tightly around it from top to bottom, overlapping each round slightly so no cardboard showed through. It took about ten minutes of steady wrapping, and I kept the tension even by holding the tube in one hand and turning it slowly rather than pulling the yarn around it. Once the yarn was secure I glued three googly eyes of different sizes onto it, which gives the monster a funny multi-eyed alien look that always makes people laugh. I used neon green yarn on a second one and orange on a third, and the three of them together look like a little monster family on the shelf. The only thing I would warn about is glue on your fingers, because yarn sticks to everything while the glue is wet, so keep a damp cloth nearby. Mine has held together perfectly, and the yarn texture hides every imperfection underneath it.
8. The Glowing Ghost
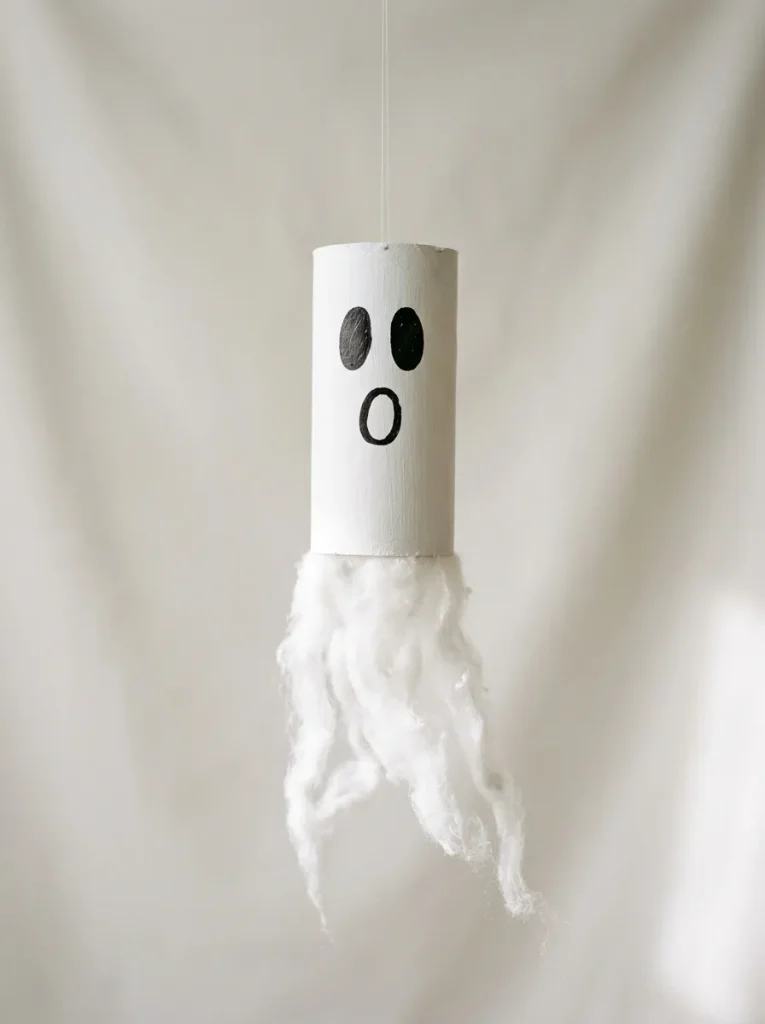
The ghost is the fastest figure I made, and it is the one I recommend when you only have twenty minutes before guests arrive. I painted the entire tube solid white, or on one version I wrapped it in white printer paper, which works just as well and dries instantly. I used a black marker to draw two large oval eyes and an open O-shaped mouth, and I took my time with the mouth because a slightly wobbly circle looks far more ghostly than a perfect one. For an extra touch I glued wispy white cotton balls inside the bottom rim so they hang down like a ghostly tail, and a few strips of white tissue paper do the same job if you have no cotton balls. I learned that the eyes need to sit high on the tube, roughly in the top third, or the ghost looks surprised in the wrong way. A battery tea light inside the bottom makes the whole tube glow softly on Halloween night, and I have used mine that way on the windowsill for two years running. It costs almost nothing, takes almost no time, and still gets compliments.
9. The Black Cat
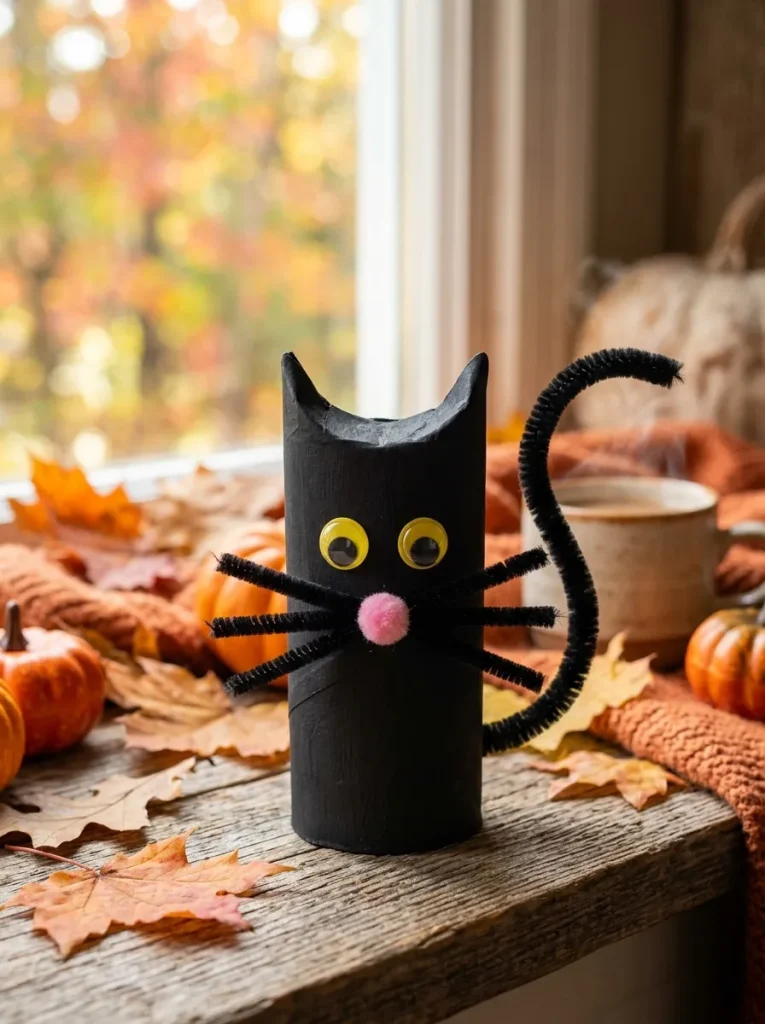
The black cat is my personal favourite of the ten, partly because the ears use the same fold as the bat and I felt clever the second time I did it. I painted the tube black with two coats, folded the top rim inward to form pointy cat ears, and glued on bright yellow googly eyes, which I think are the key to the whole figure because yellow against black reads instantly as a cat. I glued three small pieces of white pipe cleaner on each side of a small pink pom-pom nose for whiskers, and I attached a long black pipe cleaner to the back for a curling tail, bending the end into a little hook. The whiskers were fiddly, and I found it easiest to glue the pom-pom nose on first and then push the pipe cleaner pieces into the glue around it rather than trying to position everything at once. My cat sits on the windowsill next to the pumpkin, and the yellow eyes catch the evening light in a way that makes visitors do a double take. If you make only one figure from this list, I would honestly pick this one.
10. The Haunted House Tree
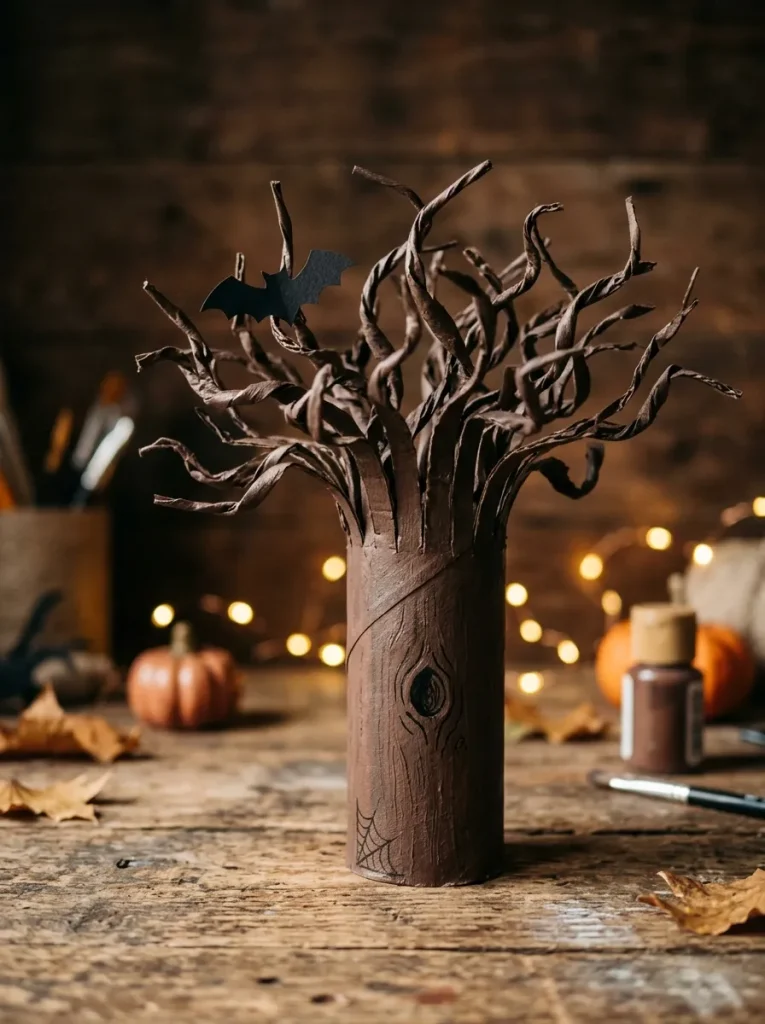
The haunted tree was the last one I made, and it is the most sculptural of the set, which surprised me because it starts as nothing more than a brown tube. I painted the tube dark brown and made four vertical cuts about five centimetres deep into the top, then bent and twisted the cut cardboard strips outward so they looked like bare, twisted branches reaching up. I drew a small hollow knot in the trunk with a black marker, and on one version I glued a tiny paper owl into the branches, which I cut from a scrap of grey cardstock in about two minutes. The trickiest part is getting the branches to stay bent outward, and I found that scoring the cardboard lightly at the base of each cut with a craft knife helps the strips hold their shape without tearing. I weighted the base with a coin inside the bottom rim, because a top-heavy tree tips over at the slightest touch, and that small fix saved it from several falls. It stands at the end of my windowsill row now, and it ties the whole group together like the tree at the edge of a haunted garden.
Conclusion
Ten cardboard tubes, a few euros of paint, and one Saturday afternoon gave me a windowsill full of Halloween figures that I still bring out every October, and none of them cost more than a coffee. If you try these, start with the mummy or the ghost, because the easy wins give you the confidence to tackle the witch and the tree, and keep a damp cloth nearby for the glue. I keep mine in a shoebox between seasons, and every year I am pleased all over again that something headed for the bin turned into the decoration people ask about most.