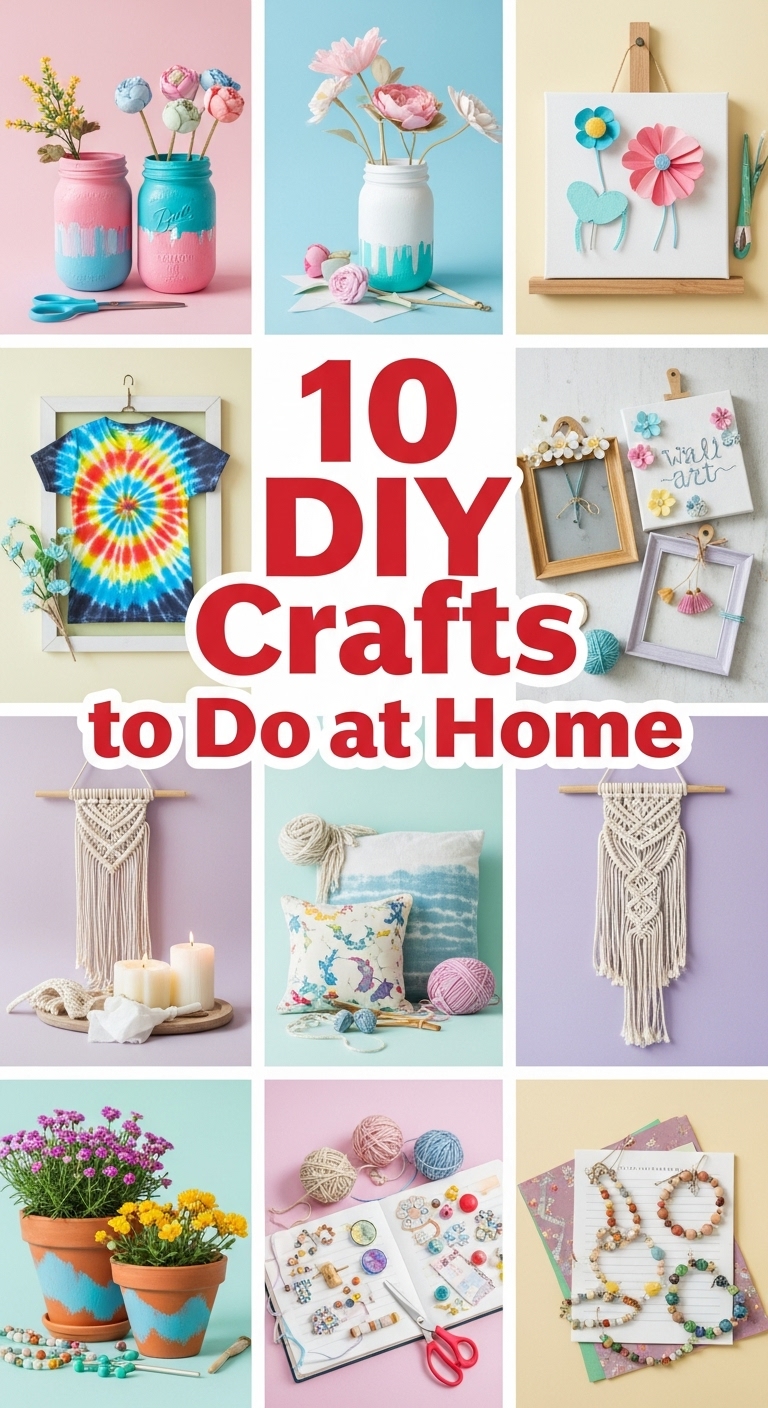
My craft corner started as a single cardboard box under the kitchen table, the kind where you throw half-finished things and good intentions. That was four years ago, and now I have a proper work table in the hallway, a glue gun with its own drawer, and a reputation among friends as the person who can turn a jam jar into a birthday present. Every craft below is one I have actually made in my Munich flat, with the costs, the drying times, and the mistakes left in.

1. Mason Jar Herb Planters

I started my windowsill herb garden the spring my kitchen felt too bare, and mason jars were the cheapest pots I could find. I scrubbed six jars I already had, dropped a two-centimetre layer of pebbles in each for drainage — gravel from the garden centre, 3 EUR for a bag that lasted forever — then filled them with potting soil and sowed basil, mint, and parsley directly. The twine-tied labels were my favourite part: little cardboard tags with the herb names in my wobbliest handwriting. One honest warning from my first attempt: mint in a jar will still try to take over, so give it its own jar and don’t plant it with the basil unless you want minty everything. Four years later the jars are still going, and I haven’t bought a plastic basil pot since.
2. Pallet Wood Wall Art

A neighbour was throwing out a broken pallet last autumn and I rescued it before the bulky-waste truck came, which is the entire budget story of this project: zero EUR for materials. I pried the planks apart with a hammer, sanded every edge twice because pallet wood is vicious with splinters, and arranged the pieces into a chevron pattern on the living room floor until it looked right. I stained half the planks with leftover walnut stain and left the rest raw for contrast, then glued the whole thing onto a plywood backing and hung it with two D-ring hooks. My mistake the first time was skipping the sanding on the back edges — I scratched the wall putting it up and had to repaint a strip. Sand everything, including the parts nobody sees.
3. Upcycled T-Shirt Tote Bags

I made my first t-shirt tote the evening before a flea market, when I realised I had nothing to carry my finds home in. I took an old band t-shirt I never wore anymore, cut off the sleeves and the neckline in a wide scoop, then cut the bottom hem into fringe strips about ten centimetres long and knotted them in pairs to close the bag. No sewing, no glue, fifteen minutes total. The knotted base holds more than you’d think — I’ve carried library books and a baguette in mine without incident. The tip I wish someone had given me: use a t-shirt that’s slightly too big rather than fitted, because the knotted fringe eats about ten centimetres of length. Mine has survived two years of grocery runs and one memorable incident with a leaking milk carton.
4. Hand-Painted Terracotta Pots

Plain terracotta pots are 2 EUR at the garden centre and look like it, so one rainy Sunday I bought six and a set of acrylic paints and turned them into the prettiest things on my balcony. I wiped each pot with rubbing alcohol first — this is the step everyone skips and it’s why the paint peels — then painted mandala dots with the blunt end of a paintbrush and an ombre band on two of them. The waterproof varnish on top is non-negotiable for anything that lives outside; my first unsealed pot went blotchy after one Munich downpour. Three of mine became birthday gifts wrapped in brown paper, and the recipients genuinely thought I’d bought them at a market. Total cost per pot: under 4 EUR, most of it the varnish.
5. DIY Macramé Wall Hangings

I learned macramé from a video tutorial I paused roughly four hundred times, sitting on my couch with a bag of cotton cord that cost 14 EUR. The first piece took me an entire December evening and hangs above my bed now, slightly crooked, which I have decided is charm. You only need two knots to start: the square knot and the spiral knot, and everything else is just repeating them until it looks like something. I mounted mine on a wooden dowel from the craft shop and added a few wooden beads I had left over from another project. My practical advice: measure your cord at four times the finished length you want, because running out of cord halfway through a row is the specific heartbreak of this craft. It also makes a genuinely good gift — I’ve given three and kept two.
6. Customized Cork Coasters

After a dinner party where I counted eleven corks in the recycling, I started saving them for coasters, and now it’s my favourite use for a bottle of wine. I sliced the corks lengthwise — a sharp bread knife works better than anything fancy — and glued them cut-side-down onto round cork bases from the craft shop, about 5 EUR for a pack of six. I stained the edges with strong espresso for a dark rim on two sets, and painted metallic gold accents on the third. The polyurethane seal on top is what makes them actually usable; without it, the first hot mug leaves a ring you’ll stare at forever. One set lives on my coffee table, one went to my mother, and the gold one is reserved for guests I want to impress.
7. Paper Flower Bouquets

I made my first paper flowers for a friend who kills every plant she touches, and they sat in her hallway vase for two years without a single wilted petal. Coloured cardstock, scissors, and floral wire are the whole shopping list — I used a pack of cardstock I already had, so the project cost me nothing. I cut petal shapes, curled the edges around a pencil for dimension, and layered them around the wire stems, finishing with a dab of hot glue. The trick that makes them look real instead of crafty is varying the petal sizes: big outer petals, small inner ones, like an actual rose. I sprayed mine very lightly with a floral perfume, which sounds silly until someone leans in and smiles. They are also the perfect allergy-free option — my hay-fever friend keeps hers year-round.
8. Fabric Scrap Wreaths

My fabric scrap bag was overflowing after two years of sewing projects, so I turned the whole mess into a wreath one Sunday afternoon. I cut the scraps into strips about three centimetres wide and tied them, one by one, around a wire wreath frame from the craft shop — 4 EUR — knotting each strip twice so it stays put. Pastel florals for spring, and I made a second one with pinecones and red ribbon for December that now lives in a box with the Christmas decorations. The tying is repetitive but weirdly calming; I did it while rewatching a whole series. My only real tip: cut more strips than you think you need, because a sparse wreath looks sad and you will absolutely run out halfway. Mine took about two hundred strips and one full afternoon.
9. Decorative Clay Bowls

Air-dry clay is the craft I recommend to everyone who says they aren’t crafty, because there is genuinely no way to get it wrong. I rolled out a slab about half a centimetre thick, draped it over an inverted cereal bowl to get the curve, and trimmed the edges with a knife. Before it dried, I pressed a lace doily into the surface for texture — the best trick I stole from a pottery class — and carved a few dots with a toothpick. Two days of drying later, I painted mine in earthy terracotta tones and added gold leaf on the rim of one, which took it from handmade to heirloom. They now hold my keys, my rings, and the paperclips I pretend I’ll use. A 1-kilo block of clay was 8 EUR and made four bowls with plenty left over.
10. Stenciled Throw Pillows

My sofa cushions were beige and boring, and new ones were 30 EUR each, so I stenciled the ones I had instead. I bought a Moroccan-pattern stencil for 6 EUR, taped it down firmly on a plain cushion cover — tape every edge, because a shifting stencil ruins the whole thing — and dabbed fabric paint on with a sponge brush, barely any paint at all, two light coats. The heat-setting with the iron afterwards is what makes it survive washing; I ironed each side for two minutes through a tea towel and my first pillow has been through the machine six times without fading. I did two in a deep blue pattern and one in ochre, and the sofa finally looks like I chose it on purpose. One stencil, three cushions, an evening’s work, and guests keep asking where I bought them.
Conclusion
None of these crafts needed talent, just an afternoon and the willingness to make the first one badly. Start with the t-shirt tote or the clay bowls — both are nearly impossible to mess up — and let the cardboard box under the table grow from there. Mine certainly did.