
10 Gem Wrapping Wire Jewelry Diy Ideas
Wire wrapping is one of the most versatile, accessible, and rewarding techniques in jewelry making. It allows you to create intricate, durable settings for gemstones, raw crystals, and polished cabochons without needing soldering torches or complex metalworking equipment. By using a few basic tools—like round-nose, chain-nose, and flush-cutting pliers—you can turn raw or polished stones into high-end, wearable art.
Below is an in-depth guide featuring 10 gem-wrapping wire jewelry DIY ideas, complete with skill levels, wire gauge recommendations, step-by-step techniques, and detailed text-based image prompts.
Essential Wire Wrapping Tools & Wire Gauge Guide
- Pliers & Cutters:
- Round-Nose Pliers: For creating smooth loops, bails, and curved swirls.
- Chain-Nose / Flat-Nose Pliers: For gripping, bending crisp angles, and tucking wire ends safely.
- Flush Cutters: For making clean, flat cuts on wire ends so they don’t snag clothing or skin.
- Wire Material & Hardness:
- Materials: Copper, brass, sterling silver, or dead-soft fill-gold wire.
- Hardness: Use dead-soft wire for intricate weaving and wrapping; use half-hard wire for structural frames, rings, and earring hooks.
- Wire Gauges ($Ga$):
- 18–20 $Ga$ (Thick): Frame wires for heavy pendants, rings, and structural bases.
- 22–24 $Ga$ (Medium): Ear wires, headpins, and simple gemstone cages.
- 26–28 $Ga$ (Fine): Delicate weaving, binding, and wrapping smaller accent beads onto frames.
10 In-Depth Wire Wrapping DIY Ideas
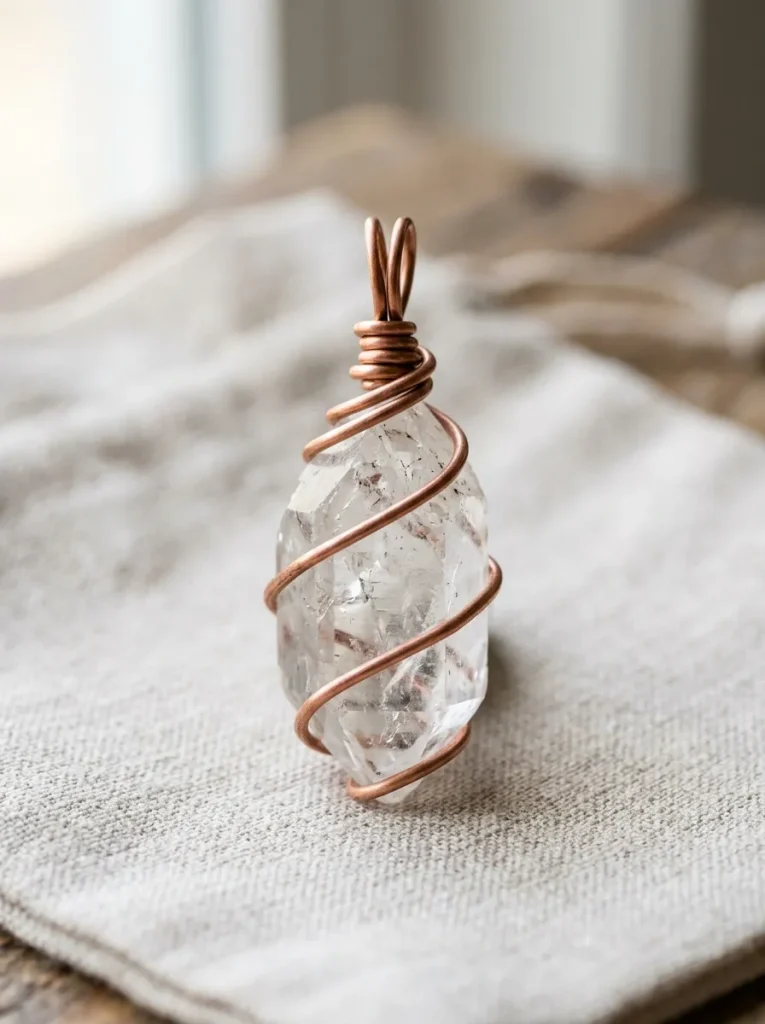
1. Minimalist Single-Wire Raw Crystal Point Pendant
Technique & Vibe
An entry-level project ideal for beginners. It secures a long, pointed raw crystal (like clear quartz, amethyst, or black tourmaline) using a clean spiral harness without obscuring the natural beauty of the stone.
Step-by-Step Guide
- Cut a 12-inch length of 20 $Ga$ square or round dead-soft wire.
- Create a small decorative spiral or rosette at one end using round-nose pliers.
- Place the base of the raw crystal point on top of the spiral.
- Wrap the long wire firmly upward around the body of the crystal in 3 to 4 angled spiral loops.
- At the top tip of the stone, use round-nose pliers to bend a 90-degree angle and form a sturdy loop (bail) for a necklace chain. Wrap the excess wire neatly around the base of the bail to secure it.
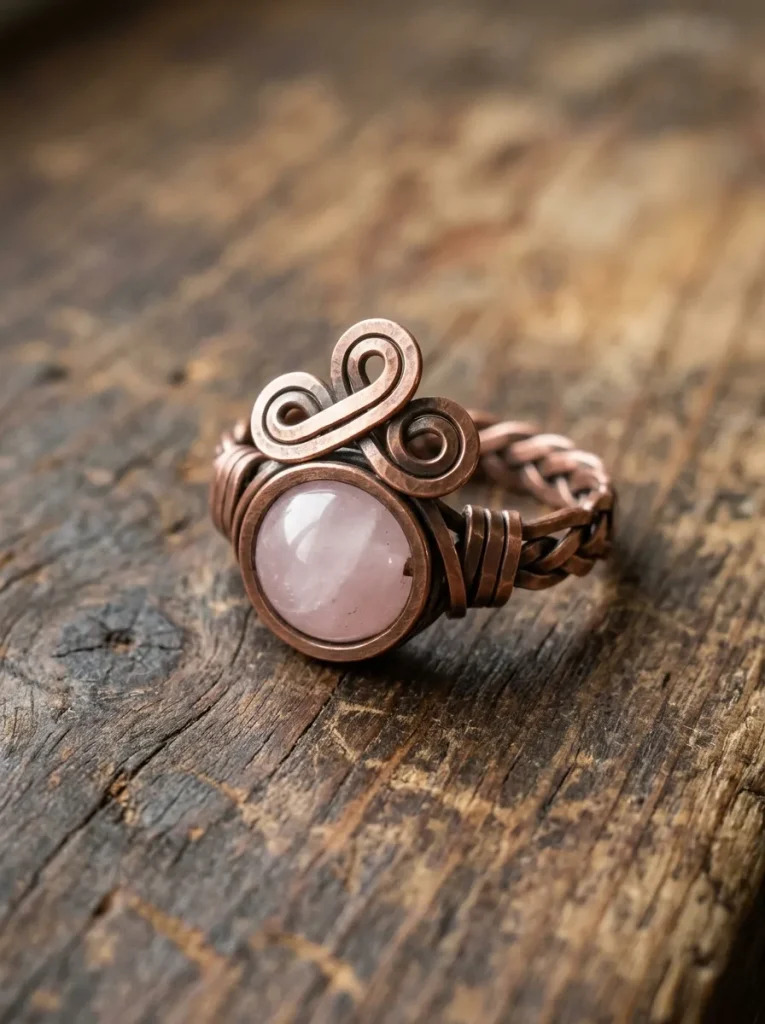
2. Traditional Woven Frame Cabochon Setting
Technique & Vibe
A classic, professional technique used to set smooth, un-drilled gemstone cabochons (like labradorite, turquoise, or moonstone) inside a woven wire bezel.
Step-by-Step Guide
- Cut two 10-inch pieces of 18 $Ga$ base wire and one 3-foot piece of fine 28 $Ga$ weaving wire.
- Bind the two base wires together side-by-side using a figure-eight weave with the 28 $Ga$ wire until the weave equals the perimeter of your cabochon.
- Bend the woven bundle into a U-shape around the cabochon. Cross the top wires above the stone and twist them to form a bail.
- Use chain-nose pliers to gently pull small “prongs” or waves out of the front and back base wires, locking the cabochon securely inside the frame.
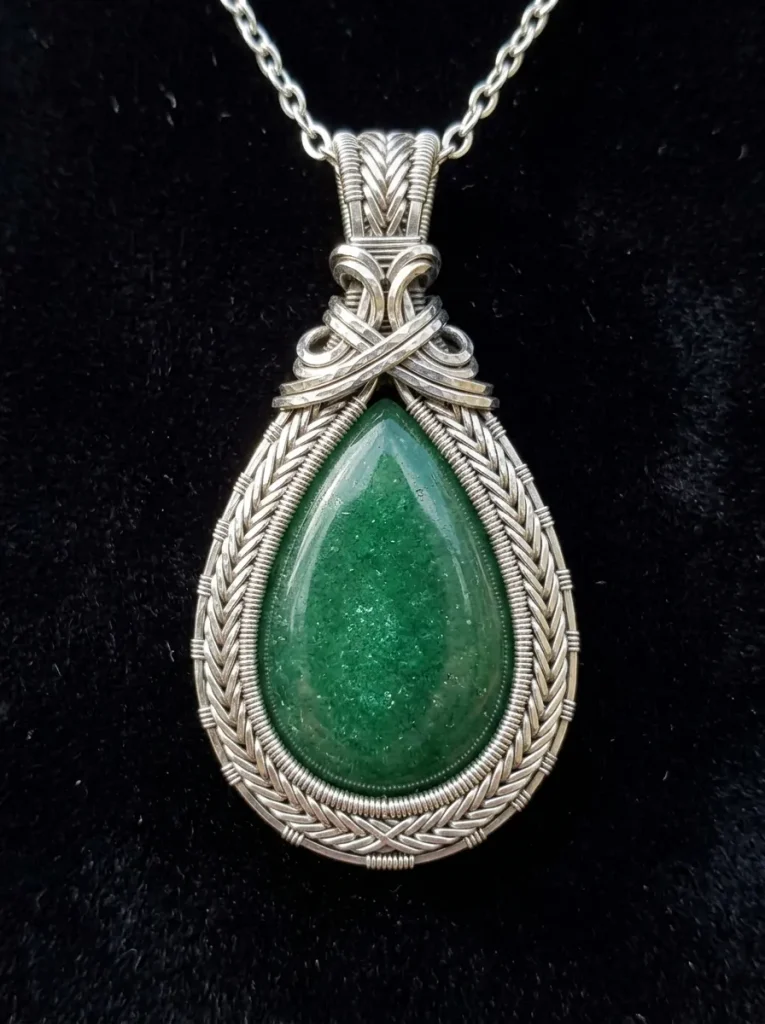
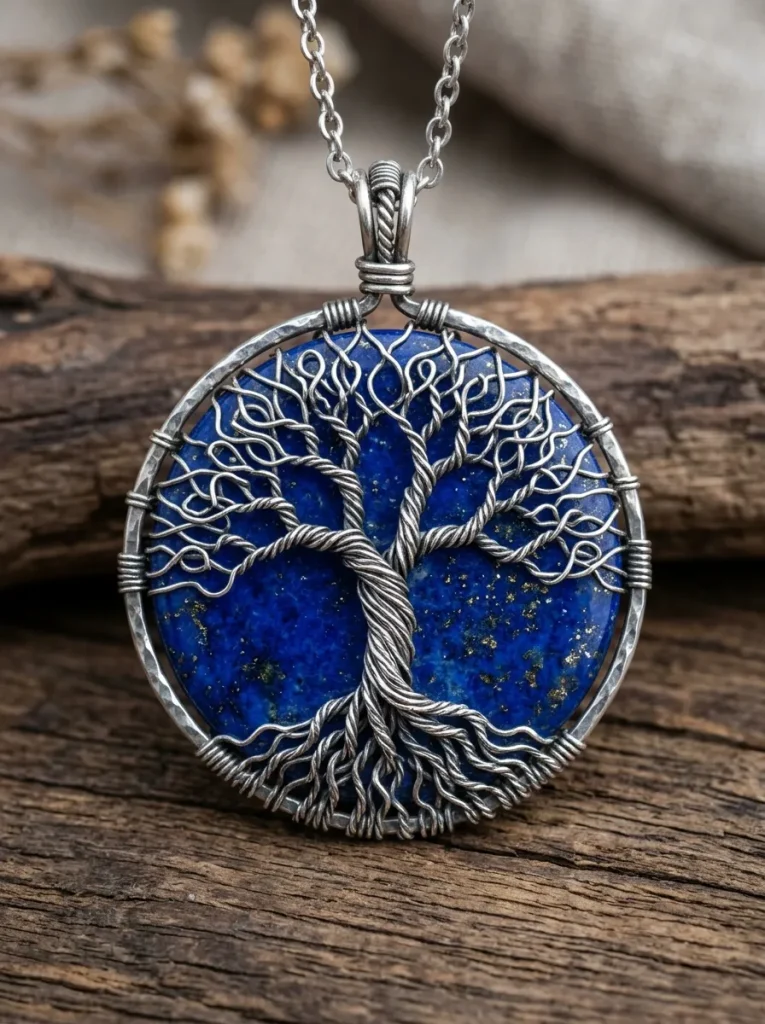
3. Cosmic “Tree of Life” Gemstone Slab Pendant
Technique & Vibe
An artistic, symbolic design where fine wire roots and branches spread across the face of a flat, round gemstone disc (like moss agate, lapis lazuli, or jasper).
Step-by-Step Guide
- Create a circular outer frame using 18 $Ga$ wire bent around a small jar, forming a bail at the top.
- Cut 6 to 8 pieces of 24 $Ga$ wire (10 inches each). Wrap the bottom ends of these wires around the bottom of the outer frame to form the “roots.”
- Place the gemstone slab inside the frame. Twist pairs of root wires together up the lower third of the stone to create the tree trunk.
- Separate the wires in the top half, twisting them into branching limbs that attach to the top and sides of the frame. Thread tiny gemstone chips onto the branch tips for leaves.
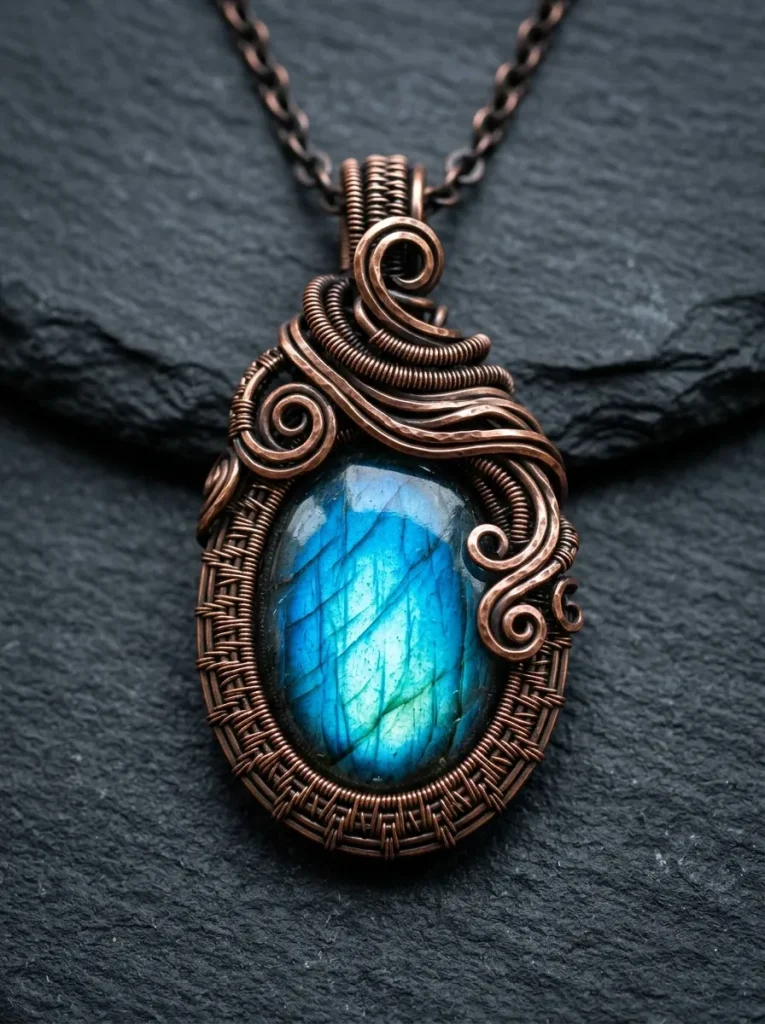
4. Swirled Gemstone Wire Statement Ring
Technique & Vibe
A sturdy, comfortable wire-wrapped ring that cradles a single round bead or small crystal point on a multi-strand wire band.
Step-by-Step Guide
- Cut a 20-inch piece of 20 $Ga$ dead-soft wire. Thread a 6mm or 8mm gemstone bead (like rose quartz or carnelian) into the exact center of the wire.
- Wrap both wire ends around a ring mandrel at your desired ring size 3 to 4 times to form a smooth, multi-strand band.
- Bring the two wire tails up to the front and coil them tightly around the base of the gemstone bead on opposite sides.
- Swirl the excess wire ends in decorative concentric circles over the top of the bead, pressing the coils flat with pliers.
5. Classic Herringbone Weave Teardrop Pendant
Technique & Vibe
A symmetrical, elegant weave that creates a woven frame resembling fish bones around a teardrop or briolette-cut gemstone.
Step-by-Step Guide
- Cut a 6-inch piece of 20 $Ga$ wire (the core center wire) and thread a teardrop bead onto it. Form a top bail loop.
- Cut a 2-foot piece of 26 $Ga$ wire and anchor it near the base of the bail.
- Sweep the thin wire down along the front left side of the bead, wrap it 1.5 times around the bottom core wire, then sweep it back up along the right side of the bead to wrap around the bail.
- Repeat this sweeping pattern 4 to 6 times, layering each wire sweep just outside the previous one to form a woven herringbone frame.
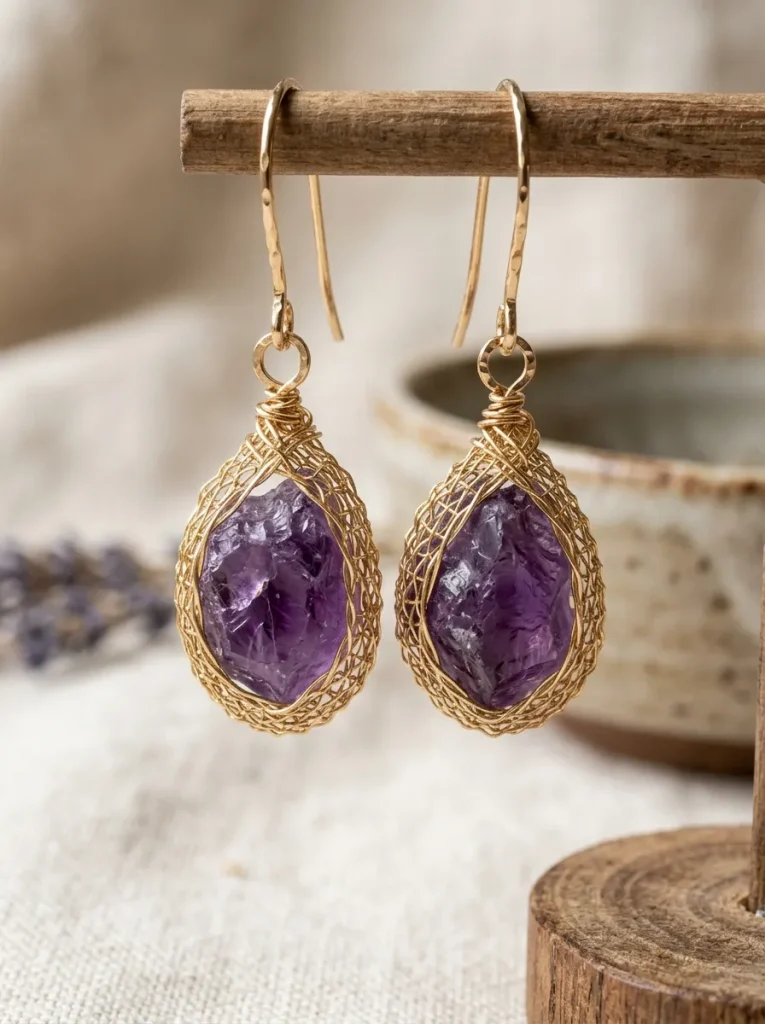
6. Caged Raw Gemstone Chandelier Earrings
Technique & Vibe
Lightweight, bohemian earrings featuring raw gemstone nuggets suspended inside delicate wire cages.
Step-by-Step Guide
- Cut two 12-inch pieces of 22 $Ga$ wire.
- Form a small spiral at the bottom of the wire. Place a raw gemstone nugget (like fluorite or aquamarine) on top of the spiral.
- Gently pull and wrap the wire around the stone in crisscross directions, creating a flexible mesh “cage” that traps the stone safely.
- Form a wrapped loop at the top of the cage and attach it to a handmade or commercial ear wire.
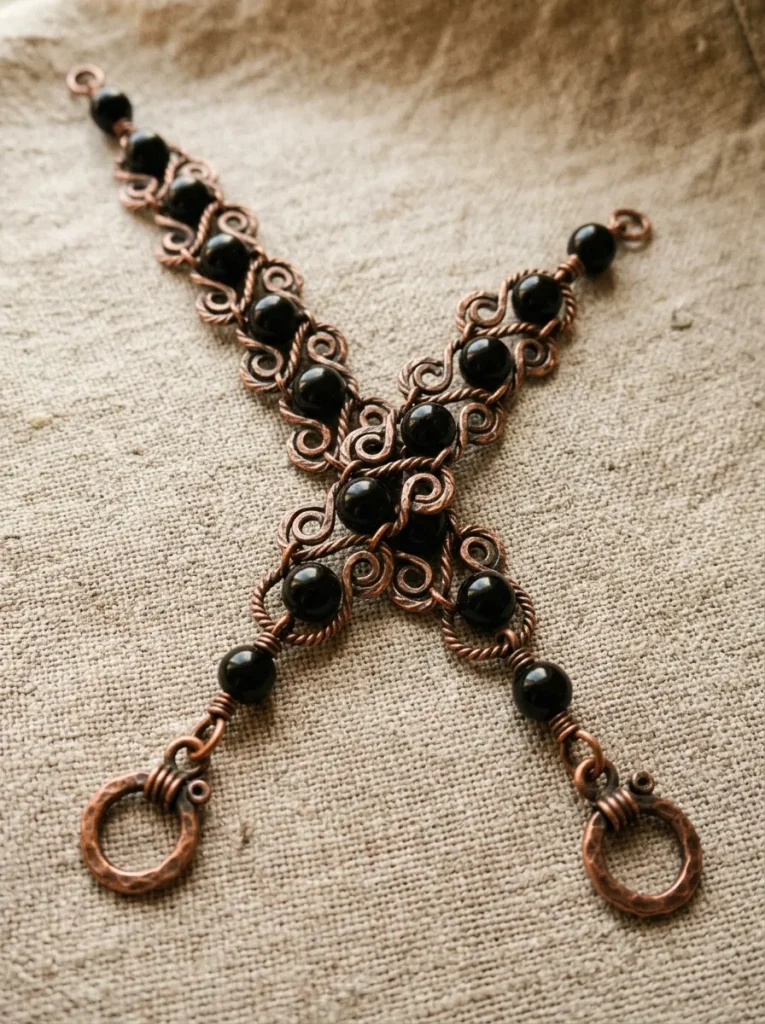
7. Egyptian Coil Gemstone Link Bracelet
Technique & Vibe
A historic, regal jewelry construction that connects individual gemstone beads using interlocking wire-coiled links.
Step-by-Step Guide
- Cut multiple 4-inch pieces of 20 $Ga$ wire.
- On one piece of wire, use round-nose pliers to make an S-shaped double coil on one end.
- Thread a gemstone bead (like onyx, tiger’s eye, or malachite) onto the straight wire end.
- Form another double coil on the opposite end, flattening both coils against the bead faces. Connect multiple links together using jump rings or by interlocking the coils directly.
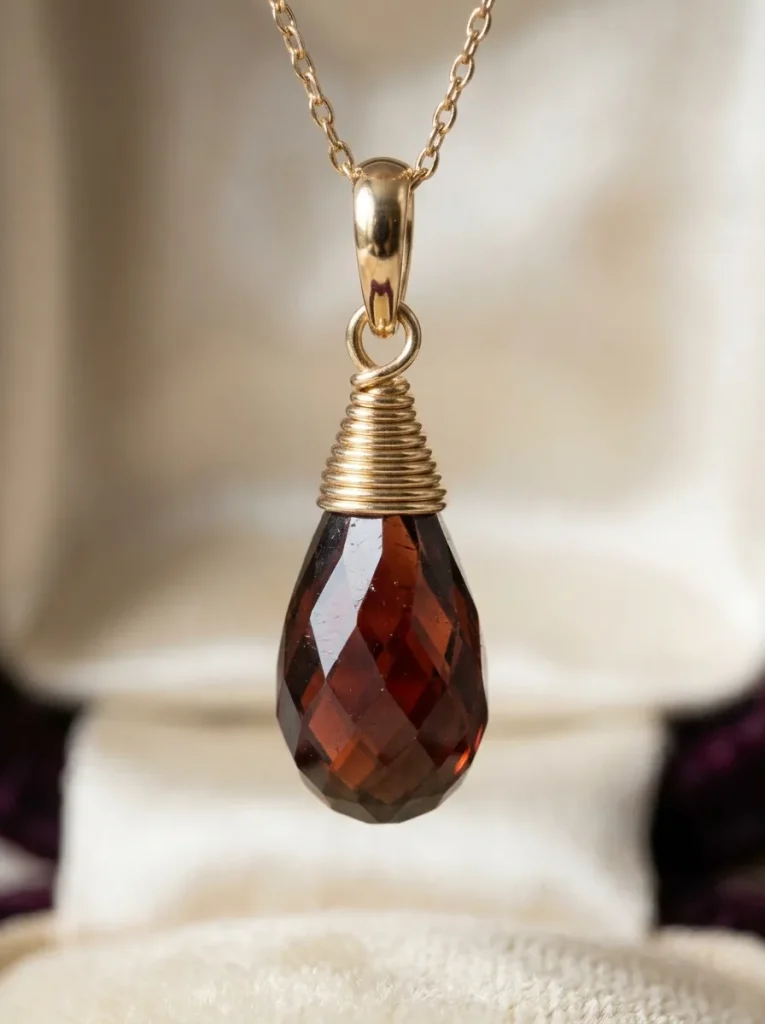
8. Spiral Briolette Drop Pendant
Technique & Vibe
A clean, modern method for wrapping top-drilled teardrop briolettes (like amethyst, citrine, or garnet) using a neat wire cap.
Step-by-Step Guide
- Thread a 24 $Ga$ wire through the top drill hole of a briolette bead, leaving 1 inch of wire on one side and 3 inches on the other.
- Cross the short and long wire ends over the top point of the bead at a 90-degree angle.
- Bend the short wire straight up, and wrap the long wire neatly down around both the short wire and the bead tip in tight, consecutive coils to create a cone-shaped wire cap.
- Form a bail at the top with the remaining short wire end and trim neatly.
9. Wire-Wrapped Gemstone Bangle Bracelet
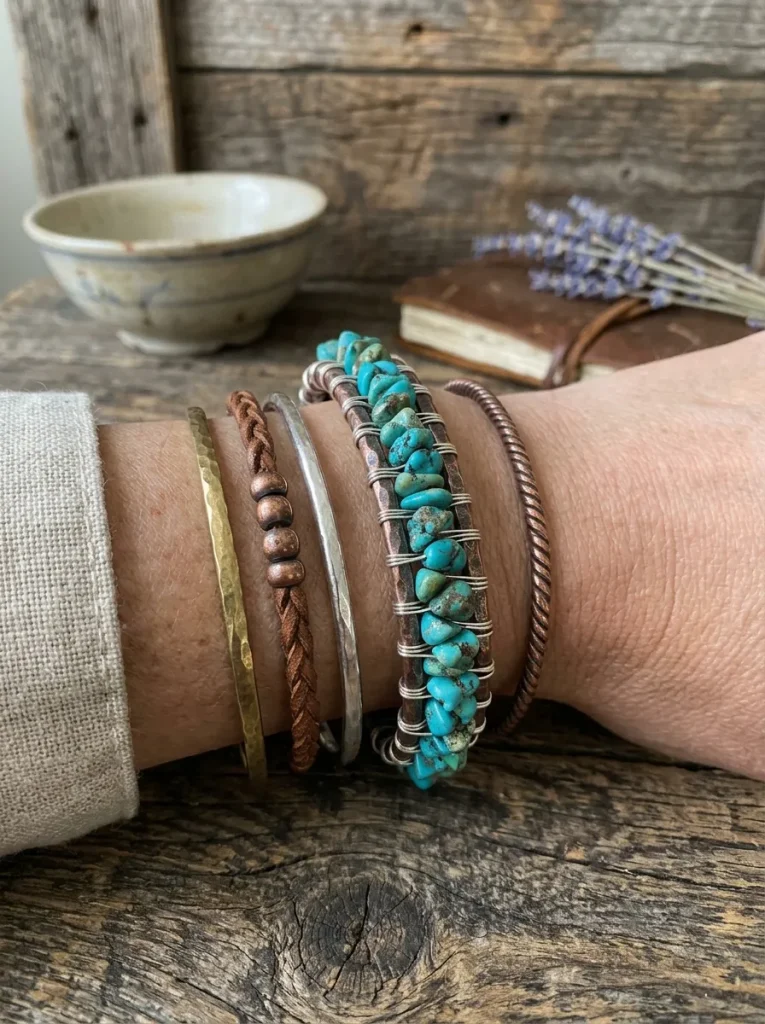
Technique & Vibe
A durable, stacked arm-accessory made by binding small gemstone chips or round beads along a heavy structural wire bangle frame.
Step-by-Step Guide
- Form a sturdy circular bangle frame out of 14 $Ga$ or 16 $Ga$ heavy wire, hammering it slightly on an anvil for strength.
- Cut a long piece of 26 $Ga$ binding wire and anchor it to the heavy frame.
- Thread a gemstone chip bead (like turquoise or coral) onto the thin wire, lay the bead along the top edge of the frame, and wrap the thin wire tightly around the frame 2 to 3 times.
- Repeat this process along the entire circumference of the bangle to create a continuous row of gemstones.
10. Floating Gemstone Spiral Cage Pendant
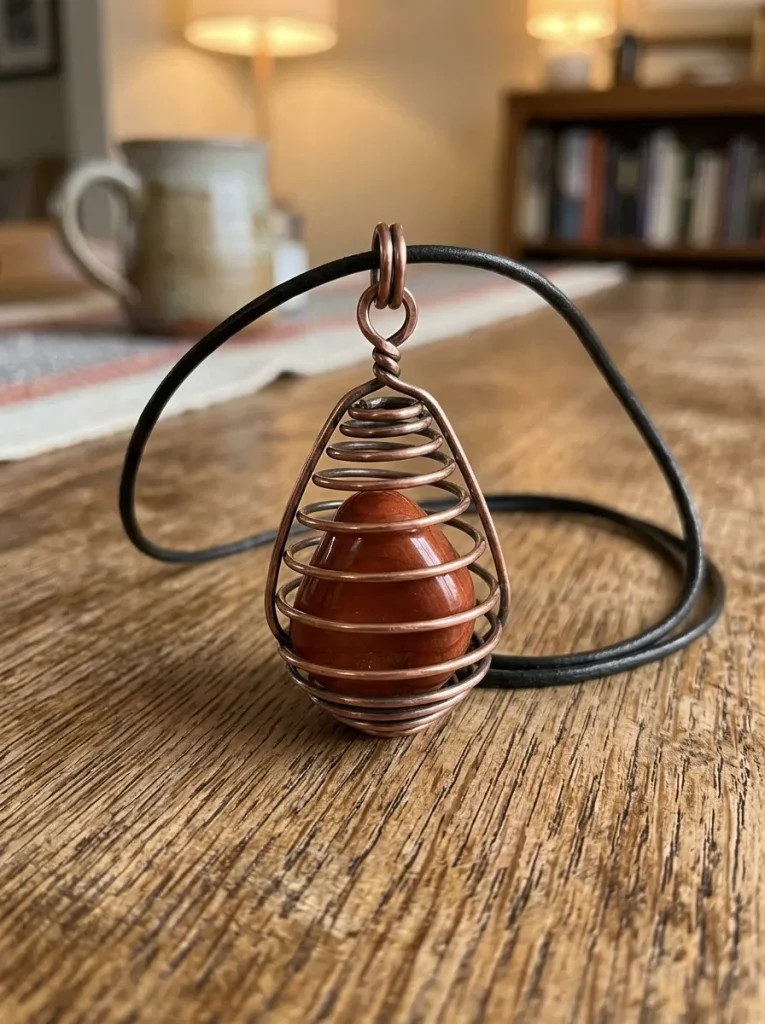
Technique & Vibe
A fun, interactive design where a loose, un-drilled tumbled stone (like lapis lazuli, red jasper, or jade) floats inside a springy, expandable wire spiral cage.
Step-by-Step Guide
- Cut an 18-inch piece of 18 $Ga$ dead-soft wire.
- Starting at the center, wrap the wire into a flat, tight circular spiral disk using round-nose and chain-nose pliers until it matches the width of your tumbled stone.
- Gently pull the center of the spiral upward with round-nose pliers to extend the flat disk into a 3D conical spring/cage shape.
- Insert the tumbled gemstone inside the wire spring, then collapse the top coils slightly and form a top bail to hold the stone securely.
Skill Level & Wire Specification Guide
| Idea / Concept | Recommended Skill Level | Primary Frame Wire | Binding / Weaving Wire | Key Gemstone Type |
| Raw Crystal Wrap | Beginner | 20 $Ga$ Round | N/A (Single Wire) | Quartz / Amethyst Point |
| Woven Cabochon | Intermediate | 18 $Ga$ Square / Round | 28 $Ga$ Dead-Soft | Un-drilled Cabochons |
| Tree of Life | Intermediate | 18 $Ga$ Round | 24 $Ga$ Round | Round Gemstone Slabs |
| Statement Ring | Beginner | 20 $Ga$ Dead-Soft | N/A (Self-Wrapped) | 8mm Undrilled/Drilled Bead |
| Herringbone Pendant | Intermediate | 20 $Ga$ Round | 26 $Ga$ Round | Teardrop Briolette |
| Spiral Cage | Beginner | 18 $Ga$ Dead-Soft | N/A (3D Cone) | Tumbled Smooth Stones |