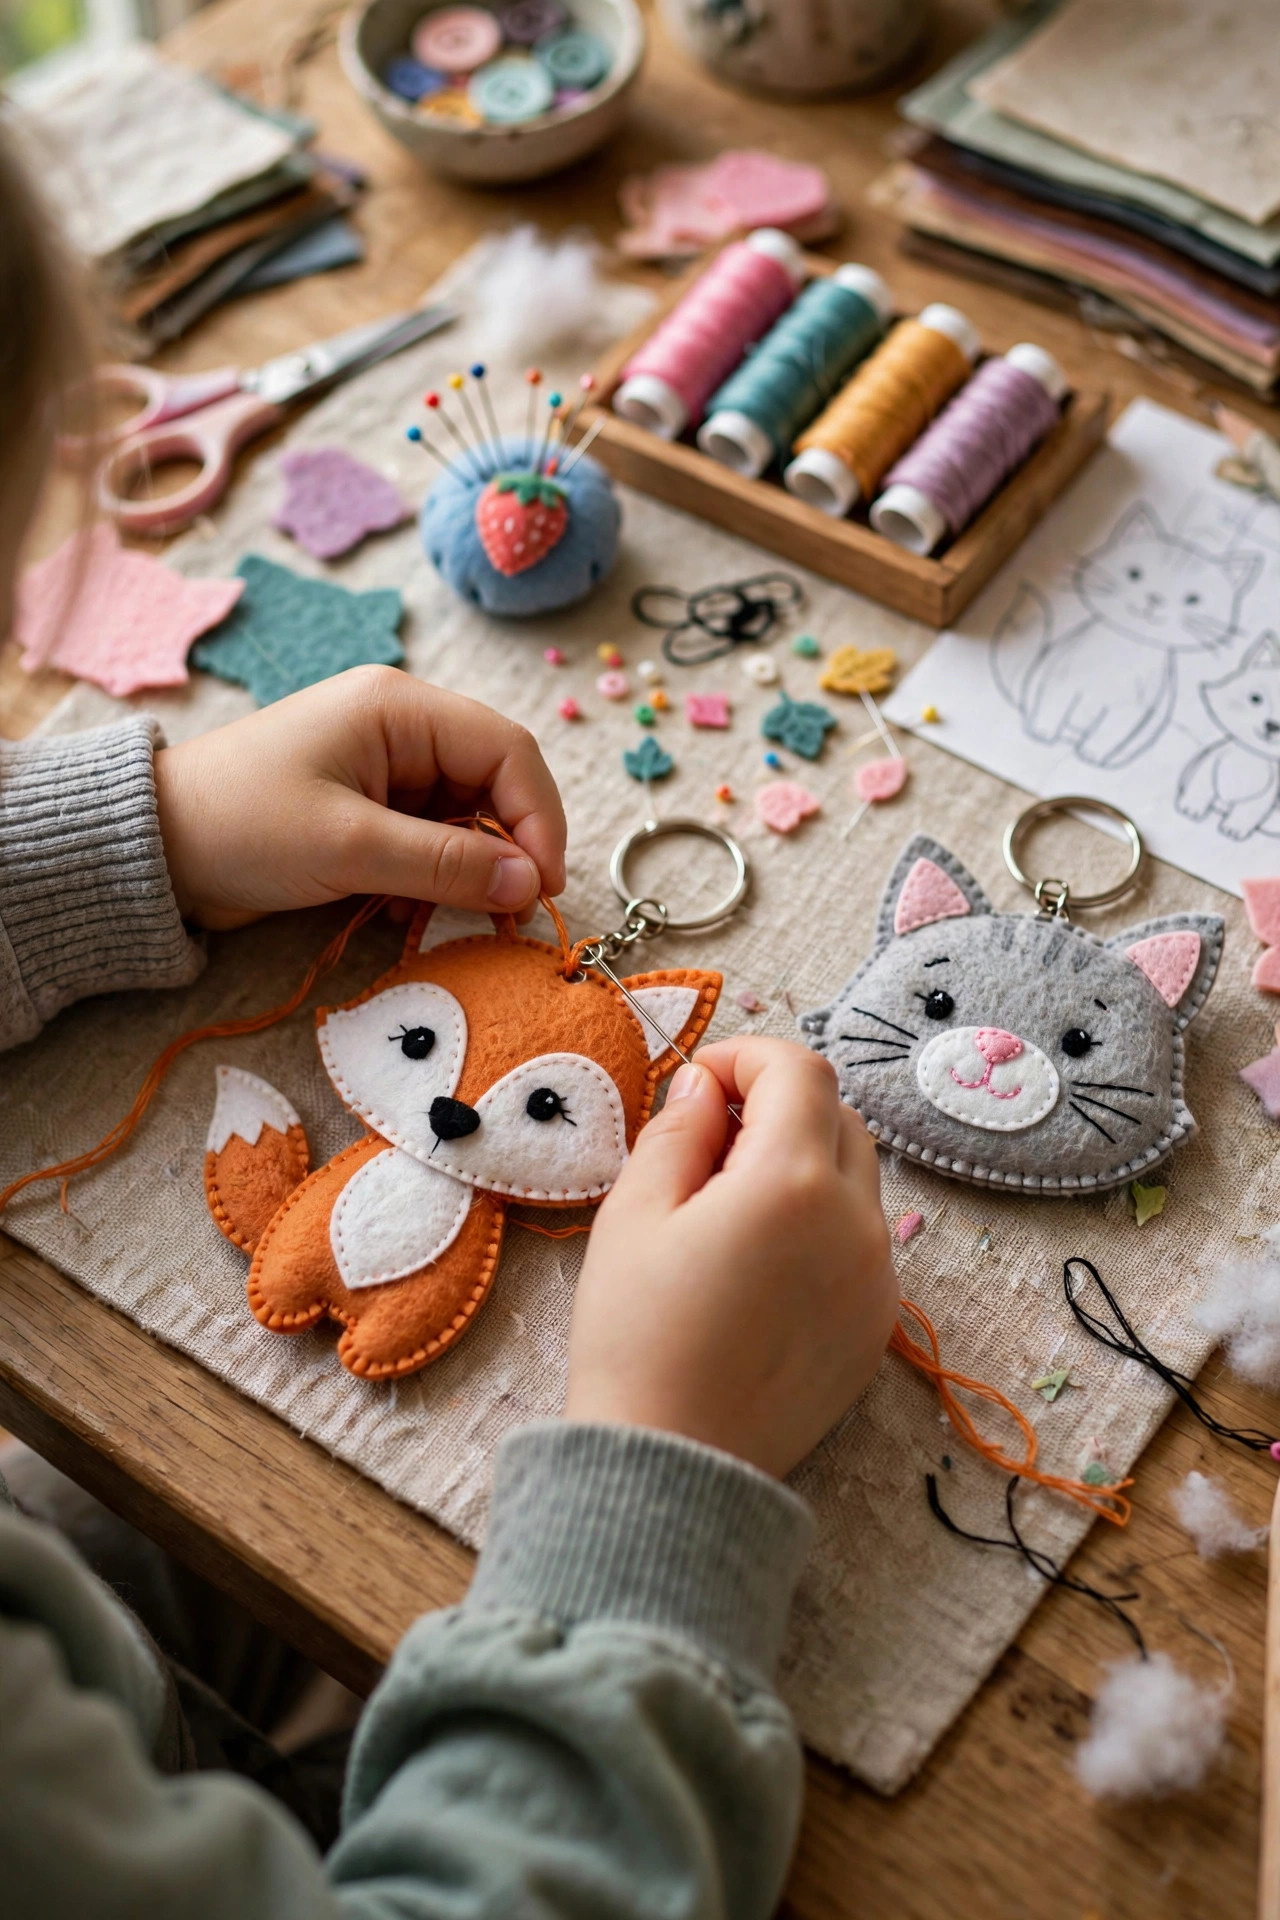
I started sewing with my nephew when he was six and could barely thread a needle without stabbing his own thumb, and I will be honest: the first project ended with more felt on the floor than on the table. But something clicked that afternoon. He sat still for forty-five minutes straight, tongue between his teeth, stitching a lopsided felt fox. These days I keep a little basket of kid-friendly sewing supplies by my worktable for whenever young visitors show up, and these ten projects are the ones that actually hold a child’s attention — tested, retested, and refined through plenty of tangled thread.
1. Felt Animal Keychains
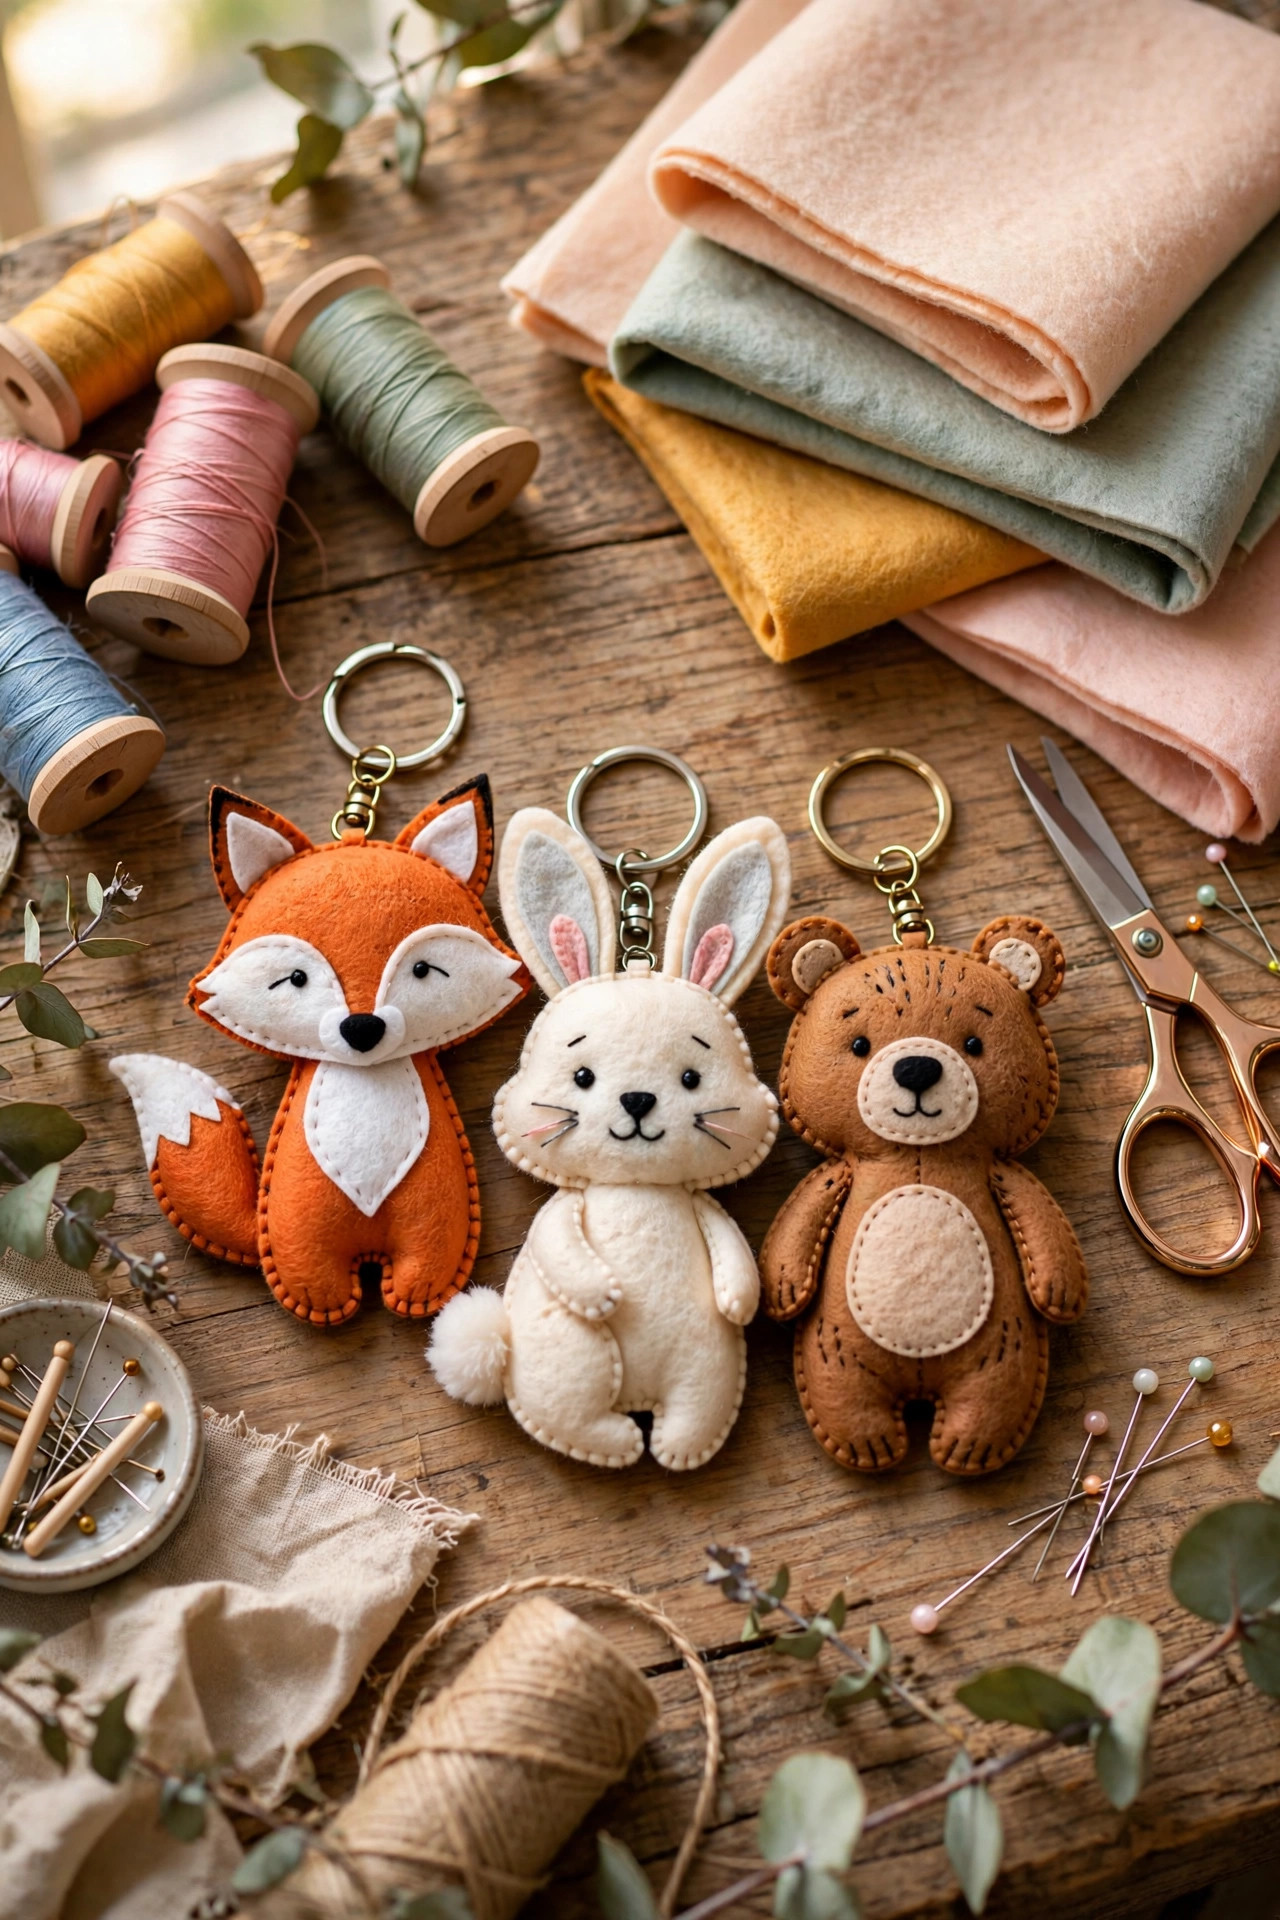
The felt animal keychain is my go-to first project because it is small, forgiving, and finished in under an hour, which matters enormously with kids under eight. I trace a simple shape — a cat, a fish, a round little bear — onto two layers of felt, and let the child cut it out with blunt safety scissors while I thread a needle with embroidery floss. We stitch around the edge with a basic blanket stitch, which looks decorative even when it is wobbly, and I always say the wobble is the charm. The trick I learned the hard way is to skip stuffing on the first attempt; a flat two-layer keychain is plenty, and stuffing through a small opening frustrates small hands. A keychain ring through a punched hole finishes it, and suddenly the child has something they made themselves hanging off their school bag. Materials cost almost nothing: felt sheets run about 50 cents each at the craft store, and one sheet makes four or five animals.
2. Simple Tote Bags
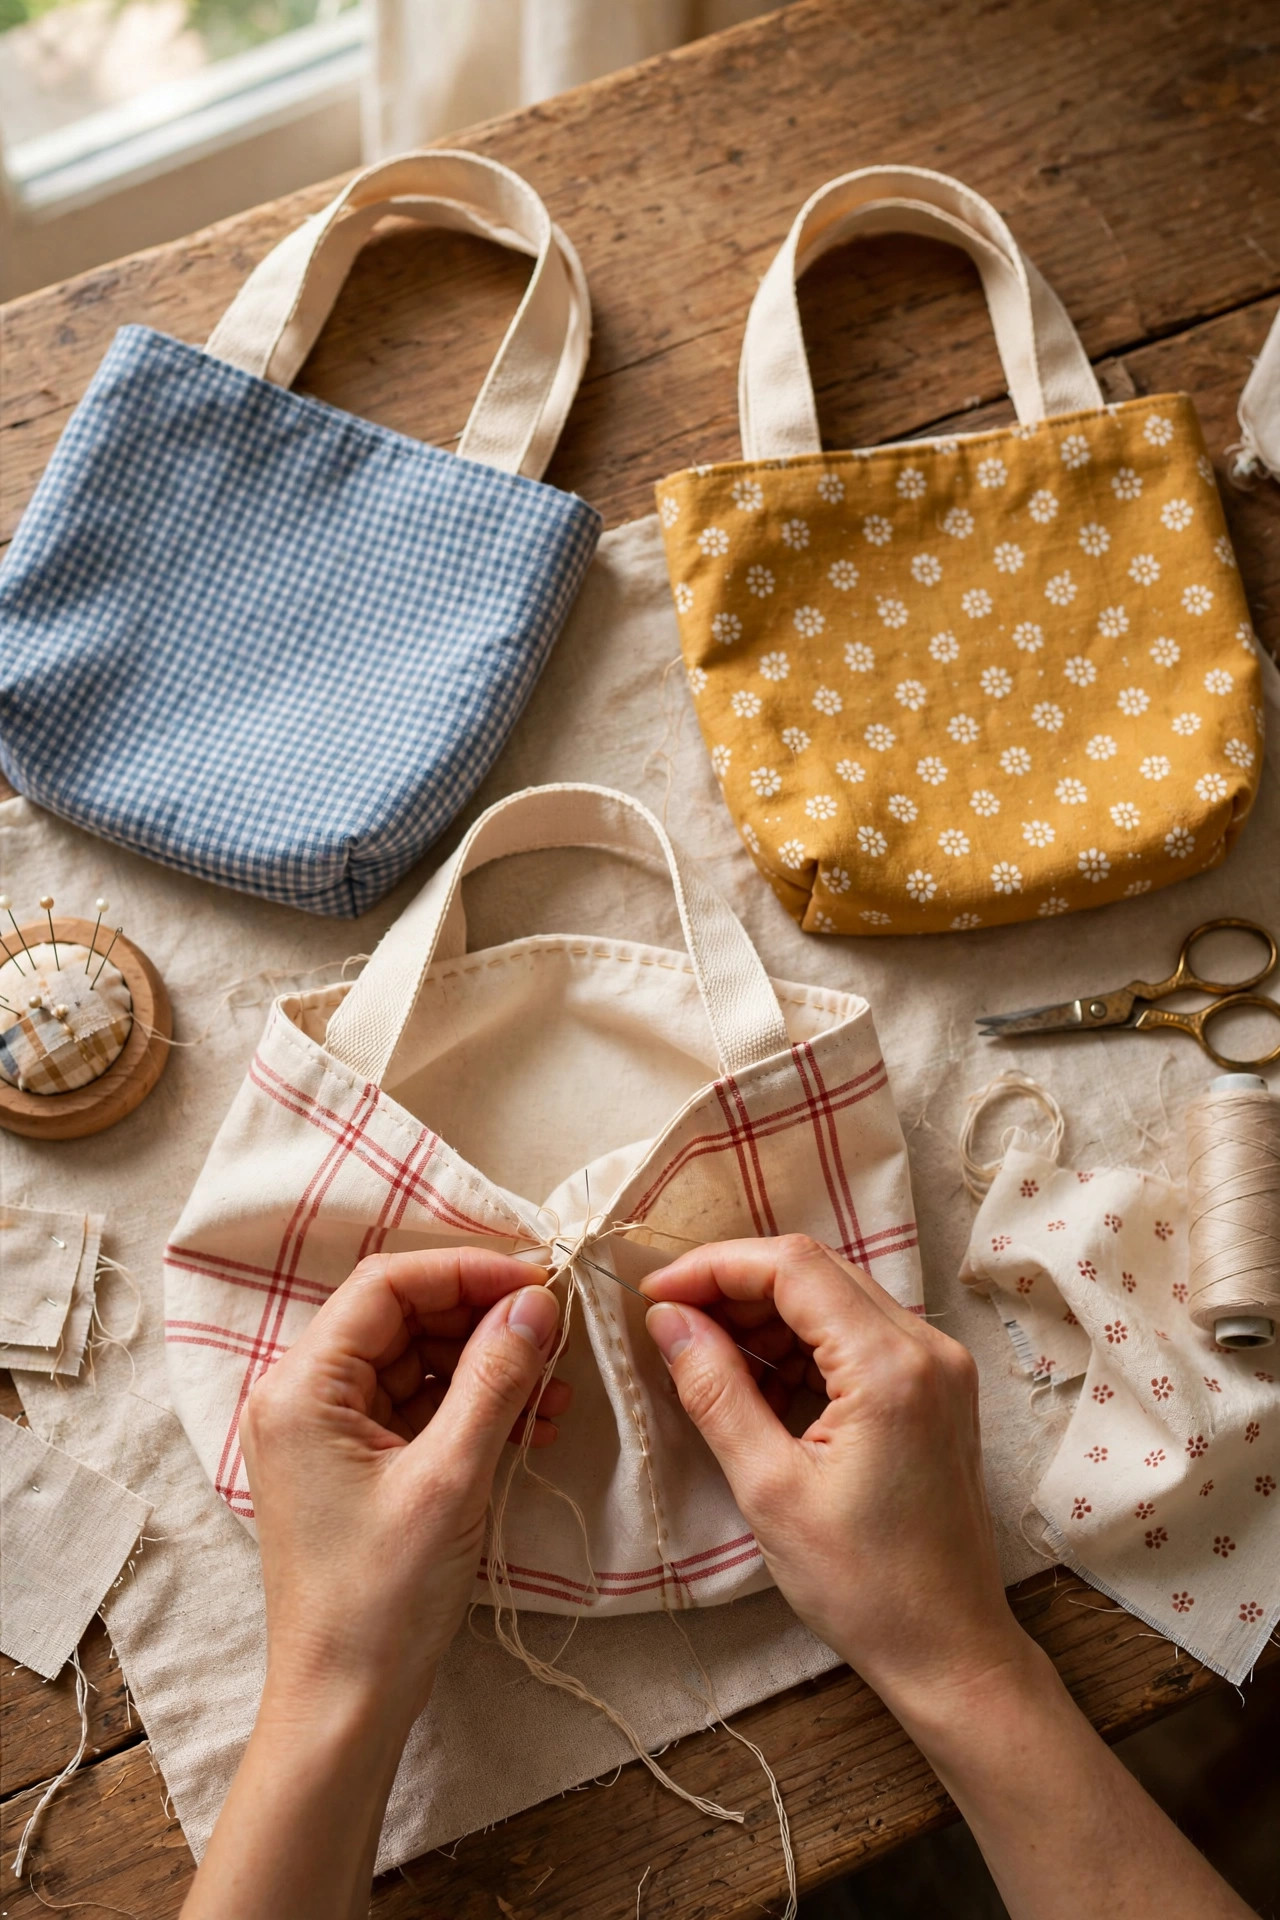
Plain cotton tote bags are the perfect canvas project, and I usually start kids on pre-made blank totes rather than sewing the bag itself, because a child who finishes something beautiful in one sitting comes back for the hard part later. We decorate with fabric paint, iron-on patches, or simple appliqué shapes fused on with iron-on webbing that I handle myself since the iron is strictly adult territory. The sewing part comes in when we add a stitched border or sew on a fabric pocket, which teaches straight stitching on a real, useful object. My nephew’s tote, decorated with a very crooked stitched dinosaur, has been his library bag for two years now. I buy blank cotton totes for about 2 euros each in packs, and the whole project costs less than a fancy ice cream. For older kids around ten or eleven, we sew the tote from scratch, which is just four straight seams and a hemmed top.
3. Personalized Pillow Covers
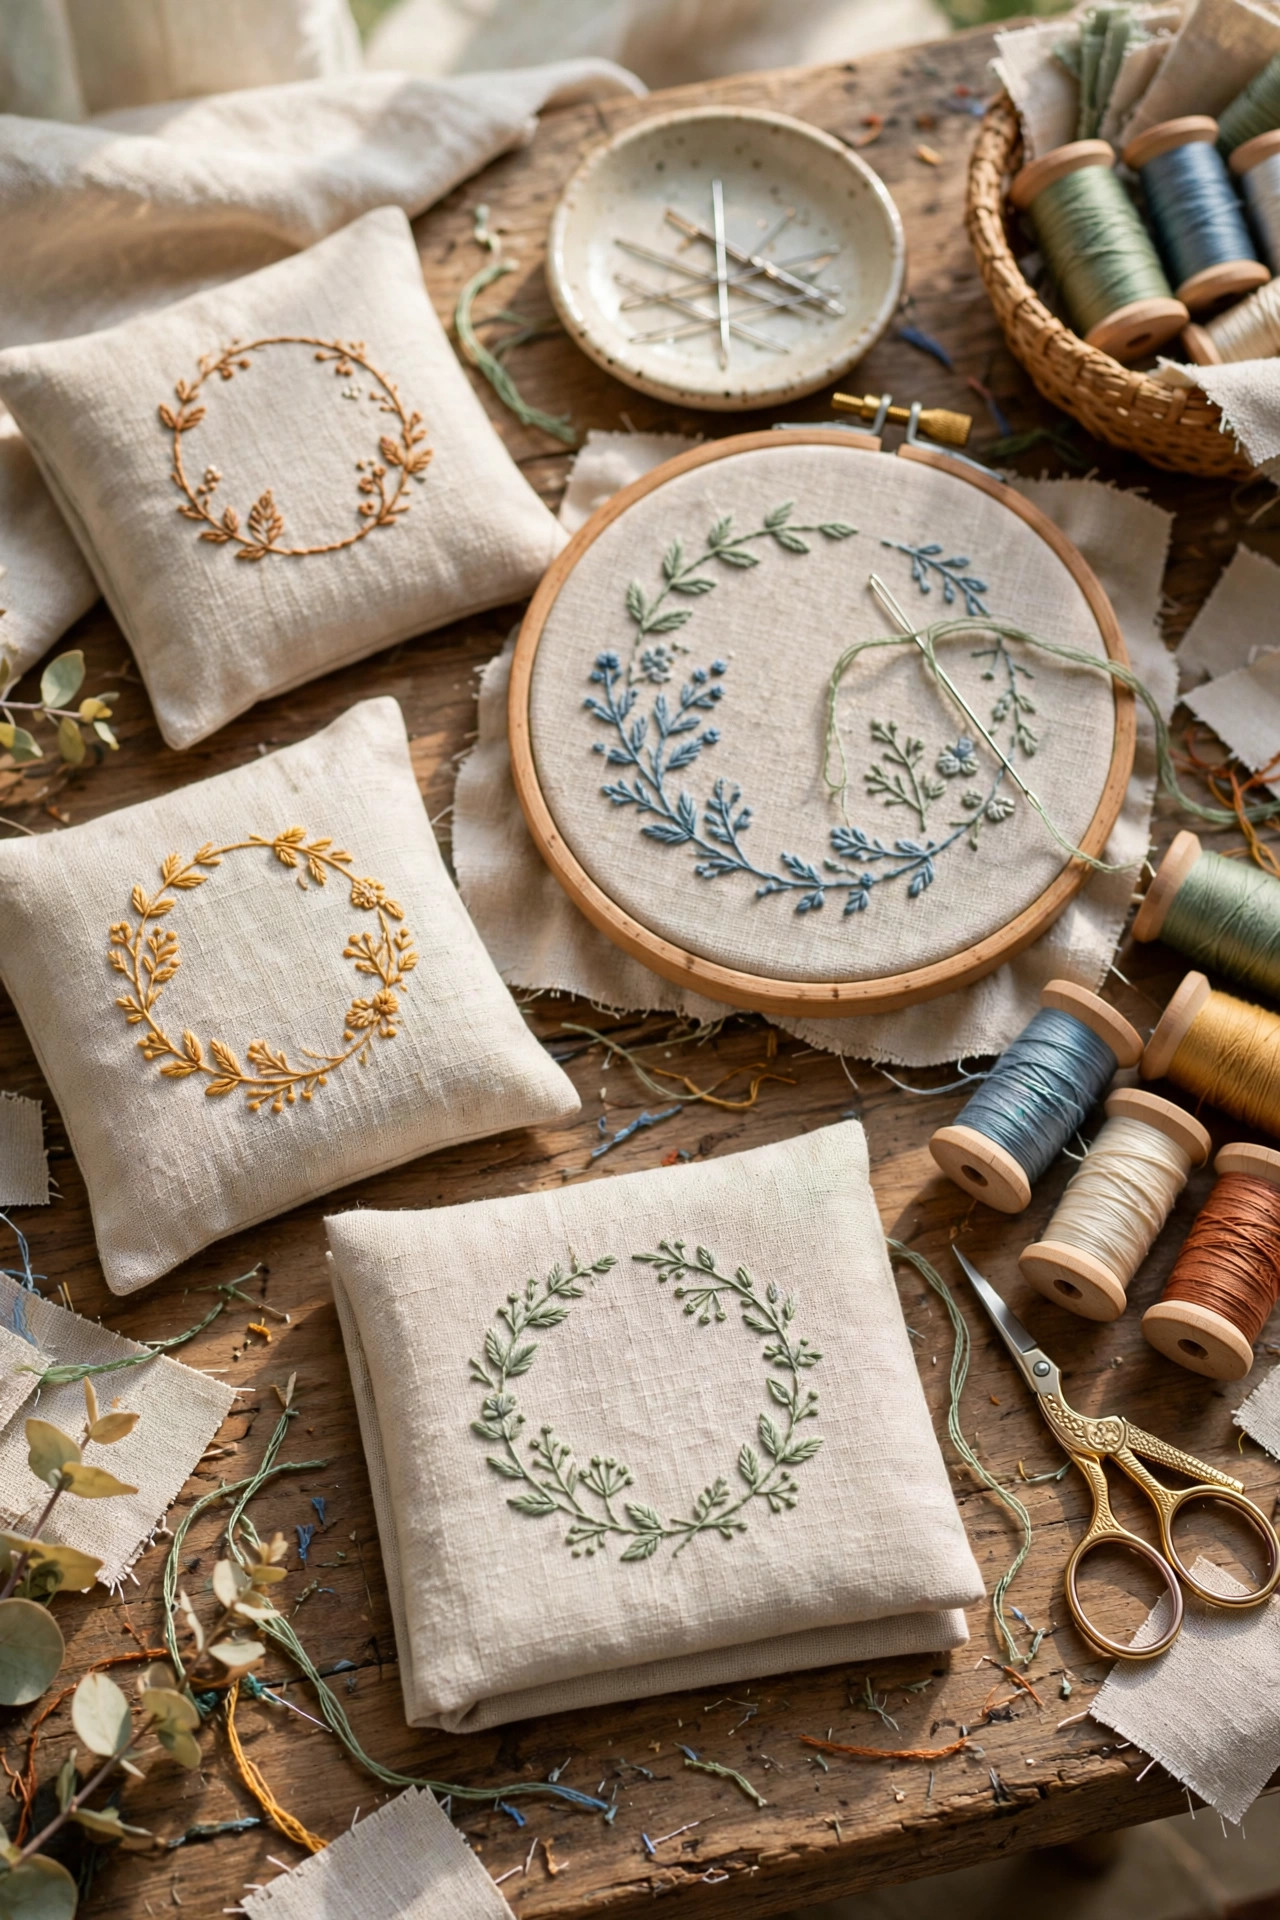
A pillow cover is secretly a brilliant teaching project because it involves measuring, cutting, and straight seams, but the child only sees “I am making something for MY room.” I use the envelope-back method — no zippers, no buttons, just two overlapping flaps — which means a nine-year-old can sew the whole thing on a machine with me supervising the foot pedal. We measure the pillow together, add seam allowances, and I let them do the math out loud, which is more fun than it sounds when the result is a cushion. Decorating comes after the sewing: fabric markers for drawing, or simple hand-stitched initials in embroidery floss. My honest advice is to pick a sturdy cotton or canvas rather than slippery satin, because slippery fabric slides under the presser foot and turns a fun afternoon into tears. One meter of cotton at about 8 euros makes two covers, and the pride on a kid’s face when that pillow lands on their bed is worth ten times that.
4. No-Sew Fleece Blankets
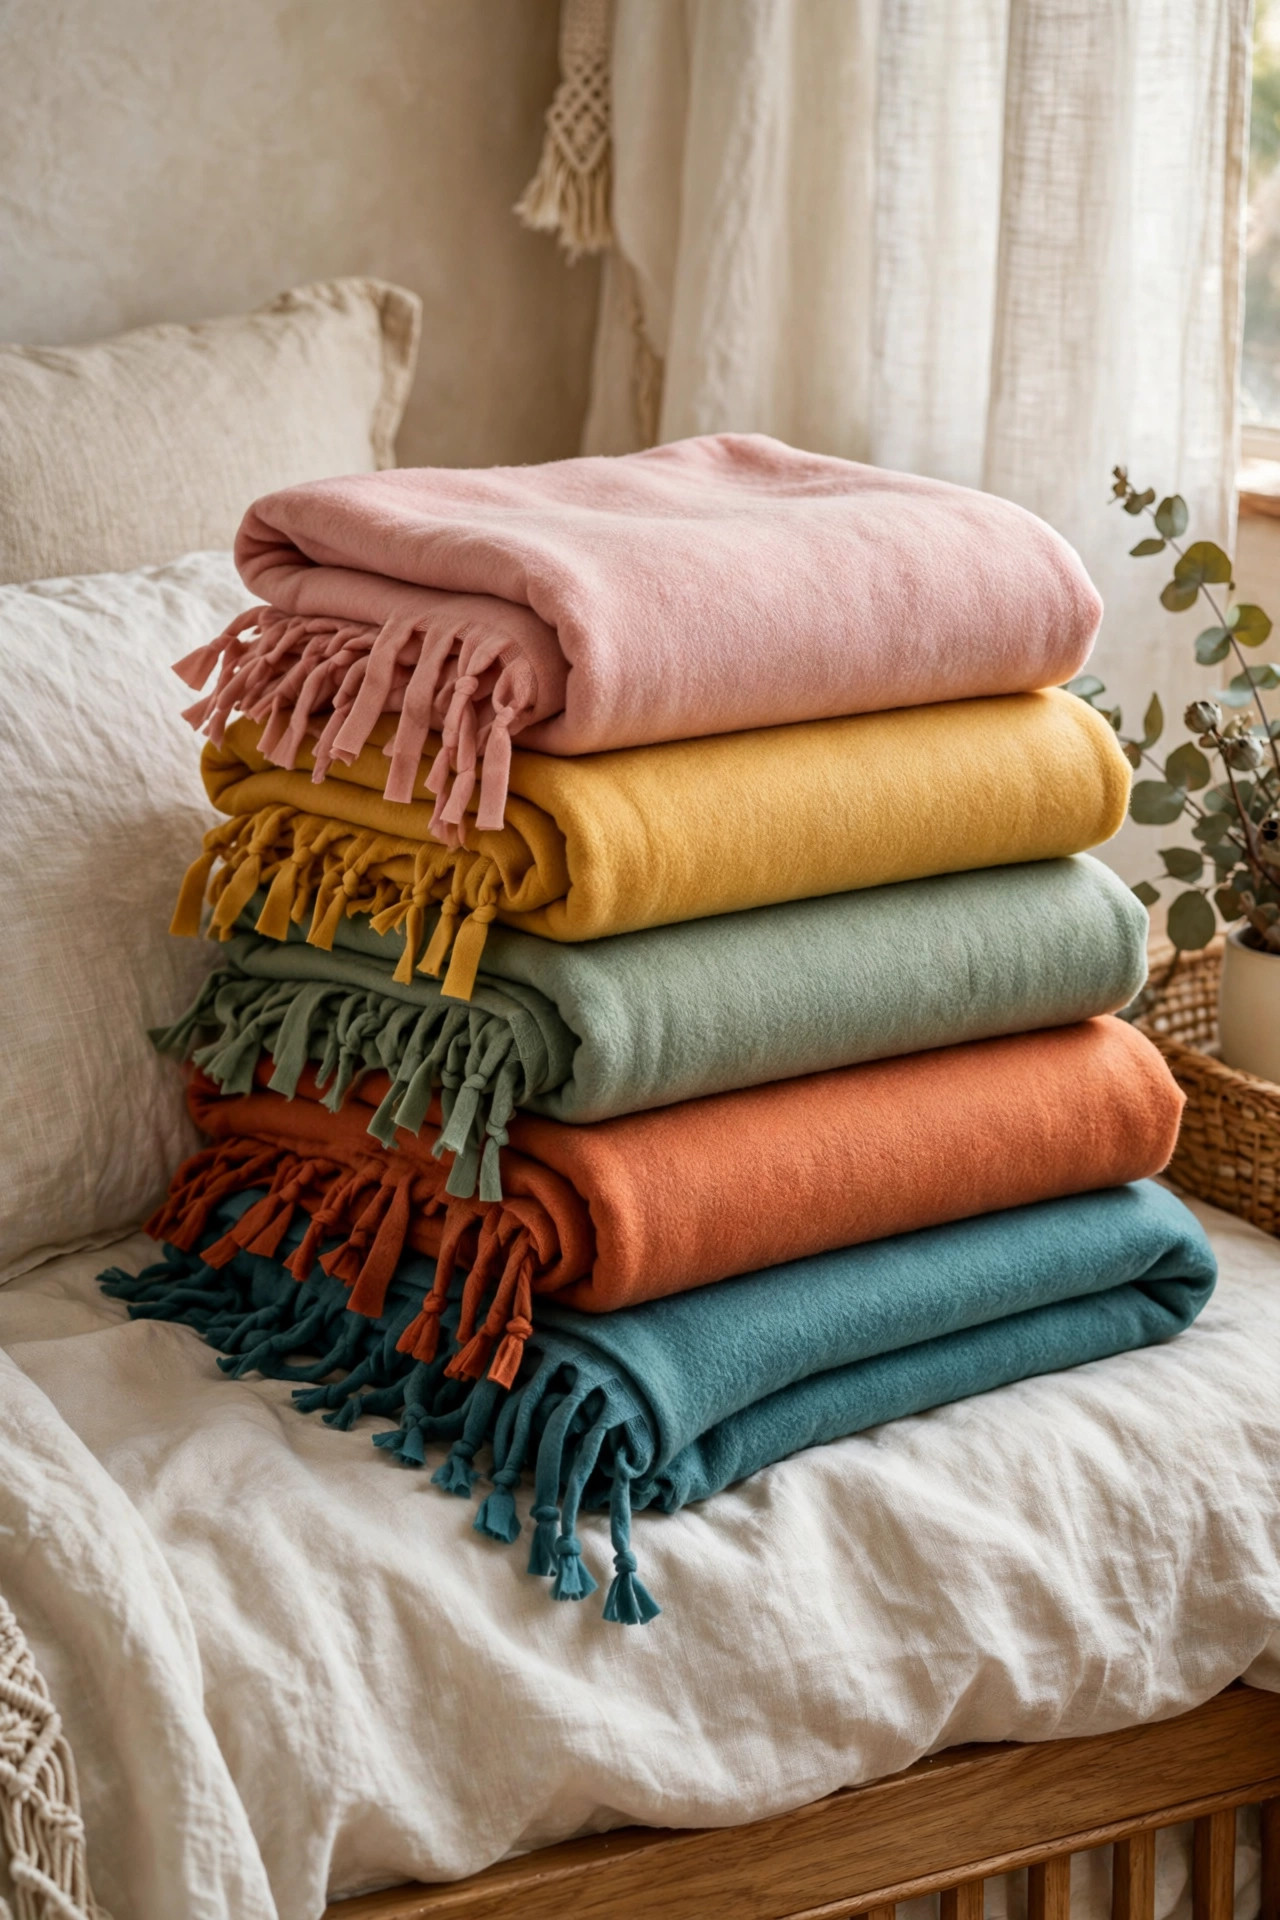
For the littlest ones, or for kids who are more interested in the cozy result than the process, no-sew fleece blankets are unbeatable. You lay two pieces of fleece together, cut fringe around all four edges, and tie the top and bottom fringes into double knots. That is the entire project, and a five-year-old can do every step. I have made these at birthday parties with eight kids around a table, and it works because there is no waiting for a turn at the machine and no sharp needles in small hands. The trick is cutting the fringe evenly — I draw a cutting guide line with chalk about 10 cm from the edge so the fringe stays uniform. Two pieces of fleece at 1.5 meters each cost around 15 euros total, and the finished blanket is genuinely warm and soft. My nephew’s first one is still on his bed three years later, knots and all, and he refuses to let me “fix” the uneven corner.
5. Fabric Headbands
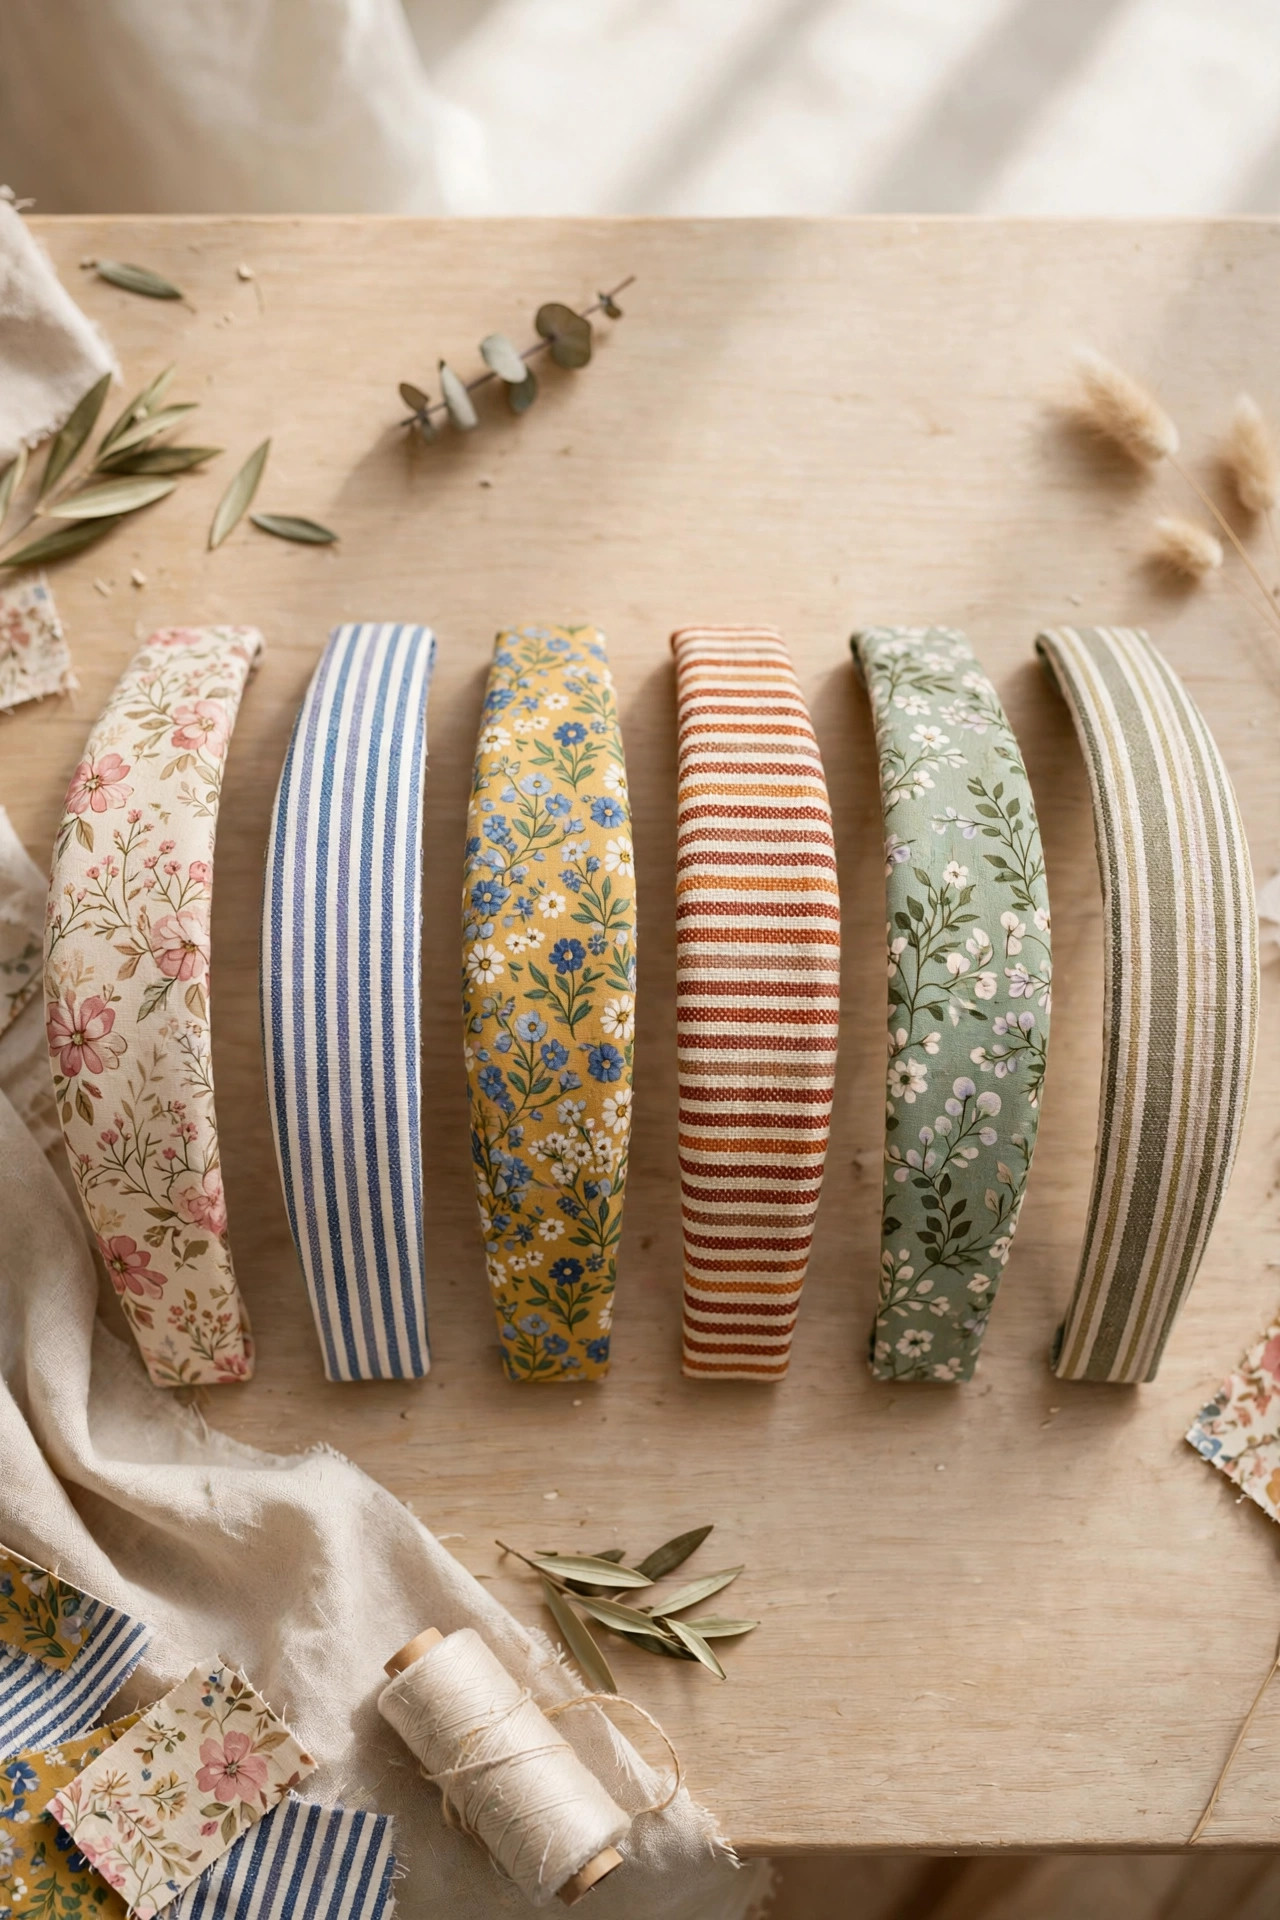
Headbands are a lovely step up because they introduce measuring a body part — the head — and sewing a curve, but the project is still small enough to finish in one sitting. I use soft jersey fabric, which stretches comfortably, and we measure the child’s head with a tape measure, add a couple of centimeters, and cut a long strip. The sewing is one long seam and two short ones to attach a piece of elastic, and I always let the child try it on halfway through for a fitting, which makes them feel like a real tailor. Decoration is where they get creative: sewn-on bows, embroidered initials, little felt flowers. My one hard rule is that I do all the elastic measuring and pinning, because a headband that is too tight ends up in the back of a drawer. Jersey fat quarters cost about 3 euros each, so this is one of the cheapest projects on the list, and girls especially love making matching sets for friends.
6. Embroidered Bookmarks
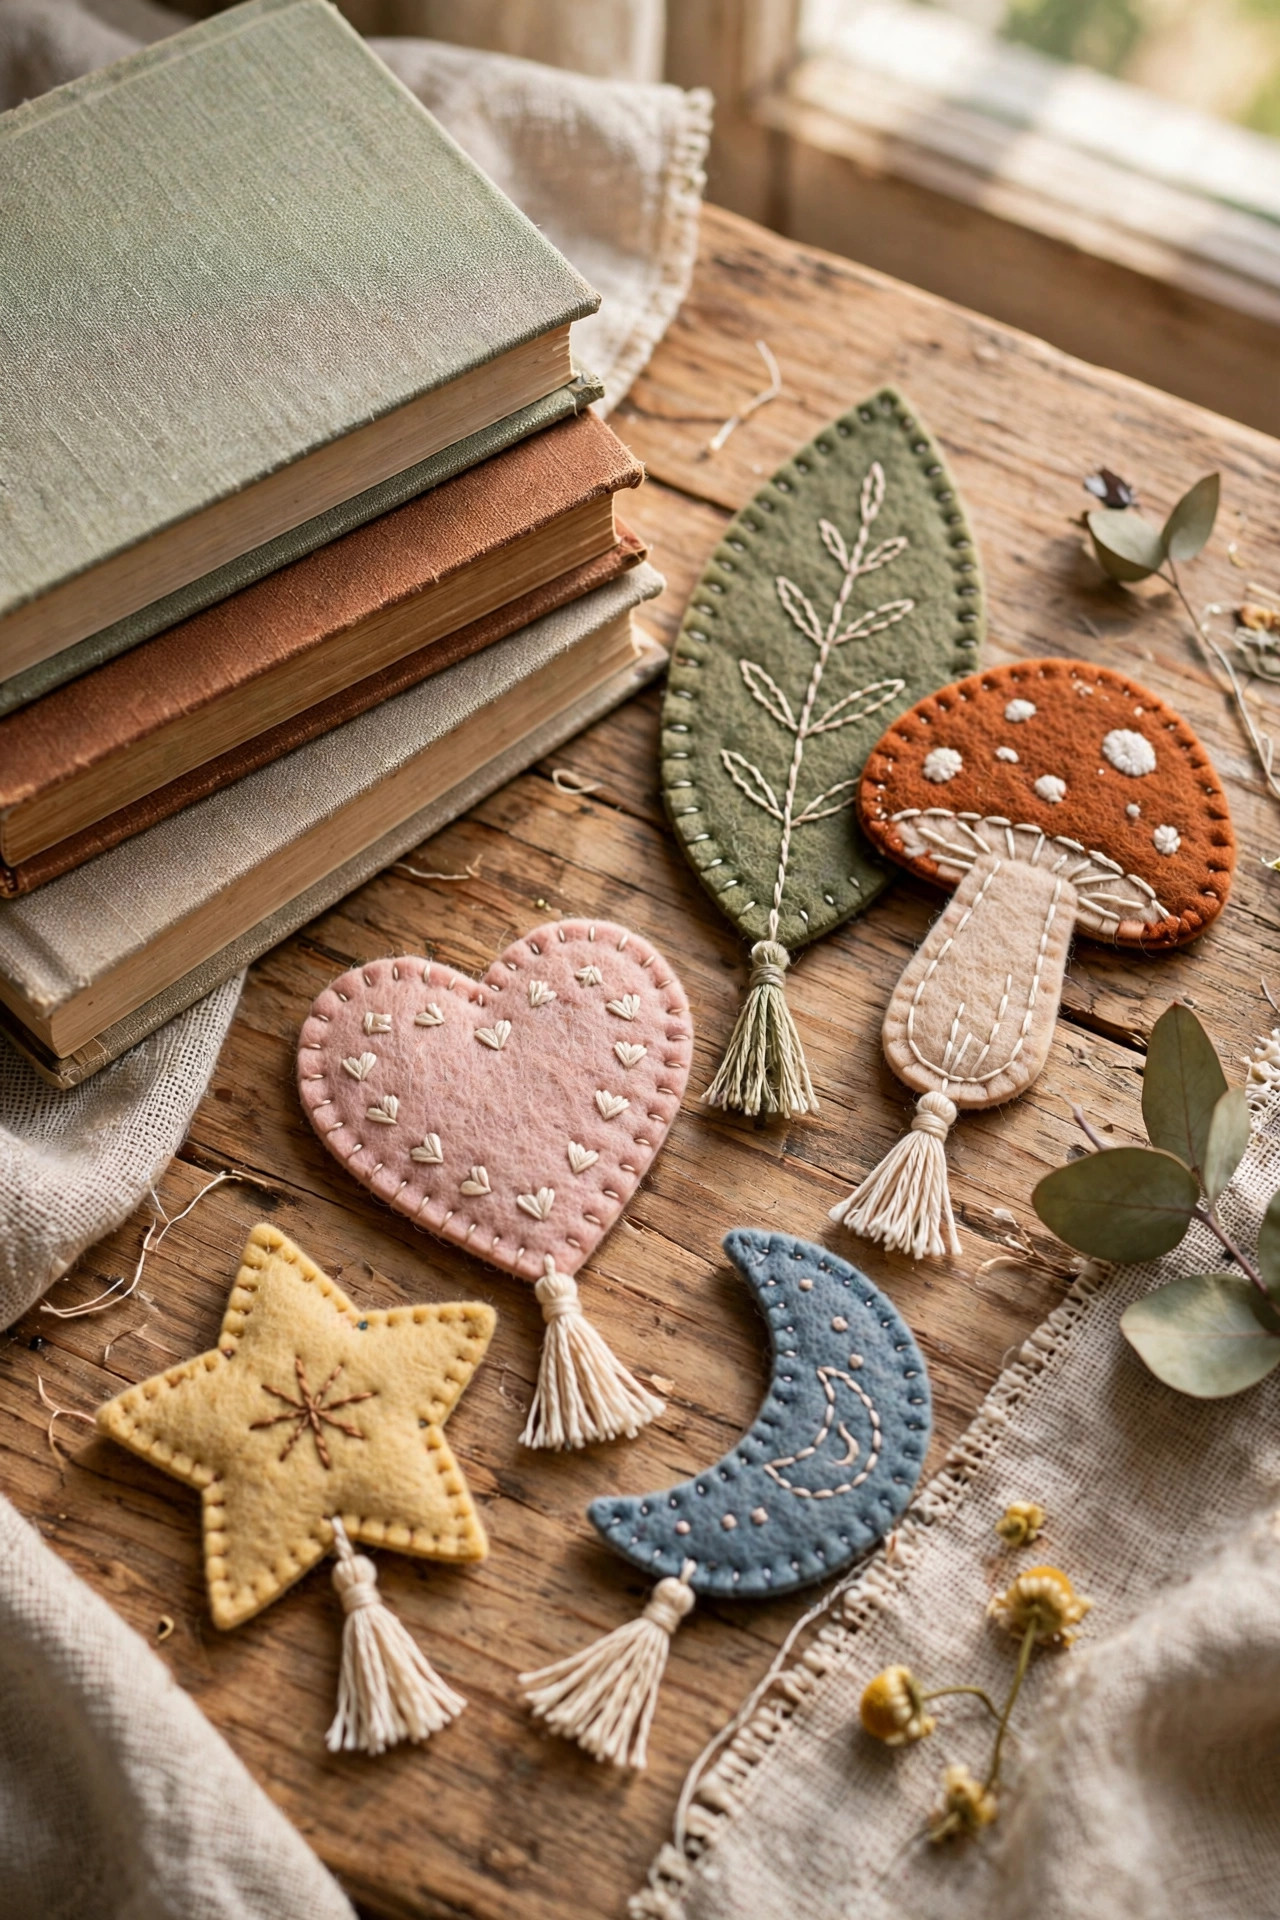
Bookmarks pair beautifully with reading, and I love this project for kids who are patient and detail-oriented — usually ages eight and up. We use stiff felt or Aida cloth, which has a visible grid that makes counting stitches easy, and start with the simplest stitches: running stitch for outlines, cross-stitch for filling. I draw the design on with a water-soluble pen first, usually the child’s initial or a simple flower, and they stitch over the lines. The first bookmark takes a full afternoon, but the second one goes twice as fast, and that visible progress is motivating. I finish each bookmark with a tassel made from embroidery floss, which takes five minutes and makes it look like a real shop-bought gift. Aida cloth costs about 6 euros for a piece that makes a dozen bookmarks, so this is also my go-to project when kids want to make Christmas presents for grandparents.
7. Stuffed Felt Letters
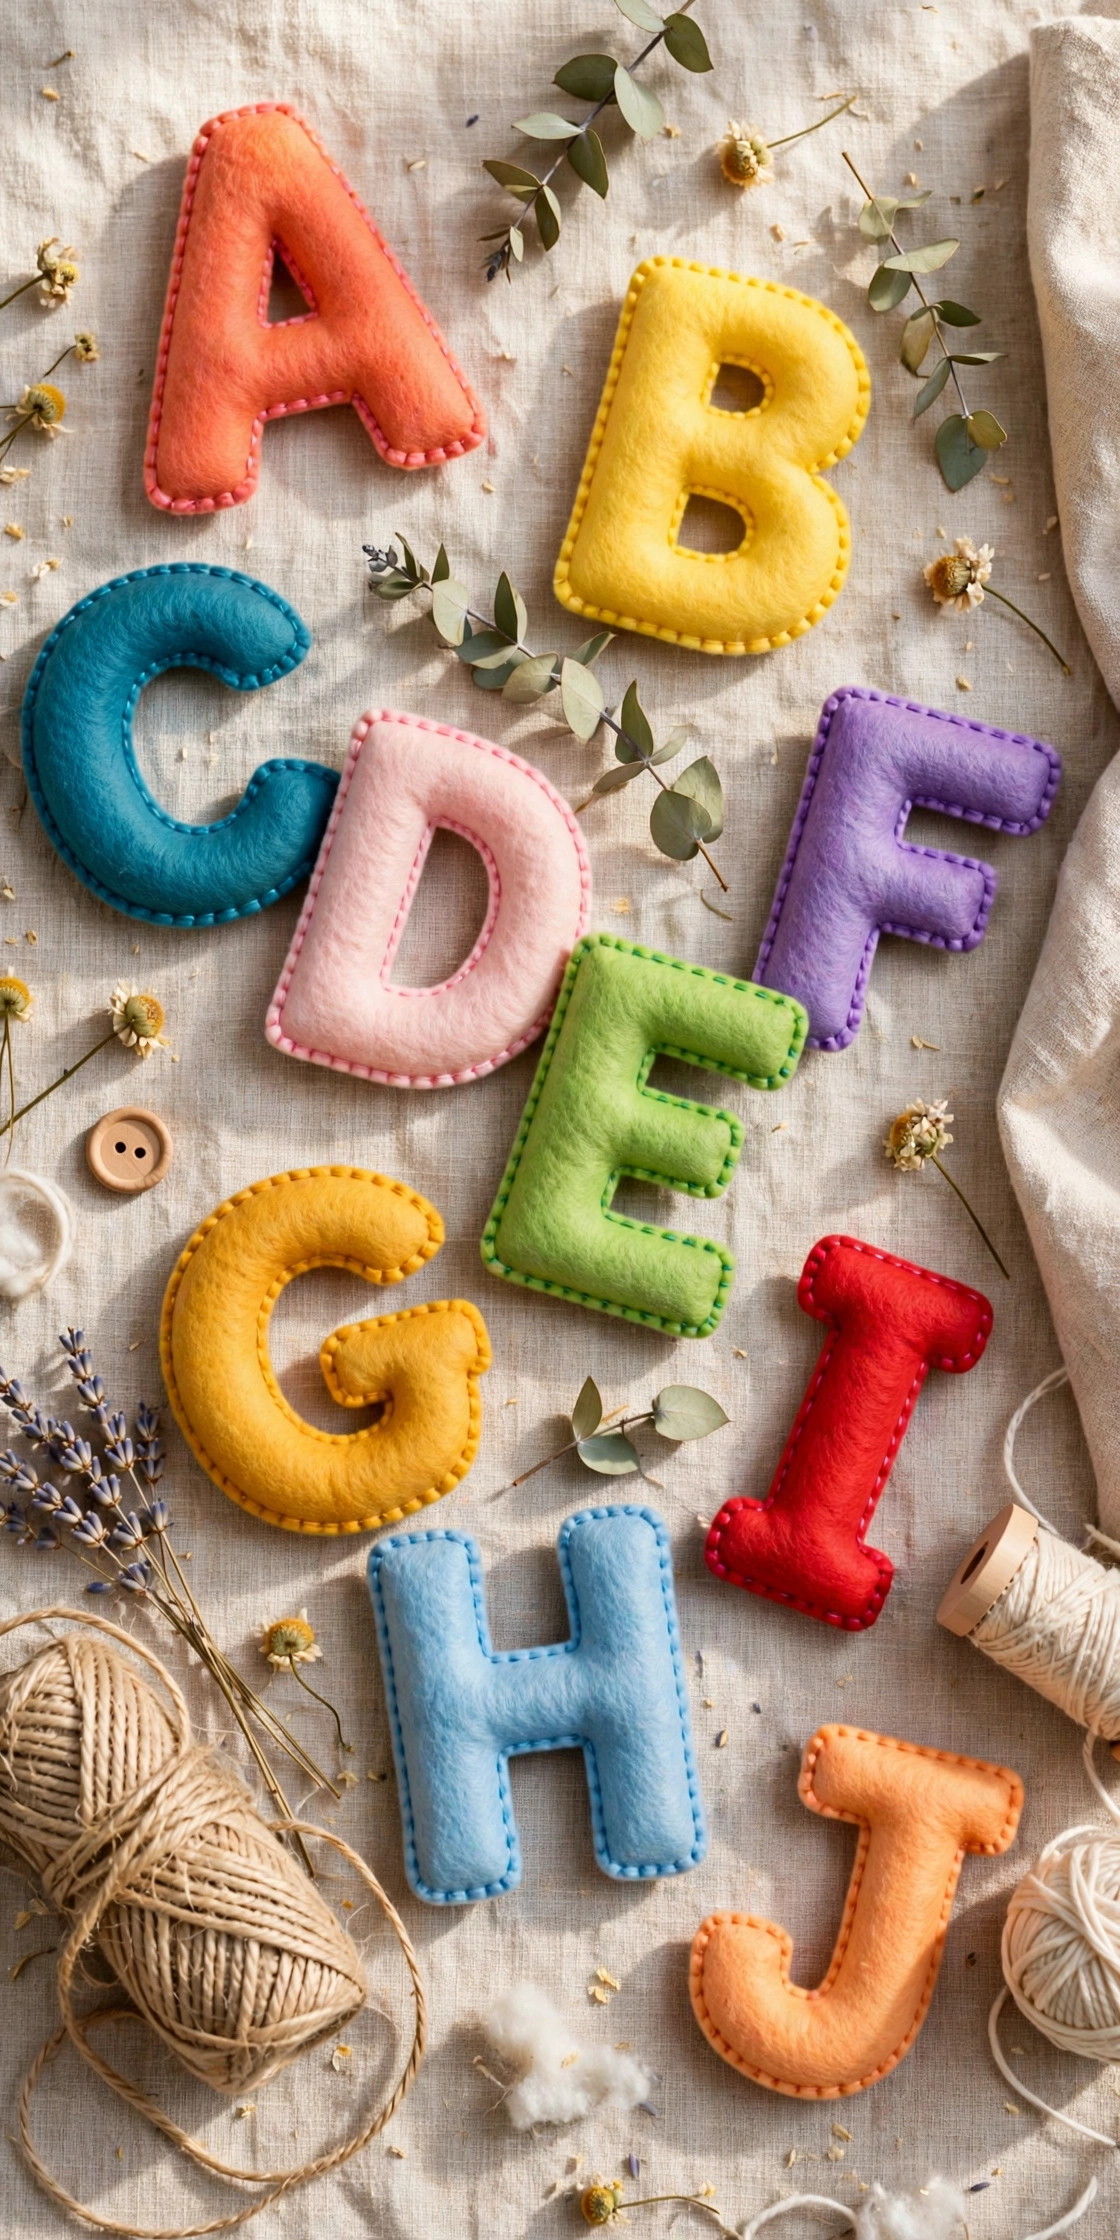
Stuffed felt letters sneak spelling practice into craft time, and I have watched reluctant readers suddenly care very much about the letter “M” when it becomes a squishy toy. We trace big block letters onto two layers of felt — I print templates at about 15 cm tall — cut them out, and stitch around the edge with a whip stitch, leaving a gap for stuffing. Stuffing is the fun part: kids love pushing in the cotton batting, and I always let them overstuff the first one because a chubby letter is funnier than a flat one. We sew names, spell “READ” for a bookshelf, or make the whole alphabet over several sessions. For younger kids I pre-cut the letters and they do the stitching; for older ones the tracing and cutting is part of the learning. Felt and batting for a full name cost under 5 euros, and a row of stuffed letters on a bedroom door looks genuinely charming.
8. Patchwork Coasters
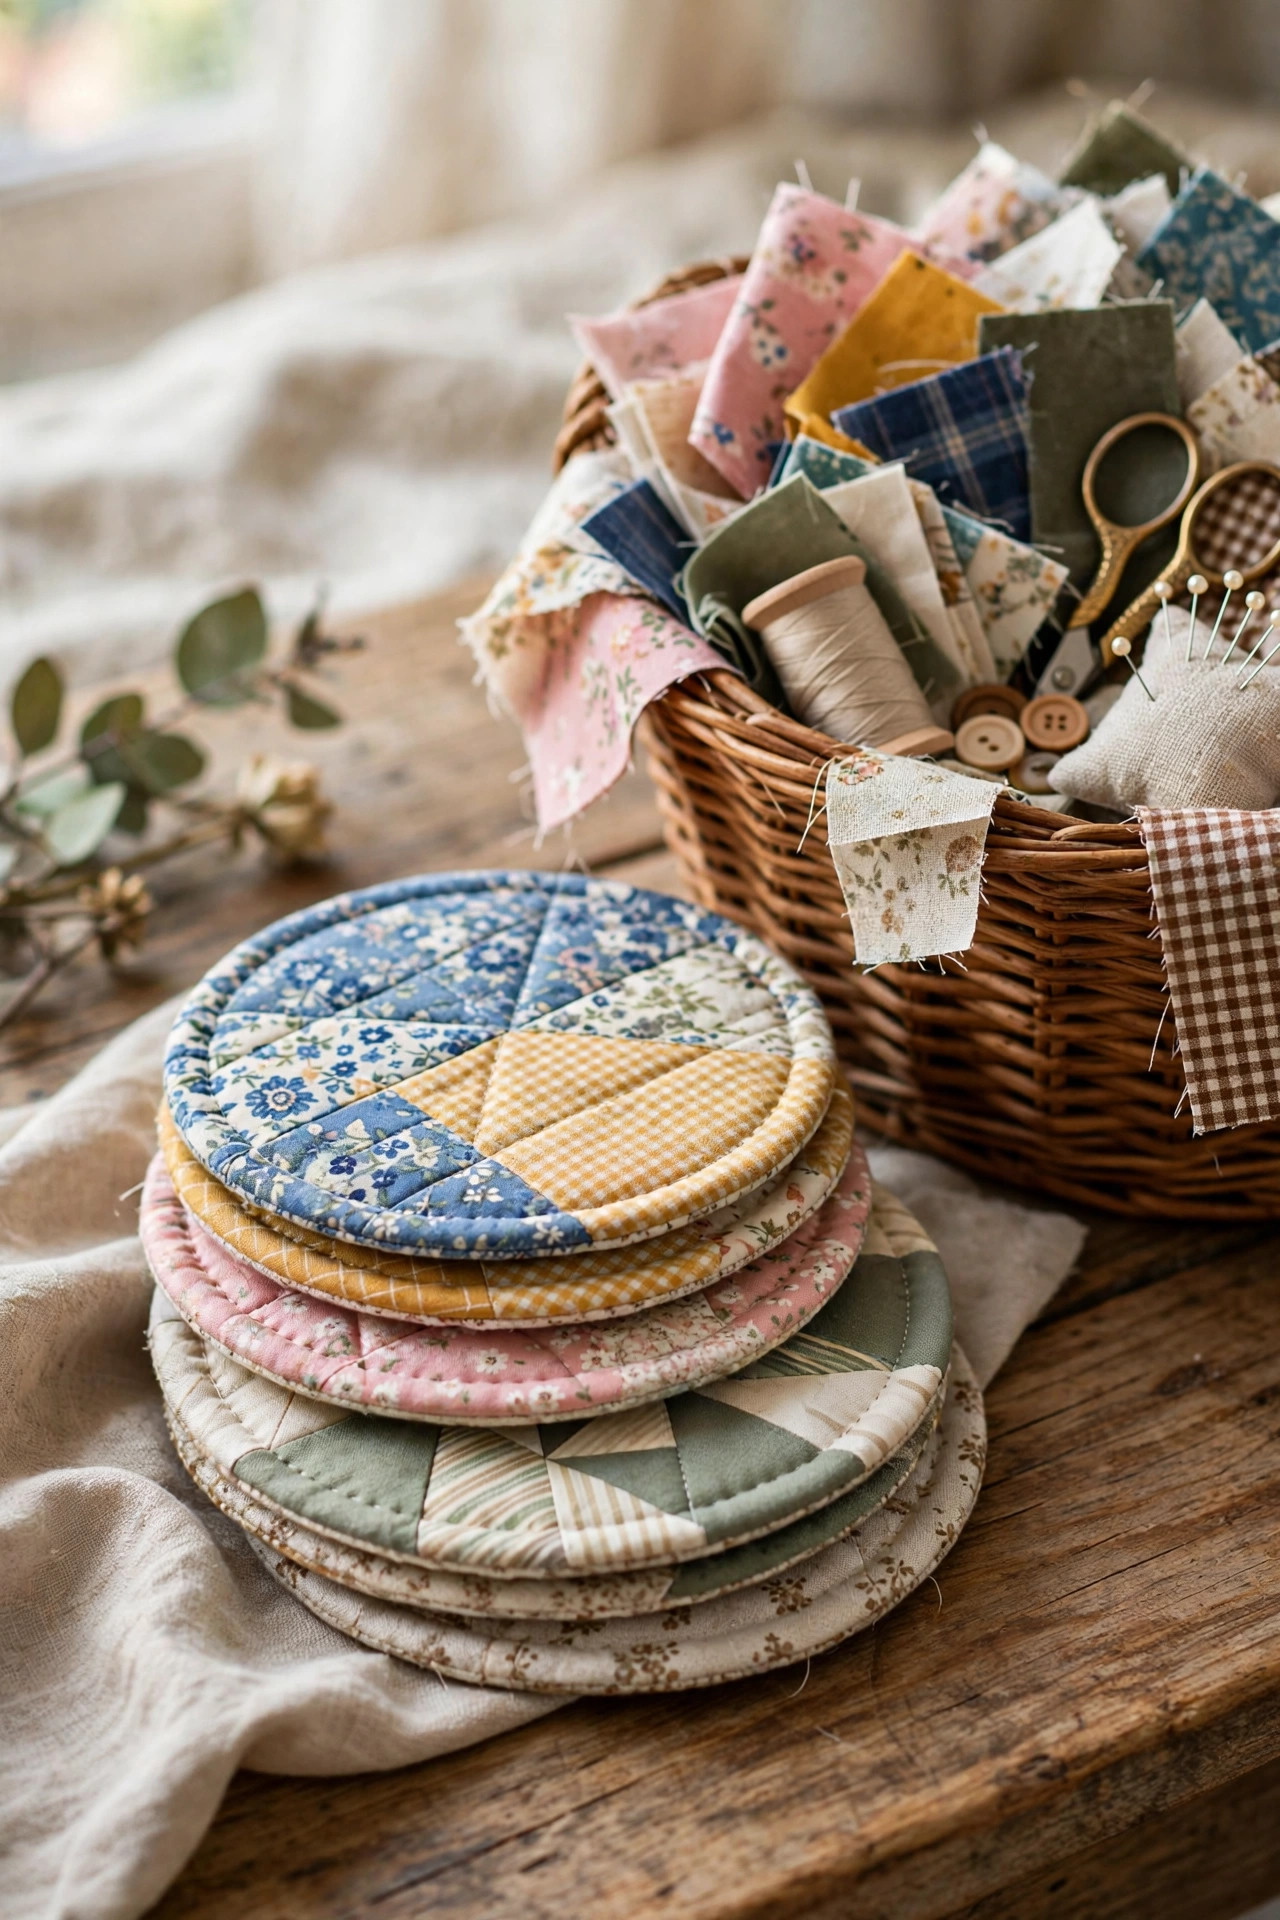
Coasters are my favorite scrap-buster project and a gentle introduction to piecing, which is the foundation of quilting. We cut fabric scraps into squares — I use a rotary cutter for this part while the child watches, since rotary cutters are not for small hands — and the child arranges them into a pleasing pattern on the table. Then we sew the squares together, press the seams, back the patchwork with a plain square, and stitch around the edge. The whole thing is about 12 cm square, so even a slow stitcher finishes in one session. I learned to use cotton scraps rather than stretchy knits, because knit squares curl and misbehave. These make wonderful gifts: my nephew made a set of four for his teacher, and she apparently still uses them. Zero cost if you raid the scrap bin, which is half the point — this project teaches that beautiful things come from leftovers.
9. Decorative Fabric Garland
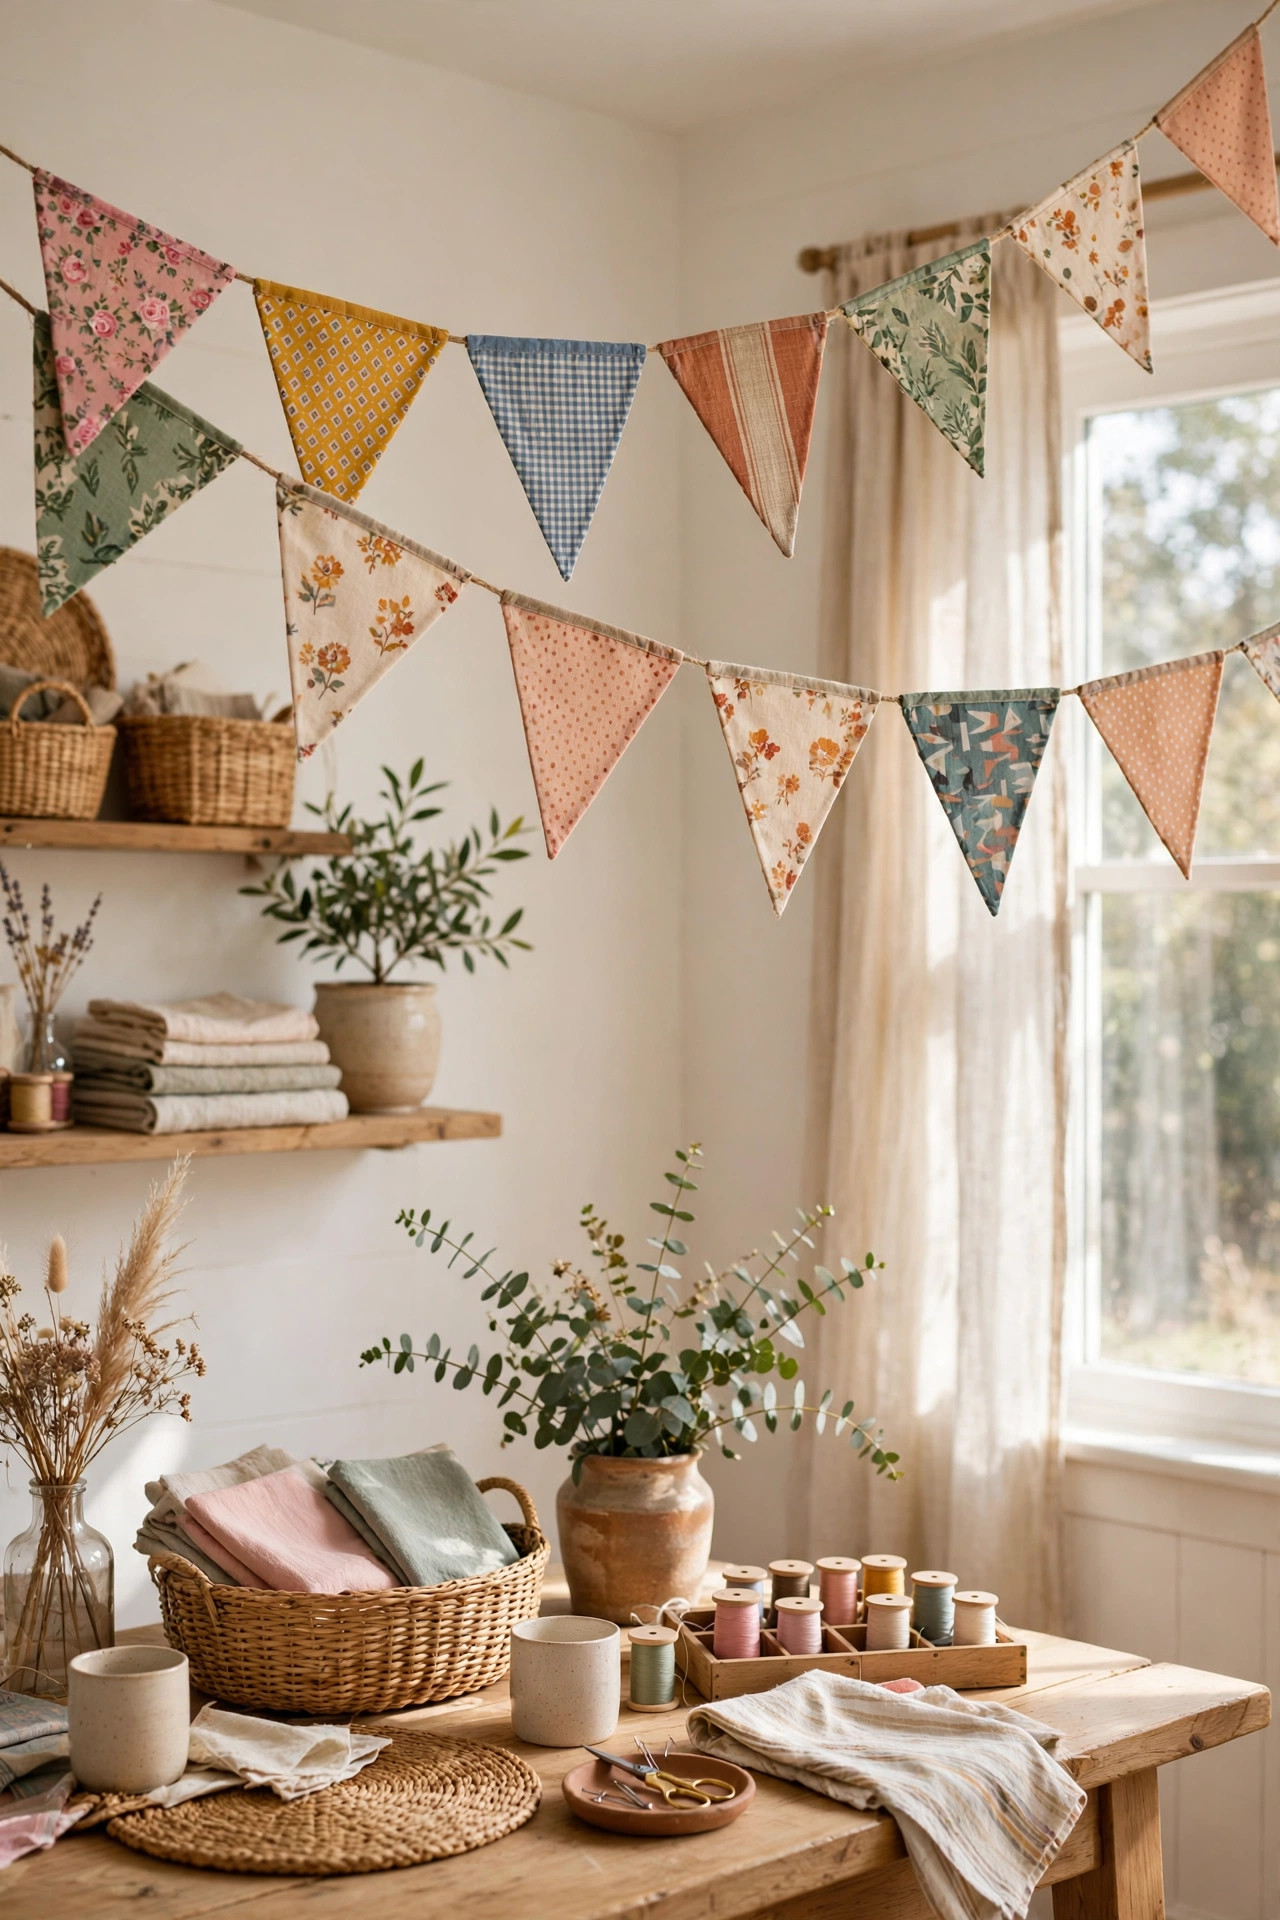
Garlands are pure joy: colorful, quick, and they transform a room the moment they go up. We cut shapes — stars, leaves, simple flowers — from felt or cotton, and I let the child choose the color story while I handle any machine stitching. For younger kids we use a simple running stitch by hand to string the shapes onto twine; for older ones we sew straight down the middle of each shape on the machine, which creates a lovely continuous garland in minutes. I have made these for every season: spring flowers, autumn leaves, winter snowflakes, and one memorable Halloween garland of very lopsided ghosts that the kids loved more than any perfect version. The shapes can be cut with cookie cutters as templates, which is a trick I wish I had known from the start. Felt for a two-meter garland costs about 4 euros, and it stores flat in an envelope for next year.
10. Upcycled Denim Pouches
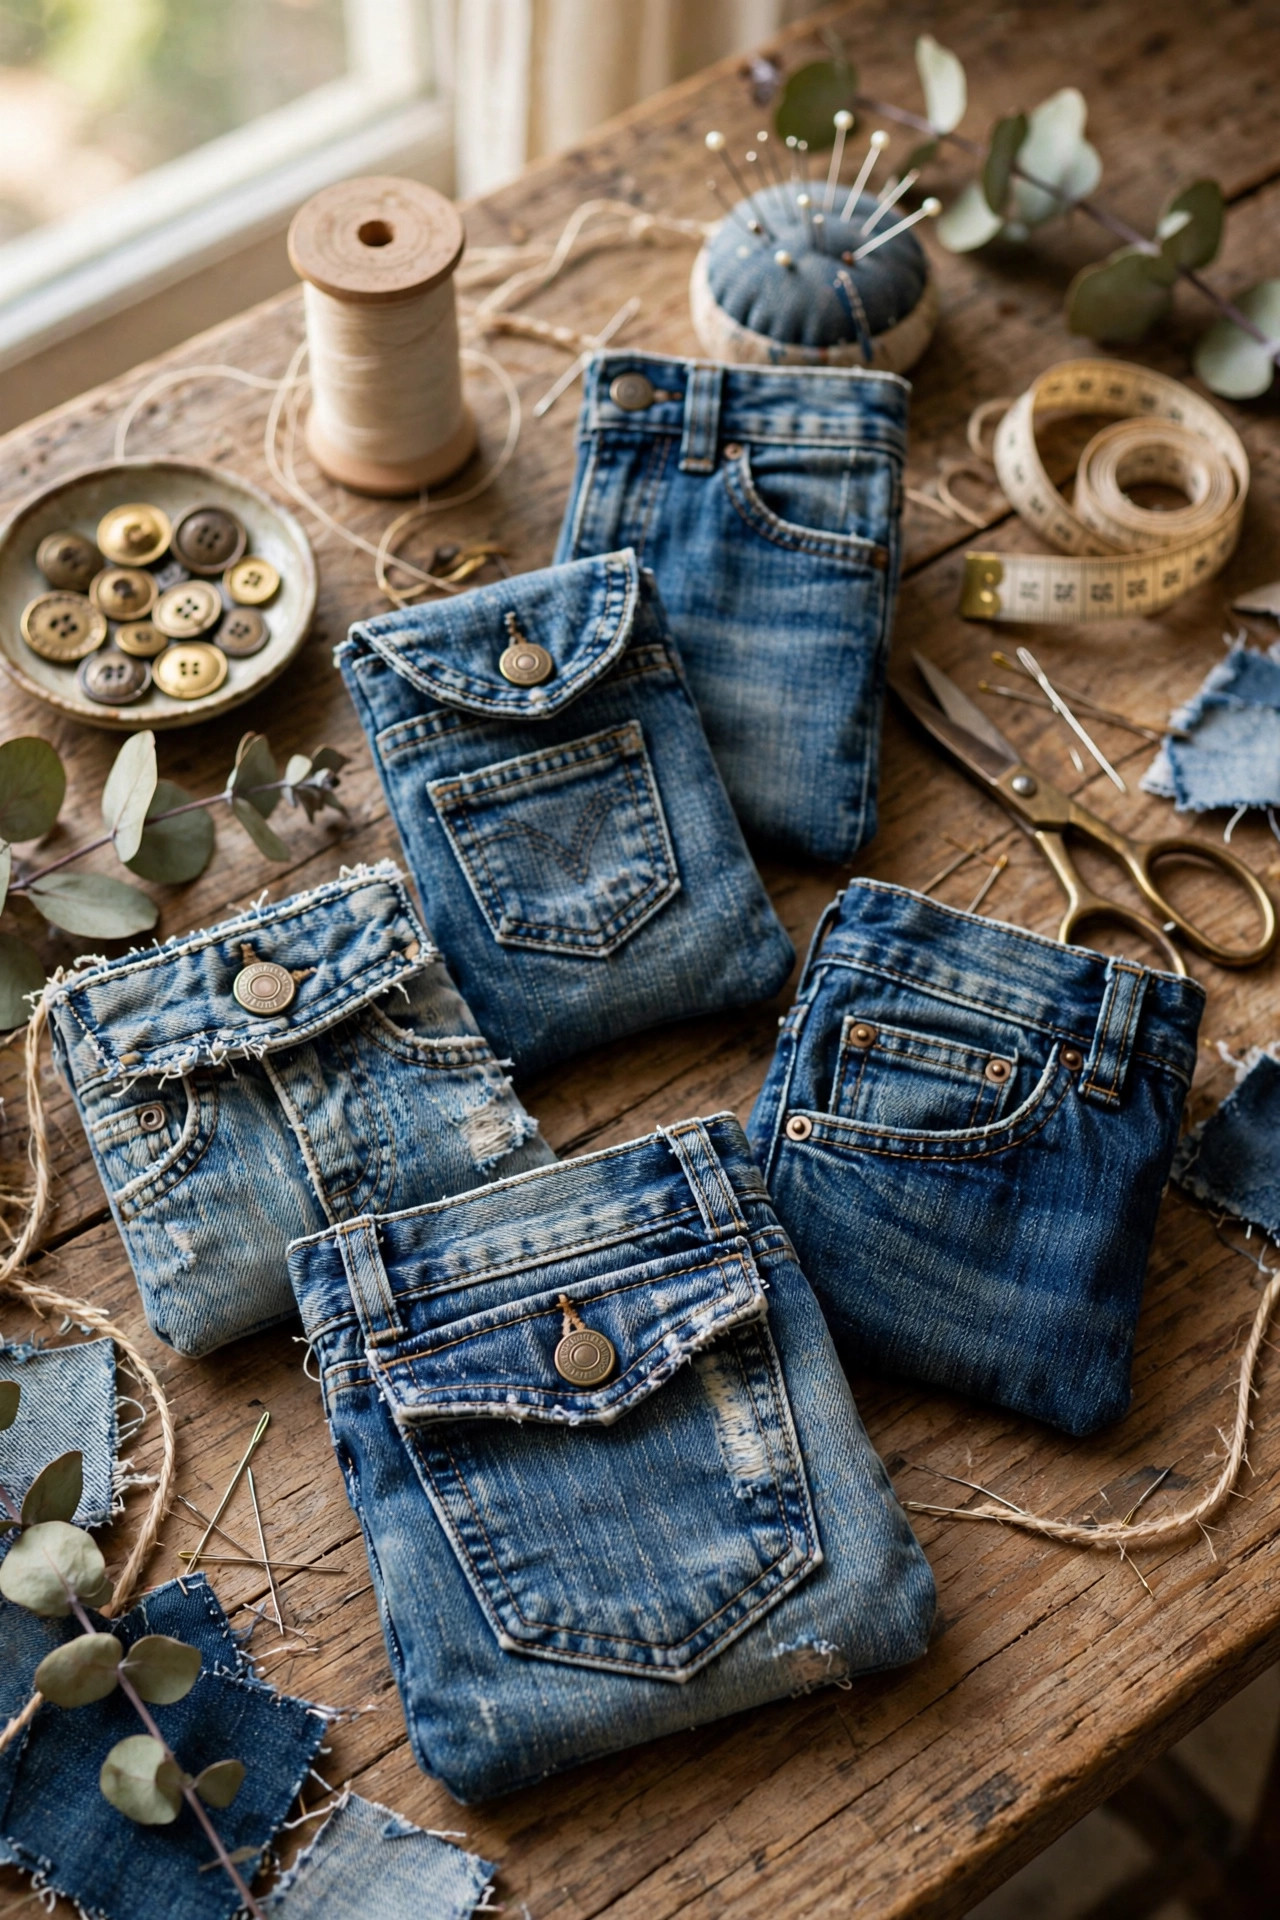
The denim pouch is the graduation project — the one I save for kids around ten and up who have done a few simpler things and are ready for something that feels grown-up. We cut up an old pair of jeans, which always delights children who are used to being told not to cut their clothes, and sew a simple lined pouch with a button or Velcro closure. Denim is thick, so this is a machine project with me sitting right beside them, guiding the fabric and reminding them to go slowly over the bulky seams. I use a jeans needle in the machine, which makes an enormous difference — a regular needle will snap on a flat-felled seam and scare everyone. The pouch becomes a pencil case or a treasure bag, and because it came from real jeans, kids treat it like something precious. Cost: zero, if the jeans were headed for the bin anyway, which makes the upcycling lesson land without any lecturing.
Conclusion
If you take one thing from my years of sewing with kids, let it be this: the project matters less than the feeling of finishing something real. Start with the keychains or the no-sew blanket, keep the sessions short, and let the wobbly stitches stay wobbly. The lopsided fox on my nephew’s school bag is still my favorite thing anyone has ever sewn.