
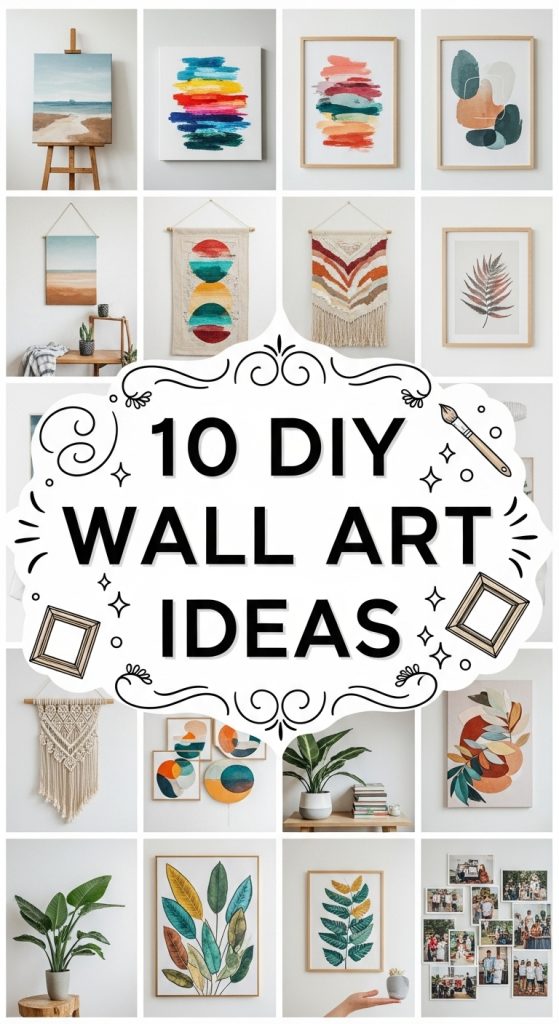
My hallway wall stayed blank for almost a year after I moved into my flat in Munich. Not because I didn’t care about it — I walked past it every single day — but because every framed print I liked in a shop cost more than I wanted to spend on one wall, and the cheap ones looked exactly like what they were. So one rainy Saturday I pulled out the leftover fabric from a curtain project, a wooden frame I had been meaning to throw away, and a staple gun, and I made my first piece of wall art myself. It was crooked, the corners were lumpy, and I still love it. Since then I have filled most of the walls in my flat with things I made at my kitchen table, and I have learned a lot about what actually works, what falls apart after a month, and which projects are worth an afternoon and which ones are worth a whole weekend. These ten ideas are the ones I keep coming back to, and each one is something I have genuinely tried in my own home.
1. Framed Fabric Panels
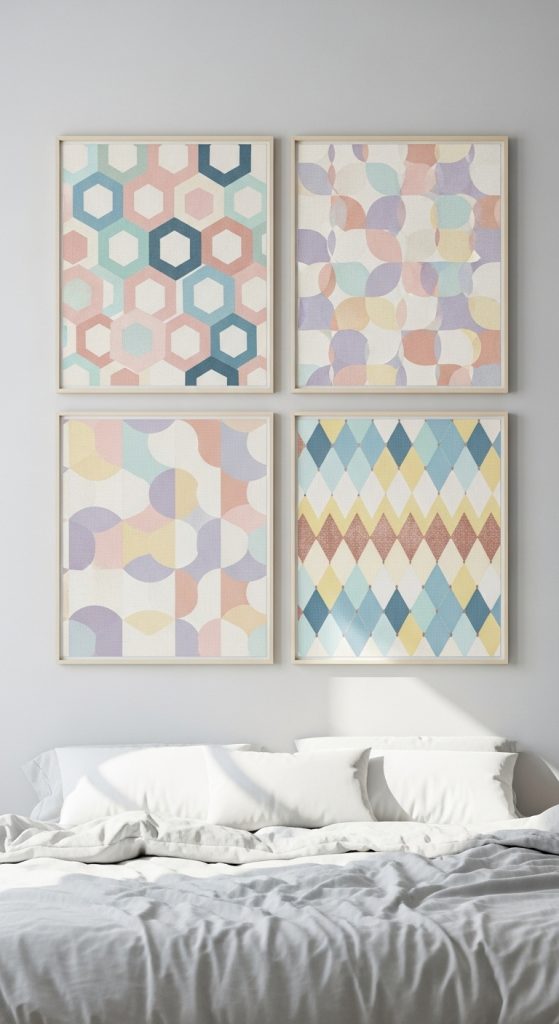
I made my first fabric panels from a linen remnant I bought for about 8 euros at a fabric shop near Sendlinger Tor, and I still think they are the best return on effort of anything in this list. I stretched the fabric over simple wooden stretcher frames, pulled it tight like a drum skin, and fixed it at the back with a staple gun, folding the corners the way you would wrap a present so they sat flat. What worked for me was choosing three fabrics from the same colour family instead of one bold pattern, because a trio of muted sage, cream and dusty blue panels looks far more considered than a single loud print. My mistake the first time was stapling too close to the edge, which made the fabric pucker, so now I leave a good two centimetres of margin and work from the middle of each side outwards. They hang in my bedroom above the dresser, and swapping one panel for a different fabric takes about ten minutes when I want a change.
2. String Art
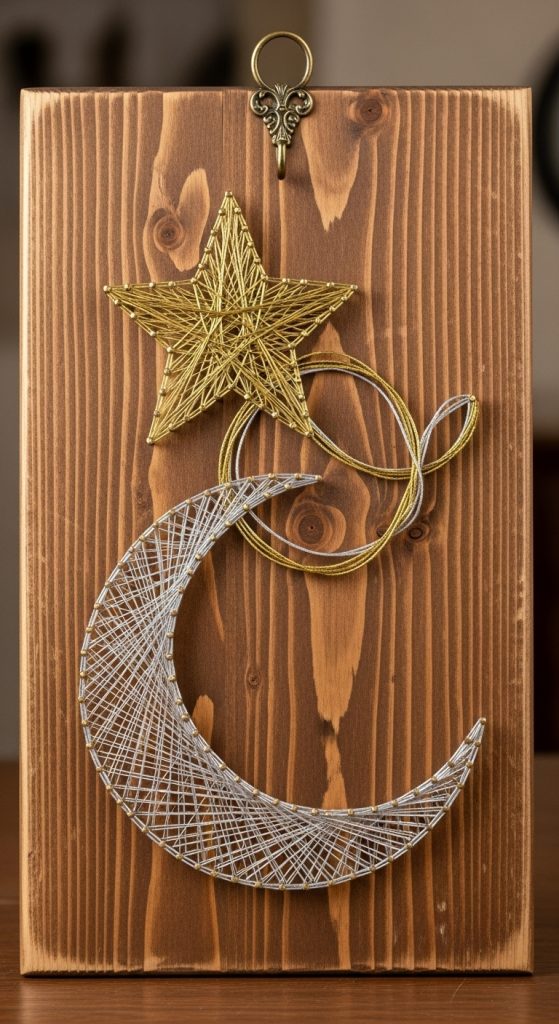
String art looks like a craft fair cliché until you actually make a good one, and then it becomes the piece everyone in the room asks about. I started with a pine board about 40 by 60 centimetres, sanded it smooth, and drew a simple mountain outline in pencil before hammering in small nails along the edges, spaced about two centimetres apart. The wrapping itself is the relaxing part — I used dark green embroidery thread and just criss-crossed it until the shape filled in, which took me an evening in front of the television. What I learned is that the nails need to go in straight and deep enough, because one wobbly nail will throw the whole pattern off, and a cheap hammer with a good grip makes a real difference here. My first attempt used thread that was too thin, so the design looked wispy and unfinished, and switching to a slightly thicker cotton yarn fixed it completely. The finished board hangs in my hallway, and it has survived two moves without a single loose nail.
3. Canvas Abstract Paintings
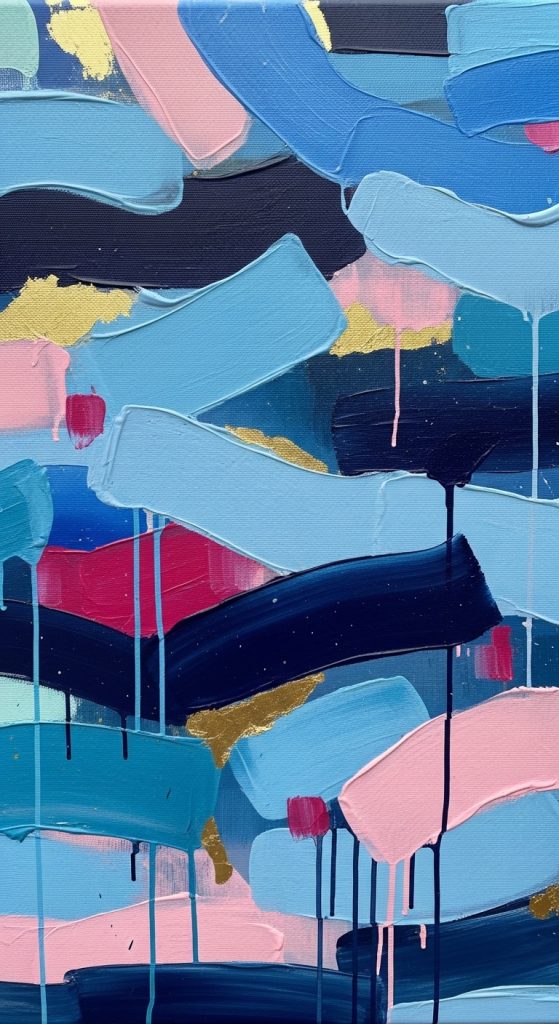
I was nervous about painting because I cannot draw a straight line to save my life, but abstract painting turned out to be the most forgiving project I have ever done. I bought two canvases, a set of acrylic paints in warm terracotta, cream and charcoal, and a palette knife, and the whole lot cost me under 20 euros. I started by blocking in large shapes of colour and then dragged the palette knife through the wet paint to make texture, stepping back every few minutes to see what the whole thing looked like from across the room. What worked for me was limiting myself to three colours plus white, because every time I added a fourth colour the painting started to look muddy. Acrylic dries fast, which is both a blessing and a curse, so I learned to work in sections and to keep a spray bottle of water nearby to keep the paint workable for a few more minutes.
4. Macramé Wall Hangings
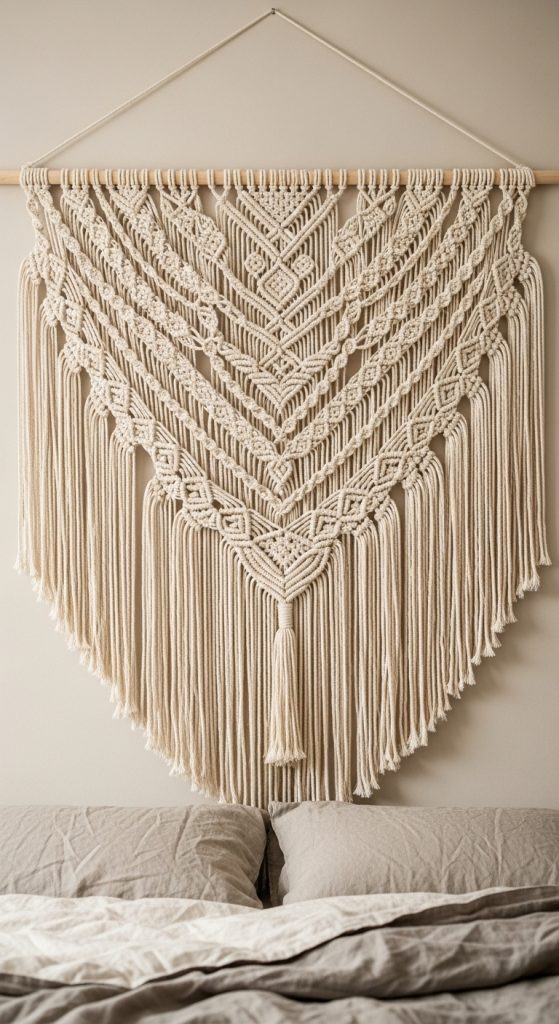
Macramé was the project that taught me patience, because my first attempt took three evenings and looked like a fishing net that had given up. I used natural cotton rope, about 3 millimetres thick, and a wooden dowel I cut to 60 centimetres, and I practised the square knot and the half hitch knot on a scrap piece before I touched the real thing. Once the knots clicked, the whole thing came together faster than I expected, and I added a few wooden beads I had left over from an old necklace for a bit of weight at the bottom. The trick I wish someone had told me earlier is to measure your rope generously, because a knot eats up far more length than you think — I cut my cords at least four times the finished length, and even then I nearly ran short on the last row. The finished hanging sits above my bed, softening a wall that used to feel too bare.
5. Wall Shelves as Art
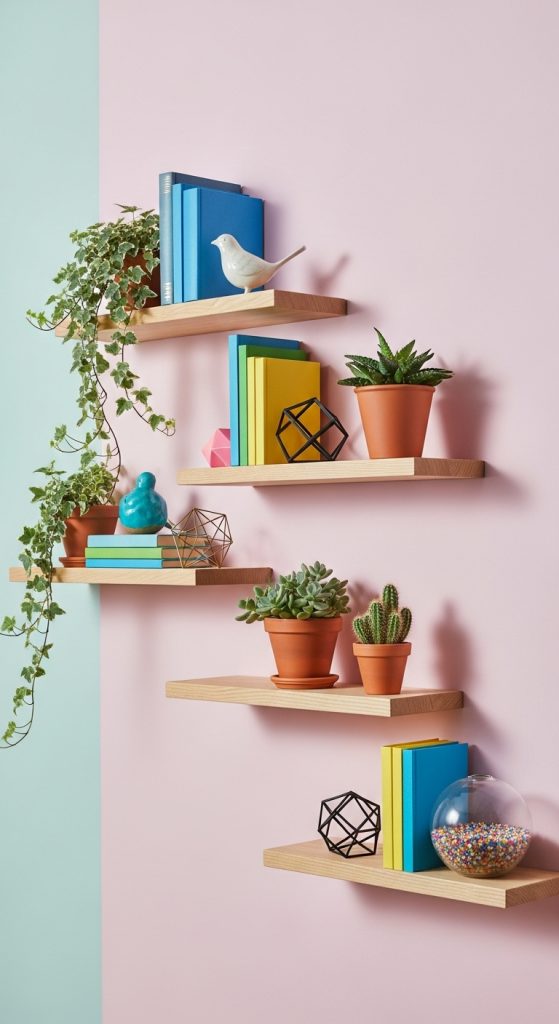
When I ran out of wall space for pictures but still had things I wanted to look at, shelves became the answer, and they turned out to be the most practical art I own. I mounted three pine planks of different lengths in a staggered arrangement above my desk, using solid metal brackets and proper wall plugs, because the first time I used cheap adhesive hooks a shelf full of books came down at two in the morning and I have never trusted them since. I stained the wood a warm walnut colour to match the desk, and then I styled each shelf like a small scene: a trailing plant on the top one, a stack of old books and a ceramic vase in the middle, and a framed photo with a candle at the bottom. What I have learned is that shelves look best when they are not overfilled — leaving a little empty space between objects makes each one stand out, and I rotate the objects every few months so the wall never feels stale. It holds my things and it looks good doing it, which is more than I can say for most of my furniture.
6. Paper Flower Wall Art
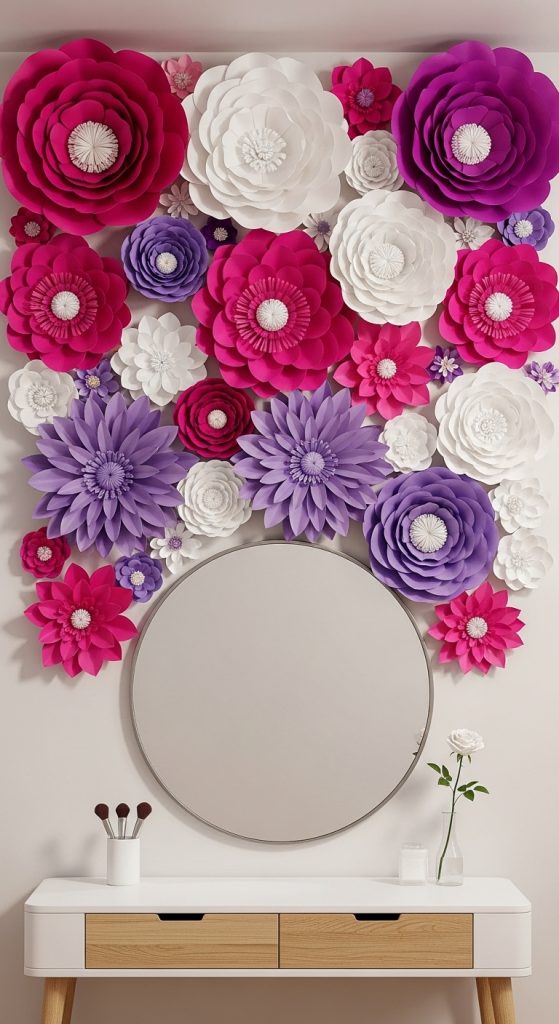
Paper flowers sound like something you make once in primary school and never again, but a wall of oversized ones above my reading chair is genuinely one of my favourite corners of the flat. I used heavyweight coloured card in blush pink, cream and deep rose, cut the petals freehand in three sizes, and curled the edges around a pencil so each flower had a bit of dimension instead of lying flat like a paper cutout. I glued the layers together with a hot glue gun and fixed the finished flowers to the wall with removable mounting strips, which matters because I am renting and I would rather not explain a wall full of holes to my landlord. My mistake on the first batch was making all the flowers the same size, which looked flat and repetitive, so now I mix one large statement flower with several smaller ones clustered around it. The whole arrangement took me a Sunday afternoon and cost less than 10 euros in materials.
7. 3D Geometric Wall Panels
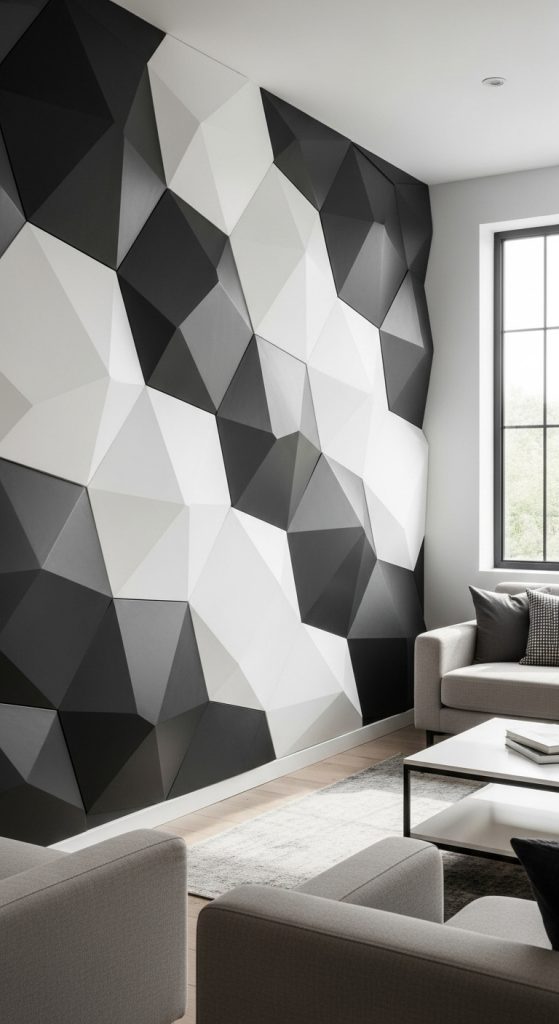
I made my geometric panels on a weekend when I wanted something modern for the living room but could not justify spending 150 euros on a shop-bought version. I cut triangles and hexagons from thick foam board with a craft knife and a metal ruler, painted half of them in a deep teal and left the others in warm white, and then arranged them on the wall in a loose honeycomb pattern before fixing them with strong double-sided mounting tape. The cutting is the part that needs care — a blunt blade tears the foam and leaves ragged edges, so I changed the blade twice during the project and kept a steady hand on the ruler. What surprised me most was how much the shadows changed the look through the day: in the morning light the raised edges throw soft lines across the wall, and in the evening the whole panel looks flatter and calmer. I laid the full pattern out on the floor first, which saved me from drilling holes in the wrong places, and I would recommend that to anyone, because rearranging foam shapes on a floor is free and rearranging them on a wall is not.
8. Photo Gallery Wall
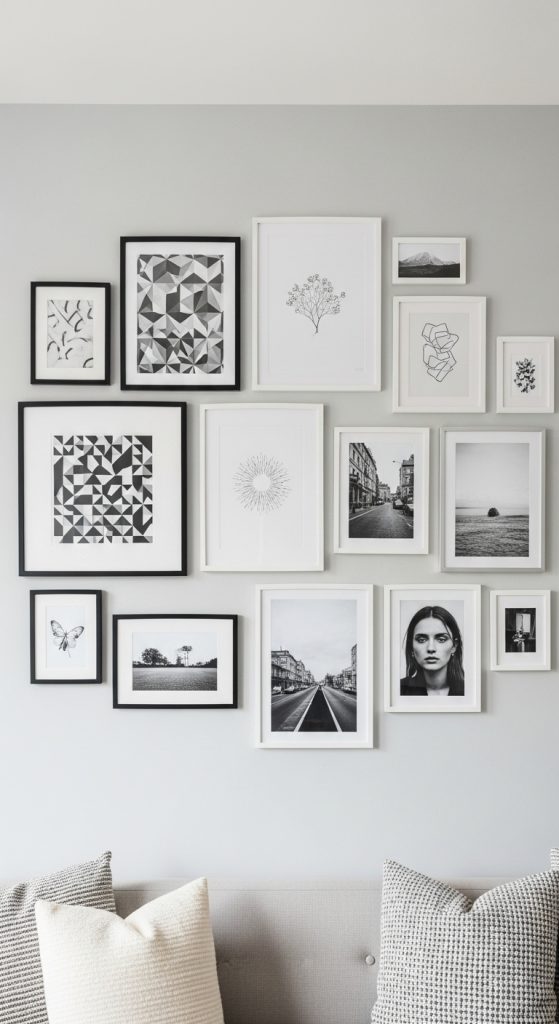
My gallery wall is the most personal thing in my flat, and it is also the project I rearranged the most times before I was happy with it. I collected frames of different sizes over a few months — some from flea markets, some from the discount shelf at a homeware store — and I painted a few of them the same matte black so the mismatched collection would still look like it belonged together. Before I put a single nail in the wall, I laid the whole arrangement out on the living room floor and lived with it for a day, shifting frames around until the spacing felt right, and then I traced each frame onto newspaper, taped the paper shapes to the wall, and hammered the nails through the paper. That trick saved my wall from at least a dozen unnecessary holes. I mixed family photos with a few art prints and one small embroidered piece, and the rule I stuck to was that every frame had to mean something to me — no filler prints just to fill a gap. It hangs along the hallway now, and it is the first thing I show people when they visit.
9. Wall Decals
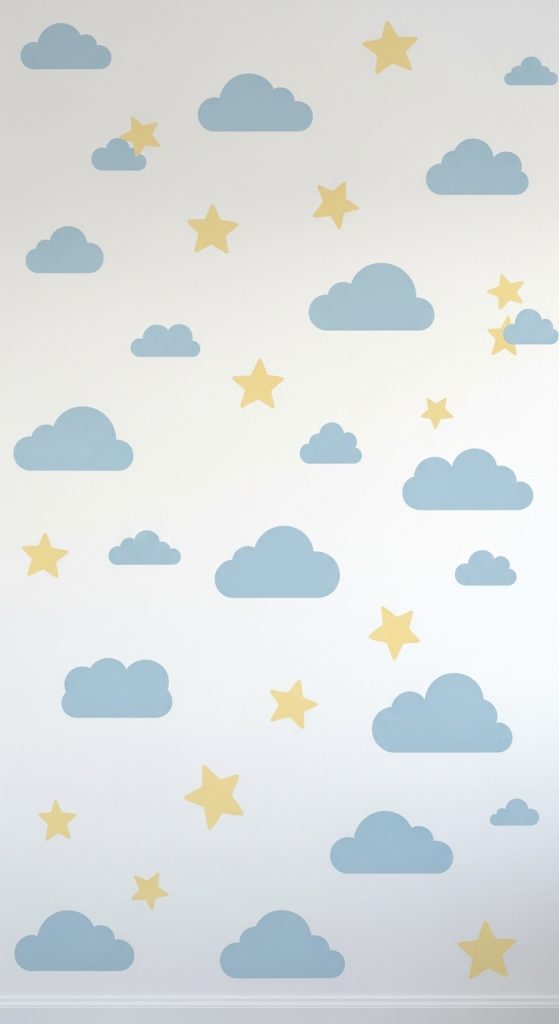
Wall decals were my solution for a rental flat where I wanted a big visual change without losing my deposit, and honestly they are the easiest win on this whole list. I bought a set of large botanical vinyl decals for about 15 euros, cleaned the wall properly with a damp cloth first, and let it dry completely before I started, because dust is the enemy of anything adhesive. I peeled the backing off slowly and smoothed each decal down with an old credit card, working from the centre outwards to push out air bubbles before they had a chance to settle. My first decal went on crooked because I tried to eyeball it, so for the rest I marked a faint pencil line as a guide and stepped back after every piece to check the overall composition. The best part is that they peel off cleanly — I moved one large leaf decal from the bedroom to the hallway a year later and it stuck just as well the second time. For anyone renting, or anyone who changes their mind as often as I do, decals are the lowest-commitment way to make a wall feel finished.
10. Mixed Media Wall Art
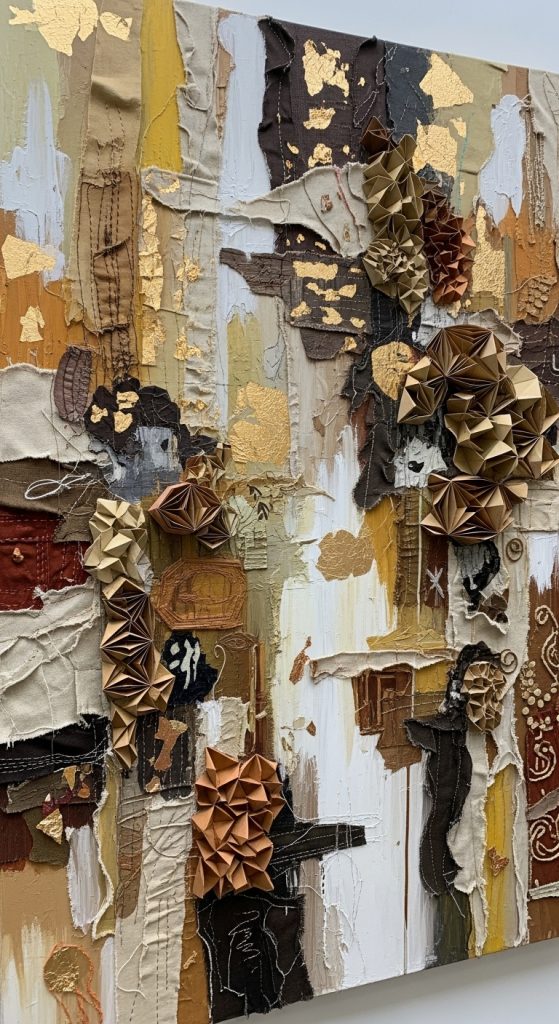
Mixed media is the project I reach for when I have a box of leftover materials and no plan, and it has produced some of my favourite pieces precisely because there was no plan to ruin. I started with a wooden board, painted a wash of warm ochre across it, and then layered torn paper, a scrap of linen, dried lavender from my balcony, and a few small brass findings I had kept from a broken bracelet. I fixed everything with a strong craft glue and sealed the whole thing with a clear matte varnish, which took about 24 hours to dry properly and is worth waiting for, because the varnish is what keeps the paper edges from lifting after a few months. What I learned is that restraint matters even in a project that is supposed to be free-form — my first board had so many things glued to it that you could not see any one of them, and taking half the elements off made it twice as interesting. The finished piece hangs in my study, and it is the one artwork in the flat that no one could ever buy, because it is made entirely of scraps from my own life.
Conclusion
If there is one thing making all ten of these pieces taught me, it is that a wall does not need an expensive artwork to feel finished — it needs something that has a story behind it, even if that story is just a rainy Saturday and a staple gun. Start with whichever idea matches what you already have at home: a bit of fabric, a spare canvas, or a box of old photos. My flat is full of slightly imperfect things I made myself, and I would not trade a single one of them for a perfect print from a shop.