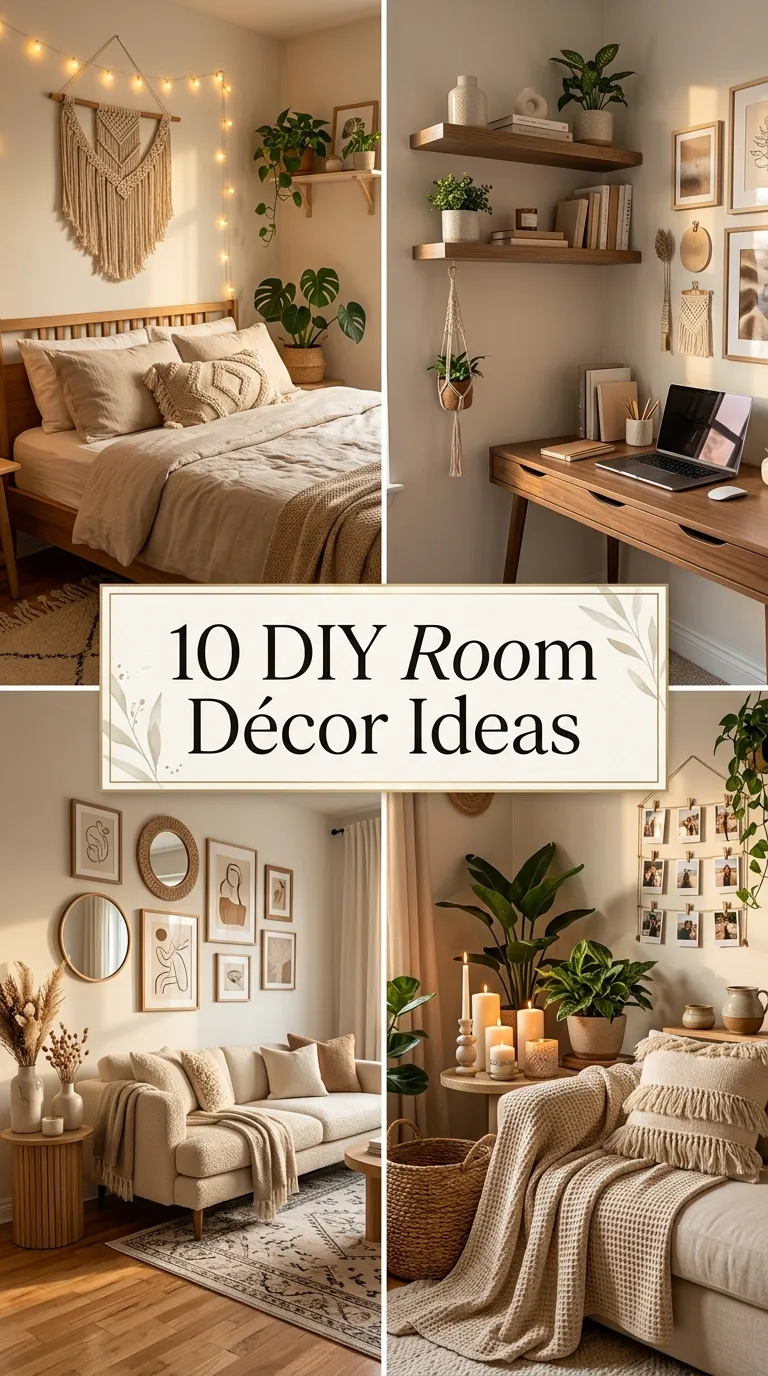
The wall above my desk in our Munich flat stayed blank for almost a year. Not because I had no ideas — I had a Pinterest board full of them — but because every project I looked at seemed to need a workshop, a budget, or a level of patience I simply did not have on a Tuesday evening after work. Then one rainy Saturday I finally just started, with a string of fairy lights and a box of old photos, and I realised most of these projects take an afternoon at most and cost less than a dinner out. What follows are the ten wall projects I have actually made in my own home, in the order I tried them, with the real details: what they cost, what went wrong the first time, and which ones are still hanging today.
1. String Light Photo Wall

I started here because it was the least intimidating thing on my list, and it is still the one guests comment on first. I bought a three-metre warm-white LED string for about €8 at the hardware store and printed twelve photos at the copy shop for roughly €4, then clipped them on with small wooden pegs I already had in a drawer. I hung the lights in a loose zigzag across the wall above my desk, using clear adhesive hooks rather than nails, because our rental agreement is strict about holes. My first mistake was spacing the photos evenly like a grid, which looked stiff and a bit like a school display, so I rearranged them in a gentle cascade with two or three photos per drop and left a few bare bulbs showing between them. The whole thing took under an hour, and in the evenings the wall glows softly enough that I rarely switch on the ceiling light. Buy a string with a timer if you can — mine has none, and it stays on until I remember to unplug it.
2. Macramé Wall Hangings

I had always assumed macramé was one of those crafts that looks easy on video and ends in tears, and my first attempt mostly proved me right — I tied the knots too tightly, and the whole piece curled up like a dried leaf. The second time, I slowed down, kept the tension loose, and used a 60-centimetre wooden dowel with 3-millimetre cotton rope from the craft shop, which cost me about €12 in total. I learned only three knots — the square knot, the half hitch, and the diagonal clove hitch — and honestly, those three are enough for a piece that looks genuinely good. I worked on it over two evenings, the rope hanging from a doorframe hook so I could step back and check the shape. It now hangs beside the window in our living room, and the fringe at the bottom moves slightly when the window is open, which I like more than I expected. If you try this, measure your rope generously: I cut mine too short the first time and had to start over, so allow at least four times the finished length for each cord.
3. DIY Floating Shelves

Our living room had one of those awkward empty wall stretches that was too narrow for furniture and too big to ignore, so I put up two floating shelves, each 80 centimetres long, and they solved the problem in a single afternoon. I bought pine boards at the hardware store for about €15, sanded them with 120-grit paper, and finished them with a clear matte varnish that needed a full 24 hours to dry — I learned that the hard way when I set a plant pot on a tacky shelf the same evening and had to sand a ring mark out the next day. The brackets were the hidden floating kind, and the important part is finding the wall studs or using proper wall plugs, because a shelf full of books is heavier than it looks. I mounted them with a spirit level and a pencil line, and the line is still straight a year later. Now they hold plants, books, two framed prints, and a ceramic vase I made in a pottery class. They hold a surprising amount without making the wall feel crowded.
4. Paper Flower Wall Décor

I made paper flowers for a friend’s birthday brunch, intending them as a one-day decoration, and they looked so good that I ended up mounting a cluster of them permanently on the hallway wall. I used coloured cardstock and a bit of crepe paper, cut the petals with a simple template I drew freehand, and shaped each petal by curling it gently around a pencil before gluing the layers together with a hot glue gun. Once I found the rhythm, one large flower took about twenty minutes, and I made nine over a weekend. The cluster works best when the flowers vary in size — I made three large ones around 25 centimetres across, four medium, and two small — and I arranged them in a loose diagonal rather than a circle, which felt more natural. I attached them with removable adhesive strips so I can take them down without damaging the paint, and a year later they still look fresh because the hallway gets no direct sun. The total cost was under €10, which still surprises me whenever someone asks where I bought them.
5. DIY Painted Wall Murals

Painting directly on a wall felt like the point of no return, so I started small: a single arch shape behind the reading chair, painted in a warm terracotta, with the rest of the wall left white. I sketched the arch lightly in pencil, used painter’s tape along the straight edges, and painted two thin coats of leftover wall paint with a small roller, letting the first coat dry for about four hours before the second. The trickiest part was the curved top, which I painted freehand with a brush and touched up twice before I was happy with the line. But the arch instantly made that corner feel like a deliberate reading nook instead of a chair shoved against a wall, and it cost me nothing but the tape and a Saturday afternoon. If you are nervous, start with a simple geometric shape and one colour, and test the paint on a hidden patch first, because the colour on the wall always reads darker than it does on the sample card.
6. Hanging Plant Décor

I am not a person with a natural gift for keeping plants alive, so hanging plants appealed to me mainly because they are harder to forget — they hang right at eye level in front of the kitchen window, where I see them every morning. I started with a pothos and a spider plant, both famously forgiving, in simple macramé holders I made from leftover cotton rope, hung from ceiling hooks at two different heights. The watering routine took some trial and error: I overwatered the first pothos and the leaves went yellow, so now I water once a week and always take the pot down to the sink so the holder does not drip on the floor. The pothos has grown almost a metre in a year, and I have started training the vines along a small nail line across the window frame. The setup cost around €20 including the plants, and it is the only project here that keeps growing, which is part of the charm. Just check the ceiling hook is screwed into something solid, not just plaster, because a falling plant makes a terrible mess.
7. Photo Clipboards or Gallery Frames

Our bedroom wall needed something personal, but I did not want to commit to framed prints that would stay the same for years, so I hung six wooden clipboards in two neat rows and clipped in photos, postcards, and a dried flower or two. The beauty of clipboards is that swapping a photo takes five seconds: when we came back from a weekend in the mountains, the new pictures were up before the suitcases were unpacked. I bought the clipboards for about €2 each at a discount store, stained them lightly with a walnut wood stain I had left over, and hung them with small nails and a spirit level, spacing them about 8 centimetres apart. I mixed black-and-white prints with colour ones, which sounds messy but actually works because the wooden boards tie everything together visually. I first hung them slightly too high for enjoying from the bed, so I lowered the whole arrangement by about 30 centimetres and it immediately felt right. It is the most flexible display I own, and I change it with the seasons without thinking twice.
8. Decorative Wall Mirrors

The hallway in our flat is narrow and gets almost no natural light, and a cluster of mirrors did more for it than any lamp ever could. I collected three round mirrors in different sizes — 30, 40, and 50 centimetres across — from a second-hand shop and a flea market, spending about €25 in total, and gave two of them new frames by wrapping the edges in natural jute rope with a hot glue gun. I hung them in a loose triangle, checking the reflection from the doorway as I went. The largest one now catches the light from the living room window and throws it down the hallway, which makes the whole space feel wider and brighter in the late afternoon. I used proper picture hooks rated for the weight rather than adhesive strips, since a falling mirror is not something I want to experience, and I measured twice before drilling because our walls are old plaster and every hole is a small negotiation. It is a simple project, but it genuinely changed how the hallway feels every single day.
9. Corkboard or Memo Wall

My desk area used to be a graveyard of loose notes, ticket stubs, and reminders stuck to the monitor with tape, so I covered a 90-by-60-centimetre section of wall beside my desk with cork panels and turned the chaos into something I actually enjoy looking at. I bought four cork tiles for about €12, stuck them up with mounting adhesive, and framed the whole board with a thin strip of pine to make it look finished rather than improvised. Now it holds my weekly to-do list, a few favourite photos, fabric swatches for current projects, and the occasional postcard, all pinned with brass push pins that cost next to nothing. The board gets rearranged every couple of weeks as projects change, and I like that it is a working surface rather than pure decoration — it earns its wall space. If you mount cork with adhesive, press each tile firmly for a full minute and leave it overnight before pinning anything heavy, because mine sagged at one corner until I re-glued it properly.
10. DIY Wall Shelves with Art Integration

This was my last project and the one that pulled everything else together, because it combines a shelf with the art itself instead of treating them as separate things. I mounted two short wooden shelves at staggered heights on the living room wall and painted the wall behind each one in a soft ochre rectangle, slightly larger than the shelf, so each shelf sits inside its own painted frame. The paint took two coats with four hours of drying time between them, and I used painter’s tape to get the rectangle edges crisp, which was fiddly but worth it. On the shelves I placed a small framed print I made from pressed leaves, a tiny ceramic bowl, and one trailing plant, keeping each shelf to three objects so it reads as a display rather than storage. A slim €9 LED strip tucked under the upper shelf washes warm light over the lower one in the evenings. It took a full weekend, mostly because of drying time, but it is the wall I look at most now, and it proves that a shelf can be the artwork instead of just holding it.
Conclusion
None of these ten projects needed special skills, a big budget, or more than a weekend, and the most expensive one — the mirror cluster — still came in under €30. Looking back, each project taught me something small that made the next one easier: measure twice, let paint dry properly, and never trust adhesive strips with anything heavier than a photo. If you are standing in front of your own blank wall wondering where to start, pick the one that feels least intimidating — for me that was the string lights — and let it be imperfect. A wall that shows your photos, your plants, and your slightly wobbly macramé knots will always feel more like home than a perfect wall that shows nothing of you at all.