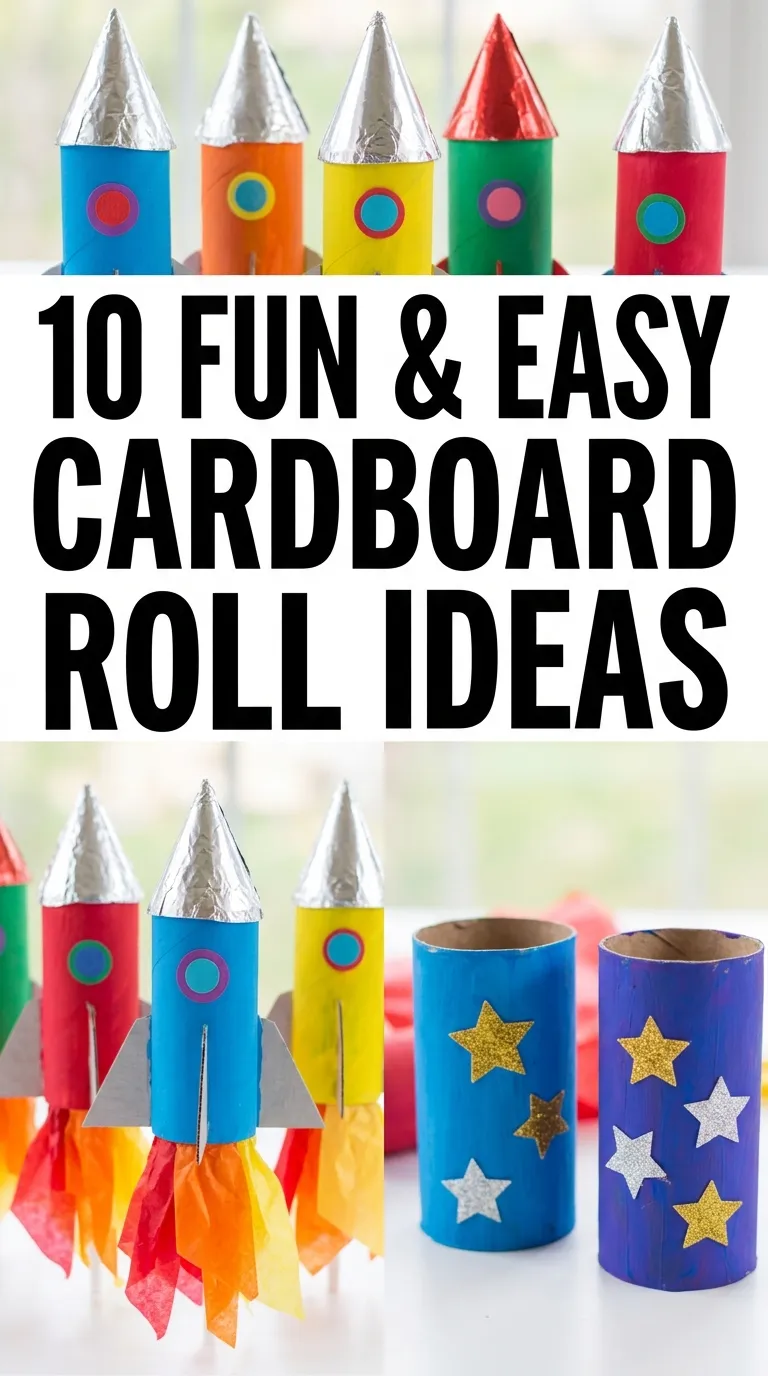
I started saving toilet paper rolls the week my daughter asked what we could make from “the cardboard tubes,” and I have not thrown one away since. There is something wonderful about a craft material that costs nothing, arrives regularly, and can become almost anything with paint, glue, and a bit of imagination. Over the years I have made every project on this list with children of different ages, and I have learned which ones genuinely keep kids busy, which ones need an adult nearby, and which ones end up displayed rather than binned.
A few practical notes before you start. Flatten rolls gently rather than crushing them, because a crushed roll is hard to paint neatly. Use acrylic or tempera paint instead of watercolour, which soaks and warps the cardboard. And keep a damp cloth nearby, because gluey fingers are part of the fun, not a problem to prevent. Here are the ten projects I return to again and again.

1. Bright and Fluttery Cardboard Butterflies

Butterflies are the perfect first roll craft, because the roll becomes the body and the wings are just coloured card. I flattened a roll slightly, painted it in bright stripes, and helped my daughter cut wing shapes from card to glue on either side. Pipe cleaners made antennae that actually curled, and a pair of googly eyes finished it. The whole thing took under half an hour, including drying time with a hairdryer on a cool setting when patience ran out, which it did.
The trick to wings that stay on is to glue them into a slit in the roll rather than flat against the side. I cut two small slits, slid the wings in, and added a dot of glue inside. They survived a week on a windowsill and a car journey to grandma’s, which is high praise from a five-year-old. For younger children, pre-cut the wings and let them do the painting and sticking, which is where the real joy lives.
2. Upcycled Castle Turrets and Fantasy Kingdom
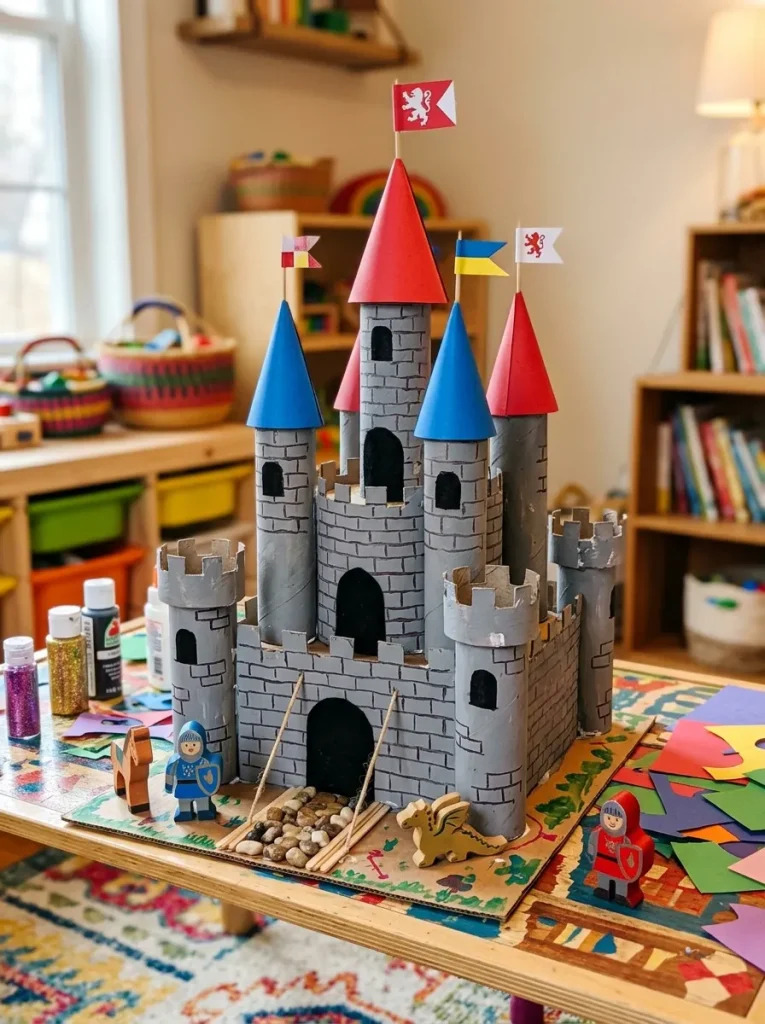
A castle is what happens when you save rolls for a month instead of a week. I taped several rolls together at different heights, cut battlements into the tops, painted them grey with stone-like patches, and added a cardboard base with a drawbridge door. The children played with it for weeks, longer than any shop-bought toy that year, because they had built the world themselves and kept adding to it: a flag, a dragon, a tiny king made from another roll.
Stability matters more than looks here. I glued the rolls to a sturdy cardboard base and weighted the base with a flat stone inside one tower, so the castle survived enthusiastic play. Paint before assembly where you can, because painting inside corners after gluing is fiddly. This is a rainy-weekend project, not a ten-minute one, and it rewards the saving habit beautifully.
3. Fiery Cardboard Dragon Blowers

Dragon blowers are the loudest, silliest craft on this list, and children adore them. I glued strips of red, orange, and yellow tissue paper inside one end of a painted roll, added eyes and horns, and let the kids blow through the other end to make the flames flutter. It became a game instantly: who could make the longest flame, who could roar the loudest. The tissue needs replacing after heavy use, which is fine, because re-stuffing it is part of the fun.
Use tissue, not crepe paper, because tissue flutters more easily with a child’s breath. I taped the strips inside the roll rather than gluing them, so replacing them took seconds. Keep a spare pack of tissue nearby, because once one child has a dragon, every child in the room wants one, and the blowing competition will last far longer than the craft itself.
4. Playful Cardboard Zoo Animals
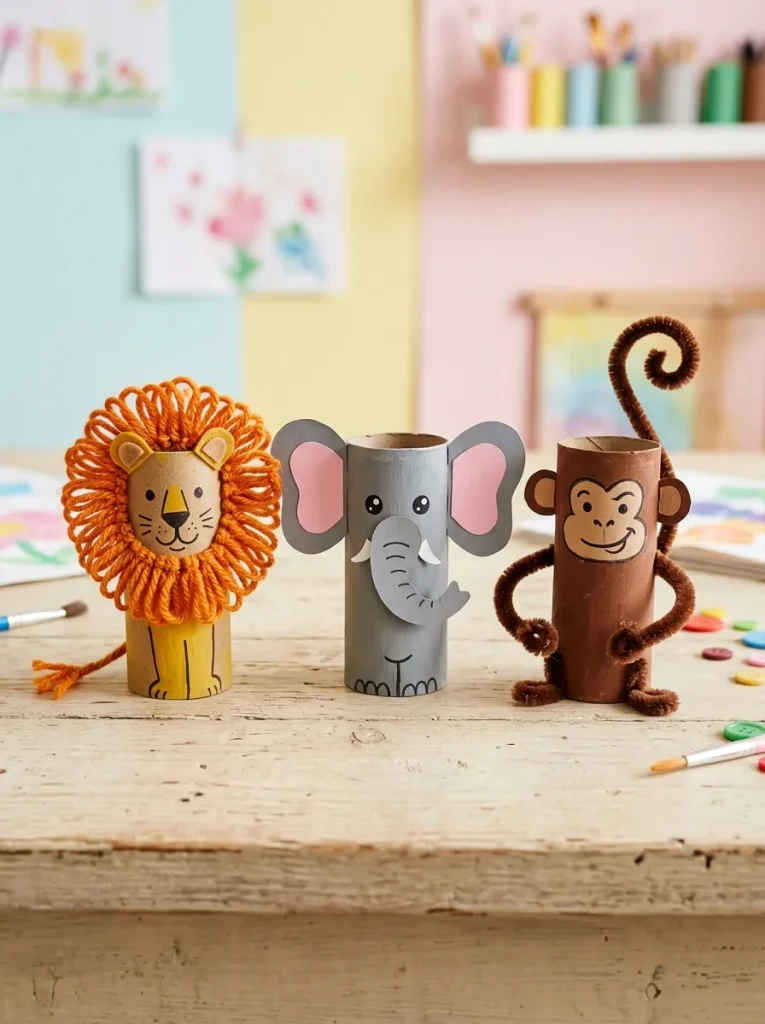
Lions, monkeys, and elephants from the same starting shape taught my kids that one material can become anything. I painted rolls in animal colours, added ears, trunks, and manes from card and yarn, and we lined the finished zoo along a shelf. The lion’s mane was the favourite: short pieces of yarn glued around the face, which looked gloriously messy in exactly the right way. Each animal took about twenty minutes, so we made a new one each afternoon for a week.
Let children choose their own animal and colours, even if the result is a purple elephant. The point is the making, not accuracy, and the shelf zoo becomes a display they are proud of. I kept a small box of ears, eyes, and yarn scraps ready, because once the zoo starts, it grows fast. These are also lovely as party activities, since every child leaves with an animal.
5. Multi-Bin Desk and Pencil Organizer

This is the craft that stayed useful long after the paint dried. I cut rolls to different heights, decorated them with wrapping paper scraps, and glued them together in a cluster on a cardboard base. It became a pencil holder, a brush holder, and a home for all the small things that used to roll off the desk. My daughter chose the papers herself, so the organizer matched her room, and she actually used it, which is the highest compliment a craft can receive.
Cut the rolls with sharp scissors and sand any rough edges lightly, because children reach into these daily. I glued the cluster to the base firmly and weighted it slightly so it did not tip when full. For school desks and homework corners, this is the project that proves cardboard crafts can be genuinely practical, not just decorative.
6. Binoculars for Nature Explorers and Backyard Safaris
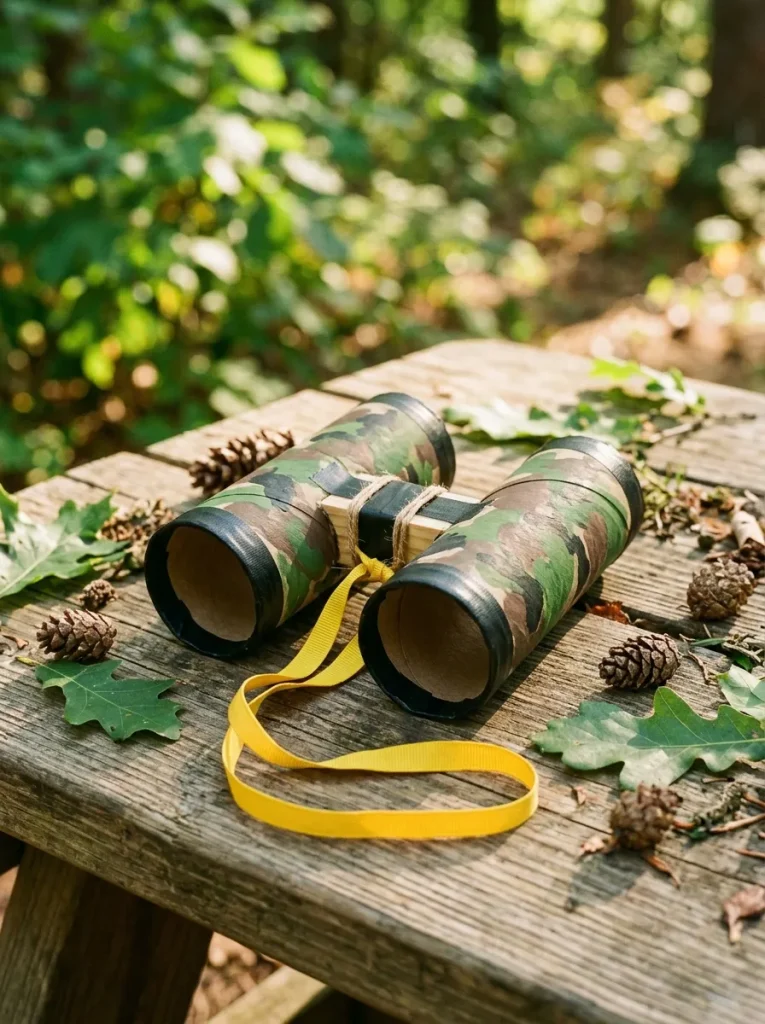
Two rolls taped together, a string for carrying, and suddenly every walk became a safari. I painted the rolls green and brown, added a bridge piece between them, and threaded yarn through holes for a neck strap. The children used them to spot birds, examine leaves, and announce discoveries with great seriousness. They did not magnify anything, of course, but that never mattered: the binoculars changed how they looked at the world, which is the whole point.
Keep the string long enough to hang comfortably but short enough not to trip a small walker. I used soft yarn rather than string, and I taped the rolls together in two places so they did not twist apart. Take them on the next walk and watch an ordinary garden turn into an expedition.
7. Rocket Ship to Space
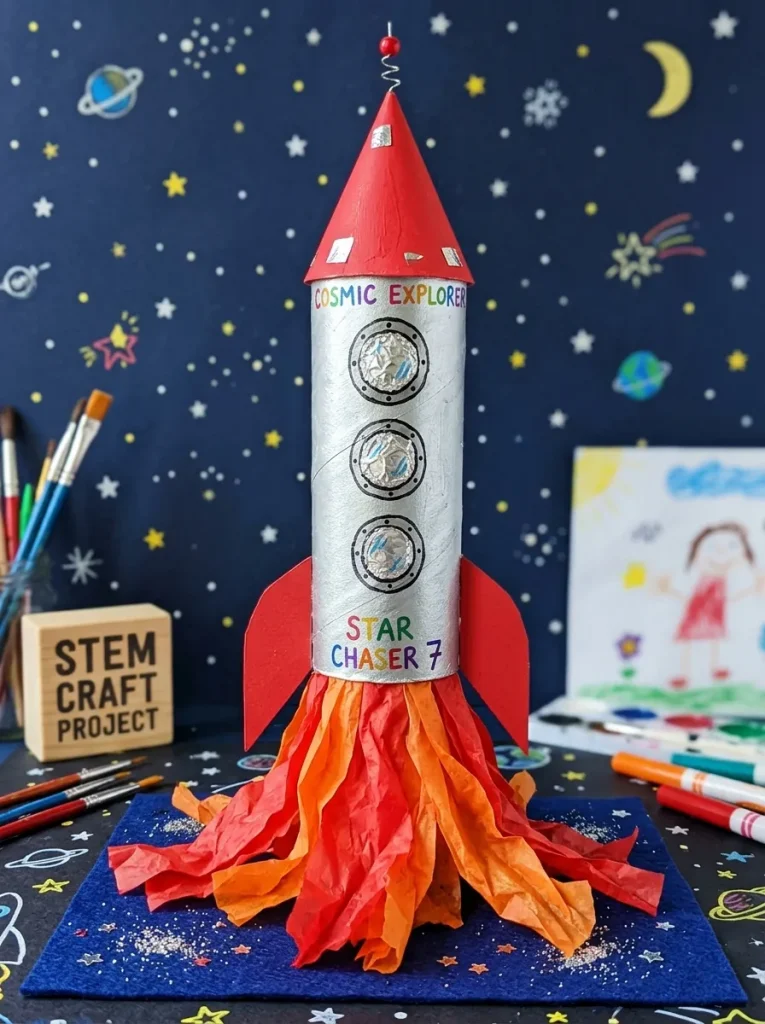
A roll rocket is a classic for a reason. I painted a roll white, added a red nose cone from a paper circle, glued on fins, and stuck on a window with a picture of the astronaut inside. My son flew it around the house for days, narrating countdowns with complete conviction. The fins are the fiddly part, so I pre-cut them and let him glue, which kept the project fun instead of frustrating.
Glue the fins on with a generous amount of glue and let them dry flat before standing the rocket up, or they will droop. I also added a small loop of string at the top so the rocket could hang from a bedroom ceiling as decoration after the flying games ended. For space-mad children, this is a guaranteed hit, and it pairs beautifully with the butterfly and zoo projects for a full shelf display.
8. Spooky Halloween Monster Brigade
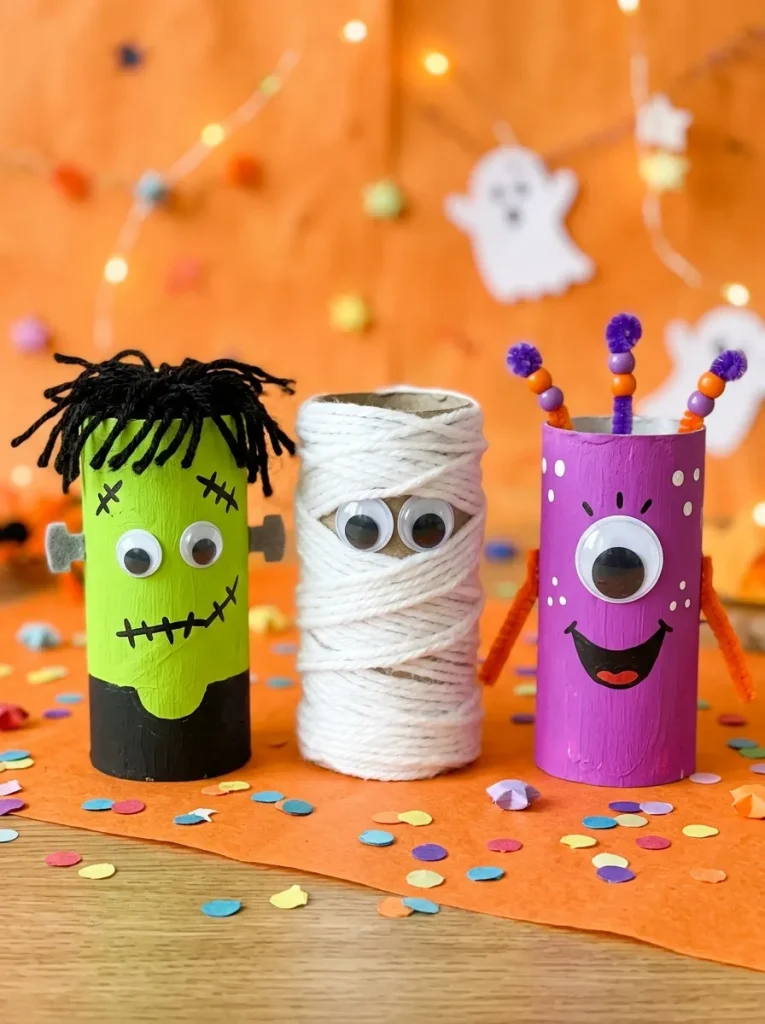
Monsters are gloriously forgiving to make, because wonky eyes and crooked mouths make them better, not worse. I painted rolls in green, purple, and orange, added googly eyes in odd numbers and positions, and let the children draw mouths with markers. The brigade lined up along the mantelpiece each October, and the children competed to make the silliest monster. One year we added glow-in-the-dark paint dots, which made them visible at night and absolutely delighted everyone.
Marker on painted cardboard works best once the paint is fully dry, so paint one day and decorate the next if you can. I kept a tray of eyes, pipe cleaners, and felt scraps out for free monster-making, because the best monsters are invented, not copied. These are perfect for a Halloween party table, where each child makes a monster to take home.
9. Functional Seed Starter Pots for Gardening

This is the craft that taught my children where food comes from. I folded the bottom of each roll closed to make a pot, filled it with soil, and helped the children plant seeds: basil, cress, and sunflowers. The pots sat on a tray by the window, and the children watered them daily with a small jug. When seedlings grew, we planted the whole roll into a bigger pot, cardboard and all, because it breaks down in soil. Watching something grow from a tube they had decorated felt like magic.
Fold the base in four flaps that overlap, and stand the pots snugly together in a tray so they support each other. I used a tray with a lip to catch water, because cardboard pots leak when watered enthusiastically. For spring projects and school gardening, this is the one I recommend most, because it connects making with growing.
10. Cardboard Tube Marble Run and Ball Drop Wall
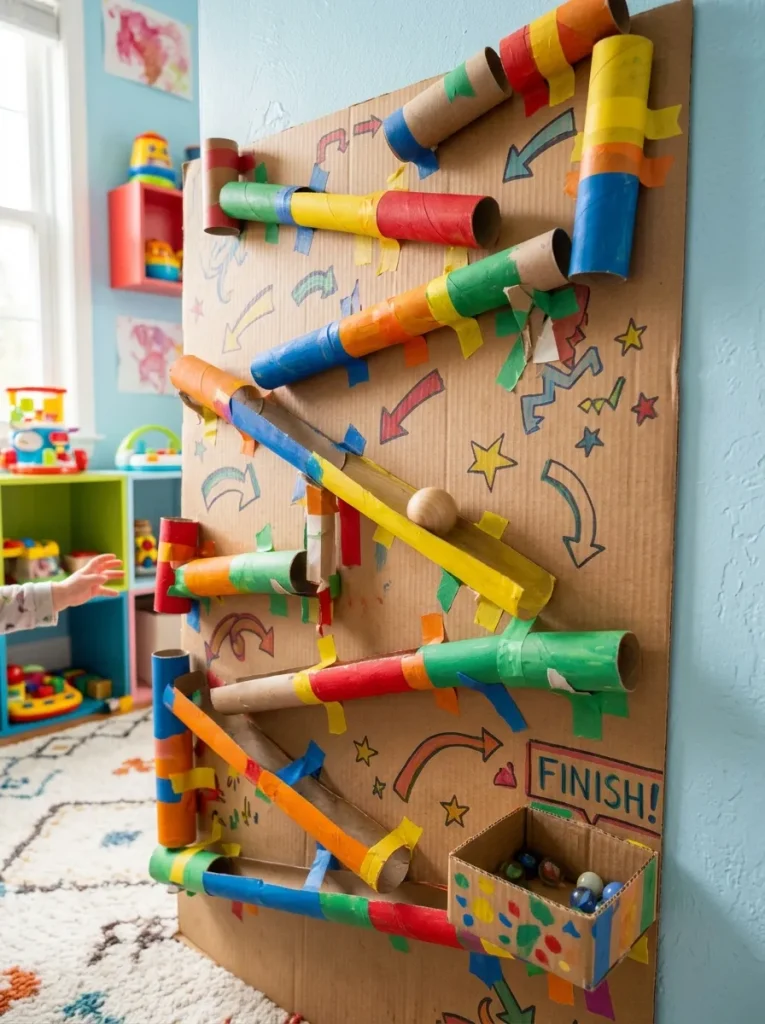
A marble run is the most engineering-minded project here, and older children love the problem-solving. I cut rolls in half lengthways to make channels, taped them to a large cardboard board at angles, and let the children test marbles down the course, adjusting angles until the marble reached the bottom. The first version failed completely, which was the best part: redesigning it taught more than a perfect first try ever would. We added bells, cups, and a finish line over several afternoons.
Tape the channels firmly and test with a marble before decorating, because a beautiful run that does not work disappoints fast. I used masking tape for adjustments, then stronger tape once the course worked. Keep marbles away from very young children, and use larger balls for toddlers. For a rainy day that stretches into a week of tinkering, this is the project that keeps giving.
Save the next roll instead of binning it, and see what it becomes. These ten projects barely scratch the surface of what a cardboard tube can do, but they are the ones my family has actually made, kept, and made again. The best craft material is often the one already in your house, waiting for paint and an idea.