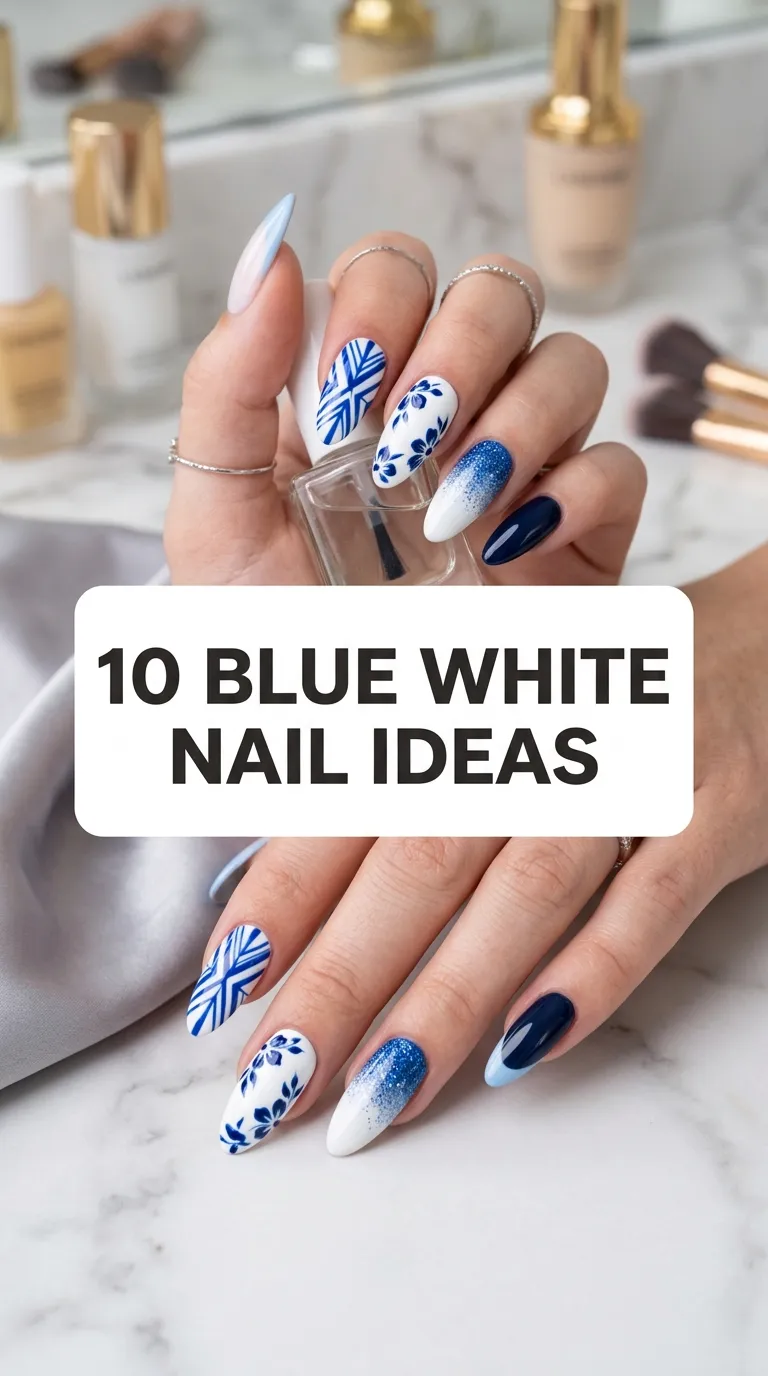
Blue and white is the color combination I return to more than any other — it started with a Greek island holiday where everything was whitewashed walls and Aegean blue, and I came home and painted my nails to match the photos. Since then I have worn some version of blue-and-white in every season: icy and crisp in winter, fresh and porcelain-like in summer. It is the rare palette that works for a wedding and for a beach day. Over the past year I kept notes on every blue-white manicure I wore — salon and DIY — and these ten are the ones worth repeating, with the real details on what worked and what smudged.
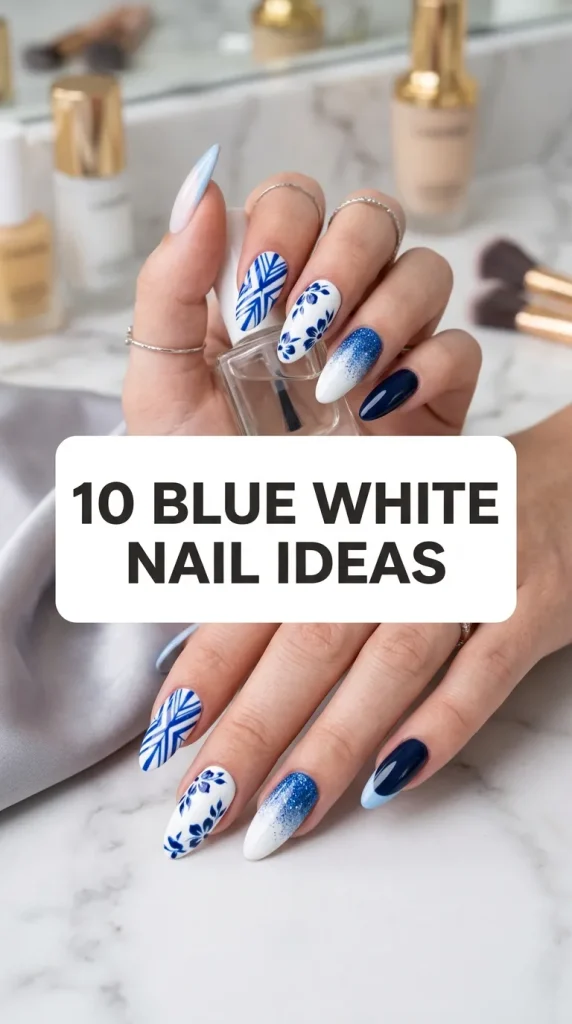
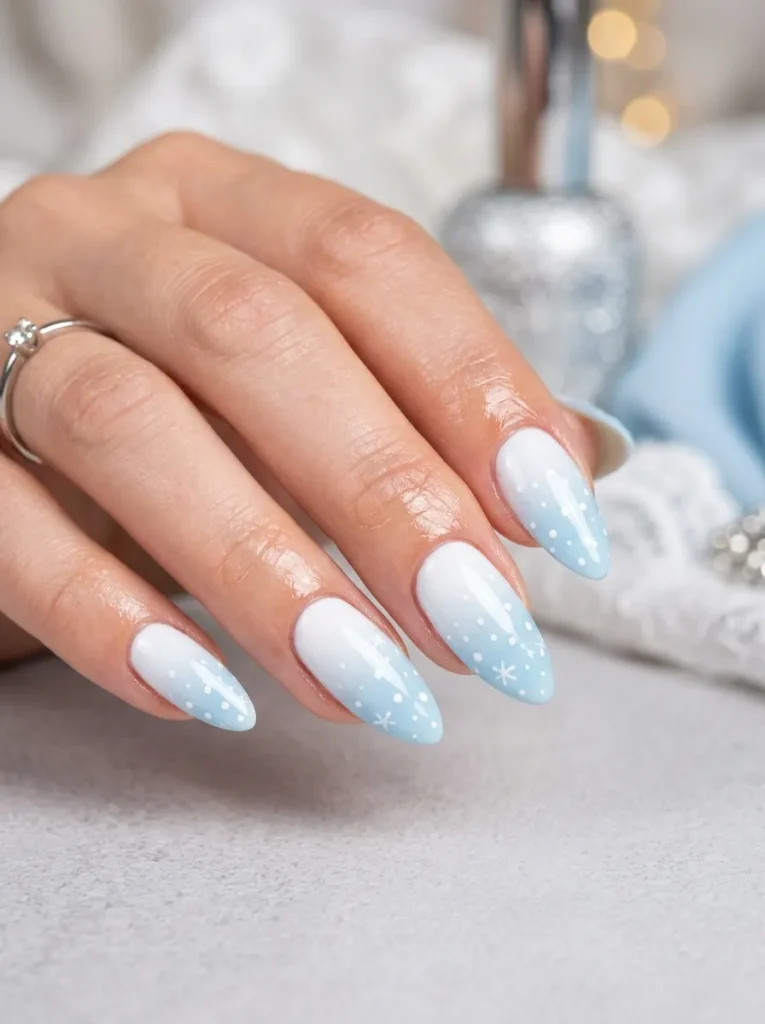
1. Icy Sky Blue & White Snowfall Ombré
The ombré that fades from icy sky blue at the cuticle to white at the tip looks like the sky just before snow — soft, blurred, and incredibly flattering on every skin tone. I did this at home with a makeup sponge: paint the two colors side by side on the sponge, dab onto the nail in thin layers, repeat three times, then clean up. The sponge technique wastes polish and makes a mess of your cuticles, so I painted liquid latex around each nail first — ten minutes of prep that saves twenty of cleanup. The key is thin layers; thick ones go lumpy and the gradient turns muddy. It lasted two weeks with minimal tip wear, and the grow-out is invisible because the cuticle end is the darker shade. My most-worn winter design by far.
2. Navy Blue French Tips with White Snowflake Art

Flipping the French manicure — deep navy tips instead of white, on a sheer nude base — gives you all the elegance of a French with ten times the personality. I added a single white snowflake on each accent nail, painted with a detail brush in white gel paint. The navy I used was a one-coat opaque, which matters enormously for tips: sheer navy over the smile line looks patchy, and tips are where patchiness shows most. I freehanded the smile line with the brush from the bottle, cleaned it with a flat angled brush dipped in acetone, and accepted that my dominant hand’s tips would be slightly wobblier — nobody has ever noticed. Two and a half weeks of wear, and the dark tips hide chips better than any light design I have worn.
3. 3D White Sweater Texture over Denim Blue
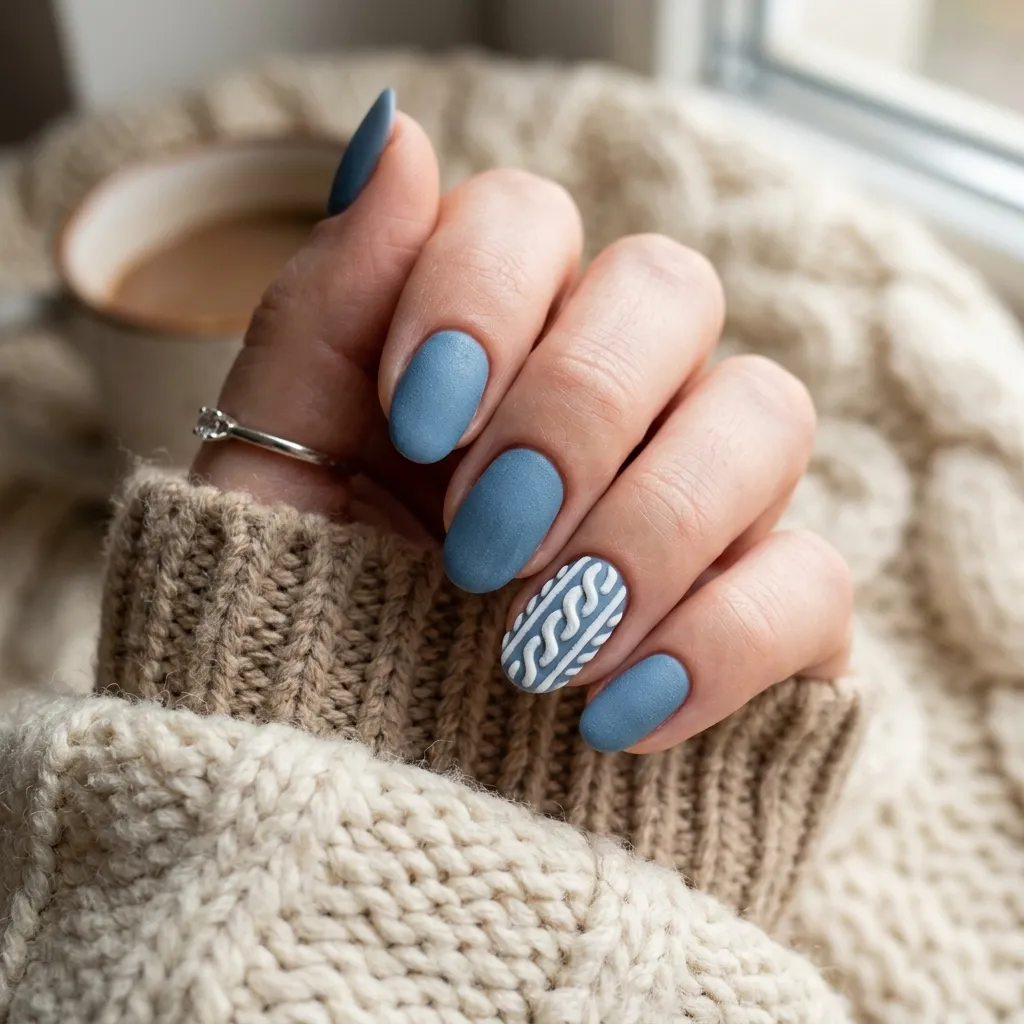
Denim blue with white cable-knit texture is the manicure equivalent of your favorite jeans and a fisherman’s sweater. I wore solid denim blue on most nails and did the sweater knit in white gel on the ring fingers: painted cable patterns with a detail brush, dusted with clear acrylic powder while wet, cured, and brushed off. The white-on-blue contrast makes the texture pop far more than the usual tone-on-tone sweater nail. My honest warning: the 3D powder catches on knitwear and hair, so this is a two-hands-careful design — I would not wear it for a week of heavy housework. It lasted ten days before one cable started lifting. Gorgeous, seasonal, and best saved for a quiet week or a holiday.
4. Blue & White Mineral Quartz Marble

Blue and white marble — the porcelain look — is my answer whenever I want nails that look expensive with minimal effort. The method is forgiving: a white base, then drops of blue polish dragged through with a dry brush or even a toothpick while everything is still wet. The colors bleed into each other like ink in water, and because it is supposed to look like natural stone, there is no wrong result. I sealed mine with a glossy top coat to get the glazed-porcelain finish, and the shine is what sells it — matte marble looks chalky by comparison. Each nail took about three minutes once I stopped overthinking the swirls. Two weeks of wear, and I got asked about them by a stranger in a bakery, which is my personal five-star review.
5. Pearl Glazed White with Blue Velvet Cat Eye
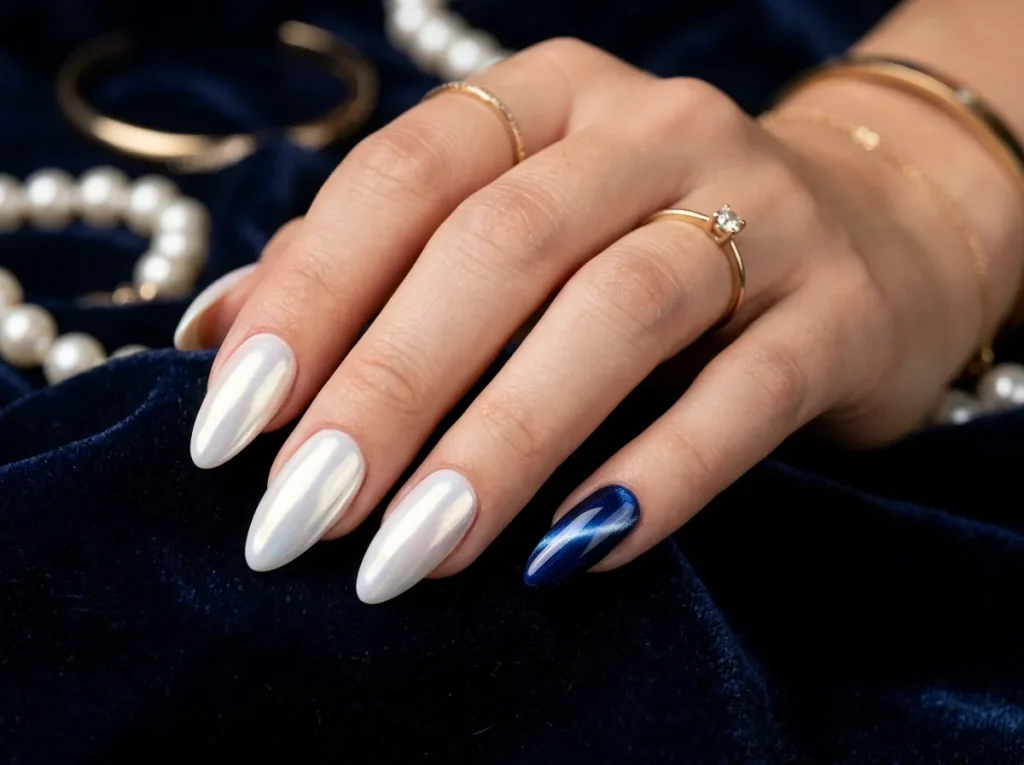
This is the bridal-adjacent one: a pearl-white glazed base — sheer white with chrome powder buffed over — with a blue velvet cat-eye band floating across each nail. The magnetic polish over the glaze creates a depth that photographs cannot capture; in person it looks like moonstone. I had it done at the salon because layering chrome under magnetic polish needs a steady hand and I wanted it perfect for a wedding I was attending. The technician built it in stages — glaze first, cured, then the cat-eye layer with the magnet held at an angle for a diagonal band. It lasted three weeks and went with both my dress and my jeans. If you have one special event this season, this is the manicure.
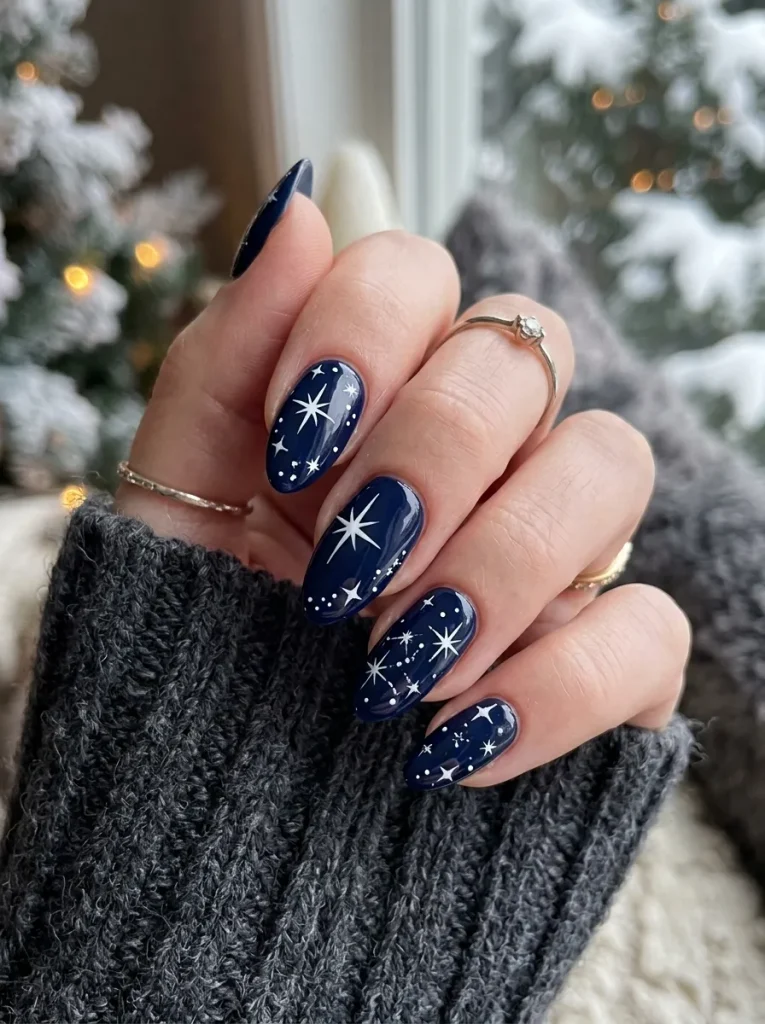
6. Minimalist White Starbursts on Midnight Navy
Sometimes the simplest design is the bravest: midnight navy, glossy, with a single white starburst hand-painted on each nail. The starburst is just four thin lines crossing — two long, two short — with a dot in the center, done with a detail brush and white gel paint. I placed mine slightly off-center toward the cuticle, which looks more modern than dead-center. The whole design took me forty minutes at home, most of it waiting for the navy base to be perfectly dry before painting the stars — painting white over tacky dark polish drags and grays. One coat of white was enough over the dark base because gel paint is so opaque. Minimal, graphic, and weirdly chic; I wore it to a work event and got three compliments before lunch.
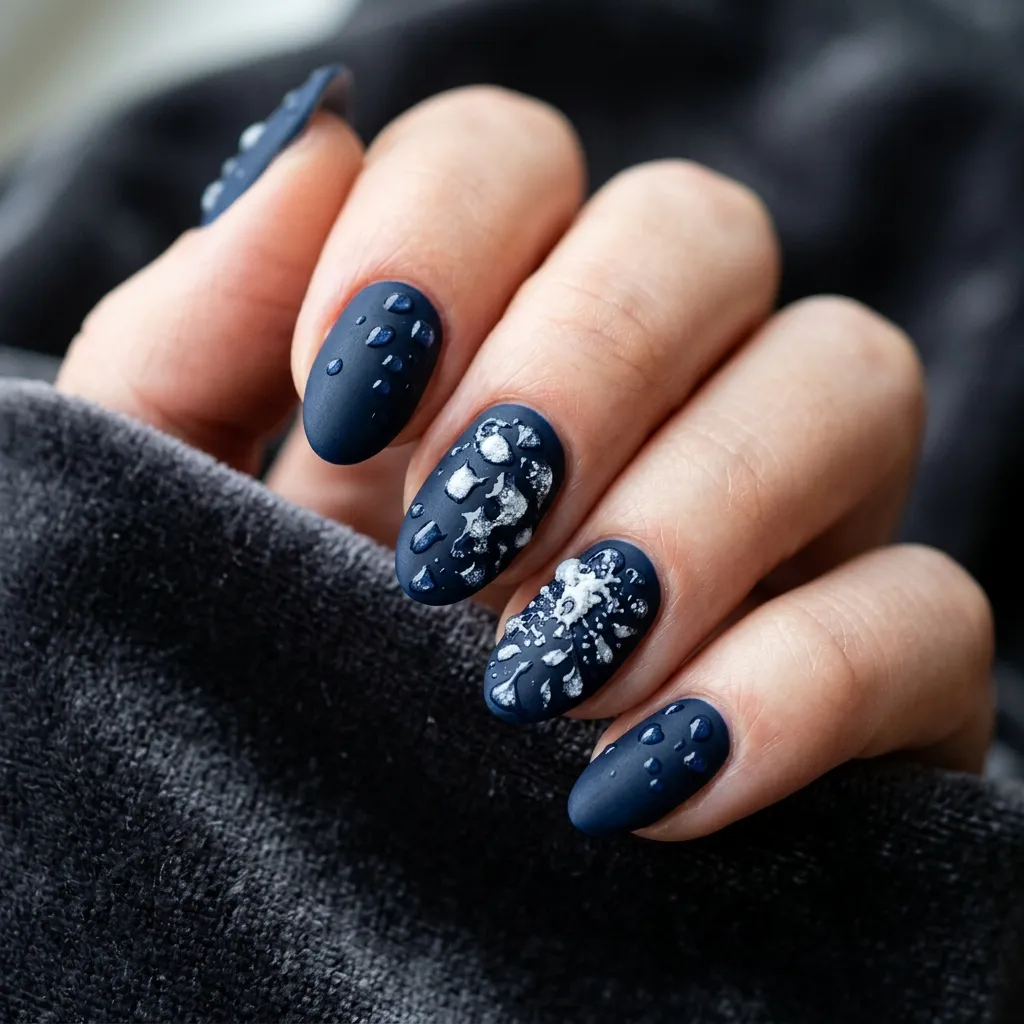
7. Matte Navy with Glossy White Raindrops
The raindrop technique over matte navy in white instead of clear is bolder and more graphic — it reads as a deliberate pattern rather than a texture trick. I painted the navy, matted it, then dotted white glossy top coat in scattered droplet shapes: bigger drops near the cuticle, tiny ones toward the tip, like rain on a window. The contrast between the flat navy and the shiny white drops is what makes it work; under direct light the drops look wet. Application is genuinely easy — a dotting tool and no artistic skill required — but let the matte coat cure fully first or the dots sink in and dull. It wore eleven days, and the matte base needed an alcohol-wipe refresh every few days to stay velvety. Playful, modern, and a great conversation starter.
8. Translucent Blue Glass with White Snowflake Stamps
Sheer blue jelly nails with white snowflakes stamped on top combine two techniques I love: the glass-like depth of the jelly base and the crisp precision of stamping. I built the jelly in three thin coats of translucent blue, then stamped snowflakes in white stamping polish using a clear stamper so I could see exactly where each flake landed. Stamping has a learning curve — the trick is a firm, quick press and rolling the stamper, not squishing it — but once it clicks you can decorate ten nails in fifteen minutes. I sealed with two top coats because stamped art scratches off fast without protection. The translucent base makes the white flakes look suspended in ice. Two weeks of wear, and the most festive design on this list without being costume-y.
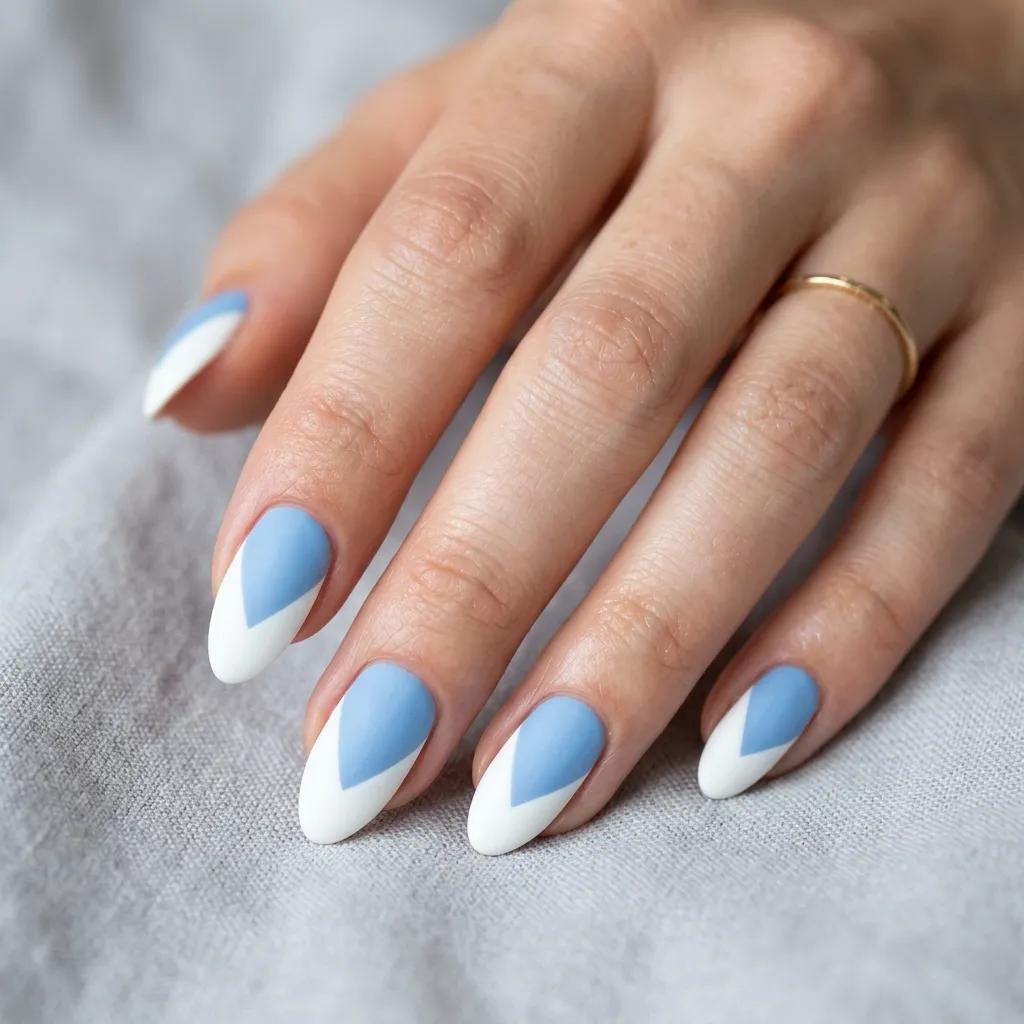
9. Powder Blue & White Chevron Color Block
Geometric color-blocking in powder blue and white is the preppiest design here — crisp chevrons that look like resort wear for your hands. I did it with striping tape: paint the white base, let it dry completely (this is the step everyone rushes), lay the tape in chevron Vs, paint the blue, and pull the tape while the blue is still wet for the sharpest line. Pulling tape off dry polish tears the edge — I learned that on nail number two and redid it. The powder blue I chose is soft enough to be office-safe but the geometry keeps it interesting. It took about an hour for the full set, mostly drying time. Two weeks of wear with clean lines throughout, and it matched everything from a white shirt to a navy blazer.
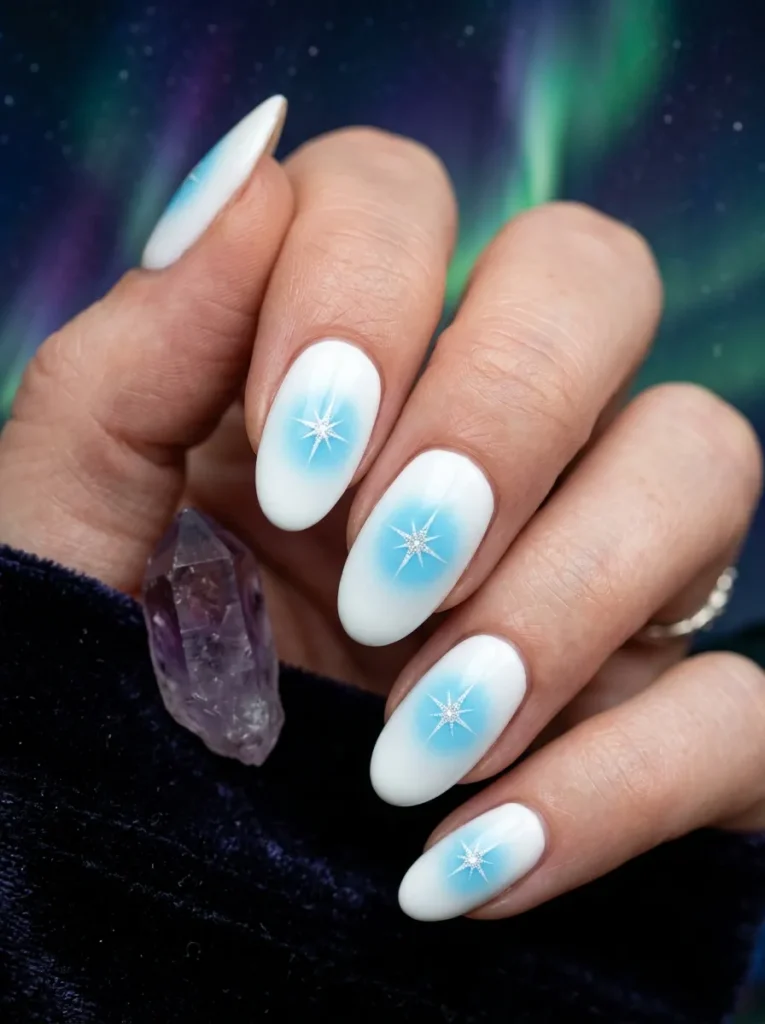
10. Arctic Blue Aura with White Halos

The aura effect in arctic blue — a glowing blue halo blooming from the center of each nail over a white base — looks like winter light through ice. I sponged this one at home: white base, then a small sponge dabbed in blue pressed and slightly rotated at the nail’s center, building the color in sheer layers until the halo glowed. The sponge leaves texture, so I finished with two coats of top coat to smooth it to glass. It is softer and dreamier than the airbrushed salon version, which suits the icy theme perfectly. The white base means grow-out shows, so this is a two-week design, not three — plan accordingly. Ethereal, unusual, and the one I would wear to stare at during long winter evenings.
Conclusion
A year of blue and white taught me that this palette never really goes out of season — you just shift the temperature, icy in winter and porcelain-fresh in summer. My everyday pick is the marble or the ombré, both easy at home; the pearl-and-cat-eye is saved for occasions. Whatever you choose, invest in a good white — cheap whites go chalky and yellow — and always seal art under two top coats. Blue and white is classic for a reason: it is the color of clear skies and clean porcelain, and it makes your hands look like you have your life together even when you do not.