10 Upcycled Bottle Crafts
My flat has a small cupboard under the stairs that I call the bottle graveyard — every empty wine bottle, jam jar, and odd-shaped perfume flacon I could not bear to throw away has ended up there. Last spring, after the fifteenth bottle threatened to start an avalanche, I gave myself a weekend to actually do something with them. Some projects were brilliant, one involved a minor glass-cutting incident I would rather forget, and all ten below survived the test of living in my flat afterward. If you have a bottle graveyard of your own, this is your invitation to raid it.

1. Hanging Glass Bottle Planters
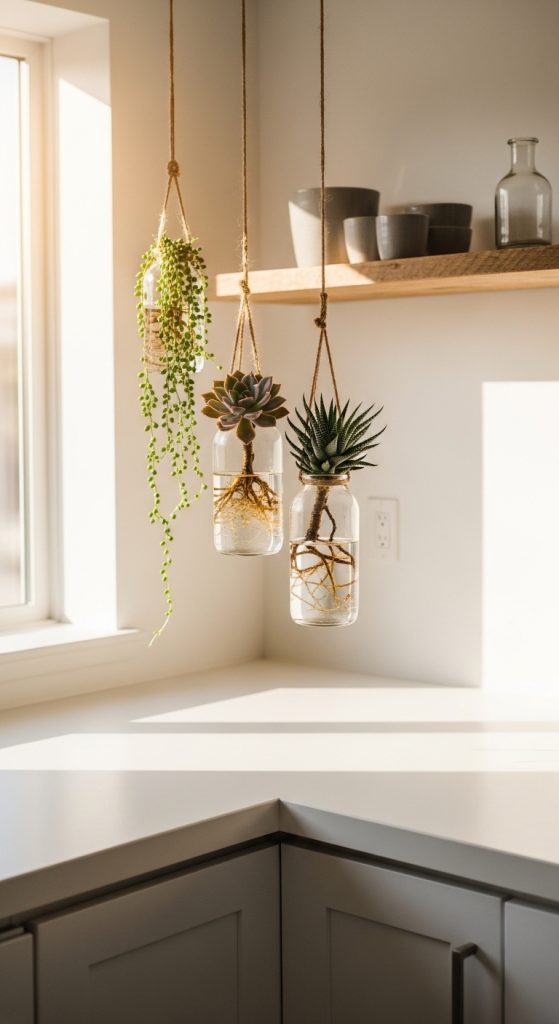
My kitchen window now holds three green wine bottles with trailing pothos, and I made them all in one rainy afternoon. I soaked the bottles overnight to get the labels off — a splash of baking soda in the water loosens even the stubborn ones — then wrapped sturdy jute twine tightly around the necks, looping it into a hanger with a simple macramé knot. I filled each bottle with water rather than soil, because water-rooted pothos cuttings are nearly unkillable and you can watch the roots grow through the glass, which I find weirdly satisfying. The whole project cost me about 6 EUR for the twine and some small S-hooks from the hardware store. One caution from my own clumsiness: hang them where they cannot swing into the window frame, because glass on glass is a sound you never want to hear twice.
2. Wine Bottle Tiki Torches

For my sister’s garden birthday last summer, I turned six empty Rioja bottles into tiki torches and they were the hit of the evening. I bought copper coupling pieces and fiberglass wicks online for about 15 EUR total, wedged a wick holder into each bottle mouth, filled them with citronella lamp oil, and stuck the bottles neck-down into sturdy metal garden stakes. They burned for hours and the mosquitoes genuinely stayed away, which on a Munich summer evening is nothing short of a miracle. I wrapped twine around the necks for decoration and stuck to dark green and amber bottles, which look gorgeous with the flame glowing through. The safety lecture, which I give myself every year: keep them well away from anything flammable, never move a lit torch, and store the oil where kids cannot reach it. Extinguish them properly before bed — I snuff mine with a metal cap, never by blowing.
3. Plastic Bottle Bird Feeders
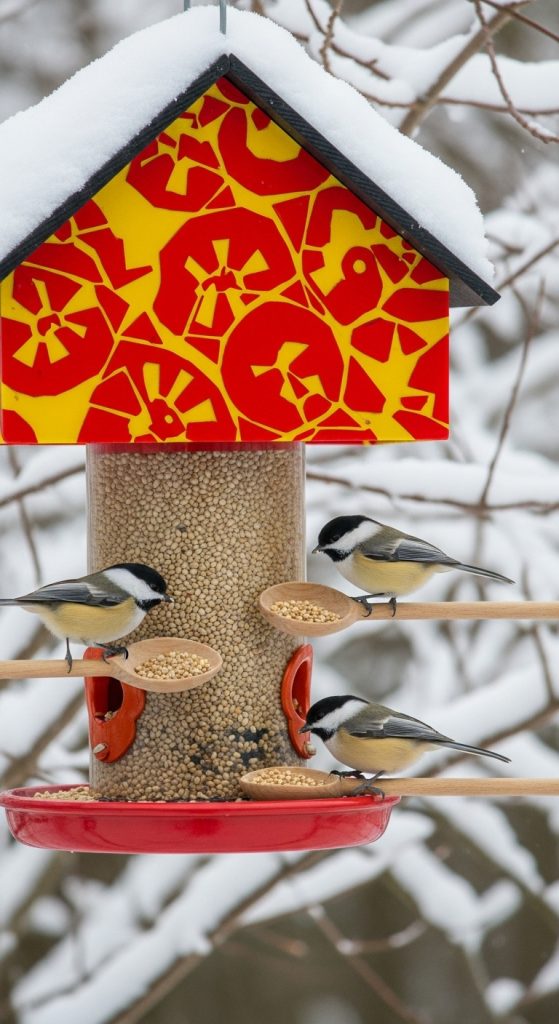
My nephew and I built this one together on a Saturday, and it remains the craft project he talks about most. We took a clean 1.5-liter plastic bottle, cut two small feeding holes about 10 cm from the bottom with a craft knife — strictly my job, he supervised — and pushed two wooden spoons through opposite sides so the handles became perches with the seed spilling onto the spoon bowls. We filled it with sunflower seeds, hung it from the balcony railing with paracord, and the blue tits found it within two days. He decorated the outside with acrylic paint pens, which survived the rain fine. Total cost: under 5 EUR for the spoons and seeds, since the bottle was headed for recycling anyway. I replace the bottle every few months when it gets cloudy, and we wash it out monthly because old seed gets moldy and can make birds ill — the unglamorous part nobody mentions.
4. Bottle Cap Coasters
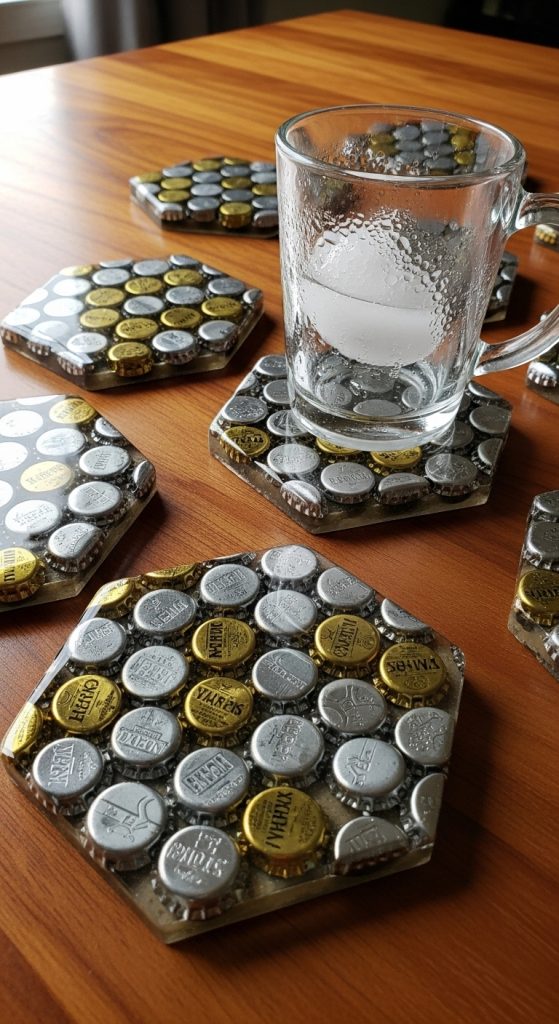
After one particularly festive New Year’s Eve, I found myself with a bowl of about forty beer bottle caps and a sudden sense of purpose. I glued them face-up onto 10 cm cork rounds — about 2 EUR each at the craft store — arranging the colors in a pattern, and then poured a thin layer of clear epoxy resin over the top, mixed exactly per the instructions. The resin is the magic: it turns a slightly wobbly arrangement into a perfectly smooth, waterproof, professional-looking coaster. My first attempt taught me to work on a level surface, because resin finds every slope in your table and remembers it forever. I made six coasters from one 100 ml resin kit that cost about 12 EUR, and they have survived two years of coffee mugs and red wine glasses without a mark. They look fantastic on the coffee table and every guest asks about them.
5. DIY Perfume Bottle Vases

I have never been able to throw away a beautiful perfume bottle — they are tiny sculptures, and the empty ones used to sit on my dresser gathering dust. Now they are bud vases. I pried off the spray mechanisms with pliers (they usually pop off with firm, steady pressure), soaked the bottles in warm soapy water to remove every trace of perfume, and filled them with water for single stems: a rosebud, a sprig of lavender, one perfect daisy. Grouped on a small tray, three or four of them make the loveliest centerpiece, and because each bottle is different the whole thing looks curated rather than matched. I tied thin velvet ribbon around two of the necks for evenings. It costs nothing, takes ten minutes, and it finally gave my collection of beautiful empties an actual job instead of just sitting there looking guilty.
6. Repurposed Bottle Chandeliers
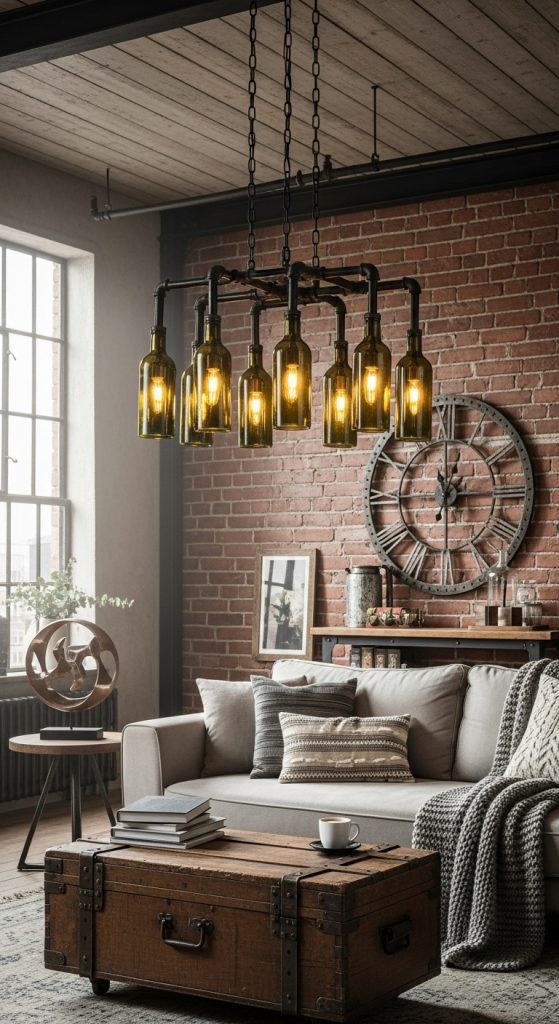
I will be honest: this is the most ambitious project on the list, and I only attempted it because a friend who is an electrician owed me a favor. We built a simple wooden frame from a reclaimed beam, drilled holes to hang eight colored glass bottles upside down with sturdy chain, and threaded warm-white LED fairy lights — battery-free, mains-powered, properly wired — up through each bottle neck. The effect when it is switched on is extraordinary: the colored glass glows like a row of lanterns, amber and cobalt and green. It hangs over my dining table now and every dinner guest stares at it. The electrics are the part you do not improvise — my friend wired it, tested it, and secured every connection, and I would not hang anything with mains power that had not been checked by someone qualified. Done right, it is a genuine showpiece; done wrong, it is a fire hazard. Get help.
7. Glass Bottle Soap Dispensers
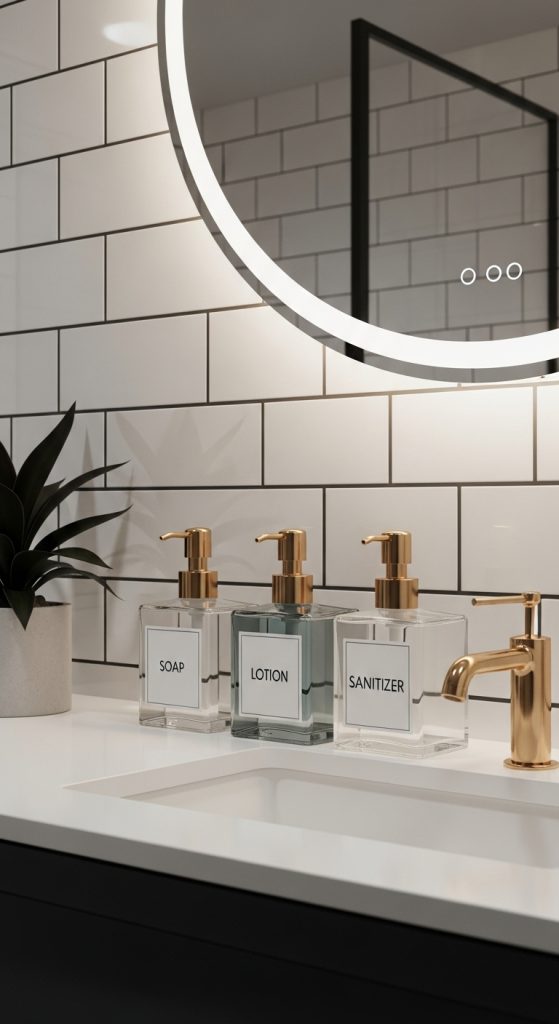
This is the five-minute project that made my bathroom look twice as expensive. I bought a set of stainless steel pump tops online — about 8 EUR for four — that screw onto standard bottle necks, and matched them to a square gin bottle and a tall olive-oil bottle I had saved. Filled one with hand soap and one with dish soap, added a tiny handwritten label on kraft paper, and suddenly the sink area looked intentional instead of cluttered. The trick is choosing bottles with a standard screw neck; some wine bottles have odd sizes, so I test the pump fit before committing. I refilled the same bottles for over a year — you just unscrew, top up from the big economical refill pouch, and screw back on. It cuts plastic waste, costs almost nothing, and honestly the mismatched beautiful bottles look better than any matching dispenser set I have seen in shops.
8. Plastic Bottle Vertical Gardens
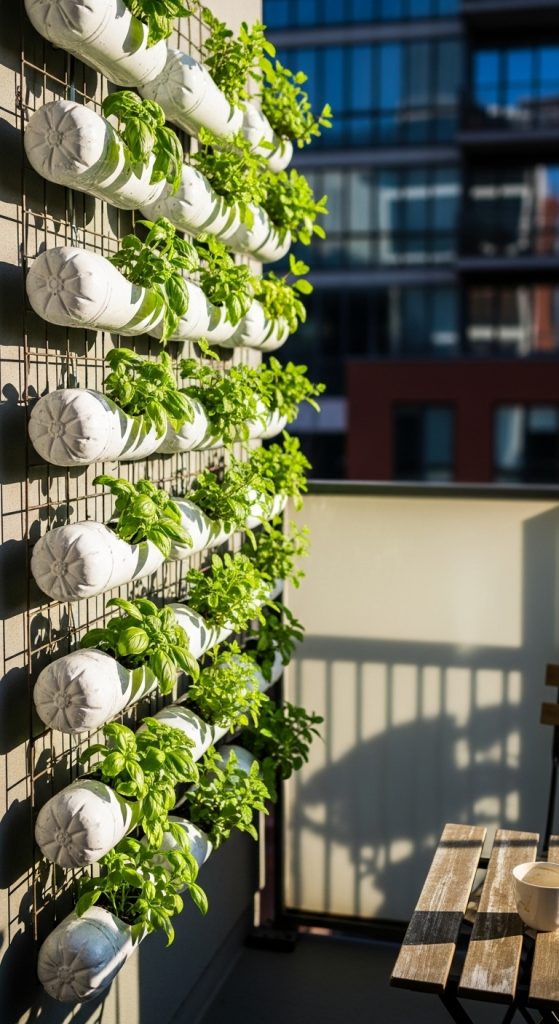
My balcony is four square meters, which is not a garden so much as a suggestion of one, so I grow upward. I cut large 2-liter bottles in half lengthwise, punched drainage holes in the bottoms with a hot skewer — do this outside, the fumes are unpleasant — and wired them horizontally in rows onto a wooden trellis panel I leaned against the balcony wall. Each one holds soil and a herb plant: basil, parsley, chives, mint in its own bottle because mint is a menace. I painted the outsides in muted greens and terracotta with outdoor acrylic so the plastic does not look tragic, and the whole wall of herbs cost me under 20 EUR including the trellis. I water them every morning in summer; the small soil volume dries fast. It is not the prettiest garden in Munich, but I have not bought basil in two years, which I count as a complete victory.
9. Upcycled Bottle Jewelry Holders
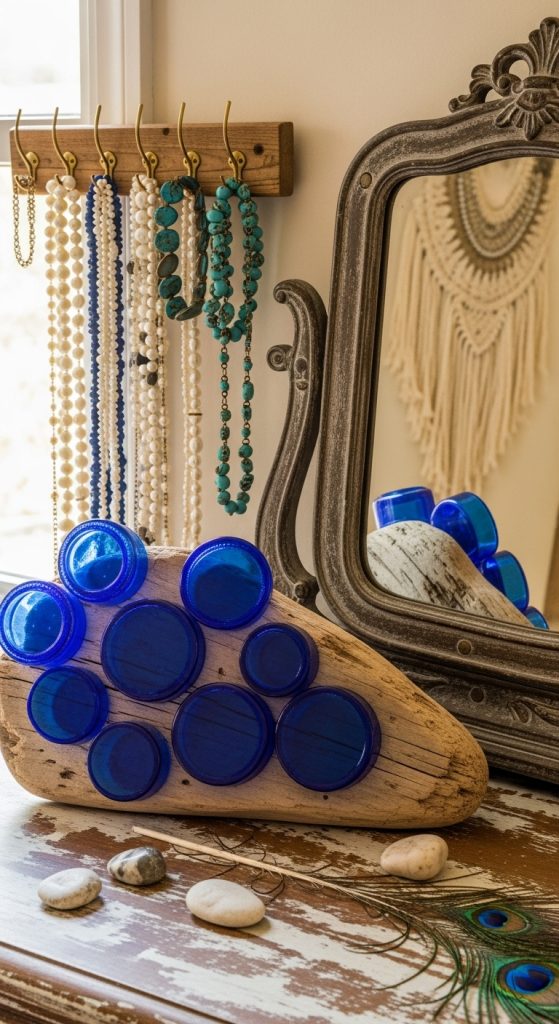
My dresser used to be a tangled nest of necklaces until I made this. I cut the bottoms off three thick glass bottles with a bottle cutter — the kind with a scoring wheel, about 15 EUR, and worth every cent over the string-and-fire method which I tried once and will never try again — sanded the cut edges smooth with wet sandpaper until they were completely safe to touch, and glued each glass cup onto a small wooden board I stained dark. The curved glass bottoms are perfect for rings and earrings, and I screwed tiny brass hooks into the board for necklaces. It took an afternoon, most of it waiting for the glue to cure, and it genuinely organized my jewelry better than any shop-bought stand. One honest note: practice the cutting on a bottle you do not care about first, because the first cut is always the ugliest.
10. Bottle Terrarium Displays
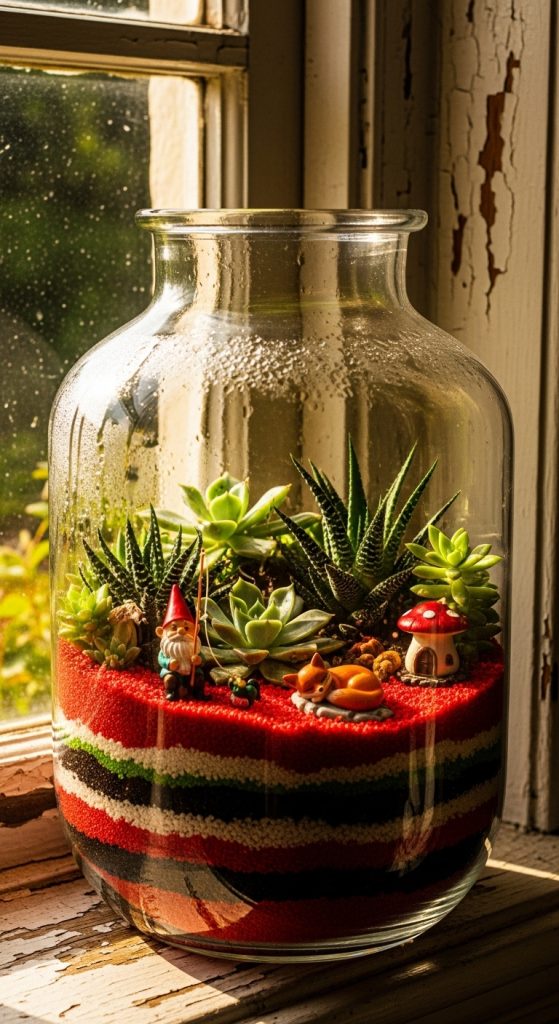
The last one is my favorite to give as a gift, because it looks far more complicated than it is. I use wide-mouthed glass bottles — old apothecary jars from the flea market are perfect, usually 3 to 5 EUR — and layer the bottom with a centimeter of small pebbles for drainage, a thin layer of activated charcoal to keep things fresh, then potting soil, then moss. Into that goes a tiny fern or a fittonia, both of which love the humid little world, and I mist it lightly and close the lid. A closed terrarium mostly looks after itself; I open mine for an hour every couple of weeks to let fresh air in. I made three as Christmas gifts last year, tied twine around the necks with a handwritten tag, and all three recipients thought I had bought them from a plant shop. Ten minutes of work, endless smugness.
Conclusion
A year after the great bottle-graveyard clear-out, my cupboard holds exactly four bottles — the current queue — and my flat holds ten projects I actually use every day. Start with the soap dispenser or the bird feeder, the ones that take an afternoon and cost almost nothing, and work your way up to the chandelier when you have an electrician friend to bribe. The best craft, I have learned, is the one that empties the cupboard.