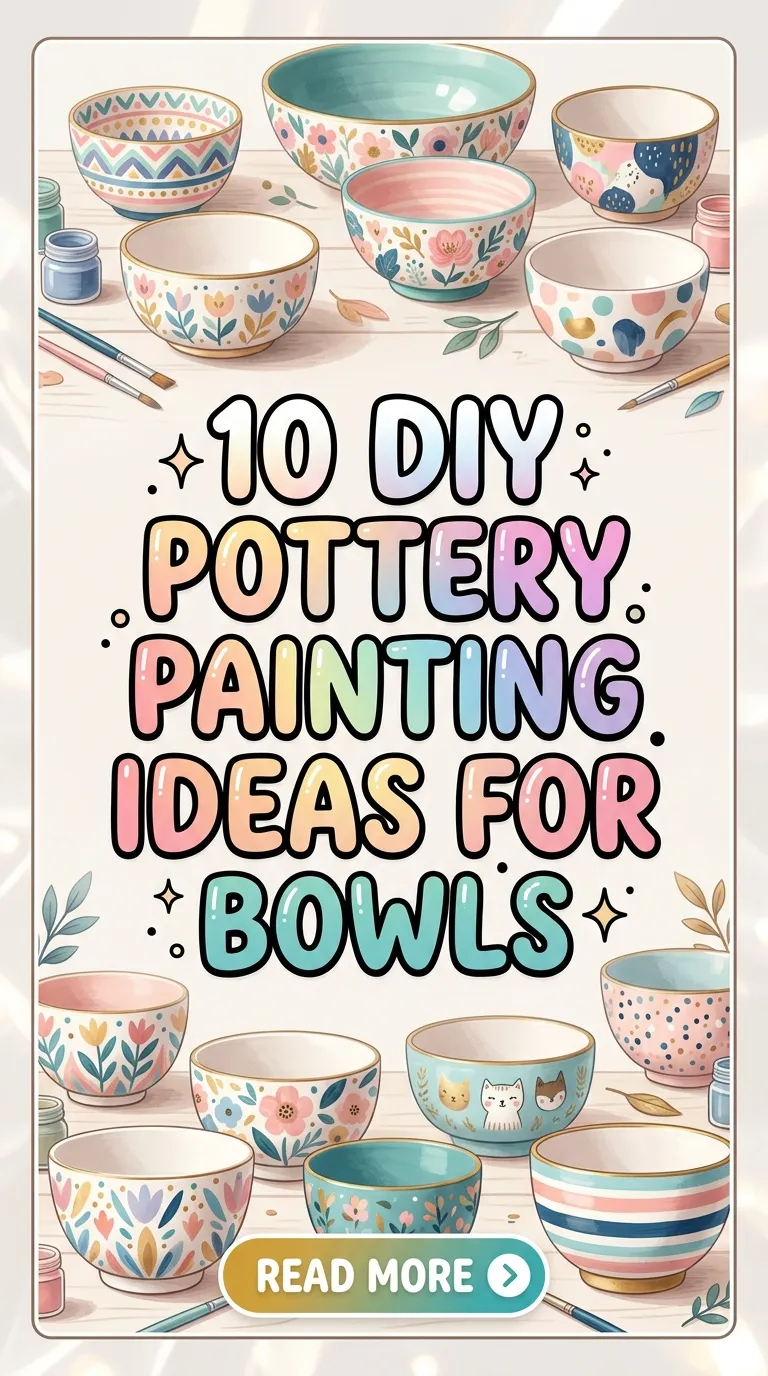
I started painting bowls two winters ago, mostly because my kitchen shelf in Munich was full of chipped white supermarket bowls and I was tired of looking at them. Pottery painting sounded like one of those crafts where you need talent, but bowls turned out to be the most forgiving canvas I own: a wide curve, plenty of room, and if a brushstroke goes wrong you can turn the bowl and try again on the other side. These days my painted bowls hold fruit on the counter, serve Sunday soup, and one of them is just sitting on the hallway dresser because I like it too much to use. Here are the ten designs I have actually painted, including exactly what worked and what flopped.
1. Color-Block Salad Bowl

This was my very first bowl and I went for the simplest thing I could think of: big blocks of color separated by painter’s tape. I bought a plain white ceramic bowl at a Munich charity shop for under three euros, cleaned it with alcohol so the paint would grip, and divided the outside into three uneven sections with yellow painter’s tape. I painted one section terracotta, one sage green, and the third a deep mustard, using ceramic paint that promises dishwasher safety after baking at 160 degrees in a regular oven for thirty minutes. The trick I learned the hard way is to press the tape down really firmly and paint AWAY from the tape edge, not toward it, because the first time I got paint bleeding underneath and had to scrape the line clean with a toothpick. Once the paint was fully dry I peeled the tape slowly at a low angle, added one thin gold band along the rim with metallic ceramic paint, and baked it. It now holds my fruit and gets compliments from everyone who eats at my table.
2. Floral Serving Bowl

For this one I copied the wildflower meadow look I love from spring walks in the Englischer Garten, but painting petals with a number 2 round brush on a curved surface is genuinely fiddly, so I want to be honest about that. I sketched the flower shapes very lightly with a soft pencil inside the bowl, which you can just wipe off later if you are using air-dry paint, and then built each petal in two layers: a pale base color first, then a darker shade dabbed on the outer half of each petal while the first layer was still slightly damp. The blending on the wet paint is what gives the flowers depth instead of looking like stickers. A cream-colored bowl is the best base here because white and blush petals disappear on bright white, and I used a matte sealant on the outside only so the inside stayed food-safe without any coating. The bowl took a whole rainy Saturday afternoon and I still see one wonky daisy in it, but from a normal distance it looks lovely and it is the one I use for serving salads at dinner parties.
3. Abstract Brushstroke Bowl

This bowl is my proof that you can have zero painting skill and still end up with something gorgeous, because it is just confident sweeping brushstrokes in four colors and it looks intentional. I chose ochre, rust red, dark teal, and cream, loaded a wide flat brush, and made one continuous stroke per color around the outside of the bowl, overlapping them slightly so the colors layered at the joins. The key lesson: commit to the stroke and do not fiddle with it afterward, because overworking abstract marks is what makes them look muddy and hesitant. I left generous cream space between the strokes because negative space is doing half the work in abstract designs, then sealed it with a clear gloss varnish meant for ceramics. It sits on my desk now holding paperclips and spare buttons, and visitors regularly assume it came from a design shop, which still makes me laugh.
4. Mandala Bowl

I painted this mandala bowl on a Sunday when I needed something slow and repetitive, and honestly it was more meditative than any meditation app I have tried. I marked the center of the inside with a tiny dot, then built concentric rings outward using a wooden dotting tool set, the kind sold for nail art, which cost me about five euros and I now use constantly. Big dots first, then smaller dots between them, then short connecting strokes with a fine liner brush, always working from the center outward so I never smudged finished work with my palm. I limited myself to three colors, white, gold, and a muted rose on a deep charcoal bowl, because restraining the palette is what keeps a mandala elegant instead of chaotic. The white-on-dark contrast is dramatic and it forgives tiny wobbles in a way colored dots never do. This bowl never touches food; it lives on the living room shelf as a centerpiece, and the two hours it took were genuinely the calmest part of my week.
5. Ombre Fruit Bowl

An ombre bowl is much easier than it looks because you are blending with a sponge instead of a brush, and sponges are very forgiving. I started with a white bowl and picked three shades of blue, a deep cobalt at the rim fading down to almost-white at the base, and dabbed each band on with a dry cosmetic sponge, overlapping the edges while the paint was wet so the transitions melted together. The mistake I made on the first attempt was loading too much paint on the sponge, which gave me blotchy dark patches, so on the second try I used barely any paint and built it up in three thin passes with drying time between each, and the gradient came out buttery smooth. Two or three passes with drying time beat one heavy pass every time. I finished it with a gloss ceramic sealant for that shiny fruit-bowl look, and it holds apples on my kitchen counter, fading from blue to white just like the sky over the Alps on a clear day.
6. Geometric Pattern Bowl

This black-and-white geometric bowl is the one that made me feel like a real designer for the first time, and it is all tape and patience. I wrapped thin washi tape around the outside in a crisscross diamond pattern, painted the exposed triangles with matte black ceramic paint, and left the rest clean white. Peeling the tape after the paint dried but before sealing felt like opening a present, and the lines were satisfyingly crisp except for one corner where I had rushed the taping. My advice is to burnish every tape edge down with your fingernail or the back of a spoon before painting, because that ten seconds per strip is the entire difference between razor lines and fuzzy ones. I sealed it with a matte glaze to keep the graphic look, and it now lives on my bedroom dresser holding jewelry, looking far more expensive than the four-euro bowl it started as.
7. Galaxy-Inspired Bowl

I painted this galaxy bowl as a gift for my niece, who is going through a space phase, and I will admit I had as much fun making it as she had receiving it. The method is wonderfully messy: paint the whole outside matte black, then sponge on swirls of deep purple, navy, and magenta in circular motions, letting the colors blend into each other on the surface rather than pre-mixing them. Then comes the best part, flicking white paint off an old toothbrush toward the bowl to create a spray of tiny stars, which you should absolutely do wearing an apron because it goes everywhere. I added a few metallic silver dots with a liner brush for brighter stars and one tiny constellation I looked up. The toothbrush stars are what sell the whole thing, random and uneven just like a real sky. It is decorative only, since I never sealed the inside, and it holds her hairbands on her desk now.
8. Animal Print Bowl

Leopard print on a bowl sounds bold, and it is, but the pattern itself is just irregular C-shapes and it is weirdly addictive to paint once you get into the rhythm. I painted a warm sandy beige base all over, then filled the outside with leopard spots: imperfect rings of dark brown, each with one or two black dots tucked inside the curve, never symmetrical, never the same twice. The secret I discovered is that wobbly, different-sized spots look MORE like real leopard print than neat ones, which means this design actively rewards imperfection and is perfect for a first attempt. I kept the inside plain beige so the bowl stayed usable, sealed the outside with gloss, and now it holds keys in my hallway and makes me grin every time I walk in. If leopard feels too wild, the same technique in black and white becomes a chic graphic bowl instead.
9. Minimalist Line Art Bowl

This one is my favorite on quiet days: a matte white bowl with a single continuous black line drawing wandering around the outside, the kind of single-line face and leaf drawings you see in galleries. I painted the base solid white first and let it cure fully, because a continuous line on a slightly tacky surface is a disaster I do not wish to repeat. Then, using a fine ceramic paint pen, which is much easier to control than a brush for line work, I drew one unbroken line that loops into a face profile, a leaf, and an abstract curve, without lifting the pen at all. The courage it takes is the whole point: you commit, you do not correct, and the little wobbles are what make it human. I sealed it with matte glaze to keep the gallery feel, and it sits on my bathroom shelf holding cotton pads, effortlessly chic.
10. Seasonal Holiday Bowl

I have made this Christmas bowl three years in a row now, each one slightly different, and they have become my favorite small handmade gifts. The formula is simple: festive colors, one holiday motif, and a personal touch. Mine is deep forest green with hand-painted white snowflakes of different sizes scattered around the outside, plus the year painted in small numbers on the bottom, which turns it into a little time capsule. Snowflakes are forgiving because real ones are all different, so nobody can tell which flake went wrong. I use oven-bake ceramic paint for these so the bowls are genuinely usable, and each one takes maybe an hour and a half. The recipient always assumes it took much longer, which I consider the mark of a great gift craft.
Conclusion
Painting bowls turned out to be the craft I reach for when I want something both beautiful and useful at the end of an afternoon, and my shelves in Munich are quietly filling up with the evidence. If you are just starting, pick the design that looks most fun rather than the one that looks most impressive, grab a cheap ceramic bowl and some oven-bake paints, and give yourself permission for the first one to be a little wonky. Mine was, and it still holds my fruit every single day.