
My nephew spent one entire summer holiday convinced our hallway linen closet led somewhere secret, and I have never quite forgiven myself for letting him down. He would press his ear to the door and whisper about what might be behind it, so when his parents finally let me help redo his room, I decided he was getting a real secret passage, not another poster of one. I am not a carpenter, but I have a friend in Munich who is, and between his tools and my stubbornness we have now built three of these ideas for real. Here are ten ways to hide a little magic inside a kid’s room, tested, argued over, and in some cases assembled at midnight with a headlamp.
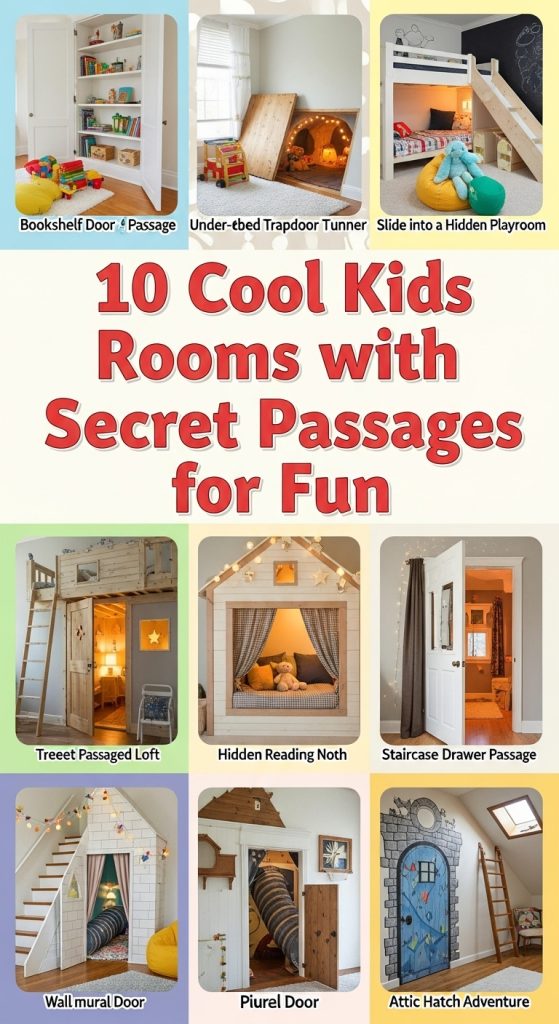
1. Hidden Bookshelf Door
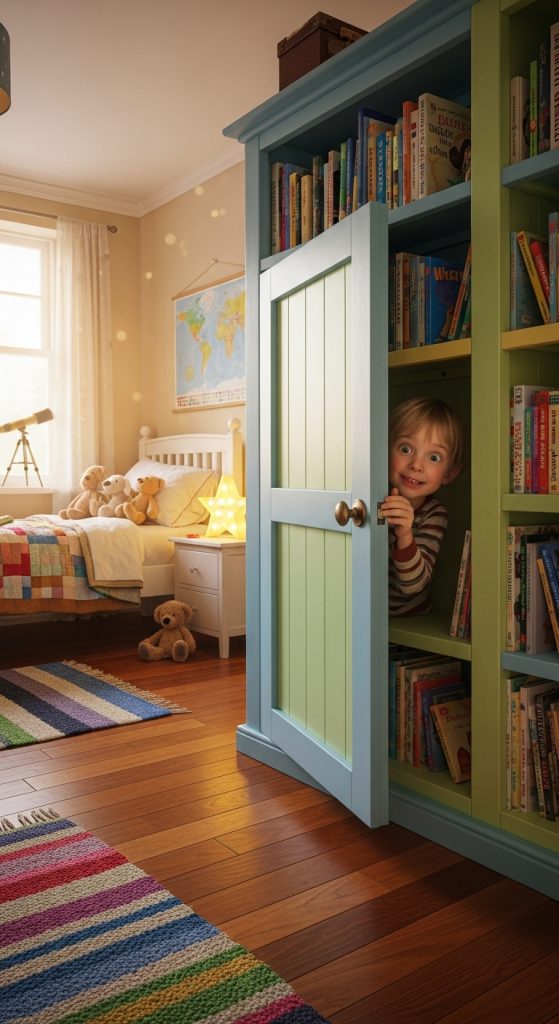
This is the one every child asks for first, and honestly it is the one I enjoyed building most. We mounted a lightweight pine bookshelf on a pivot hinge so the whole thing swings open with one push, and behind it we hid the reading corner with a beanbag and a string of warm fairy lights. The trick, my carpenter friend insists, is keeping the bookshelf shallow and the books light — paperbacks and picture books, nothing heavy — so a six-year-old can actually move it. Ours cost about 180 euros in hinges, pine boards, and paint, plus one long Saturday. We stocked the shelves with the nephew’s favorite adventure books, which means the secret entrance doubles as a bookshelf he actually uses. One safety note from experience: make sure the door cannot lock from the inside and that the gap around it stays ventilated, because kids will absolutely close themselves in and read for hours.
2. Crawl Tunnel Between Rooms
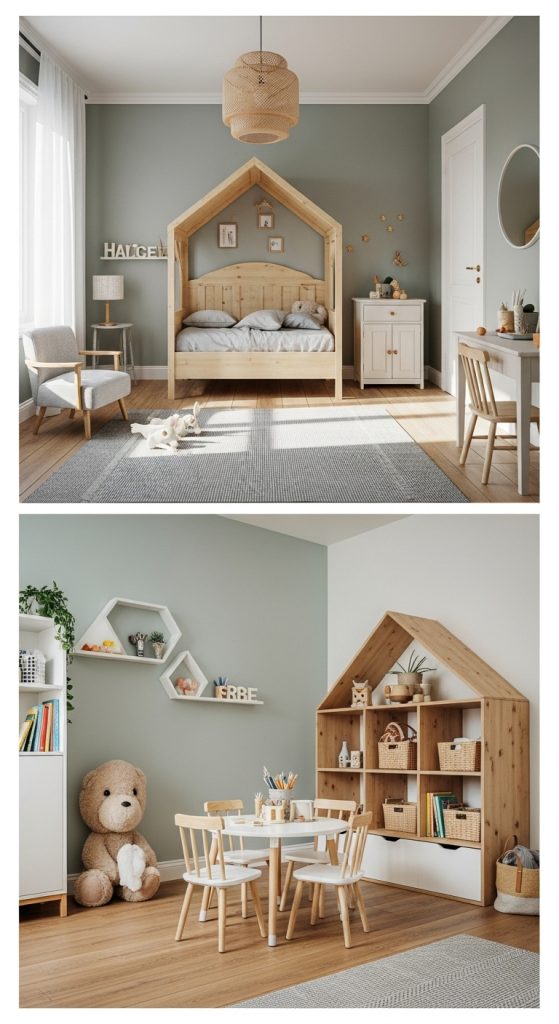
A tunnel between two kids’ rooms is the kind of idea that sounds insane until you see two siblings disappear into it giggling at 7 a.m. instead of fighting over the bathroom. We have not cut through a wall for this one, I will be honest — we built ours as a freestanding carpeted tunnel from plywood and foam along the wall of a playroom, connecting the reading corner to the toy area. The inside is painted with glow-in-the-dark stars, and there is a cushion at each end because crawling on bare plywood gets old fast. If you ever do connect two real rooms, keep the tunnel short, well-lit at both ends, and wide enough that an adult can reach in easily; my rule is that I should be able to crawl through anything I build for a child. Total cost for our playroom version was under 120 euros, and it has survived two years of daily use.
3. Loft Bed with Hidden Ladder
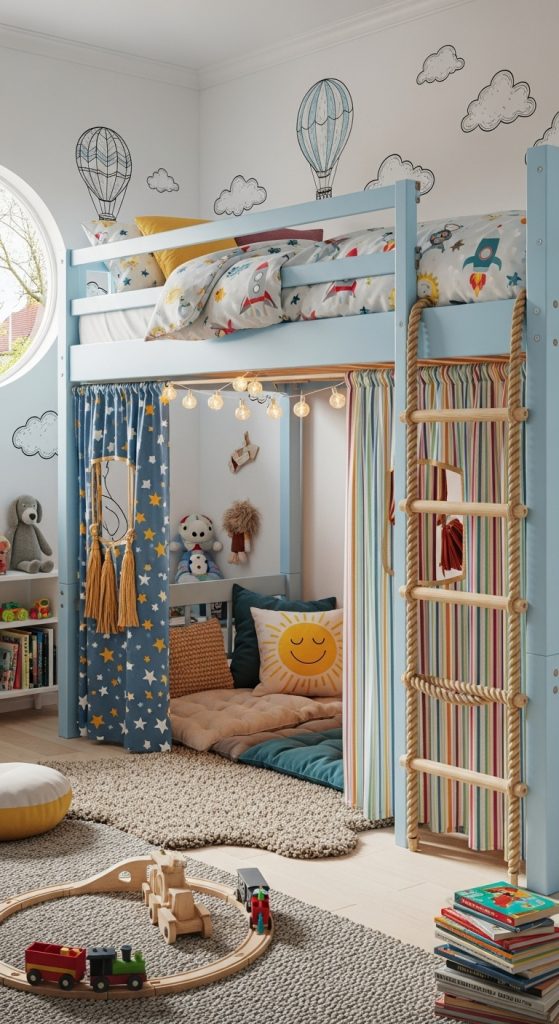
Loft beds are already an adventure, but hiding the ladder behind a curtain panel turns bedtime into a small nightly ceremony. In the nephew’s room we hung a heavy canvas curtain on a ceiling track in front of the ladder, so climbing to bed means parting the curtain like entering a tent. Underneath the loft we built the secret fort: cushions, a small bookshelf, and those same warm fairy lights, because apparently I have a signature move now. The ladder itself is a simple rope ladder with wooden rungs, rated for far more weight than any child, and we bolted a proper guard rail along the open side of the loft. That last part is non-negotiable — a hidden ladder is fun, a hidden ladder on an unguarded loft is a hospital visit. The whole loft was the priciest build on this list at around 400 euros, but it replaced both a bed and a play tent, so the maths worked.
4. Secret Playroom Behind the Closet
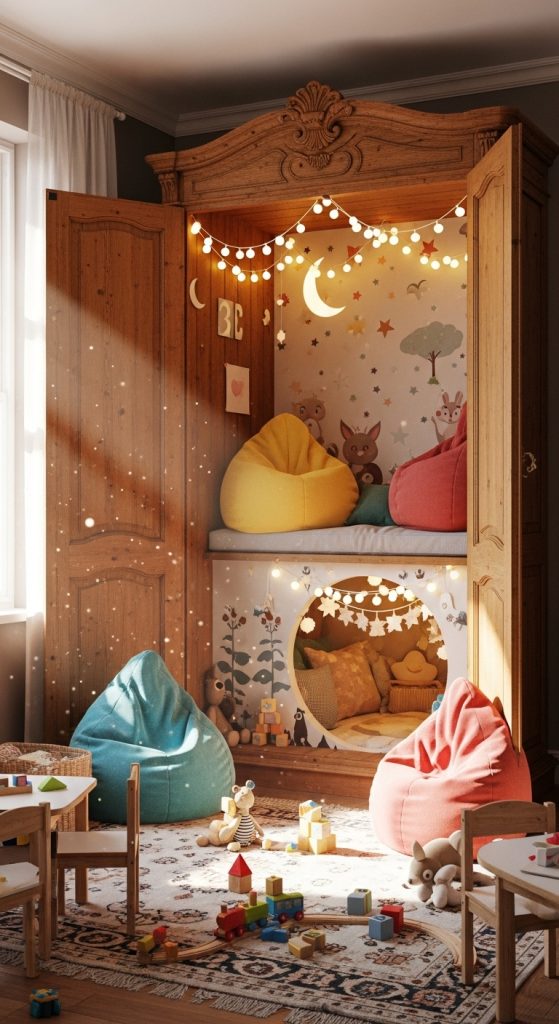
This is the Narnia one, and it works best in flats lucky enough to have a deep built-in wardrobe. We cleared the back half of a walk-in closet, cut a child-sized doorway through the back panel into the dead space behind it, and suddenly there was a tiny hidden room no bigger than a tent. Inside: beanbags, wall decals of stars, and a battery-powered lantern, because I did not want to run mains electricity into a wooden box a child would sit in. We hung a curtain instead of a door at the entrance, which keeps it feeling soft and also means nobody can ever get stuck behind a latched door. Ventilation matters here more than anywhere — we left a generous gap at the top of the back panel so air flows freely. The nephew calls it his headquarters, and I am not exaggerating when I say it is the most-played-with square meter in that flat.
5. Trapdoor Hideaway
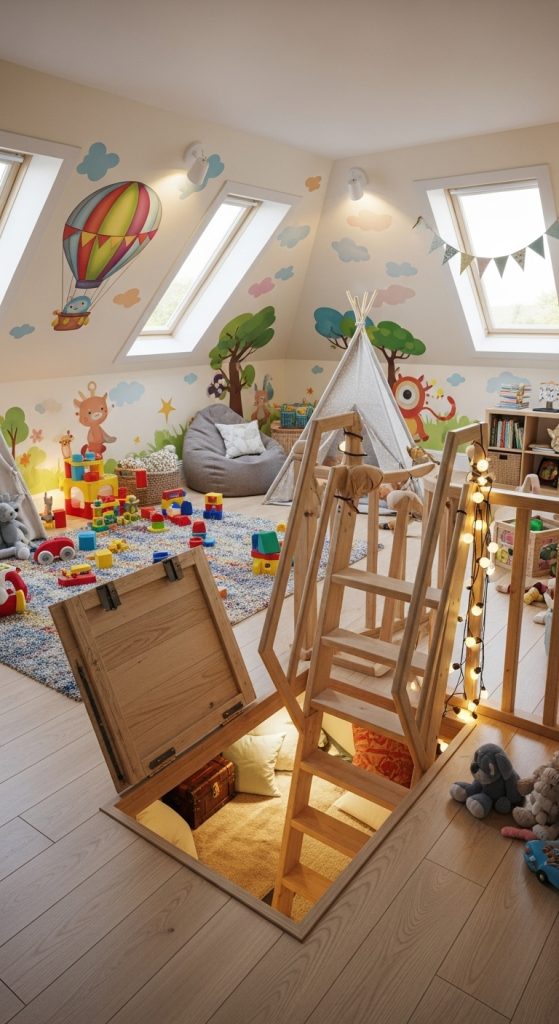
A trapdoor is pure theatre, and I will admit this one lives more in the planning stage than in reality — cutting into a real floor is a job for a professional, full stop. But we did build a raised play platform, about 40 cm high, with a hinged trapdoor in the top leading down to a cushioned hideaway underneath, and the effect is exactly the same for a child. The trapdoor has soft-close hinges so it cannot slam on small fingers, a recessed handle with no sharp edges, and a ladder fixed solidly to the inside wall. Underneath we made a quiet den with a rug, a basket of LEGO, and a clip-on reading light. If you are tempted by the real-floor version, get a structural engineer involved before you touch anything; floors hold up houses, and that is not a DIY guess. Our platform version cost about 150 euros and scratches the itch completely.
6. Secret Passage Under the Stairs
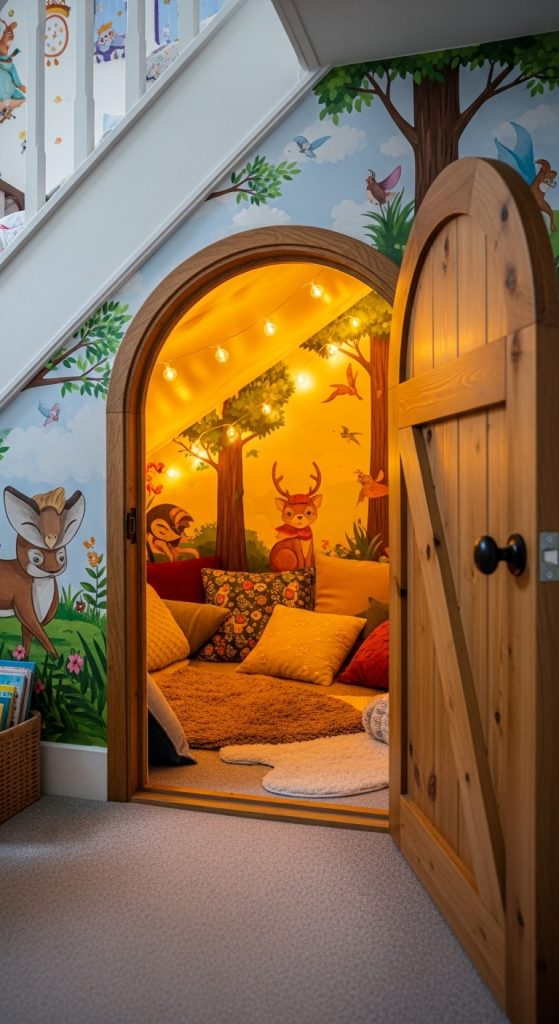
The dead space under a staircase is the most wasted square meter in most houses, and children know it instinctively — every kid I know has tried to claim it. We fitted a small arched door into the understair void of a friend’s townhouse and turned it into a play cave lined with peel-and-stick woodland wallpaper, a thick rug, and a cushion pile. The door is deliberately low, about a meter high, which makes adults duck and children feel like the space was built exactly for them. Because understair voids can be dusty and poorly aired, we vacuumed the whole cavity, sealed it with non-toxic paint, and fitted a small vent grille near the top. It now stores the overflow toy boxes and hosts at least one “secret meeting” per day. Cost was mostly the custom door and wallpaper, around 130 euros, and it genuinely added usable space to the house.
7. Hidden Slide Entrance
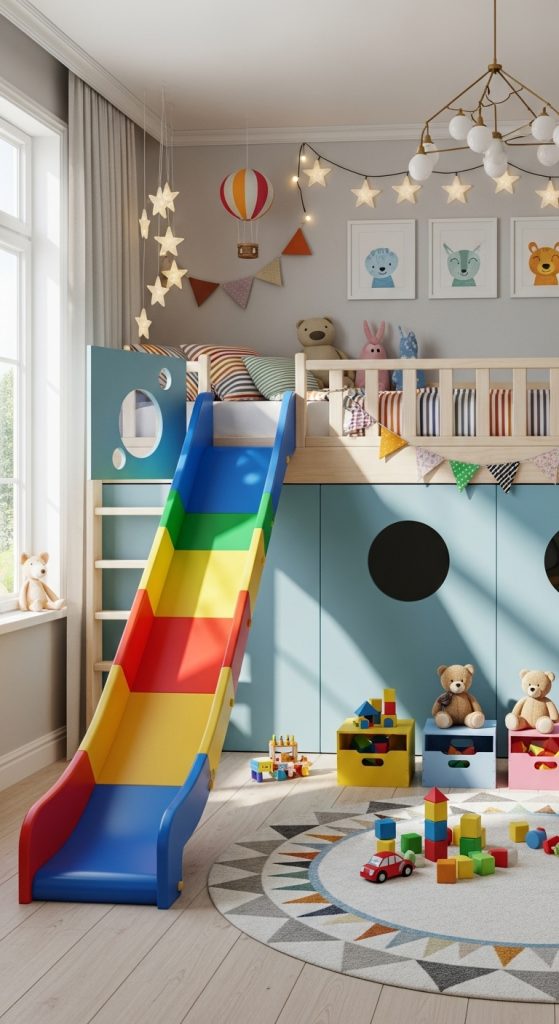
Nothing in this list gets a bigger reaction than a slide, and hiding it behind a curtain makes it ten times better. We bolted a sturdy indoor slide to the side of a bunk bed, then hung a floor-length curtain panel in front of the top so the slide is invisible until you pull the fabric aside. The slide itself is bright yellow, because muted tasteful slides are a missed opportunity, and it lands on a thick crash mat that lives permanently at the bottom. Here is the safety lecture, and I mean it: anchor the slide to the bed frame with proper bolts, not hope; check the weight rating; and keep the landing zone clear of furniture corners. We also kept the regular ladder in place, which was a clever move — the kids use the ladder when they are tired and save the slide for grand entrances, which means it never gets boring.
8. Curtain-Covered Nook
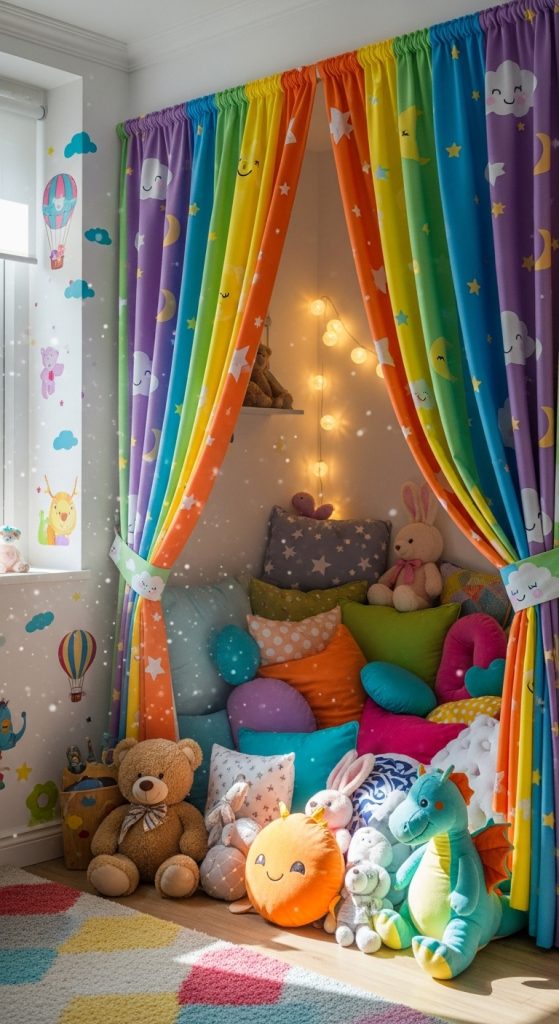
After all the carpentry, let me tell you about the best value on this entire list: a curtain rod, some fabric, and a corner. We screwed a curved curtain track into the ceiling across one corner of the nephew’s room, hung heavy star-patterned curtains, and filled the hidden triangle with floor cushions, a rug, and a basket of books. Total cost was under 60 euros and it took an afternoon, and I swear he uses it more than the loft. The lesson I took from this is that secrecy is mostly about the reveal — parting a curtain feels like entering somewhere hidden even when every adult knows exactly what is behind it. Choose washable fabric, because it will become a snack zone within a week, and mount the track into a ceiling joist or proper anchors, since children will absolutely hang off the curtains at some point.
9. Secret Treehouse-Inspired Loft
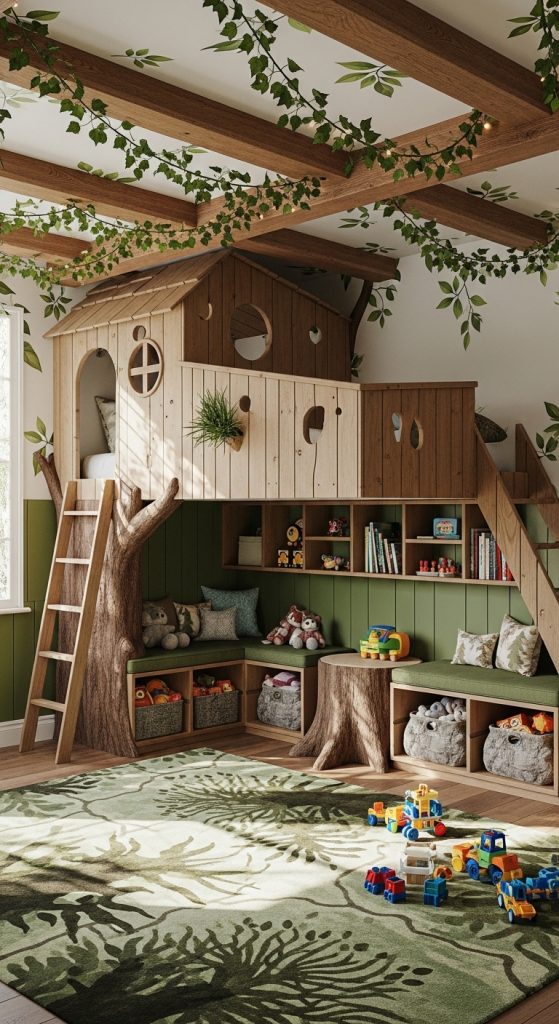
Bringing the treehouse indoors is for the child who would live outside if the weather allowed, which in Munich is about four months a year. We clad a simple loft frame in rough-sawn pine boards, added a rope ladder and a small climbing wall with proper bolted holds, and decorated with leafy wall decals and a bark-textured rug. The “secret” part is a hidden hatch in the loft floor that opens into a storage cubby below, sized for treasures and absolutely nothing else a parent needs to know about. Building with real wood indoors means checking every board for splinters and sealing everything with child-safe hardwax oil — my friend the carpenter sanded those boards twice and then once more while I watched. It smells faintly of pine, it creaks a little when climbed, and it is the closest thing to a real treehouse a third-floor flat will ever have.
10. Hidden Reading Tunnel
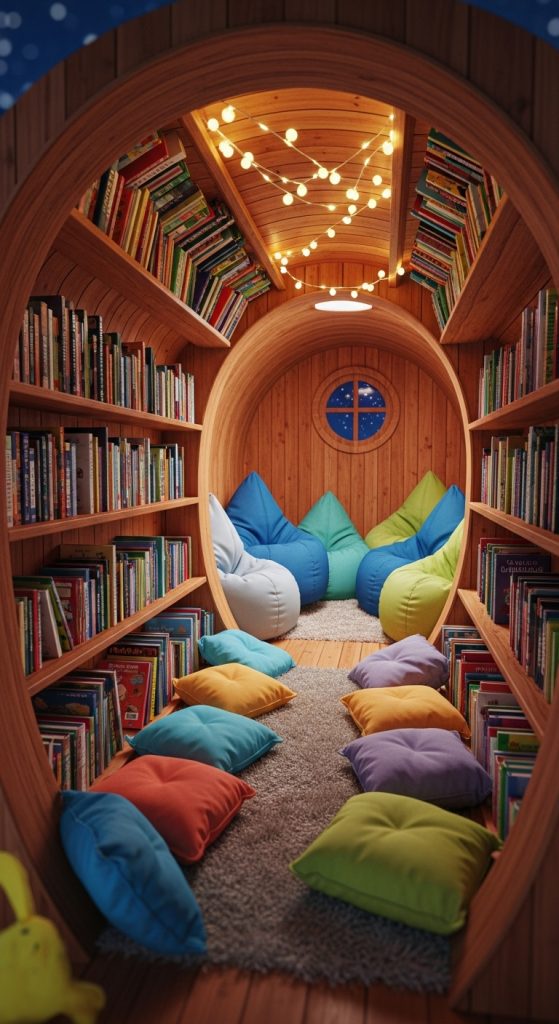
For the book-obsessed child, and I say this as someone who was one, a tunnel lined with books is the ultimate bribe to keep reading. Ours runs along one wall of the playroom: a low plywood tunnel, cushioned floor, with shallow shelves built into the tunnel walls holding picture books spine-out, and a string of warm lights along the top. It ends in a beanbag nook under the window, which is where the actual reading happens — the tunnel is the adventure that gets you there. Keep the shelves shallow so books cannot topple onto small heads, fix the whole structure to the wall so it cannot shift, and use LED lights that stay cool to the touch. I built this one mostly alone over two weekends for about 160 euros, and watching a child crawl through it with a torch and a book is the single best return on effort I have ever gotten from a DIY project.
Conclusion
Three builds and several midnight headlamp sessions later, here is what I actually believe: the magic is not in the carpentry, it is in the secret. A sixty-euro curtain nook that a child chose to hide in beats a four-hundred-euro loft they never asked for. Start small, build what your child will actually use, and never skip the guard rails, the ventilation, and the non-toxic paint. The memories, I promise, take care of themselves.