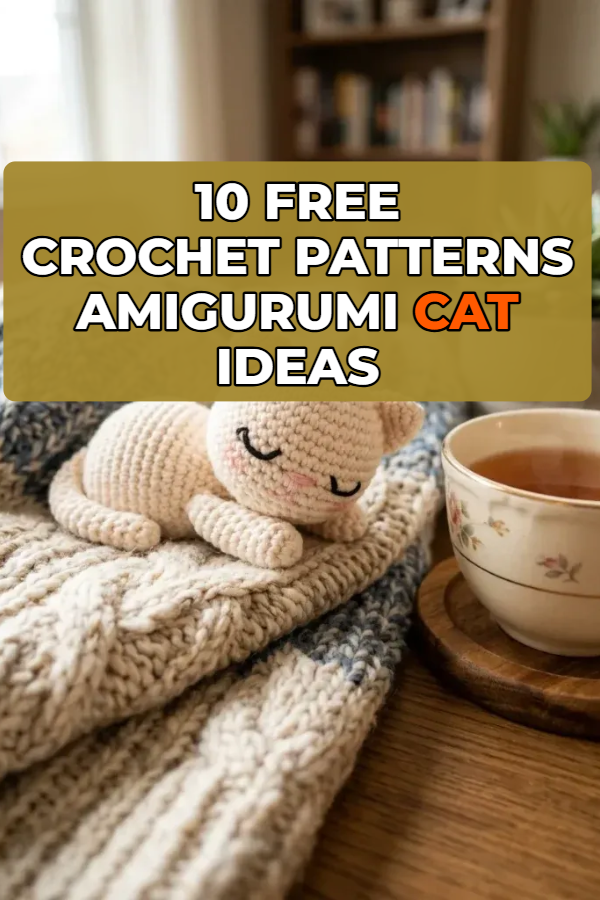
I started crocheting amigurumi cats last winter because my neighbour’s tabby kept stealing my warm spot on the sofa, and I decided I wanted a cat that would stay put and never shed on my cushions. My first attempt came out looking more like a potato with ears, but I kept at it, and by the third cat I had a little grey loaf that my niece still carries everywhere. What I love about these patterns is how forgiving they are: a few colour swaps and a different ear shape turn one basic body into a tuxedo cat, a calico, or a sleek black cat, and most of them use nothing fancier than single crochet worked in a spiral.
Before you start, a word on supplies, because getting this right saves a lot of frustration. I use a hook 1 to 1.5 mm smaller than the yarn label suggests, usually a 3.0 or 3.5 mm hook with DK or worsted cotton, so the stitches stay tight and the stuffing never peeks through. I keep a small box of 6, 8 and 10 mm safety eyes, a bag of fibre fill, stitch markers, and black embroidery floss for whiskers and sleepy faces. A single mini cat takes me about 40 to 80 minutes and often less than a euro of stash yarn, which is exactly why they became my go-to gift and market-stall project.
1. The Chubby No-Sew Loaf Cat

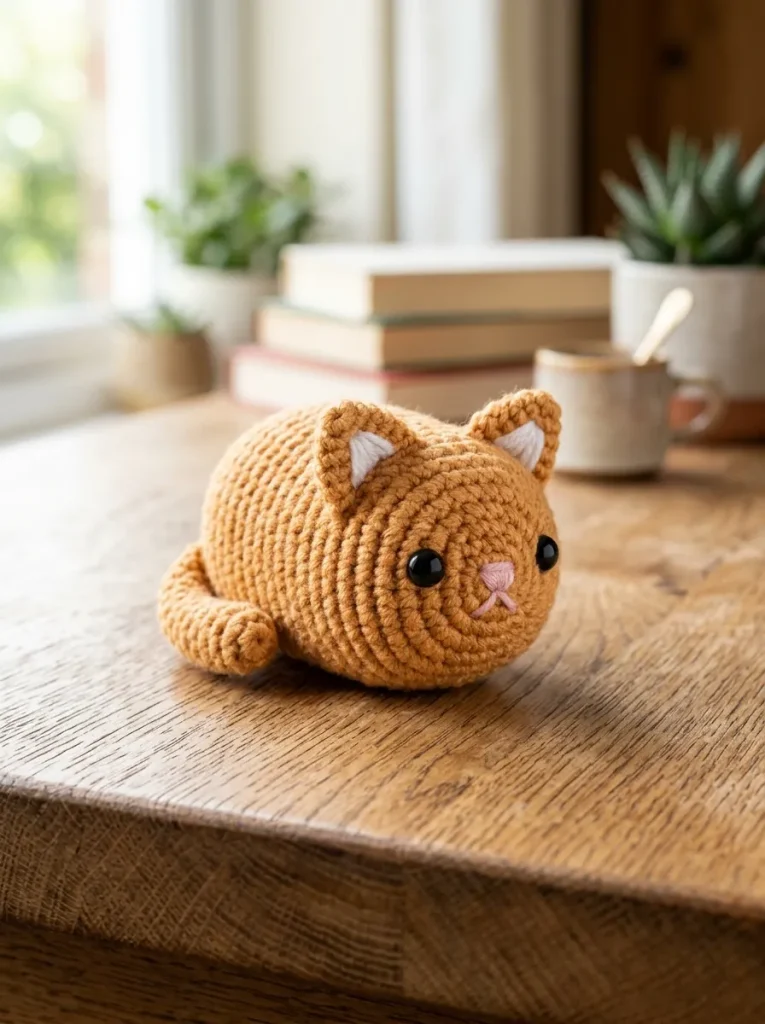
This was the pattern that finally made amigurumi click for me, and I still recommend it to anyone who has never crocheted a plushie before. I worked the whole body in one piece with a 3.5 mm hook and a ball of grey worsted yarn, starting with six single crochets in a magic ring and increasing up to 24 stitches, then working straight rounds until the loaf shape appeared. I put the 8 mm safety eyes in between rounds six and seven, about five stitches apart, and stuffed the body firmly before the final decreases closed it up. The ears are just two tiny cones, four stitches in a magic ring increasing to six, sewn to the top front, and the tail is a short chain of ten stitched back and curled against the side. My first one sat on my windowsill for weeks, and the honest truth is that the no-sew body means you finish it in one evening without a pile of pieces waiting to be assembled.
2. The Sleepy Pocket Kitten
I made this one in cream yarn with a 3.0 mm hook for a friend who was going through a rough patch, and it now lives in her coat pocket, which tells you everything about the size. It measures about two and a half inches tall, and the whole charm is in the face: instead of safety eyes, I embroidered two little downward-curving U shapes in black floss for closed, sleeping eyes and a tiny pink v for the nose. The head and body are worked as one seamless piece, increasing to 24 stitches, then pinching in at the neck with a round of two single crochets and an invisible decrease before widening again for the body. I learned to stuff it gradually, a little tuft at a time, because cramming the fill in at the end left lumps I could see through the stitches. The ears are the same quick two-round cones, and the finished kitten is soft enough to squeeze without losing its shape.
3. The Calico Patchwork Cat

My calico cat took three tries to get right, because colour changes in amigurumi look simple on paper and messy in your hands until you find a rhythm. I used white, ginger and black worsted yarn with a 3.0 mm hook, working a standard 24-stitch body and swapping colours every three or four stitches through rounds four to ten so the patches landed in different places on every cat I made. The trick that finally worked for me was carrying the unused yarn loosely inside the body rather than cutting it at every change, which kept the inside tidy and the outside free of knots. I made one ear orange and one ear black, and the tail is a twelve-chain strip worked in blocks of four stitches, black, ginger, then white. The 8 mm safety eyes went in between rounds seven and eight, and the finished cat, about four inches tall, looks like no other cat in my collection, which is exactly the point of a calico.
4. The Black Cat with Witch Hat
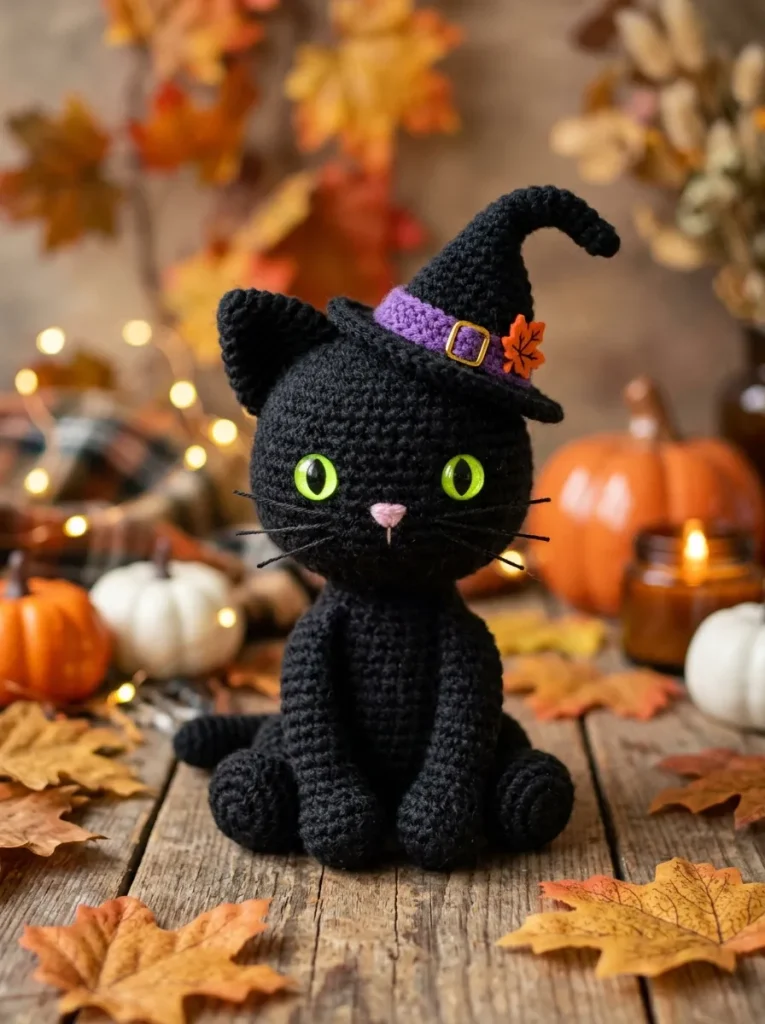
I crocheted this black cat in October for my hallway shelf, and it stayed there long past Halloween because my flatmates refused to let me put it away. The body is a straightforward 24-stitch black sphere worked with a 3.5 mm hook, and I used bright green 8 mm safety eyes because they glow against the black yarn in a way brown eyes never would. The witch hat is the part I enjoyed most: a small cone starting with four single crochets in a magic ring, increasing to six, then switching to purple for a band and working the brim in the front loops only so it flares out properly. I pinned the hat at a jaunty angle between the ears instead of sewing it dead centre, and that slight tilt is what gives the whole cat its personality. At about four and a half inches tall including the hat, it is a quick evening project, and the hat lifts off, so the cat works all year round.
5. The Tuxedo Cat with Bowtie

This one was a gift for my brother, who insists he does not like cute things and then kept the cat on his desk at work. I worked the body in black yarn with a 3.0 mm hook and switched to white across the front six stitches on rounds six through eleven to form a crisp chest bib, which sounds fiddly but is really just counting carefully for a few rounds. The arms and legs are tiny five-stitch tubes, white at the paws and black above, sewn to the sides and the lower base. The bowtie is my favourite detail: I worked it in red yarn with a chain two, two double crochets, chain two and slip stitch repeated twice into a magic ring, then wrapped yarn tightly around the centre to pinch it into a bow. I sewed it right at the top of the white bib, and at four inches tall the finished cat looks properly dressed for dinner, which still makes me laugh.
6. The Sitting Tabby Cat with Stripes

I made this tabby in light grey with a 3.0 mm hook after my neighbour’s real tabby, Milo, claimed my favourite armchair, and the crocheted version now sits beside him on the cushion. The body is worked a little differently from the others: I increased the sphere to 24 stitches, worked six plain rounds, decreased down to twelve for the neck, then expanded back out to eighteen for the lower body, which gives it that upright sitting pose instead of a round ball shape. The stripes are all embroidery, and that is where I spent the most time. Using dark grey yarn and a tapestry needle, I stitched a small M marking on the forehead between the ears and three horizontal bars along the back and tail. I learned to keep the embroidery stitches loose enough that they sit on the surface rather than pulling the stuffing tight and dimpling the body. At four and a half inches tall, it is the cat I reach for when I want something that actually looks like a real cat.
7. The Chubby Chenille Plush Kitten
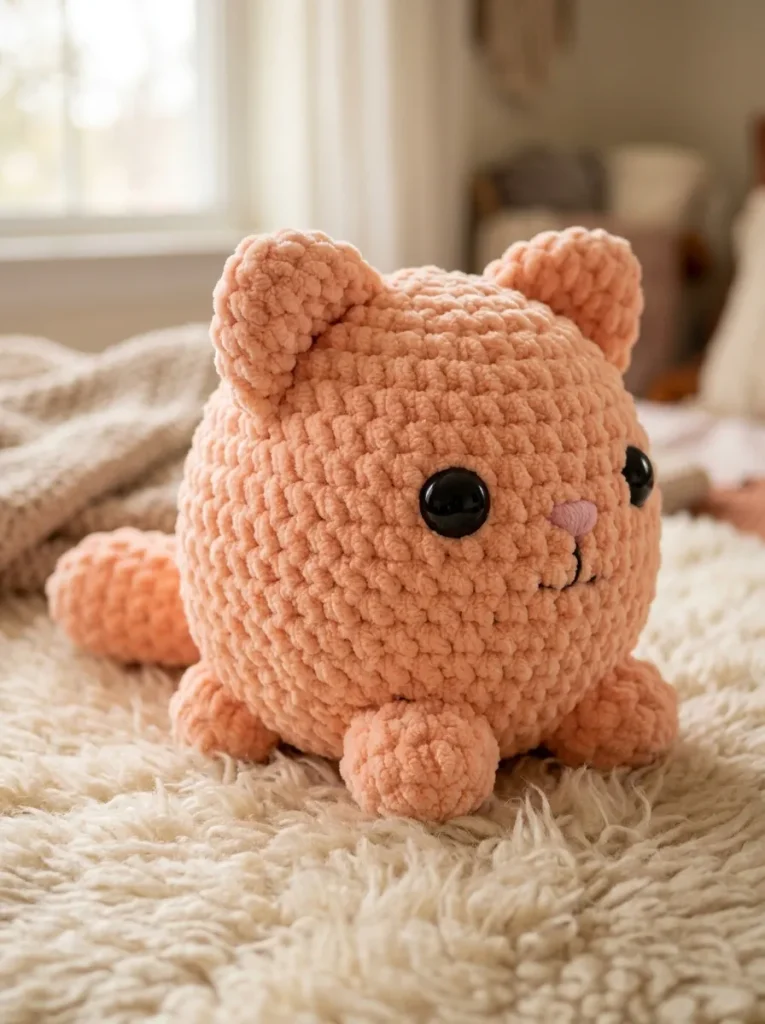
If you have never worked with chenille yarn, this is the pattern to try it on, because the thick yarn does most of the work for you. I used a bulky velvet chenille in cream with a 5.0 mm hook, and the same 24-stitch sphere proportions that make a four-inch cat in cotton came out at six inches, soft and squishy and almost embarrassingly huggable. The stitches stay tight despite the chunky gauge, so the stuffing stays hidden, and the 10 mm safety eyes suit the bigger scale. The ears are slightly larger cones, increasing to eight stitches, and I sewed them on wide and flat so they sit properly on the bigger head instead of perching like afterthoughts. My honest warning is that chenille sheds a little while you work and the stitches are hard to see, so I count out loud and mark every round. The finished kitten took me under an hour and is the one my guests always pick up first.
8. The Long-Necked Standing Kitty

This is the odd one out in the collection, and I love it for exactly that reason. I worked it in sport-weight cotton with a 2.5 mm hook, which gives finer stitches and a more delicate, folk-art look than the chunky cats. The head is a smaller eighteen-stitch sphere, then the neck decreases to ten stitches and runs for five plain rounds before widening into the body, which creates that long, elegant neck. The legs are four simple twelve-chain strips, stitched back and sewn to the lower base so they dangle freely, and the tail curls up in a long arch. I had to be patient with the neck stuffing, because too much fill makes it stiff and too little lets it flop, and I found that a thin rolled piece of felt inside the neck keeps it upright without showing through. At about six inches tall, it looks like something from an old illustrated storybook, and it stands happily on my bookshelf between the cookbooks.
9. The Siamese Point Cat

The Siamese cat is the one that taught me how much colour placement matters, because the whole design lives in the contrast between the cream body and the dark points. I used ivory and dark espresso brown yarn with a 3.0 mm hook and blue 8 mm safety eyes, which suit the breed far better than brown or black. The face mask is a small dark brown oval, started with a chain of four and worked around both sides to ten stitches, and I sewed it onto the cream head before pushing the safety eyes through both layers so they sit firmly. The ears, paws and tail are all worked in the dark brown yarn, and I was careful to keep the colour changes clean at the joints, carrying the yarn inside rather than knotting it on the surface. At four inches tall, the finished cat is elegant in a way the rounder cats are not, and it was the first one I made that a non-crocheter looked at and immediately recognised as a Siamese.
10. The Cute Cat Keychain / Backpack Charm

This tiny cat head is the pattern I make when I have half an hour and a scrap of yarn left over, and I have lost count of how many I have given away. I worked it in fine sport cotton with a 2.5 mm hook, an eighteen-stitch mini sphere that finishes at about one and three-quarter inches, with 6 mm safety eyes set between rounds three and four. The clever part is the ears: instead of sewing separate pieces, you work a chain two, half double crochet and slip stitch directly into the top stitches of the head, so the ears grow straight out of the piece. I embroidered the whiskers with black floss, threading it through the head and knotting it inside the stuffing so the whiskers cannot pull loose. A metal jump ring and keychain clasp stitched firmly to the top centre between the ears turns it into a bag charm, and I always double-stitch the hardware because the first one I made lost its ring on a bus within a week.
Conclusion
Ten cats later, my windowsill looks like a small feline parliament, and I still reach for these patterns whenever I need a quick gift or a quiet evening project. If you are just starting out, begin with the loaf cat or the keychain, because both forgive mistakes and finish fast enough to keep you motivated. And if your first cat comes out looking like a potato with ears, welcome to the club — mine did too, and it is still the one I love most.