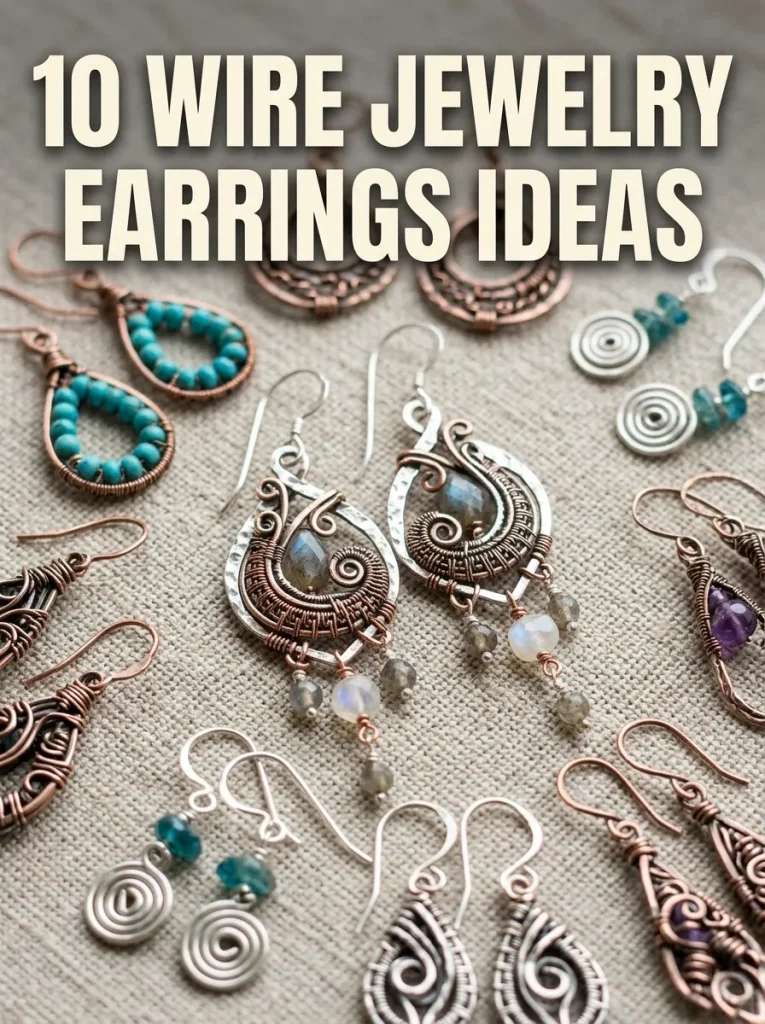
I started making wire earrings one rainy Saturday in my Munich flat because every pair I bought either made my ears itch or fell apart within a month, and I was tired of paying good money for mystery metal. I cleared a corner of my kitchen table, laid out a spool of copper wire I had bought for about eight euros, and bent my first loop with a pair of round-nose pliers I already owned. That first pair was lopsided and I wore it anyway, because it was light, it did not hurt, and it was mine. Since then I have made dozens of pairs, given most of them away, and kept a small wooden box of my favourites on my dresser. These are the ten designs I reach for again and again, in the order I learned them, with everything I wish someone had told me before I started.
1. Minimalist Hammered Wire Arch Earrings
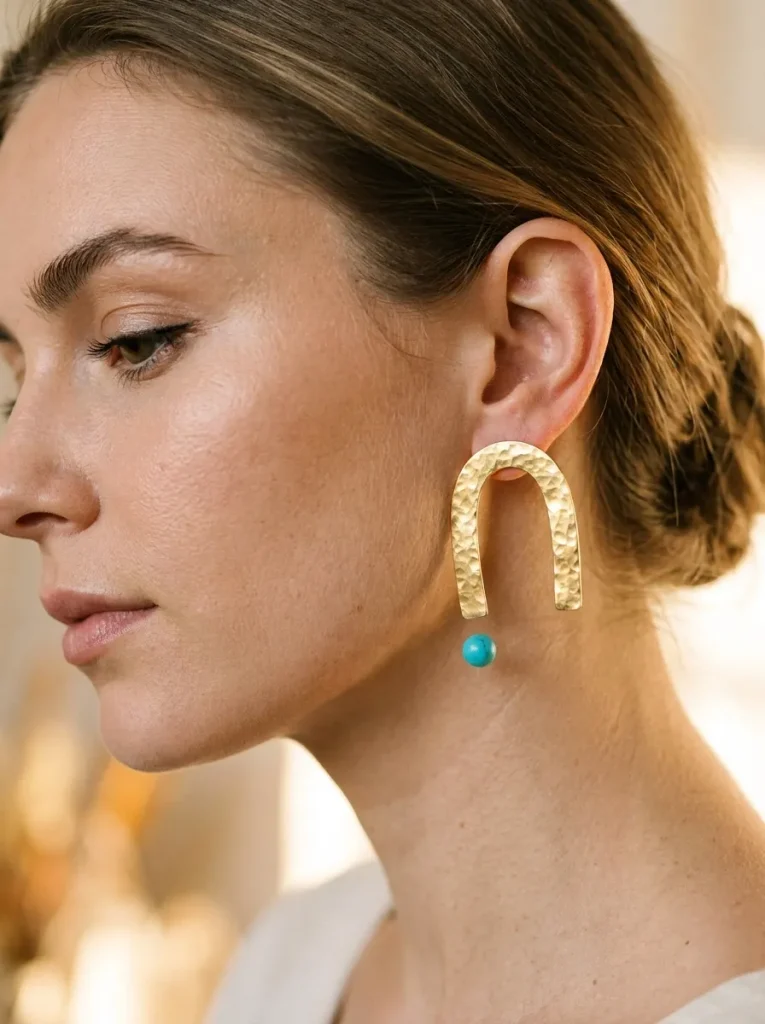
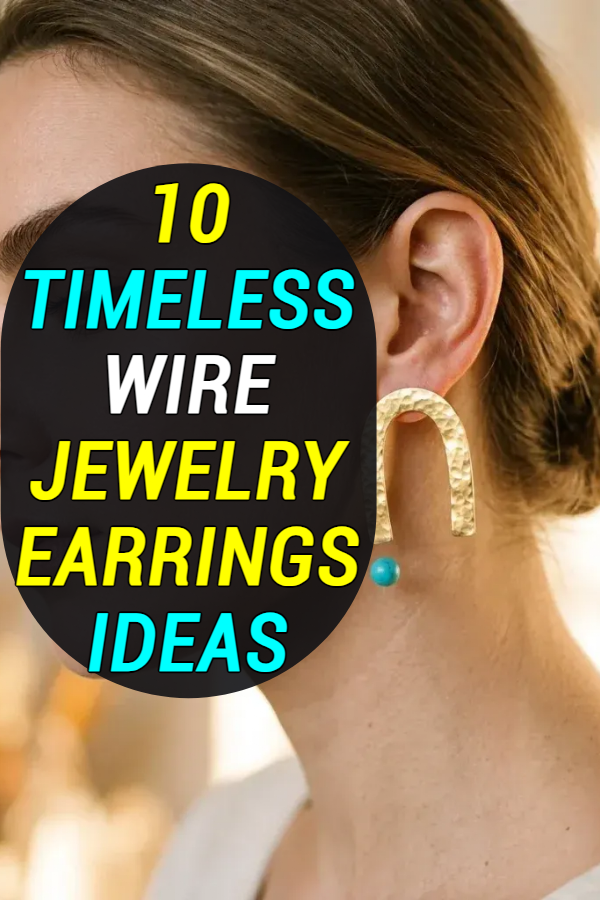
I made my first arches from 18-gauge brass wire, and I still remember how satisfying it felt to flatten the curve with a chasing hammer on a steel bench block, one gentle tap at a time. The long wire frame doubles as its own ear hook, which means there is no fiddly join to come loose, and the hammered surface catches the light every time I turn my head. I learned to file the cut ends smooth with a fine needle file before shaping anything, because a sharp tip against the ear is the fastest way to ruin an otherwise lovely pair. These arches sit beautifully with a dark high-neck top or a tailored blazer, and I wear mine most often with a plain black jumper, where the warm golden lines do all the talking. If your arch springs back a little too much, tap it a few more times on the block, because hammering work-hardens the metal and helps it hold its shape.
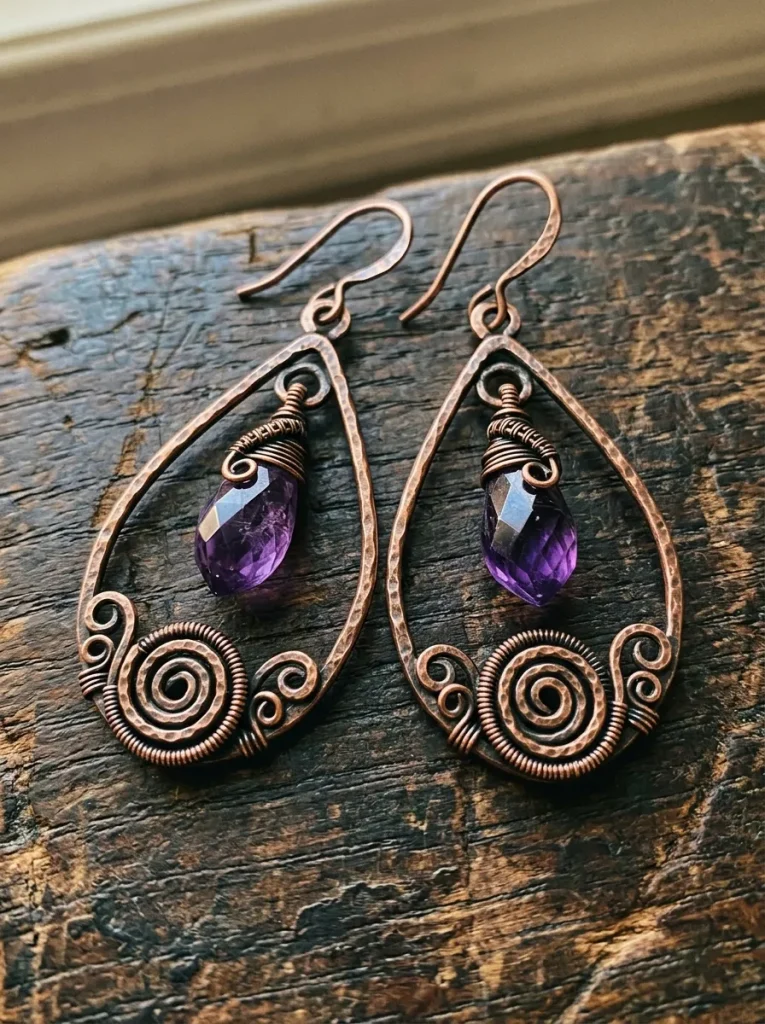
2. Bohemian Wire Spiral Tear-Drop Earrings
The spiral teardrop was the design that taught me patience, because winding a neat flat rosette at the base of the frame takes a steady hand and a willingness to unwind and start again. I use 20-gauge copper for the frame and a single natural gemstone bead in the open centre, usually a small jasper or turquoise I picked up at a bead fair in Munich for a couple of euros. Once the frame is shaped I darken it with a liver of sulfur solution, rinse it well, and polish just the raised outer edges with fine steel wool so the spiral stands out against the darker background. My first attempt had one teardrop a full centimetre longer than the other, so now I shape both frames side by side on the table and check them against each other before I add any beads. They are light enough for a whole day at a market stall, and they look lovely with a chunky knit cardigan.
3. Wrapped Crystal Cluster Hoop Earrings
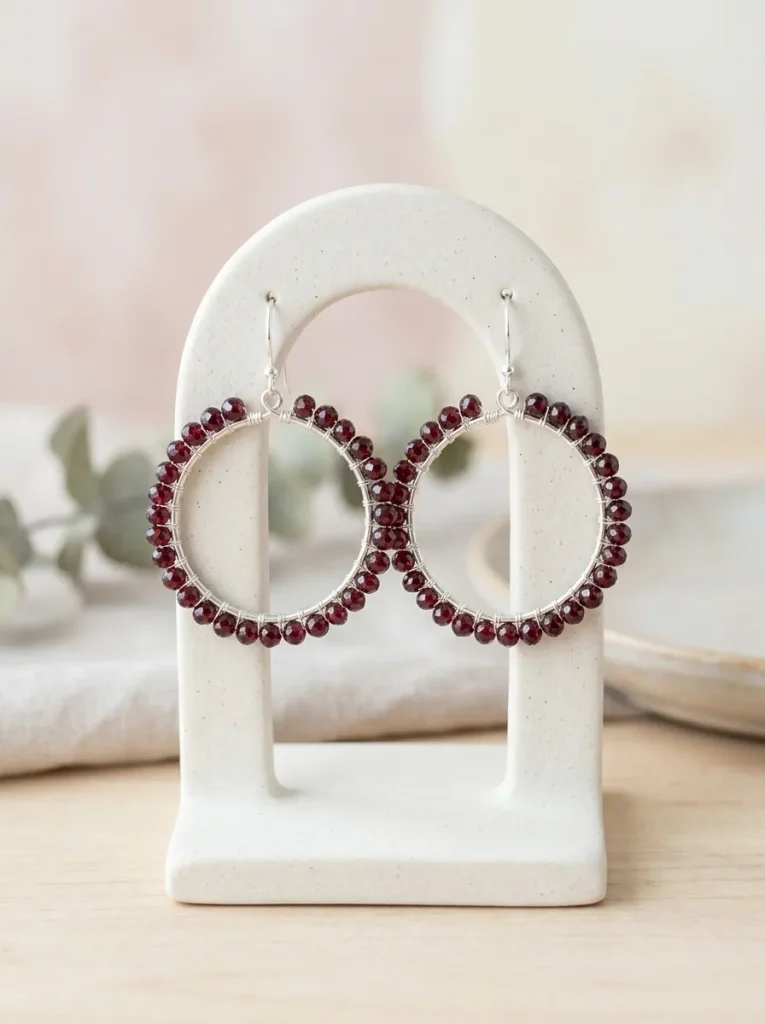
These hoops are my answer whenever I want something sparkling without the weight of a cast metal statement piece, because a simple wire hoop wrapped with a dense row of gemstone chips feels almost weightless on the ear. I start with a 18-gauge sterling silver or gold-filled hoop and wrap 26-gauge wire around it, trapping tiny turquoise chips or micro-faceted glass beads close together so they form a textured halo that catches light from every angle. The wrapping itself is slow, meditative work, and I do it in the evenings with a cup of tea, one bead at a time, keeping the tension even so the cluster does not bunch up on one side. I learned to leave a little extra wire at the end of each wrap and tuck it neatly inside the cluster rather than snipping it flush, because a poking wire end is miserable against the neck. Dark garnet chips on a gold-filled frame are my favourite for an evening out.
4. Classical Chandelier Cascade Drop Earrings
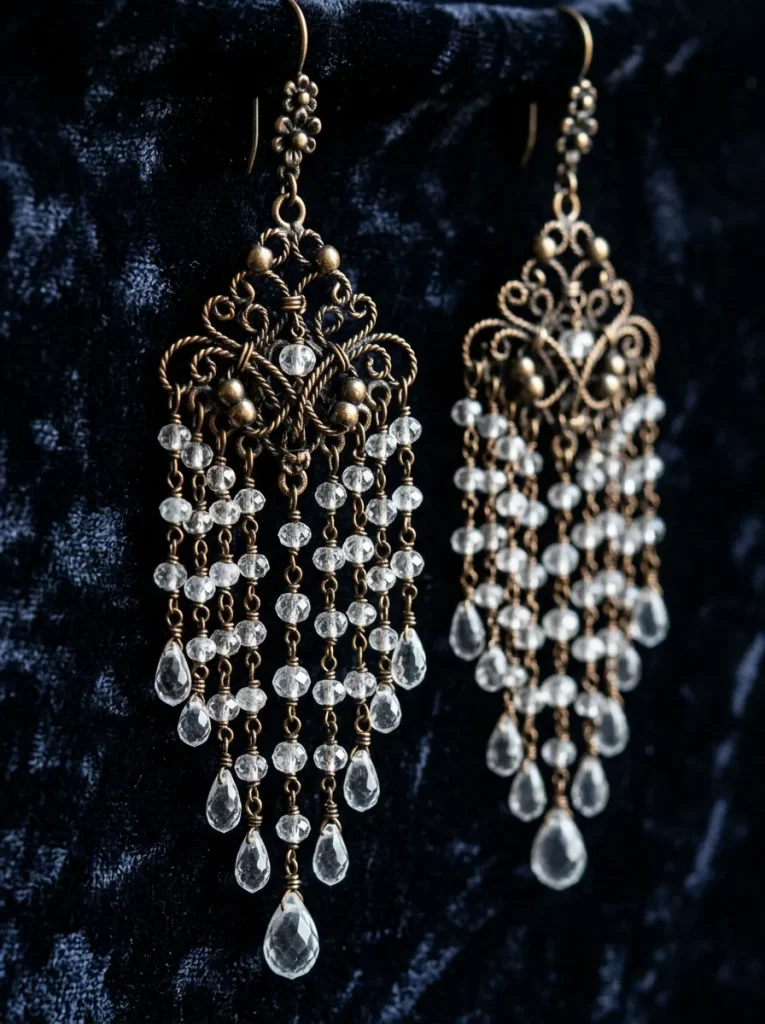
Chandeliers sound grand and complicated, but mine are really just a horizontal wire bar with several bead drops hanging from it, and they were the first pair that made me feel like a proper jewellery maker. I build the frame from 20-gauge wire and hang the drops on fine headpins, using hollow glass beads or small quartz points so the finished earrings stay light even though they look dramatic. The part I got wrong at first was balance: if one side carries two heavy beads and the other carries one, the whole earring tilts forward and tugs, so now I lay every drop out in a row on my work mat and weigh them by eye before I attach anything. I wear these with my hair swept up, which shows off the movement, and I always add a tiny silicone ear back because a long drop is exactly the kind of earring that slips out of a piercing when you are not paying attention.
5. Geometric Wire Circle-in-Circle Earrings
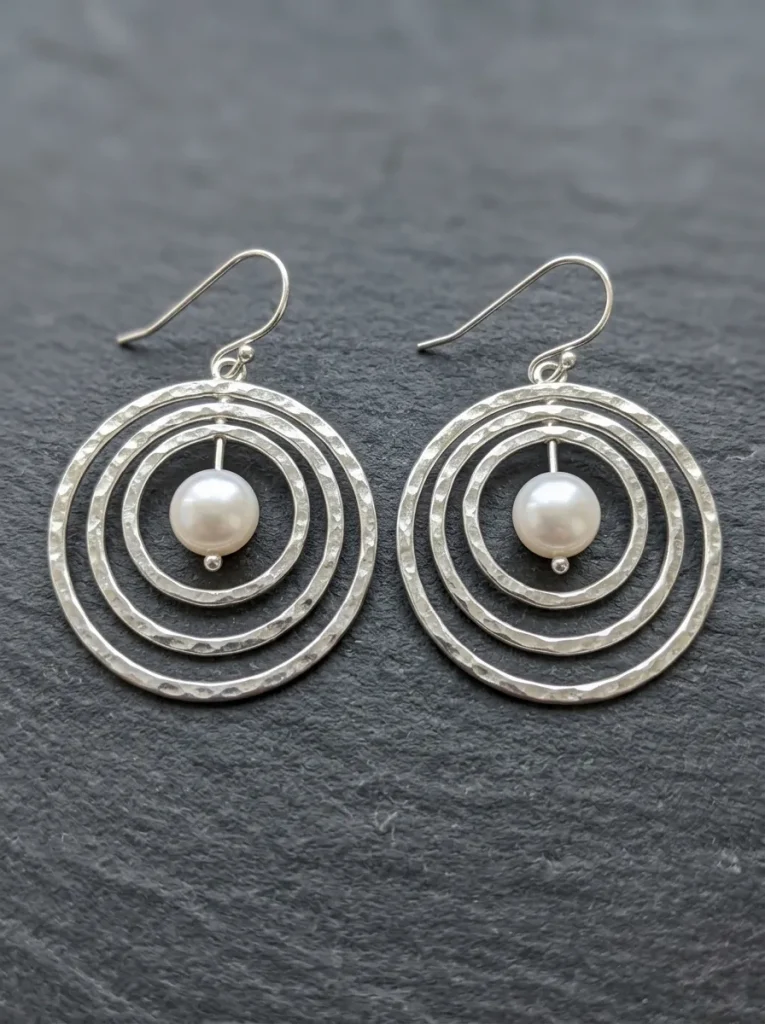
Two concentric circles with a single freshwater pearl floating in the centre is the cleanest design in this whole collection, and it is the one I make when I want a gift that looks far more expensive than it was. I form the outer ring around a jar lid and the inner ring around a bottle cap, which sounds improvised because it is, but household round objects give me far more even circles than freehand bending ever did. Mixing metals is what makes this pair sing for me: an oxidised dark copper outer ring next to a bright sterling silver inner ring, with the pearl suspended on a short length of fine wire so it seems to hover. The pearl needs to sit dead centre or the whole design looks off, so I hang the pair from a pin and check it from arm’s length before I close the final loop. They go with almost everything I own, from a linen shirt to a simple evening dress.
6. The Woven Briolette Wire Frame Earring
Briolettes are those faceted teardrop stones with a hole drilled across the top, and the first time I held a labradorite one up to the window I understood why people pay good money for them, because the grey stone flashed blue and green as I turned it. Wrapping a woven wire cap around the top of the stone is fiddly work, and I use 26-gauge silver wire over a 20-gauge frame, weaving in small figure-of-eight turns that grip the stone without covering its facets. My early caps were too loose and the stones wobbled, so now I test each one by giving the earring a firm shake before I call it finished, and if the stone moves at all I add another round of weaving. Rainbow moonstone briolettes in silver are my favourite for special occasions, and I keep my finished pairs in a small lined box rather than a jumbled drawer, because a briolette knocking against another earring will chip faster than you would think.
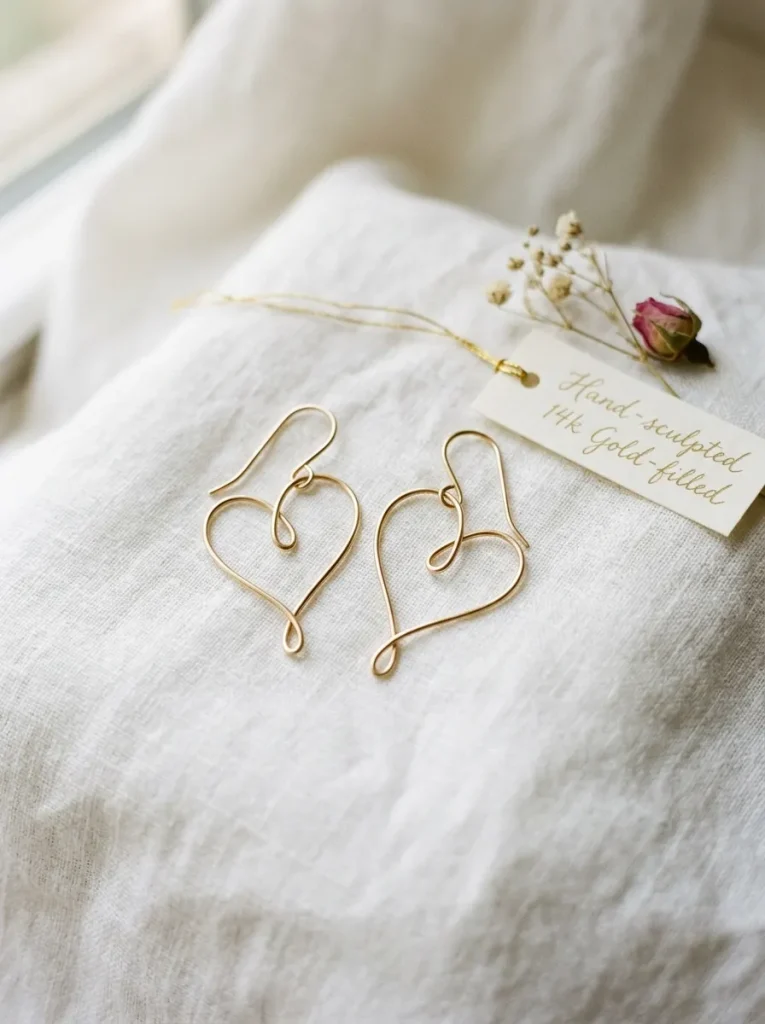
7. Sculpted Wire Cursive Heart Earrings
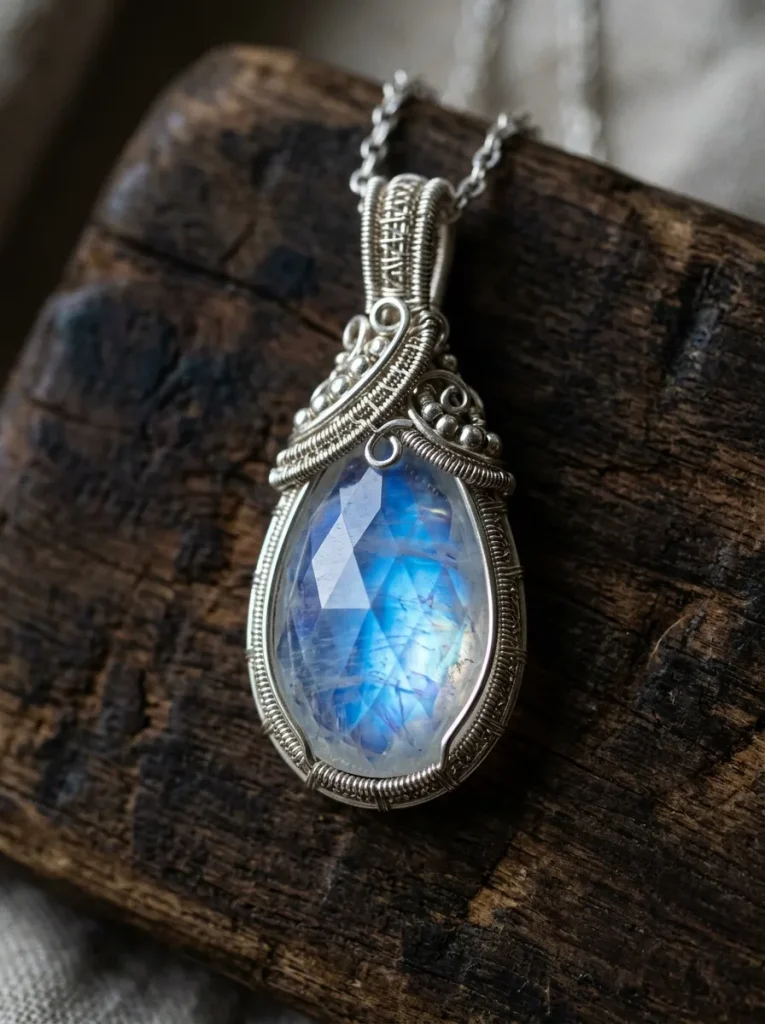
I drew the heart shape on paper first, about five centimetres tall, and traced it with wire until my fingers learned the curves, because forming a cursive motif from one continuous length of wire is really just drawing with metal. The same length of wire forms the heart and then curves up into the ear hook, so there is no join at all, which I love, but it also means a mistake halfway through costs you the whole piece, and I have thrown away more hearts than I care to admit. I use 20-gauge gold-filled wire for these, and I add a single tiny 3mm garnet bead to the centre of the heart with fine 26-gauge wire for a small pop of colour. These are the earrings I make as gifts for friends, because they feel personal in a way a bought pair never does, and I mount each finished pair on a little cardstock card I cut myself, punched with two small holes, with a silicone ear back tucked behind.
8. Vintage Filigree Swirl Chandelier Earrings
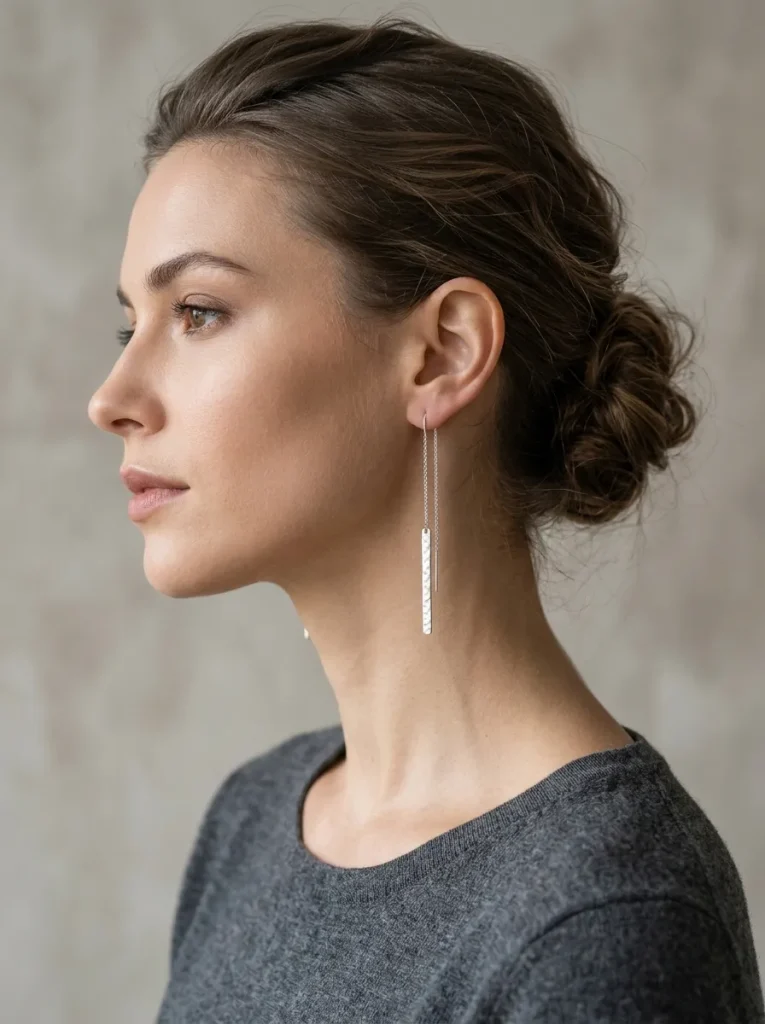
Filigree looks like antique lace, but it is really just fine wire coils pressed inside a thicker frame, and once I understood that, it stopped feeling intimidating and started feeling like a puzzle I could solve. I bend the outer frame from 18-gauge wire first, then shape tiny S-scrolls from 24-gauge wire and tuck them inside, using chain-nose pliers to nudge each coil into place until the pattern looks balanced. The finishing is where the magic happens: I darken the whole piece with an antiquing patina, then polish only the raised outer frame so the little scrolls inside stay dark and the pattern pops. My first filigree pair had tool marks all over it because I was using hardware pliers from a toolbox, and switching to smooth, toothless jewellery pliers made an immediate difference. These are delicate-looking but surprisingly light, and I wear mine with soft floral prints or a denim jacket.
9. Tubular Viking Knit Earring Drops
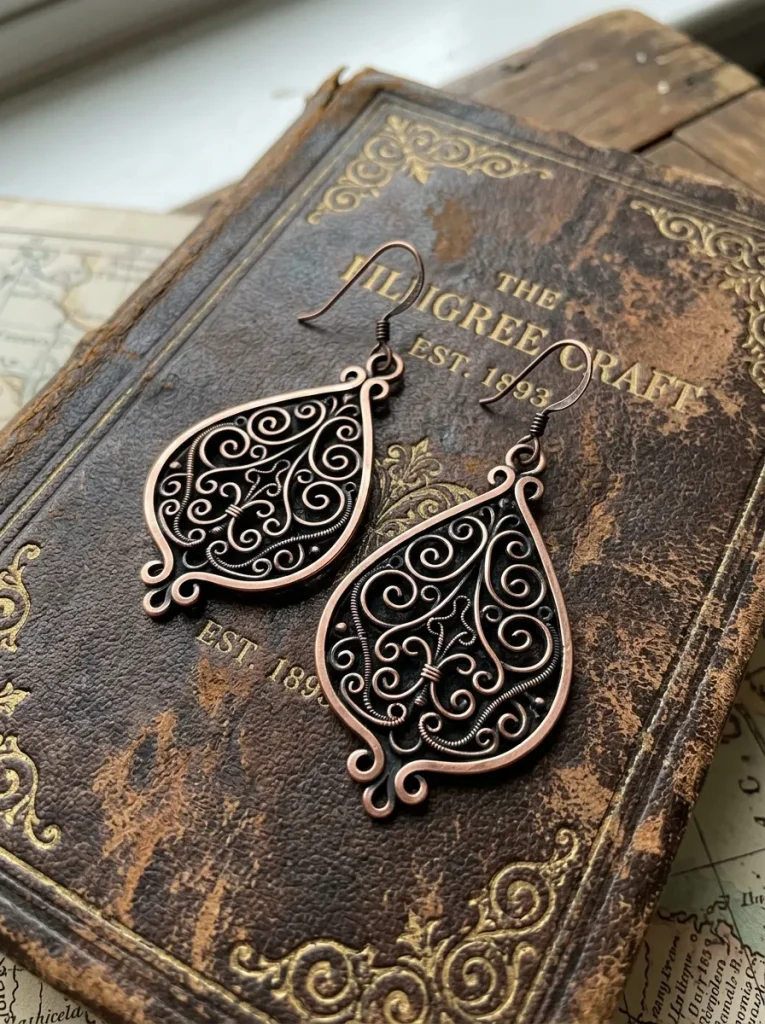
Viking knitting is an old technique where fine wire is looped endlessly around a wooden dowel to make a flexible tubular chain, and it is the slowest project in this list by a long way, which is exactly why I love it on a quiet Sunday. I use 28-gauge copper wire, loop it around a pencil-sized dowel for about twenty minutes until I have a short tube, then pull it through a drawplate to tighten and smooth the weave, and cut short segments to hang as textured drops. The finished chain looks industrial and handmade at the same time, and it catches the light in a way that flat wire never does. I learned to anneal the wire gently if it gets stiff from too much handling, and to cap the cut ends with a small wrapped loop so the fine wires cannot unravel. I pair these drops with denim jackets and plain tops, and they always draw comments at craft markets, where people want to know how on earth the chain was made.
10. Linear Threader-Style Bar Earrings
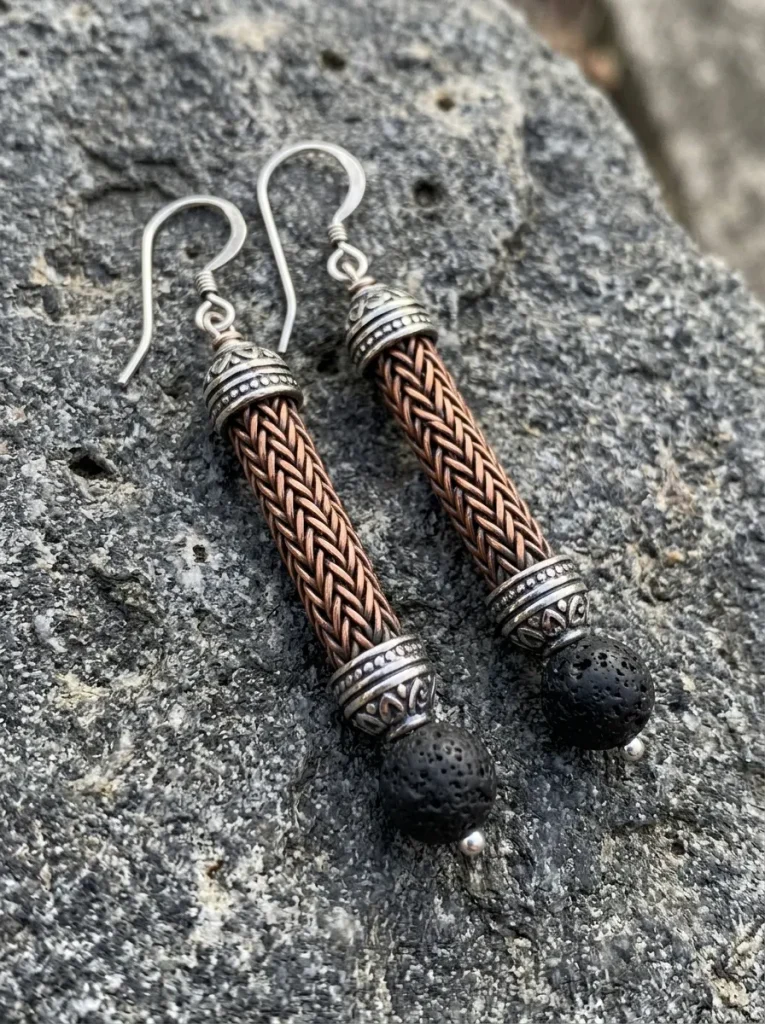
Threaders are the simplest design here and the one I wear most often, because a long fine chain that glides through the piercing and hangs on both sides of the lobe needs no clasp, no hook, and no fuss. I use 22-gauge gold-filled wire drawn into a long smooth thread with a small decorative bar or bead at the lower end, and I spend more time finishing the ends than on anything else, smoothing each tip with a cup burr until it slides through the piercing without the slightest scratch. The first threader I made had a rough tip and I knew within seconds that it would never be comfortable, so now I test every tip against the inside of my wrist before the earring goes anywhere near my ear. I wear them with my hair swept back or in an updo, which shows off the long shimmering drop, and they are the pair I reach for when I want to look put together without thinking about it.
Conclusion
What I love most about wire earrings is how little they ask of you: a few euros of wire, three basic pliers, and an evening at the kitchen table can give you a pair that fits your ears, suits your style, and lasts for years if you store it properly and give the metal a gentle polish now and then. Start with the arches or the threaders, keep your first lopsided pair as a reminder of where you began, and let each design teach you one new skill before you move on to the next. My little wooden box is still growing, and honestly, that is half the pleasure.