The first paper airplane I ever folded properly was on a train, using a page torn from a notebook, and it flew straight into a stranger’s coffee. I was nine, I was mortified, and I have been slightly obsessed with folding better planes ever since. Years later, when my nephew asked me to teach him, I discovered that the same excitement is still there, only now I have a kitchen table, a stack of A4 paper, and a hallway long enough for proper test flights. We spent a whole afternoon folding, crashing, adjusting, and folding again, and I learned that children do not need a perfect plane — they need one that flies just well enough to make them want to try again. These ten designs are the ones that gave us the best flights and the fewest arguments.
1. The Classic Dart (Distance Champion)

The classic dart is where every paper airplane education should start, because it is fast to fold, hard to get badly wrong, and it flies further than most children expect. We fold a sheet of A4 in half lengthwise, fold the top corners to the centre crease, fold again to make a sharp nose, and then fold the whole thing in half and add wings. The key detail I always stress is the crease: run a thumbnail or a ruler firmly along every fold, because a soft crease makes a soft, wobbly plane. My nephew’s first dart flew the length of our hallway and smacked into the front door, and the look on his face was pure triumph. If your dart nosedives, bend the back edges of the wings up very slightly — that tiny adjustment lifts the nose and adds real distance.
2. The Basic Glider (Smooth and Floating)
The basic glider is the opposite of the dart: it is not about speed, it is about staying in the air as long as possible, and children who like gentle things tend to love it best. We use the same starting folds as the dart, but we make the wings wider and flatter, and we throw it softly, almost like tossing a frisbee, rather than hurling it hard. The first time I threw a glider properly, I was surprised by how slowly it sank — it seemed to hang in the air, drifting sideways, and my nephew immediately declared it his favourite, even though it did not go as far as the dart. The lesson here is worth teaching: a harder throw does not always mean a better flight. With a glider, a smooth, level release from shoulder height beats a powerful throw every time, and it is much less likely to end up behind the sofa.
3. The Concorde Jet (Sleek Supersonic Design)
The Concorde design looks impressive, with its long pointed nose and swept-back wings, and it is the plane older children ask for by name once they have mastered the dart. The folds are a little more precise: the nose needs to be narrow and sharp, and the wings need to be folded at a consistent angle on both sides, or the plane will curve off course. I fold one wing, then fold the paper over and match the second wing against the first, which is a simple trick that keeps both sides symmetrical. My nephew’s Concorde flew in a beautiful straight line across the garden, and then, because he threw it too hard, straight into a hedge. That is part of the fun, honestly. A Concorde thrown with medium force, level and steady, will reward you with a long, elegant flight that looks far more advanced than it is.
4. The Loop-de-Loop Stunt Plane
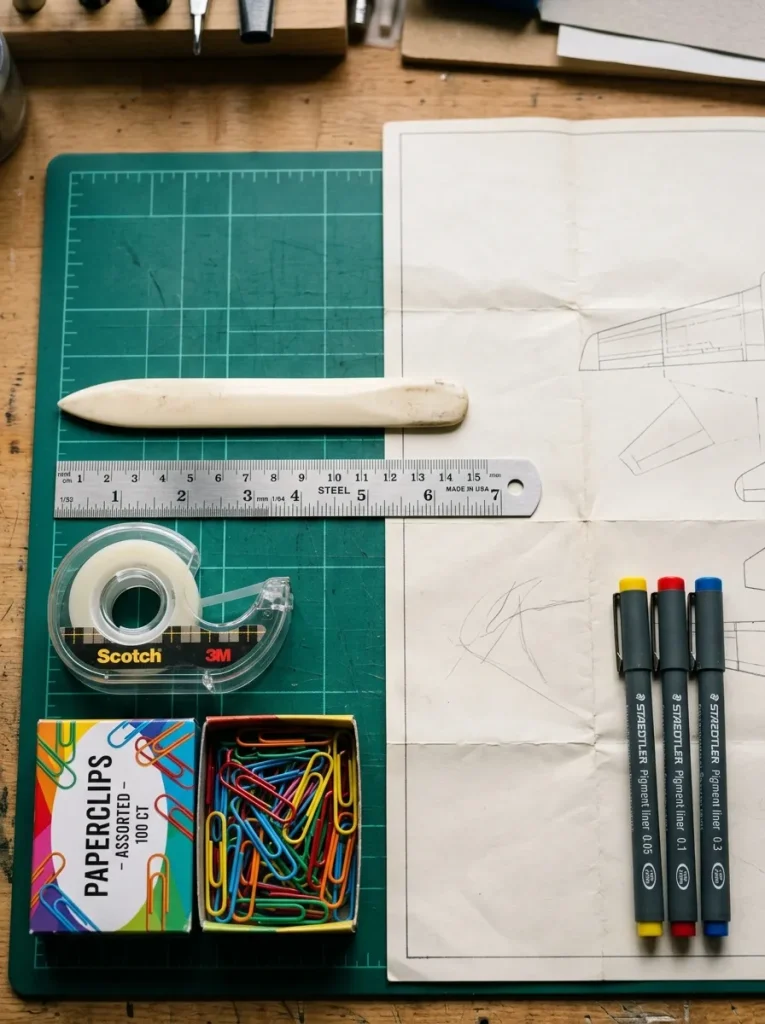
The loop-de-loop plane is pure showmanship, and I fold it when the children are bored of distance contests and want something that makes everyone laugh. The secret is in the tail: we fold the back edges of the wings up at a sharper angle than usual, which makes the plane climb steeply and then loop over. It takes a few tries to get the angle right — too little and it just climbs and stalls, too much and it flips over immediately and dives. We spent twenty minutes adjusting one plane in tiny increments, testing after each change, and when it finally looped perfectly, my nephew cheered louder than he had for any distance record. That process, adjusting and retesting, is genuinely useful: it teaches children that a design improves through small changes, not by starting over in frustration. Keep a spare sheet handy, because stunt planes crash hard.
5. The Origami Jet (Fighter Jet Aesthetic)
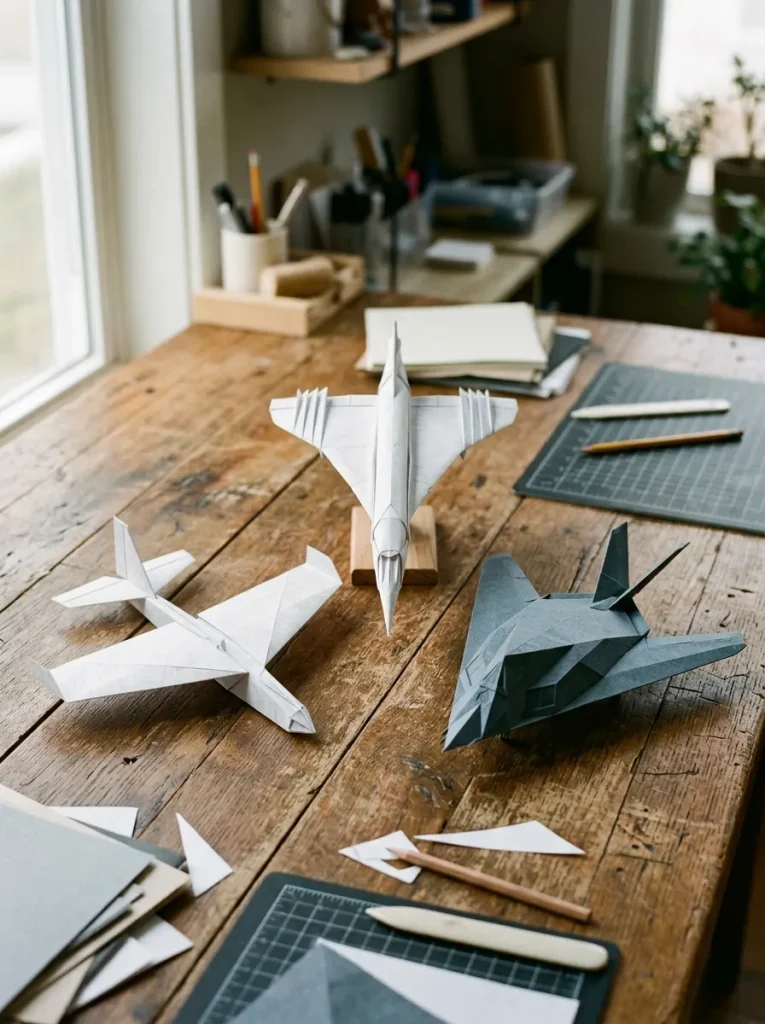
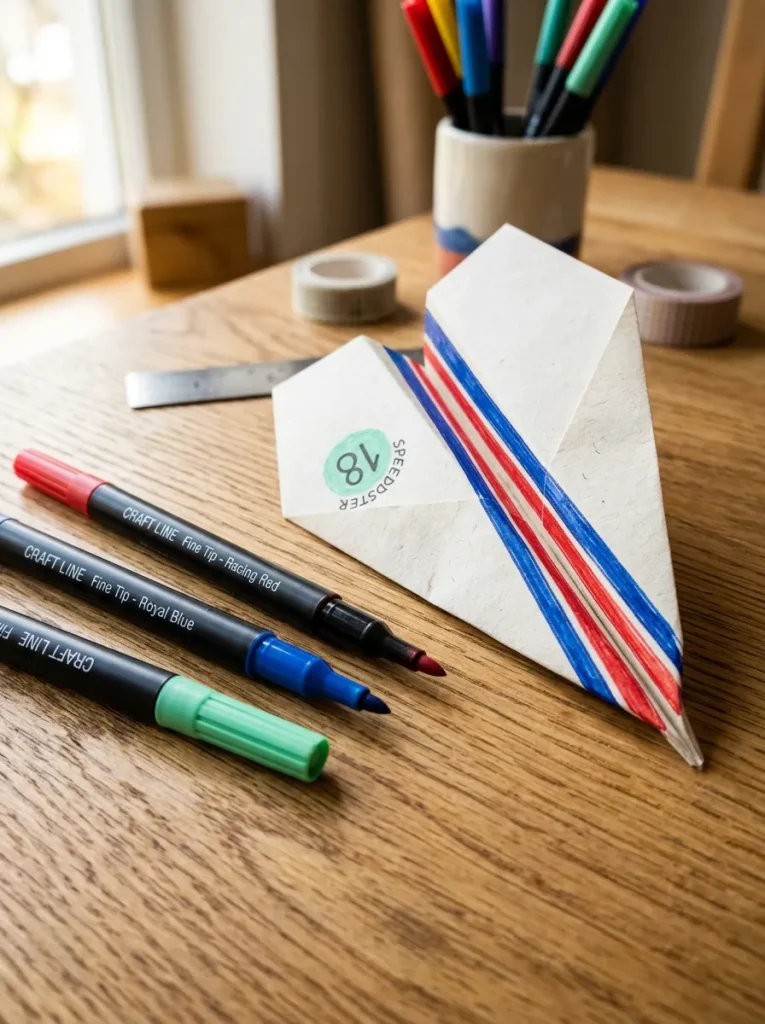
The origami jet is the most detailed plane on this list, with small folded fins and a angular body that looks like a fighter jet even sitting still on the table. I recommend this one for children who enjoy careful folding and do not mind taking their time, because rushing it leads to uneven fins and a plane that veers sideways. We fold the nose into a sharp point, add small tail fins by folding the back corners up, and then check the symmetry by holding the plane up to the light and comparing both sides. My nephew decorated his with a cockpit window and stripes drawn in marker, which added weight in exactly the wrong place — the ink on one wing made it heavier — so we learned to decorate lightly and evenly, or not at all. Flown gently, the origami jet has a satisfying fast, flat flight that feels very different from the floating glider.
6. The Wide-Wing Cargo Transport Plane

The cargo plane is the workhorse of our fleet: wide wings, a broad body, and enough lift to carry a small paperclip passenger taped to its belly, which is a game the children invented and I fully endorse. We fold the wings much wider than a dart’s, almost like a glider, but we keep the body thicker and sturdier so it can handle the extra weight. The first cargo test, with a single paperclip, flew beautifully; with three paperclips, it nosedived immediately, which led to a very serious discussion about load limits that I did not expect from a paper airplane afternoon. That is the charm of this design: it invites experiments. Try one paperclip, then two, then move the clip forward or back and see how the flight changes. It is a gentle introduction to balance and weight, disguised as a game, and it keeps children busy far longer than a simple distance contest.
7. The Batwing Stunt Glider

The batwing gets its name from its curved, scalloped wing shape, and it flies with a distinctive swooping motion that looks wonderful outdoors on a calm day. The wings are folded with a curved edge rather than a straight one, which takes a little practice: I draw the curve lightly in pencil first, then fold along it, because folding a freehand curve neatly is harder than it looks. Indoors, the batwing tends to hit walls quickly, so we save it for the garden or a park, where it can swoop and bank without interruption. My nephew’s best batwing flight curved gracefully to the left, circled, and landed softly on the grass, and he immediately wanted to fold another one to see if he could make it curve right. That curiosity — can I change the flight by changing the fold? — is exactly what makes this design worth the extra effort.
8. The Straw and Paper Ring Flying Cylinder
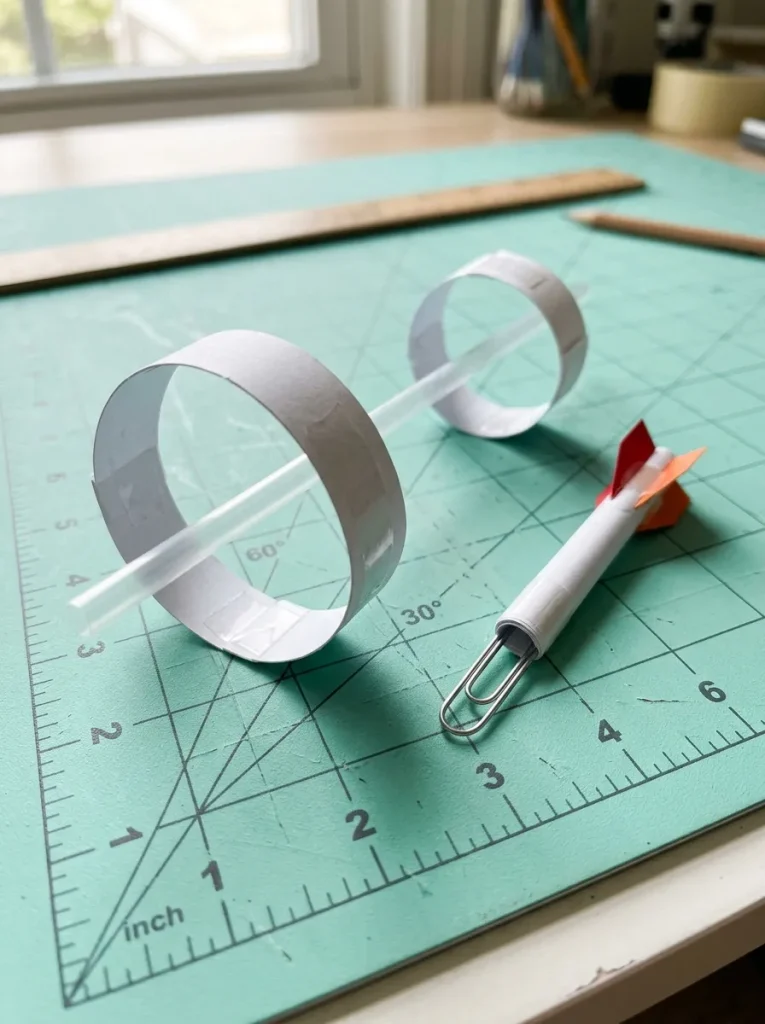
The ring flyer is not a plane at all, technically, and that is why children love it: it breaks all the rules and still flies brilliantly. We cut two strips of paper, curl each into a ring, and tape them to opposite ends of a drinking straw, one ring larger than the other. Thrown like a dart, with the small ring forward, it flies surprisingly far and straight, and it looks completely unlike anything else in the air. The first time I made one, I was sceptical — a straw with paper rings looked like it should tumble immediately — but it flew across the garden in a clean line, and my nephew demanded three more. The key is the ring sizes: the back ring should be noticeably larger than the front one, and both rings need to be taped firmly to the straw. If it wobbles, check that the rings are centred; an off-centre ring is almost always the problem.
9. The Futuristic Sci-Fi Cruiser

The sci-fi cruiser is the plane children design themselves once they have the basics down, because it invites wild shapes, fins, and decorations that would look silly on a classic dart. We start with a basic dart body, then add extra fins, a swept-back wing shape, and sometimes a small tail fin made from a separate piece of paper taped on. I encourage the children to draw panel lines and windows on it, but I remind them to keep the decorations light and symmetrical, after our earlier marker-weight lesson. The cruiser does not always fly the furthest, and that is fine — its job is to look amazing and to give a child ownership of a design. My nephew’s cruiser, with its silver fins and red stripes, flew in a respectable straight line and then, because he had added too many fins, did a dramatic spiral into the lawn. He considered that a perfect flight, and honestly, so did I.
10. The Target-Shooting Precision Mini Dart

The mini dart is a small, sharp plane folded from half a sheet of A4, and it is made for accuracy games rather than distance: we set up targets — a bucket, a hoop, a chalk circle on the pavement — and see who can land closest. Because it is small, it is less affected by wind than a big glider, and it responds well to gentle, controlled throws, which makes it a good choice for younger children who struggle with big, powerful throws. We fold it exactly like a classic dart but on a smaller scale, which means the folds need to be neat: a sloppy fold on a small plane has a bigger effect than the same mistake on a large one. I use a ruler to crease the folds for the children, and the difference is immediate. Our target games usually end with everyone claiming victory on different criteria, which is, I think, the correct way for a paper airplane afternoon to end.
Start with the classic dart, then try the glider, and let each child pick their favourite to practise. Keep a stack of A4 paper, a ruler for creasing, and a hallway or garden for test flights, and do not worry about crashed planes — every crash is information about what to adjust next. The best afternoon we had was not the one with the longest flight, but the one where a loop-de-loop finally worked after twenty minutes of tiny adjustments. That is the real lesson of paper airplanes, and it is a good one: fold, fly, adjust, and fly again.