I used to toss every empty toilet paper roll straight into the recycling without a second thought, until one rainy Saturday in Munich when I was tidying the hall cupboard and found myself staring at a small mountain of them. I had been meaning to buy a set of terracotta vases and a proper desk organiser for weeks, and something about those plain brown tubes made me pause. I tried a first project that afternoon, just to see what would happen, and I have been quietly hooked ever since. Cardboard tubes are sturdy, easy to cut, and wonderfully forgiving, which makes them a surprisingly grown-up crafting material once you stop treating them like a school project. Here are the ten ideas I actually kept in my own home, each one tested on my kitchen table and still in use months later.

1. Sculptural Faux-Forged Iron Wall Art
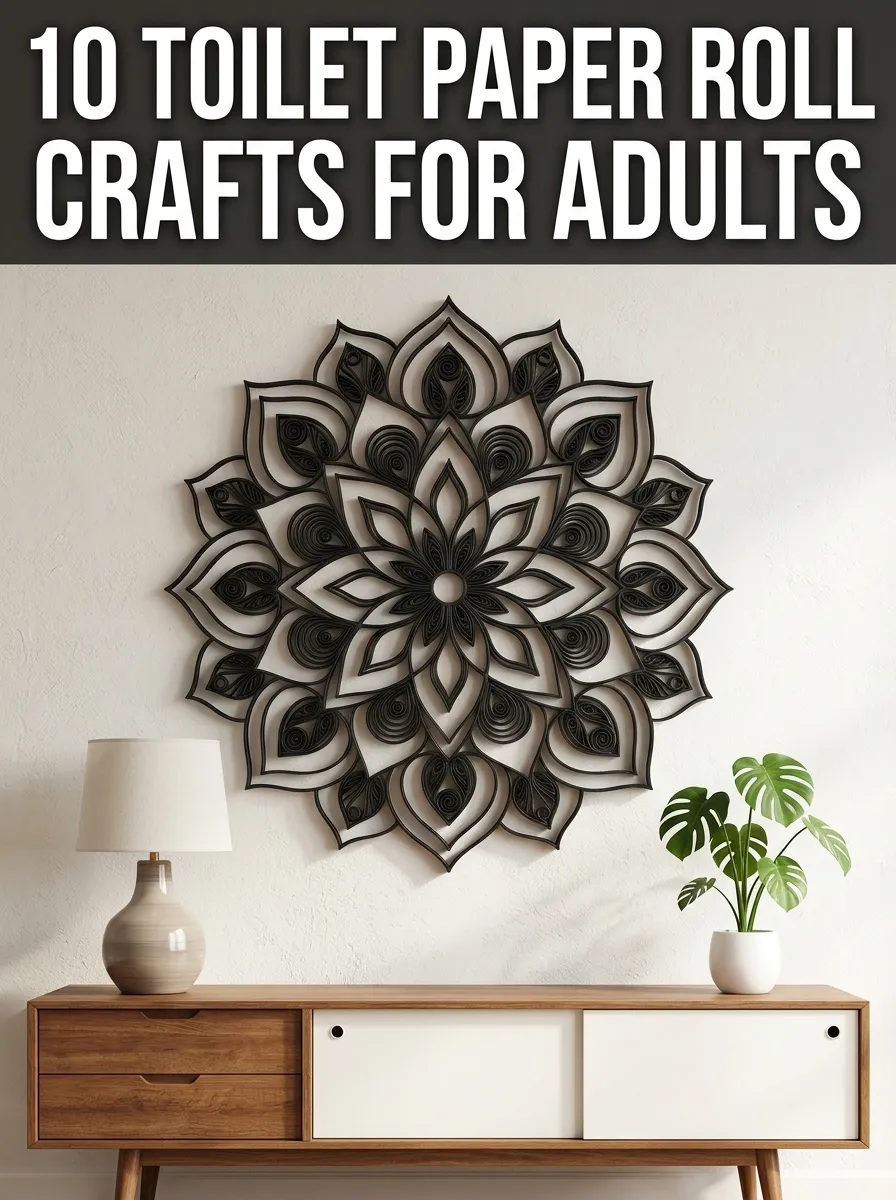
I started with this one because I wanted something bold for the bare wall above our sideboard, and I loved the idea of ironwork without the weight or the price tag. I flattened several rolls, cut them into long curved strips, and curled the ends into scrolls with the back of a spoon before gluing them into a loose, branching shape on a painted board. A coat of matte black spray paint, followed by a very light dry-brush of dark grey on the raised edges, made the whole piece read as forged metal from across the room. I hung it slightly off-centre above the sideboard, and guests keep asking which market stall I found it at. The trickiest part was letting each glued joint dry fully before adding the next layer, because rushing it made the scrolls slide out of place.

2. Minimalist Faux-Terracotta Decorative Vases
These vases were my answer to the terracotta set I had been eyeing in a homeware shop, and I made a whole shelf of them in one evening. I cut rolls to three different heights, glued two together for the taller shapes, and built up a slightly uneven surface with a thin layer of air-dry clay so they would not look machine-perfect. Once painted in a warm, chalky terracotta shade, they held dried grasses and a few eucalyptus stems beautifully, and the tallest one now anchors the corner of our living room shelf. I learned to seal the inside with a coat of clear varnish before adding any stems, because even dried flowers shed a little dust and moisture over time. They are light enough to move around the house whenever I rearrange a shelf, which I do far more often than I admit.

3. Custom Honeycomb Drawer Organizer Trays
Our junk drawer had reached the point where finding a battery meant emptying the whole thing, so I measured the drawer and built a honeycomb insert from cut-down rolls glued side by side. I trimmed each tube to the same height, just below the drawer rim, and wrapped the outer ring in a strip of linen so the insert would sit snugly without rattling. Batteries, cable ties, spare keys and a small torch each got their own cell, and opening that drawer now feels oddly satisfying. I made a second, smaller insert for my desk drawer using the same method, and it took less than an hour once I had the measurements right. If your drawer is deeper than a standard roll, glue two short sections together rather than stretching one tube out of shape.

4. Woven Linen Napkin Rings with Metallic Trim
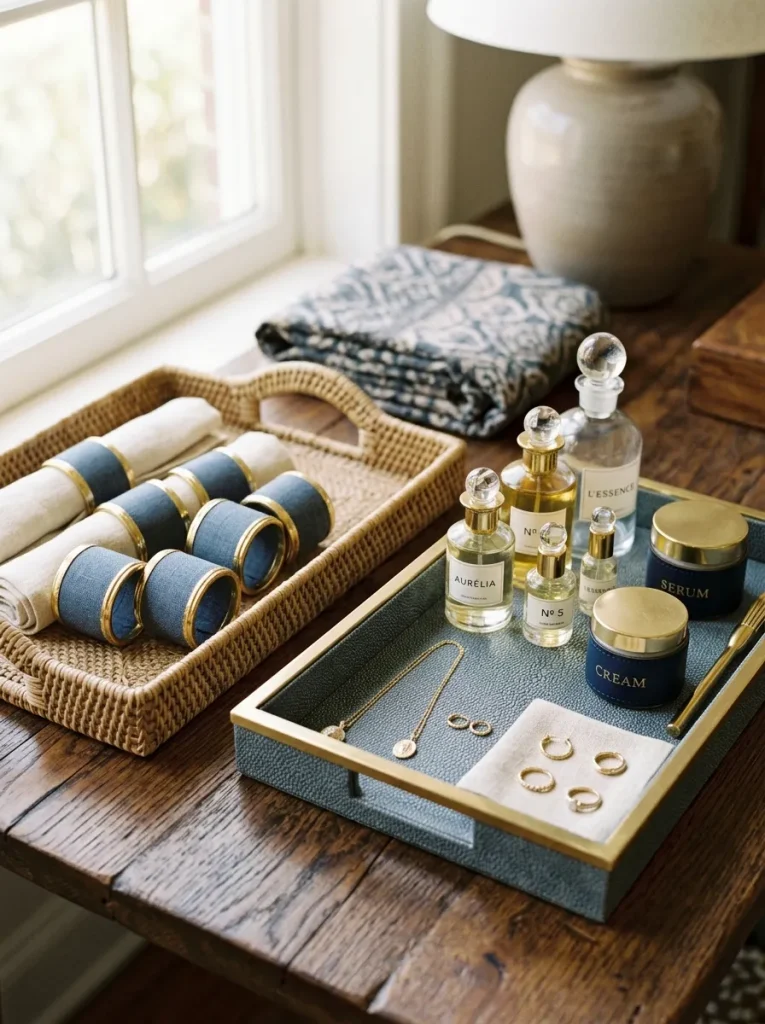
I made these napkin rings the week before friends came for dinner, and they ended up getting more comments than the food, which I am still slightly annoyed about. I cut rolls into short bands, wrapped each one tightly in strips of natural linen, and finished the edges with a thin line of gold washi tape pressed flat so it would not peel in the wash of handling. The linen gives them a soft, handmade texture that works with both plain white napkins and the patterned ones I bring out in autumn. I keep a set of eight in a small basket by the table, and they have survived several dinner parties now because I store them standing upright instead of stacking them. They also make a lovely small gift when you tie a set of four together with twine.
5. Architectural Fluted Cable Management Boxes
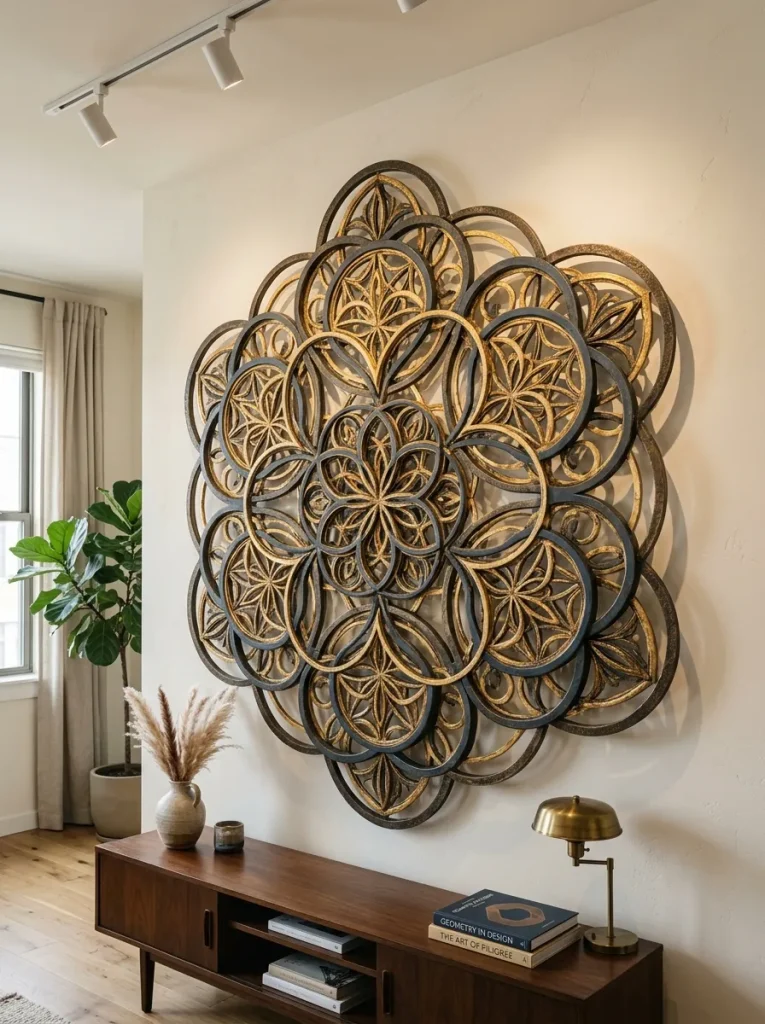
The tangle of chargers behind our television stand had bothered me for months, and this project finally tamed it without buying another plastic box. I glued narrow vertical strips of rolled cardboard around a simple rectangular frame to create a fluted front, painted the whole thing in the same warm white as our wall, and cut a neat opening at each end for cables to pass through. The power strip sits inside, the cables thread out in an orderly line, and the box itself looks like a small piece of panelling rather than a cover-up. I measured twice before cutting the cable openings, because a slot cut too wide is hard to disguise afterwards. It sits on the floor behind the stand where nobody notices it, which is exactly the point.
6. Elegant Mid-Century Modern Desk Pen Cup
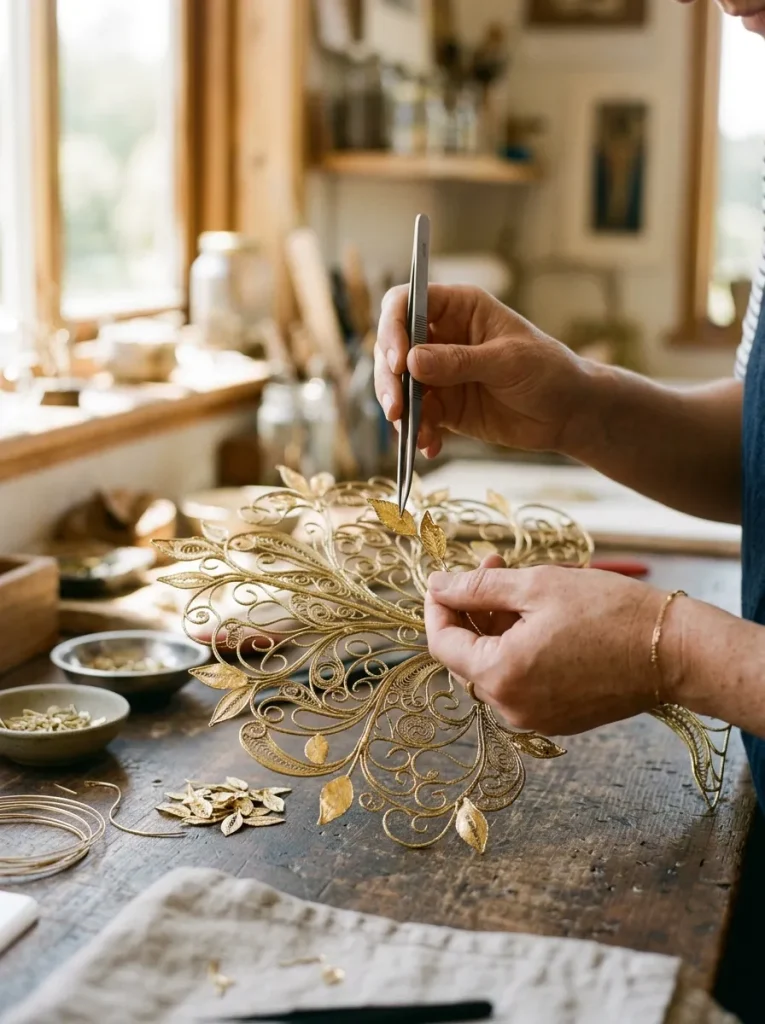
My desk pens used to live in a chipped mug, so I built a proper cup from three rolls glued in a triangle and wrapped in a walnut-effect adhesive paper that I already had left over from lining a shelf. I added a thin brass-coloured strip around the top rim, which sounds like a small detail but is what makes it look intentional rather than improvised. The three chambers keep pens, pencils and scissors separate, and the whole thing is heavy enough not to tip when I pull a pen out one-handed. I sealed the paper with a coat of matte varnish so coffee rings and ink marks wipe off easily. It sits next to my notebook now, and it is one of those small upgrades that makes sitting down to work feel a little more settled.
7. Geometric 3D Wall Tiles & Acoustic Panels
This was the most ambitious project on the list, and I did it in stages across a weekend because cutting all the pieces in one sitting would have tested my patience. I flattened rolls, cut them into equal triangles and diamonds, and arranged them into a repeating geometric pattern on a backing board, varying the heights slightly so the light would catch the edges differently through the day. Painted in a soft off-white, the panel adds texture to our hallway without shouting for attention, and it genuinely softens the echo in that narrow space. I hung it with two sturdy picture hooks rather than adhesive strips, since the finished board is heavier than it looks. Start with a small panel first if you are unsure about the pattern, because scaling up is much easier than redoing a large one.
8. Handcrafted Boho Pendant Lamp Shade
I had wanted a woven pendant shade for our reading corner for ages, and this version cost me almost nothing beyond a pendant cord kit and a warm-toned bulb. I cut rolls into open rings and petal shapes, layered them around a simple wire frame, and left gaps between the pieces so the light would spill out in a soft, dappled pattern in the evening. The shade gives off a gentle glow that suits the corner far better than the bare bulb we had before, and the layered cardboard looks surprisingly like rattan once it is lit from inside. I only use a low-wattage LED bulb with it and keep the shade well clear of the bulb itself, which is the one safety rule I would never bend on a cardboard lamp. It took an afternoon to assemble, and I still smile when I switch it on.

9. Custom Seed & Herb Starter Seedling Trays
Every spring I start basil, parsley and chives on our windowsill, and these little pots have become part of that ritual. I cut rolls in half, folded the bottoms closed, and filled them with seed compost, and because the whole pot can go straight into a larger planter later, there is no transplant shock for the seedlings. I label each pot with a wooden stick pushed into the soil, and I stand them in a shallow tray because cardboard does soften if it sits in standing water. The seedlings on our sill this year were the strongest I have grown, which I put down to the air reaching the roots through the cardboard as much as anything else. When the plants move outside, the pot breaks down in the soil within weeks, and nothing goes to landfill.

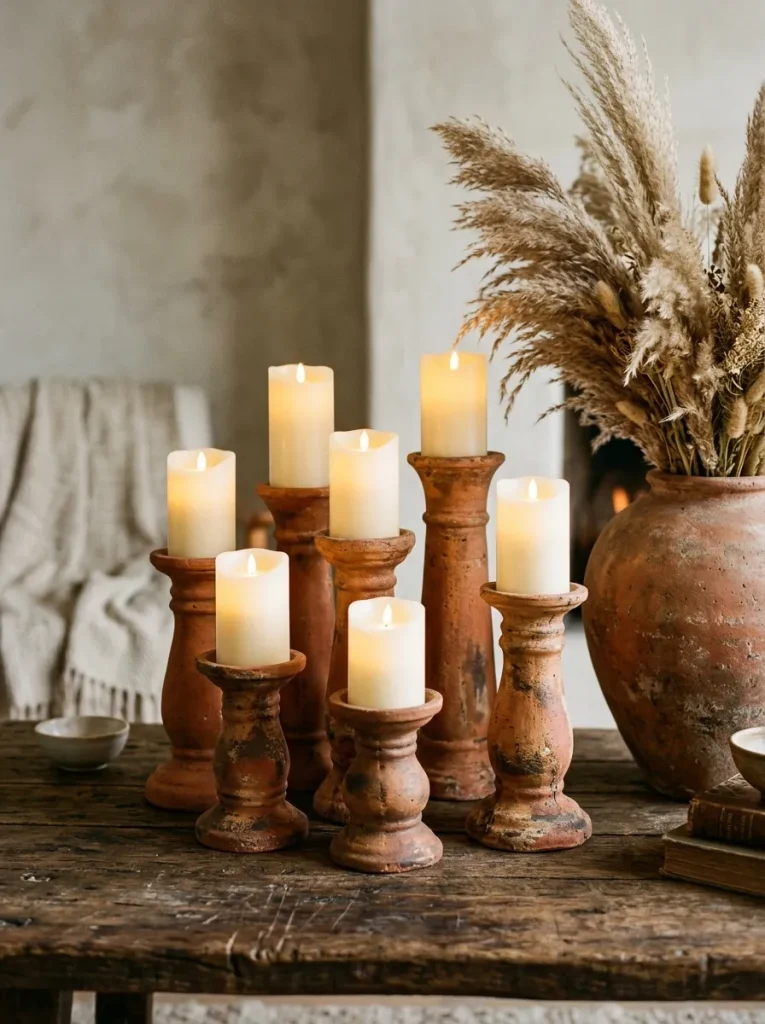
10. Vintage-Inspired Faux Leather Pillar Candle Holders
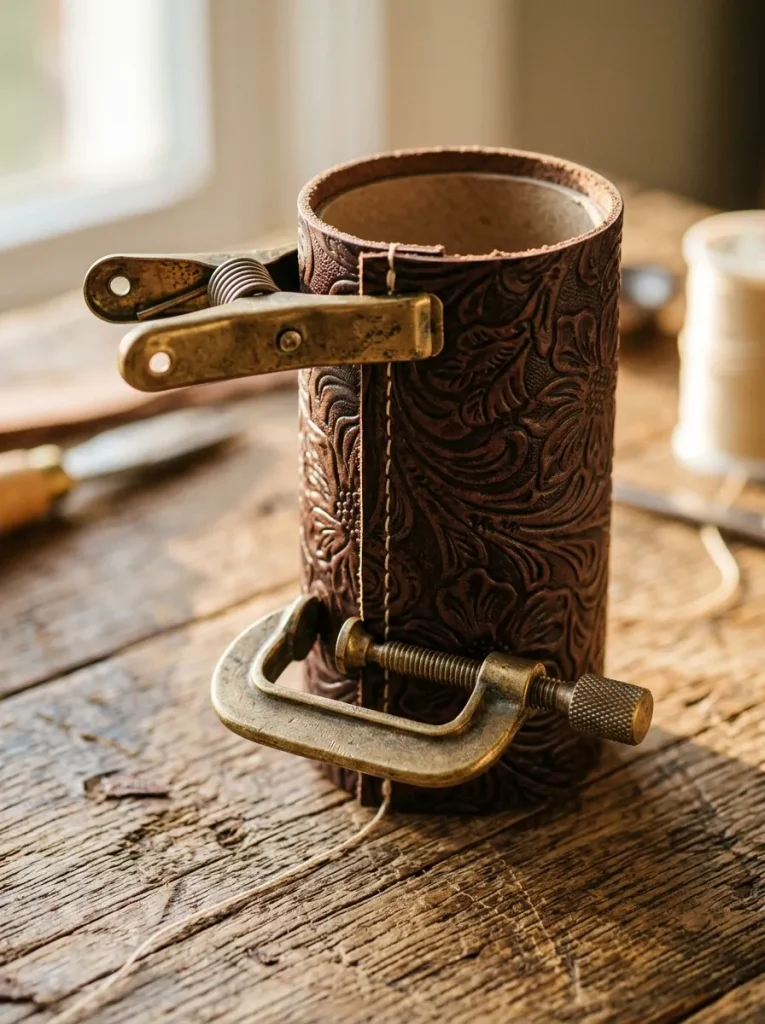
These candle holders were my winter project, made for the mantelpiece when the evenings started drawing in early. I wrapped cut-down rolls in a textured brown paper, scored faint stitch lines along the seams with a blunt knife, and rubbed a little dark shoe polish over the surface to give it the worn, leather-like finish I wanted. They hold chunky LED pillar candles, which flicker convincingly and mean I never have to worry about an open flame near cardboard. Arranged in a group of three at different heights, they look far more expensive than the handful of supplies they took. I bring them out every year now when the first cold evenings arrive, and they have become a small seasonal tradition in our house.
If you try just one of these, I would start with the drawer organiser or the seedling trays, because both are useful within the hour and they teach you how the material behaves before you attempt the wall art or the lamp shade. Save a few rolls as you go rather than collecting a huge stash at once, keep a sharp craft knife and a bottle of strong craft glue in one place, and let each layer dry properly before you move on. The best part of working with cardboard tubes is how little is at stake: if a shape does not work, you have lost an evening and a roll that was headed for recycling anyway. That freedom is exactly what makes these projects feel like play again, even for a grown-up home.