
My niece Lea moved into her own room last spring and promptly declared it “a white box with a bed in it,” which was her dramatic way of saying she wanted walls that looked like her. She’s sixteen, chronically broke like all sixteen-year-olds, and convinced that anything from a catalogue looks boring. So we spent one rainy Saturday driving around Munich’s thrift shops and Euro shops with a list scribbled on a receipt, and the result was a bedroom that looks like a teenager actually lives in it — scratched vinyl records above the bed, a cloud of fairy lights in the corner, a swarm of paper butterflies creeping up one wall. I kept notes on what worked, what we messed up, and what I would do differently, and this is all of it.
1. Upcycled Record Album Wall Grid
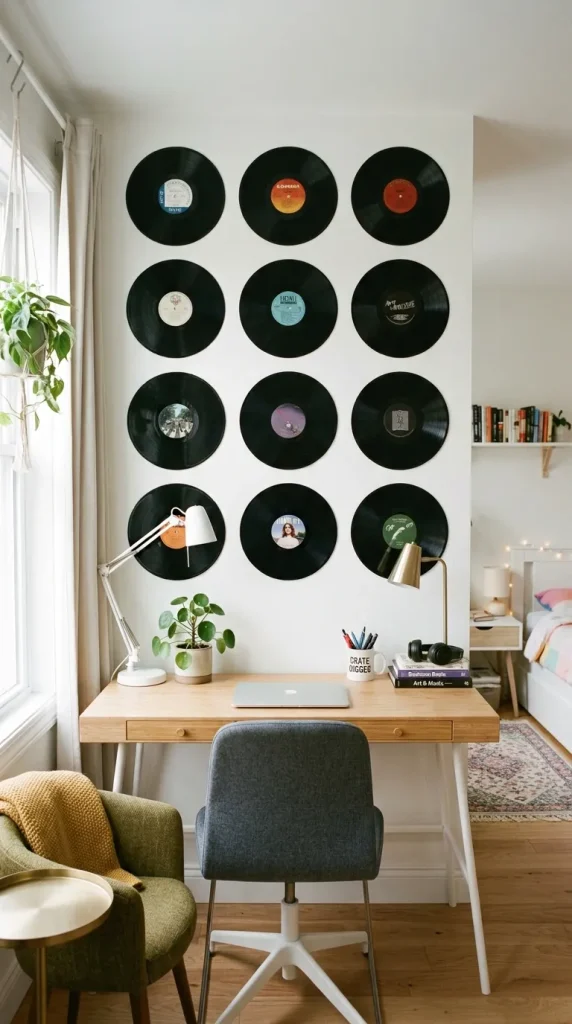
Lea owns a record player but maybe eleven records total, so when we found a box of unplayable scratched vinyls at a flea market in Neuaubing for 5 EUR, her eyes went wide — instant wall art. We picked nine covers in colors that matched her duvet (mustard, teal, a faded red), wiped them down, and mounted them in a 3×3 grid above her bed using the wall-safe foam strips you get at any Müller for about 8 EUR. The trick, which I learned the hard way, is to mark the whole grid with a pencil and a spirit level BEFORE you peel anything: we mounted the first row by eye and it drifted nearly two centimetres by the third one. Keep a couple of centimetres of gap between records so the grid breathes. It took about forty minutes and it’s now the most-photographed corner of her room. One caveat: foam strips and Munich summer heat are a fragile pairing — check the mounting every few months, because a falling record on a pillow at 2am is a memorable event.
2. Floating Cloud Fairy Light Canopy
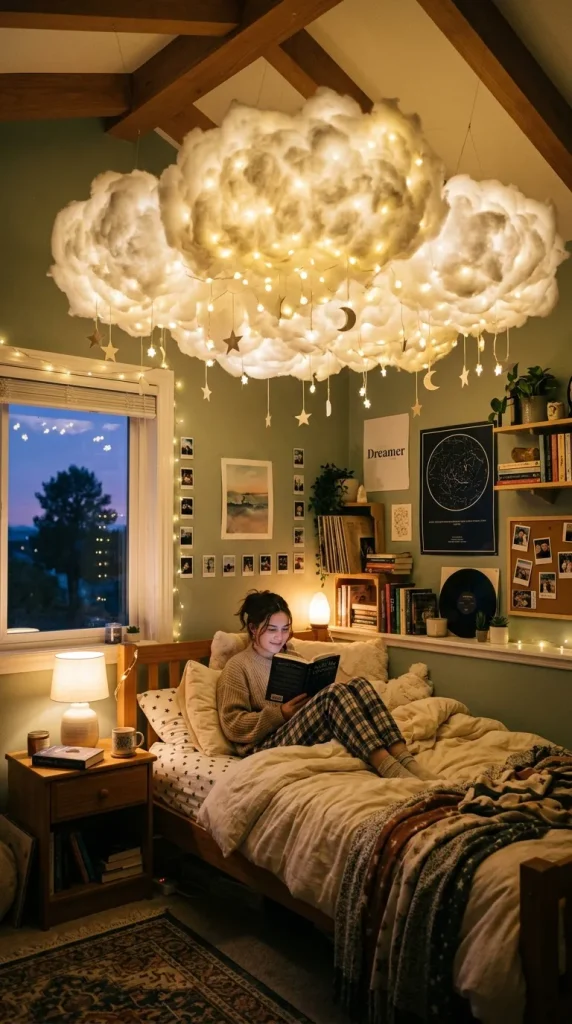
This was Lea’s number-one request and honestly the easiest win of the whole day. We bought two bags of polyester fiberfill from the Euro shop (about 3 EUR each) and a 5-metre strand of warm-white battery fairy lights, then shaped the fluff around three wire hoops she already had from an old embroidery kit. The secret is pulling the fiberfill outward with your fingers so you get those wispy, uneven edges — a dense ball looks like a snowball, not a cloud. We hung the clouds at slightly different heights in the reading corner using clear fishing line knotted to ceiling hooks, batteries tucked into one cloud where the cord could reach. In the evening it glows softly and genuinely looks magical; during the day it just looks like slightly odd ceiling decoration, which is fine, she likes odd. We went through one set of batteries in three weeks, so I swapped in rechargeable AAs and taped the battery pack where she can reach it without a chair.
3. Pastel Checkered Clay Trinket Dishes
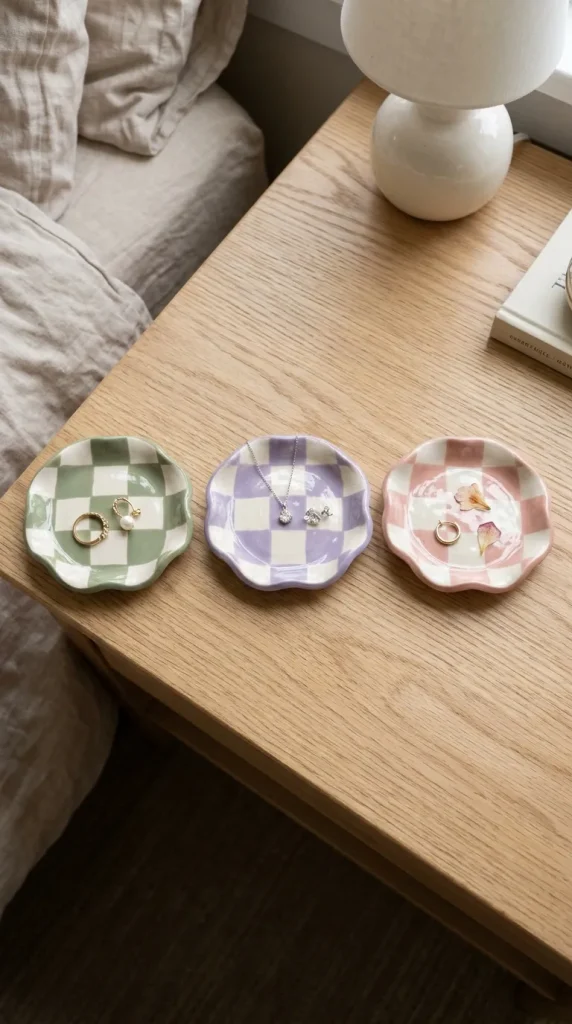
Lea’s nightstand used to be a landslide of hair ties, earrings, and lip balm, so we made her two small air-dry clay dishes — one lavender, one mint, both with a hand-painted checkerboard rim. We rolled a tennis-ball-sized lump of clay to about 5mm thick, cut circles with a cereal bowl as the guide, and pressed the edges up around a small ramekin so they’d curve naturally. The drying took a full 24 hours and I cannot stress this enough: leave them alone while they dry, because my first attempt has a fingerprint in the centre that now lives there forever. Once dry we sanded the rims smooth, painted the checkers freehand (wobbly lines are part of the charm, fight me), and sealed everything with two coats of clear varnish so water rings can’t ruin them. They cost under 10 EUR total for clay, paint, and varnish, and her hair ties finally live in one place.
4. Pressed Botanical Copper Wire Frames
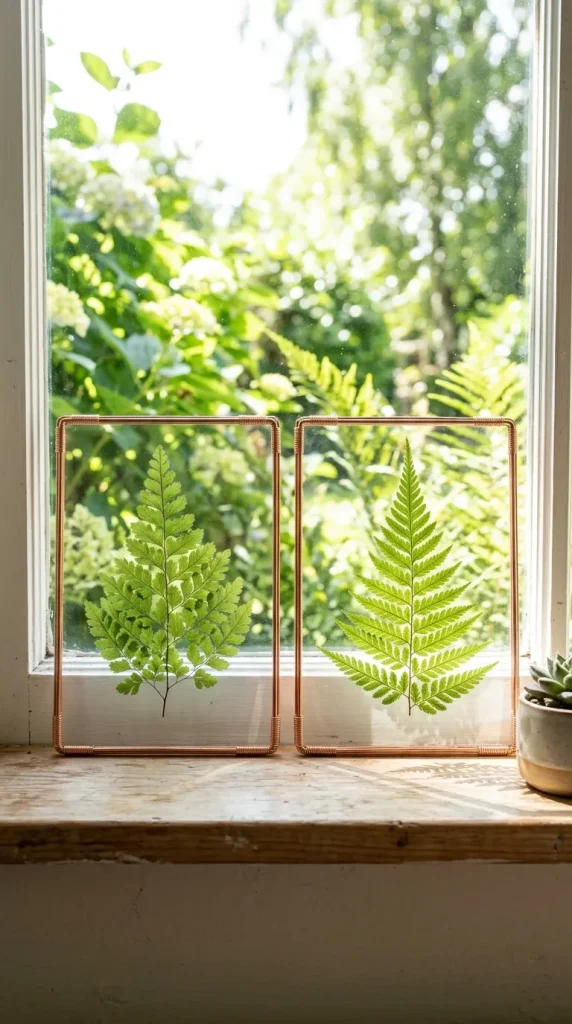
On a walk through the Englischer Garten we picked up ferns, a few maple leaves, and one very ambitious wildflower, and Lea pressed them in the thickest textbook she owned for a week. That pressing step is non-negotiable — anything still soft will go brown and sad inside the frame within days. We sandwiched the dried leaves between two 13×18 cm glass pieces from the Euro shop and bound the edges with 2mm copper craft wire, twisting it snugly and forming a loop at the top for hanging. Three of these hang on thin nails in the window, and when the afternoon sun comes through, the leaf veins glow like a nature diagram. It looks expensive, but the whole set cost about 12 EUR. One practical tip: keep them out of direct bathroom-steam-adjacent walls, because moisture creeps under the glass and fogs it from the inside, and reopening a copper-wire-bound frame is genuinely annoying.
5. Boho Yarn Tassel Garland
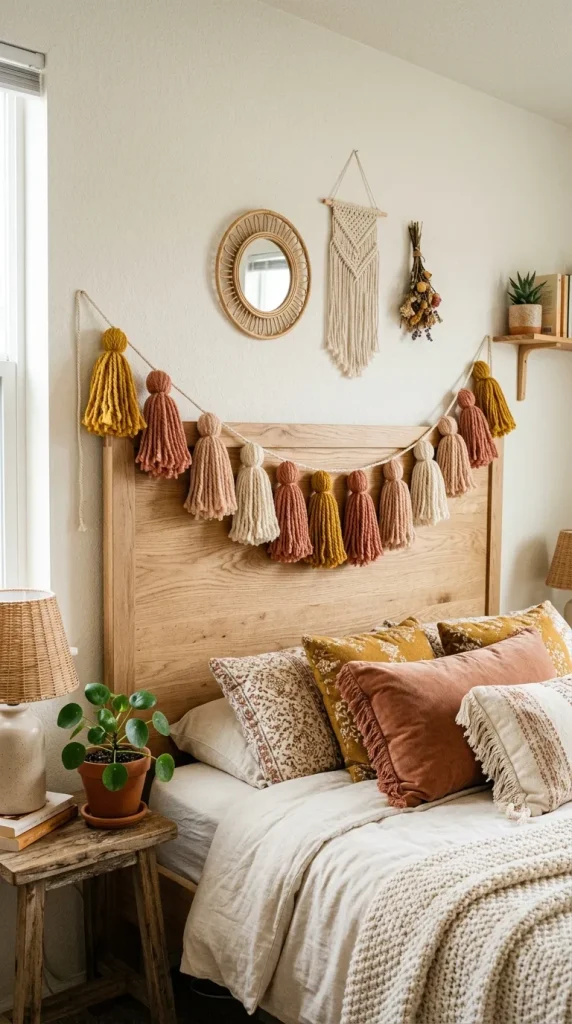
I’ll be honest: I made the first tassel three times before it stopped looking like a sad mop. The method that worked was wrapping chunky yarn around a piece of cardboard about 10cm wide, twenty-five turns, tying off the top, cutting the bottom loops, and then wrapping a second short strand around the “neck” about 2cm down — that neck wrap is what separates a tassel from a pile of string. We made twelve in cream, terracotta, and mustard, spaced them along a length of jute cord, and draped the whole thing across the top of her mirror. The colours picked up the duvet cover beautifully and it softens what was a very plain, very white corner. A full skein of decent cotton yarn was about 4 EUR and we barely used half of it. My mistake to flag: hang the garland before you trim the tassels to length, because they’ll sit differently once there’s tension on the cord, and trimming first leaves you with wonky lengths you can’t undo.
6. Geometric Washi Tape Accent Portal
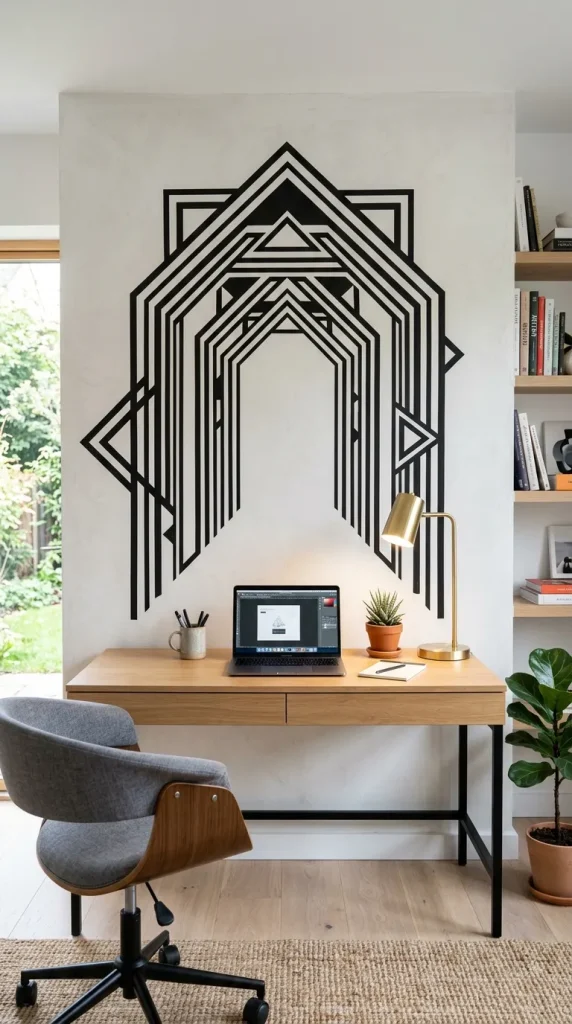
This is the renter’s dream project, and since Lea’s parents are landlords of exactly one teenager, the “peels right off” promise mattered. We framed her desk zone with a wide arch in matte terracotta washi tape, then ran a thinner sage-green line inside it about 3cm apart — suddenly the desk had its own little architectural moment instead of just sitting against a blank wall. The only tool you need is patience: mark the arch lightly in pencil first (we used a piece of string pinned at the centre to swing a clean curve), then press the tape down slowly and smooth out air bubbles with your thumb as you go. Two rolls cost 6 EUR. When I tested a strip on the back of her wardrobe door it came off after a week with zero residue, so the promise held. If your wall has any texture at all, warm the tape gently with a hair dryer while applying — it hugs the bumps much better.
7. Monogrammed Neon Wire Wall Sign
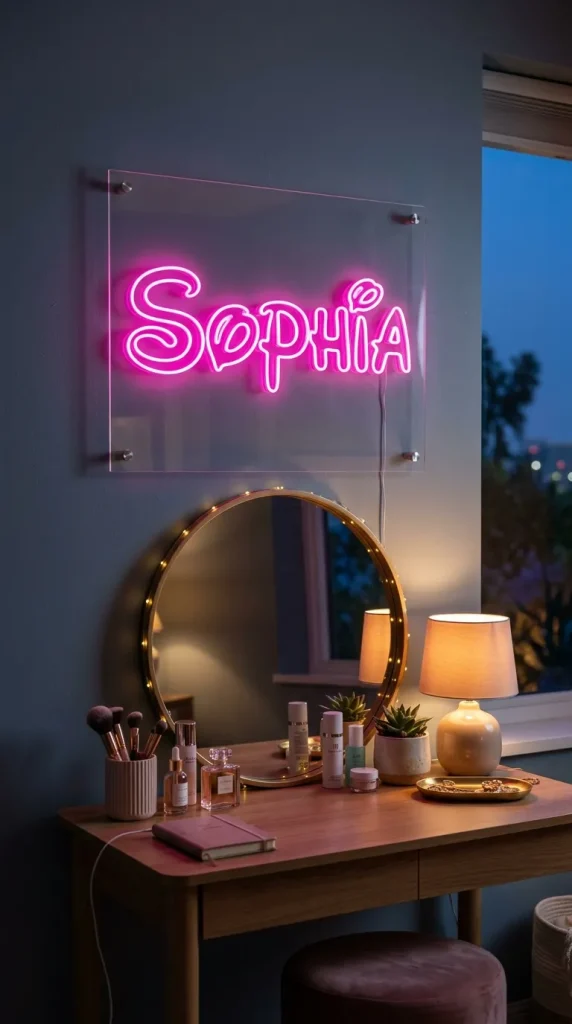
Lea wanted her initial on the wall like the neon signs she keeps saving on Pinterest, and real glass neon was obviously not happening, so we went with EL wire — that flexible glowing wire that runs on a battery pack. We printed her initial “L” in a chunky script at A3 size, laid a piece of clear acrylic over it, and hot-glued the wire along the letter’s path. Doing it in one continuous bend without lifting the wire is the whole skill here: we went too fast on the first loop and the wire kinked, which made a dim spot in the glow forever, so slow down on the curves. The battery pack hides behind the acrylic on a foam mount and the wire is cool to the touch, so it’s genuinely safe for a bedroom wall. The EL wire strand was about 15 EUR online. It glows electric pink above her bookshelf and she insists it’s the coolest thing she owns, which, at sixteen, is high praise indeed.
8. Macrame Photo Polaroid Display
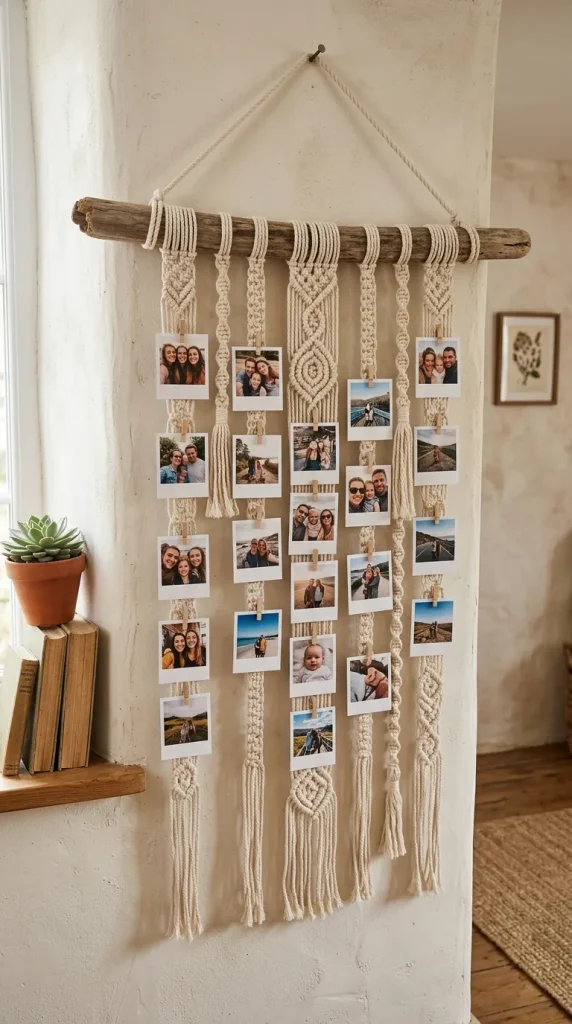
Lea had a shoebox of printed photos — concert tickets, her friends being ridiculous, one sunset — and nowhere to put them, so we built her a hanging photo display from a piece of driftwood we found at the Isar, five long cotton cords knotted on with simple lark’s head knots, and wooden mini clothespins. The knotting took maybe twenty minutes for the whole thing once I remembered the knot from a workshop years ago; it’s just a loop pulled through itself, and YouTube has about nine thousand tutorials if that sentence made no sense. We clipped twenty photos on at different heights so it looks like a waterfall of memories. The driftwood had to be baked at 120 degrees for an hour first to make sure nothing was living in it — skip that step at your own peril. Total cost: about 8 EUR for cord and clothespins, since the wood was free. She changes the photos every month, which is exactly what a good display should invite.
9. Industrial Copper Pipe Jewelry Stand
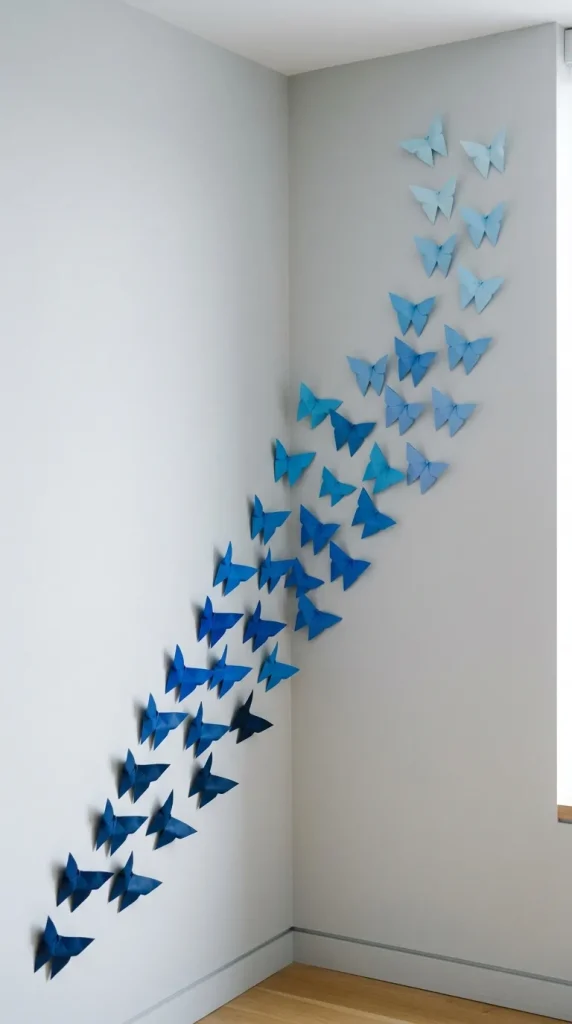
Her necklace collection lived in one tangled knot in a drawer, so this was less decoration and more rescue mission. We built a T-stand from 15mm copper pipe: a wooden base block, one 40cm vertical piece, a T-connector, and two 25cm horizontal arms, all held together with a dab of epoxy and finished with end caps. The copper pipe and fittings came from the Baumarkt for about 18 EUR — the fittings are the expensive part, not the pipe, so count your joints before you go. Cutting the pipe with a 10-EUR pipe cutter took five minutes and gave perfectly clean edges; measure twice because copper is not forgiving of short cuts. We wiped the whole thing with rubbing alcohol and it gleams like rose gold on her dresser. Earrings hang from the arms, bracelets drape over them, and nothing has tangled since. It’s the sturdiest, most grown-up-looking thing in her room, which amuses her enormously.
10. Origami Paper Butterfly Swarm
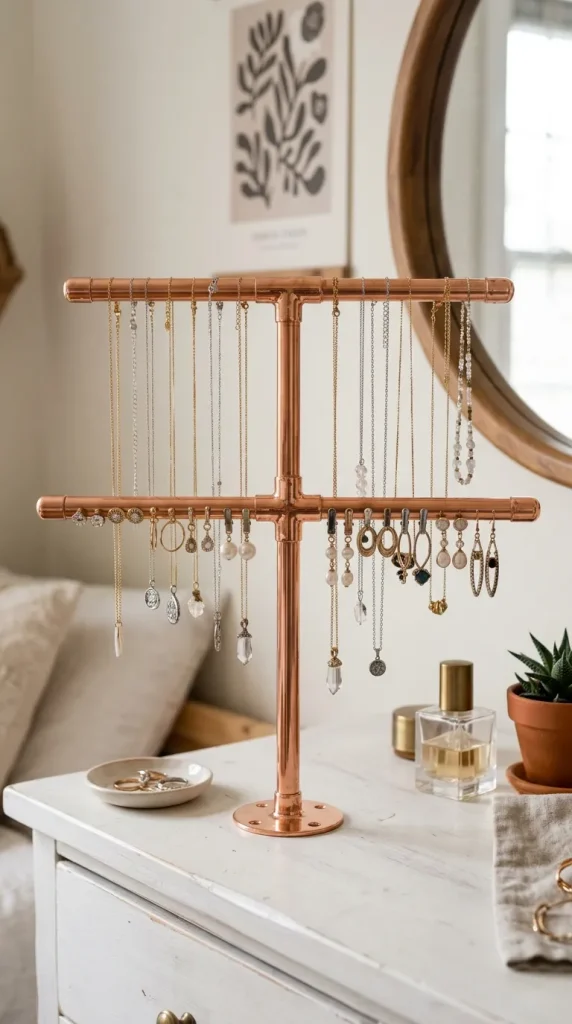
This one we did together on a Sunday afternoon with the radio on, and it was the most genuinely fun of the ten. We folded about twenty-five butterflies from cardstock in three shades of blue, going darkest to palest, and mounted them up one empty corner wall in a rising spiral — dense at the bottom, spreading out as they climb, like they’re taking off. The trick to the 3D look is folding each butterfly’s wings upward sharply at the end, so they cast little shadows; flat butterflies look like stickers and nobody wants that. We stuck them up with tiny dots of reusable adhesive putty, which means we could shuffle the whole composition around until the spiral looked right — and could take it down in ten minutes if her taste changes. Total cost: a pack of cardstock for 5 EUR. Standing back when we finished, it looked like it belonged in a gallery, and Lea went quiet for a second, which for her is the highest compliment available.
Conclusion
By the end of that weekend Lea’s white box had a record grid, a glowing cloud corner, a butterfly wall, and roughly forty cents of copper wire holding her necklaces hostage. The whole project came in under 120 EUR, took two days of unhurried crafting, and every single piece came off a real shelf somewhere in Munich. If I had to give one piece of advice from the whole thing: start with whichever idea makes you smile first, because that’s the one you’ll actually finish. The room doesn’t need all ten — it needs the three you love, done with care.