I save every cardboard tube that comes into my house. Toilet paper rolls, paper towel rolls, the sturdy ones from wrapping paper — there’s a paper bag in my craft closet that my husband calls “the tube museum,” and honestly, he’s not wrong. But here’s the thing: after three years of making things from them, I’ve learned that most toilet paper roll crafts look exactly like what they are — a school project. The ten below are the ones that don’t. They’re the crafts I actually kept in my home, the ones guests have asked about, and a couple that genuinely fooled people into thinking they were store-bought.
A few practical notes before we start. Collect the sturdier tubes — the ones from paper towels and wrapping paper are thicker than toilet paper rolls and better for anything structural like the mirror frame or vases. Flatten each tube and cut along the fold for rings, or leave them round for vases and organizers — both work, and I’ll say which I used for each craft. A hot glue gun is your best friend here; white craft glue works but you’ll be holding pieces for five minutes each. Give yourself a dedicated “tube bag” somewhere — a paper shopping bag in a closet works — because once you start seeing what these can become, you’ll never throw one away again without a second thought.
1. Honeycomb Wall Art That Looks Like Sculpture
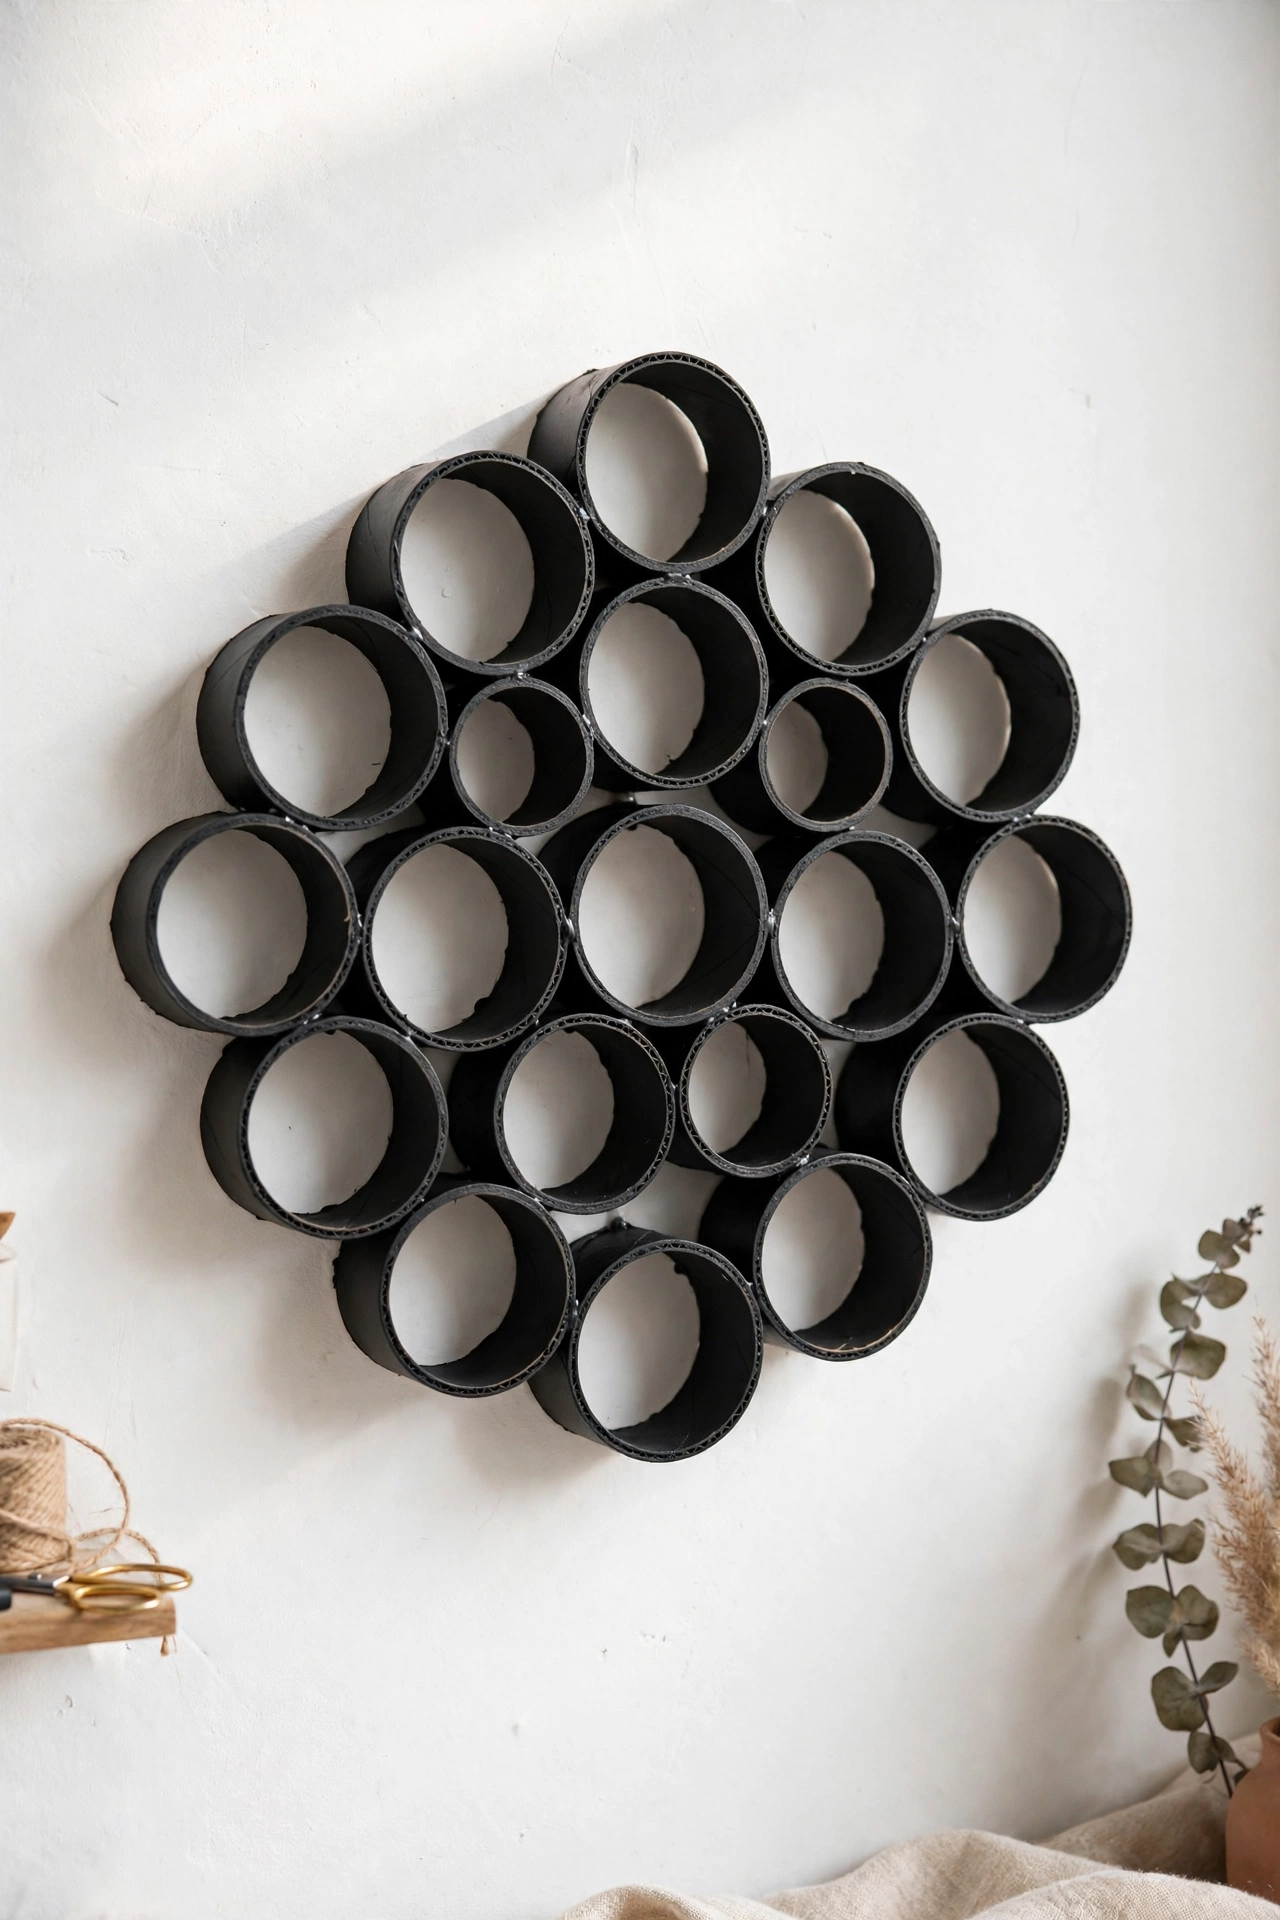
This is the craft that started the whole tube museum. Cut toilet paper rolls into rings about 2.5 centimeters wide — you’ll get roughly six rings per roll. Paint them all one color (I used matte black for mine, but matte white or gold looks stunning too), let them dry, then hot-glue them edge to edge in a honeycomb cluster directly on the wall or onto a piece of foam board you can hang.
Mine is a cluster of about 60 rings above my desk, roughly 70 centimeters across, and I made it in one Sunday afternoon while listening to a podcast. Total cost: one can of spray paint. The trick is consistency — measure your rings with a ruler the first few times until you can eyeball 2.5 centimeters, because uneven rings are what make it look homemade in the bad way. Guests have asked which shop it came from. Twice.
Variation that also works: flower medallions. Glue six to eight rings around a center ring to make a flower shape, paint it, and hang three of them in a row. Same technique, completely different look.
2. Wrapped Tube Vases for Dried Flowers
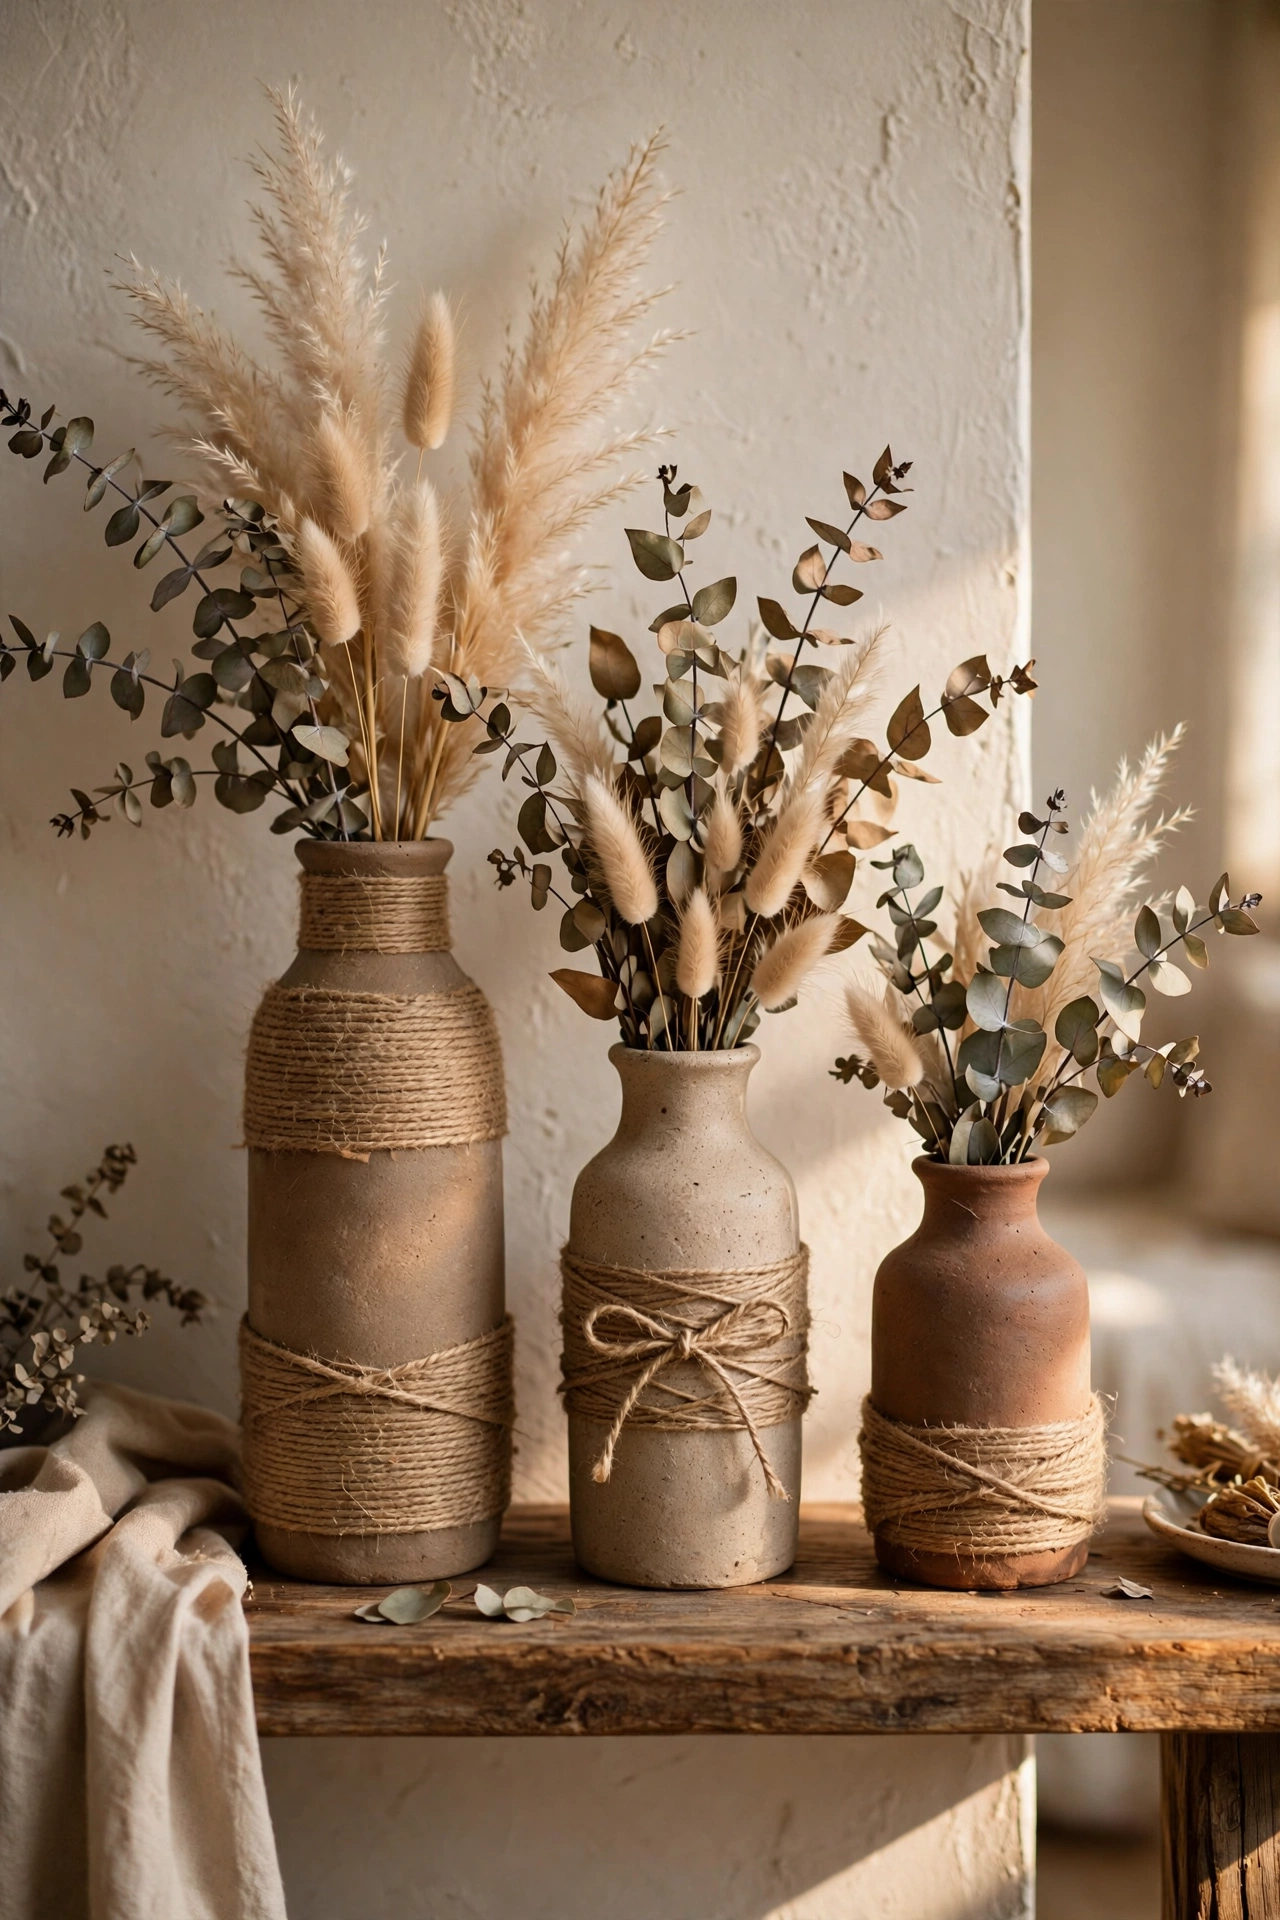
A toilet paper roll is too short for a vase on its own, but a paper towel roll is perfect — and two toilet rolls glued end to end work just as well. Wrap the tube tightly in jute twine, sisal rope, or strips of linen fabric, securing with hot glue every few centimeters so nothing slips. Drop a narrow glass or a small plastic bottle inside as a water liner and you’ve got a vase.
I made a set of three in different heights — 20, 28, and 35 centimeters — wrapped in natural jute, and they sit on my living room shelf with dried eucalyptus and pampas grass. They’ve been there two years. The jute hides every trace of cardboard, and because dried flowers weigh nothing, the tubes never buckle. My mistake to avoid: don’t use these for fresh flowers without a proper watertight liner. I tried once with just a plastic bag, it leaked, and I had a soggy tube. A 2-euro test tube or narrow spice jar from the kitchen works perfectly as the insert.
Second version: paint the tube instead of wrapping. Two coats of chalk paint in sage green or terracotta, and the cardboard texture actually reads as handmade ceramic from a distance.
3. Cutwork Lanterns and Tealight Holders
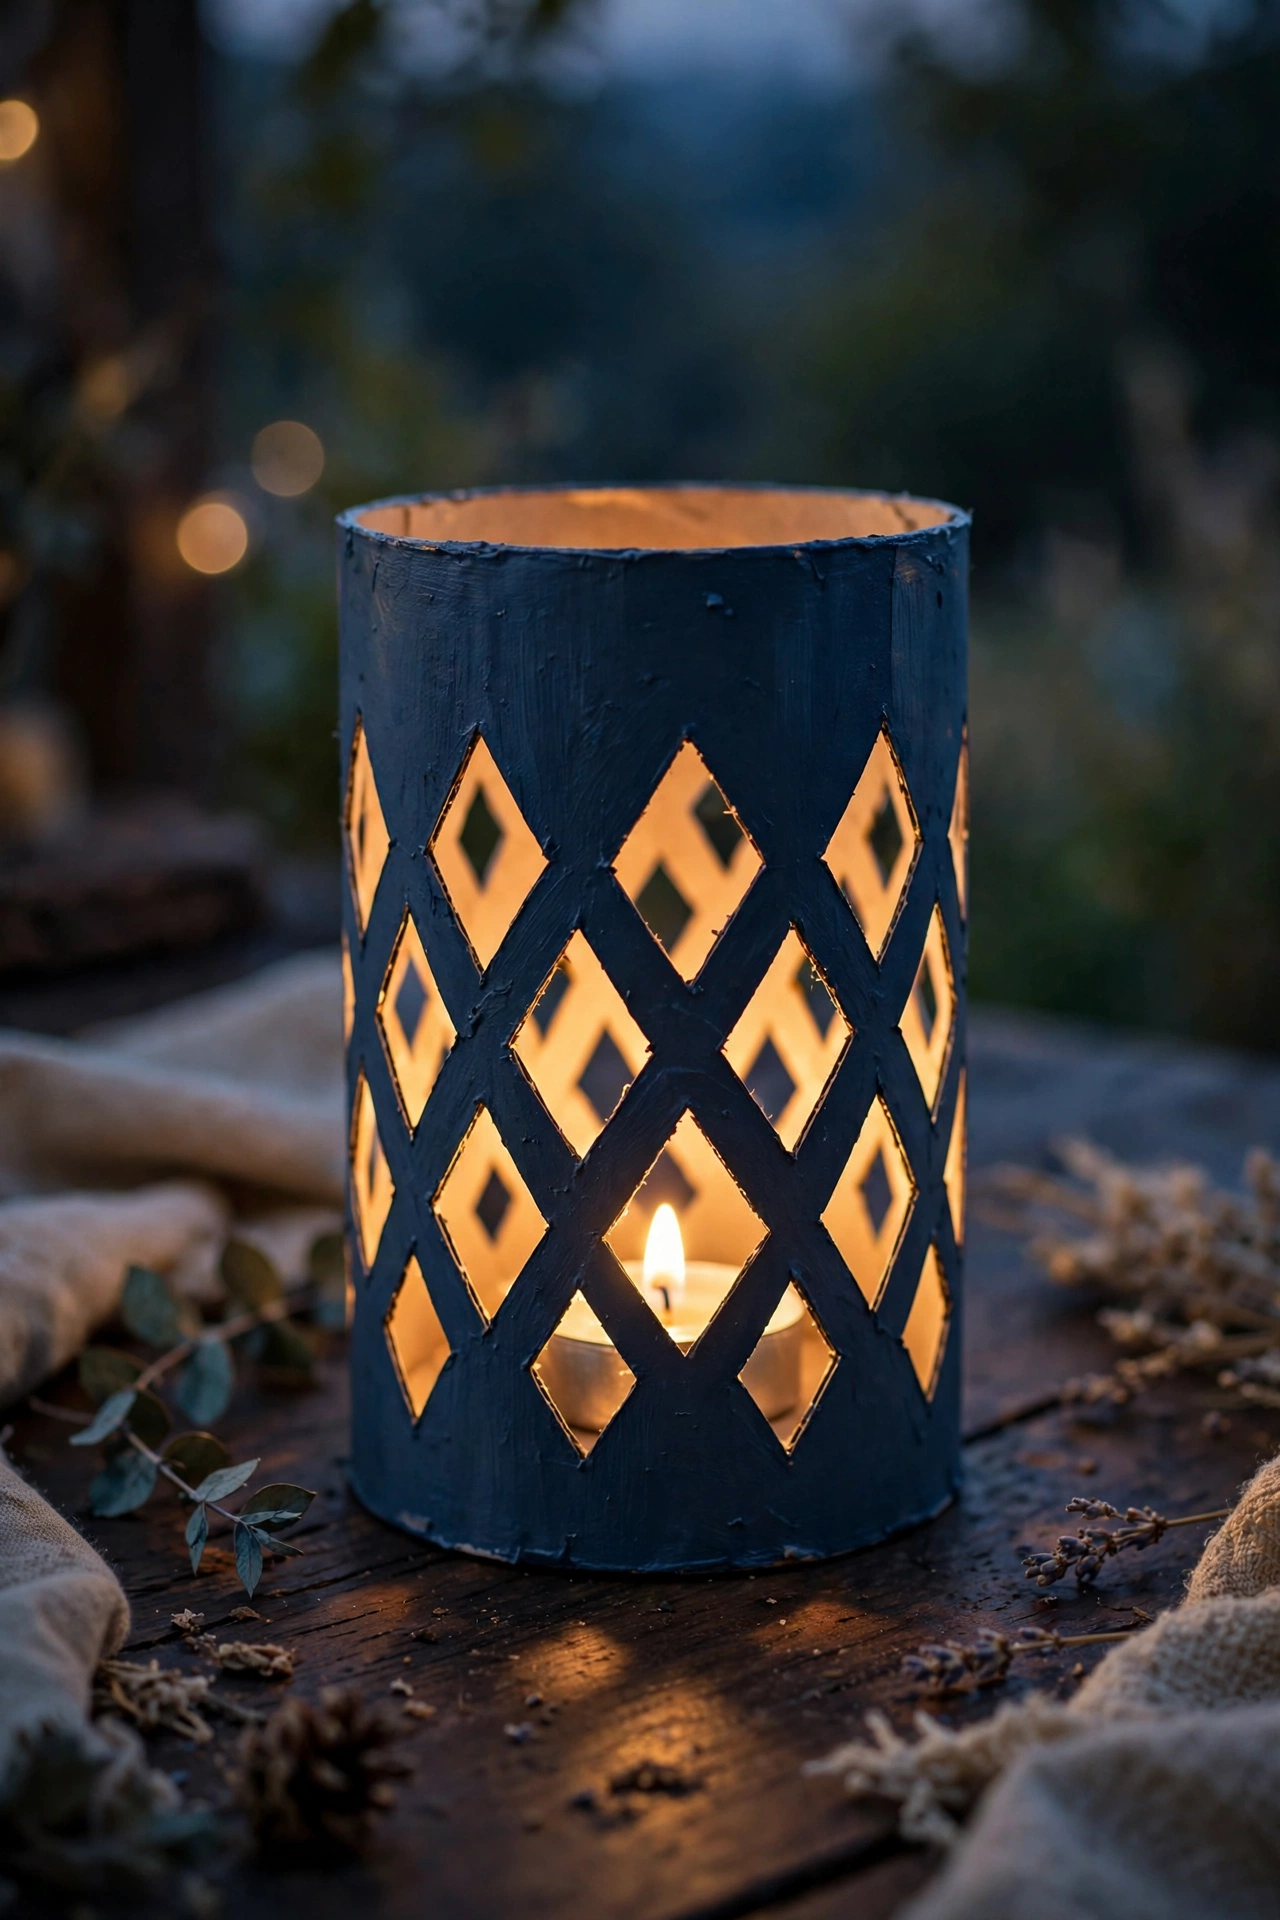
Flatten a tube, draw a simple pattern on it — diamonds, dots, a row of small stars — and cut the shapes out with a craft knife on a cutting mat. Open the tube back into a cylinder, put a battery tealight inside (never a real flame near cardboard, obviously), and the cutouts throw the prettiest patterned light on the wall.
I made six of these for a dinner party, painted matte navy on the outside, and set them down the middle of the table. The light through the cutouts looked like expensive Moroccan lanterns. One guest asked where I’d bought them, and I laughed for a full minute. They take about 20 minutes each once you get the hang of the knife work. Tip: simple patterns look better than intricate ones at this scale. Dots and diamonds, evenly spaced, beat a fiddly floral every time — and your hand will thank you.
Also try: a shorter version around a tealight as a single candle holder. Wrap the outside in kraft paper first for a cleaner finish.
4. Drawer Dividers and a Desk Caddy That Actually Work
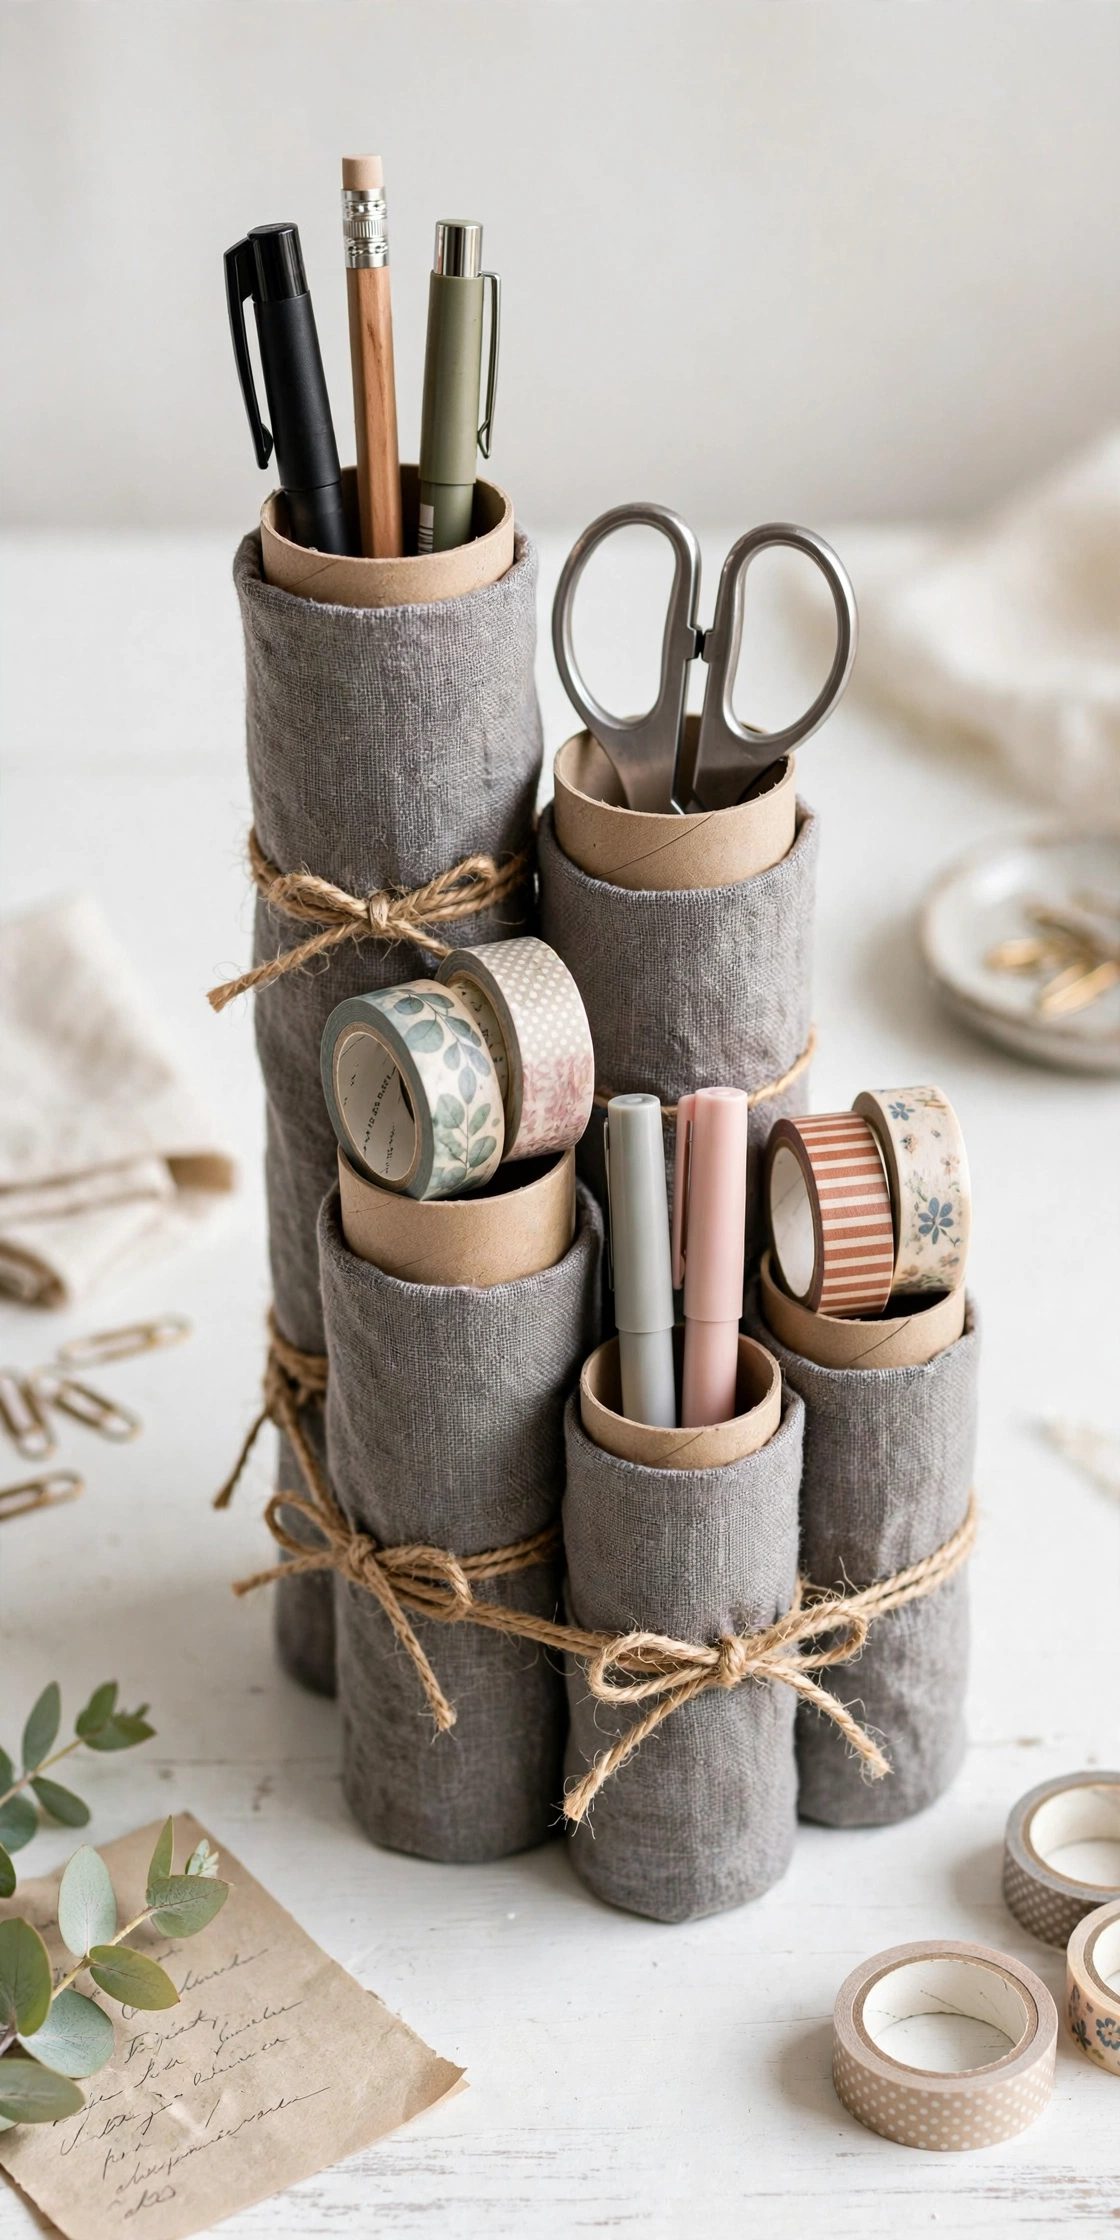
Not every craft has to be decorative — these are the workhorses. For drawer dividers: cut tubes to the height of your drawer (mine were 8 centimeters), arrange them upright in a grid, and they become perfect compartments for socks, underwear, or desk supplies. I did my entire sock drawer this way three years ago and it’s still going strong.
For the desk caddy: take seven tubes, cut them to graduated heights (tallest in the middle, shorter around the edges), glue them together in a flower cluster, and wrap the whole thing in fabric or decorative paper. Mine holds pens, scissors, and washi tape on my desk, wrapped in a grey linen remnant. It cost nothing and looks like the 25-euro organizers I used to buy. The honest caveat: these need replacing every year or so in a humid room — the tubes soften eventually. In a dry drawer they last years. When one wears out, you make another in ten minutes, which is the whole beauty of a free material.
5. A Round Mirror Frame That Looks Expensive
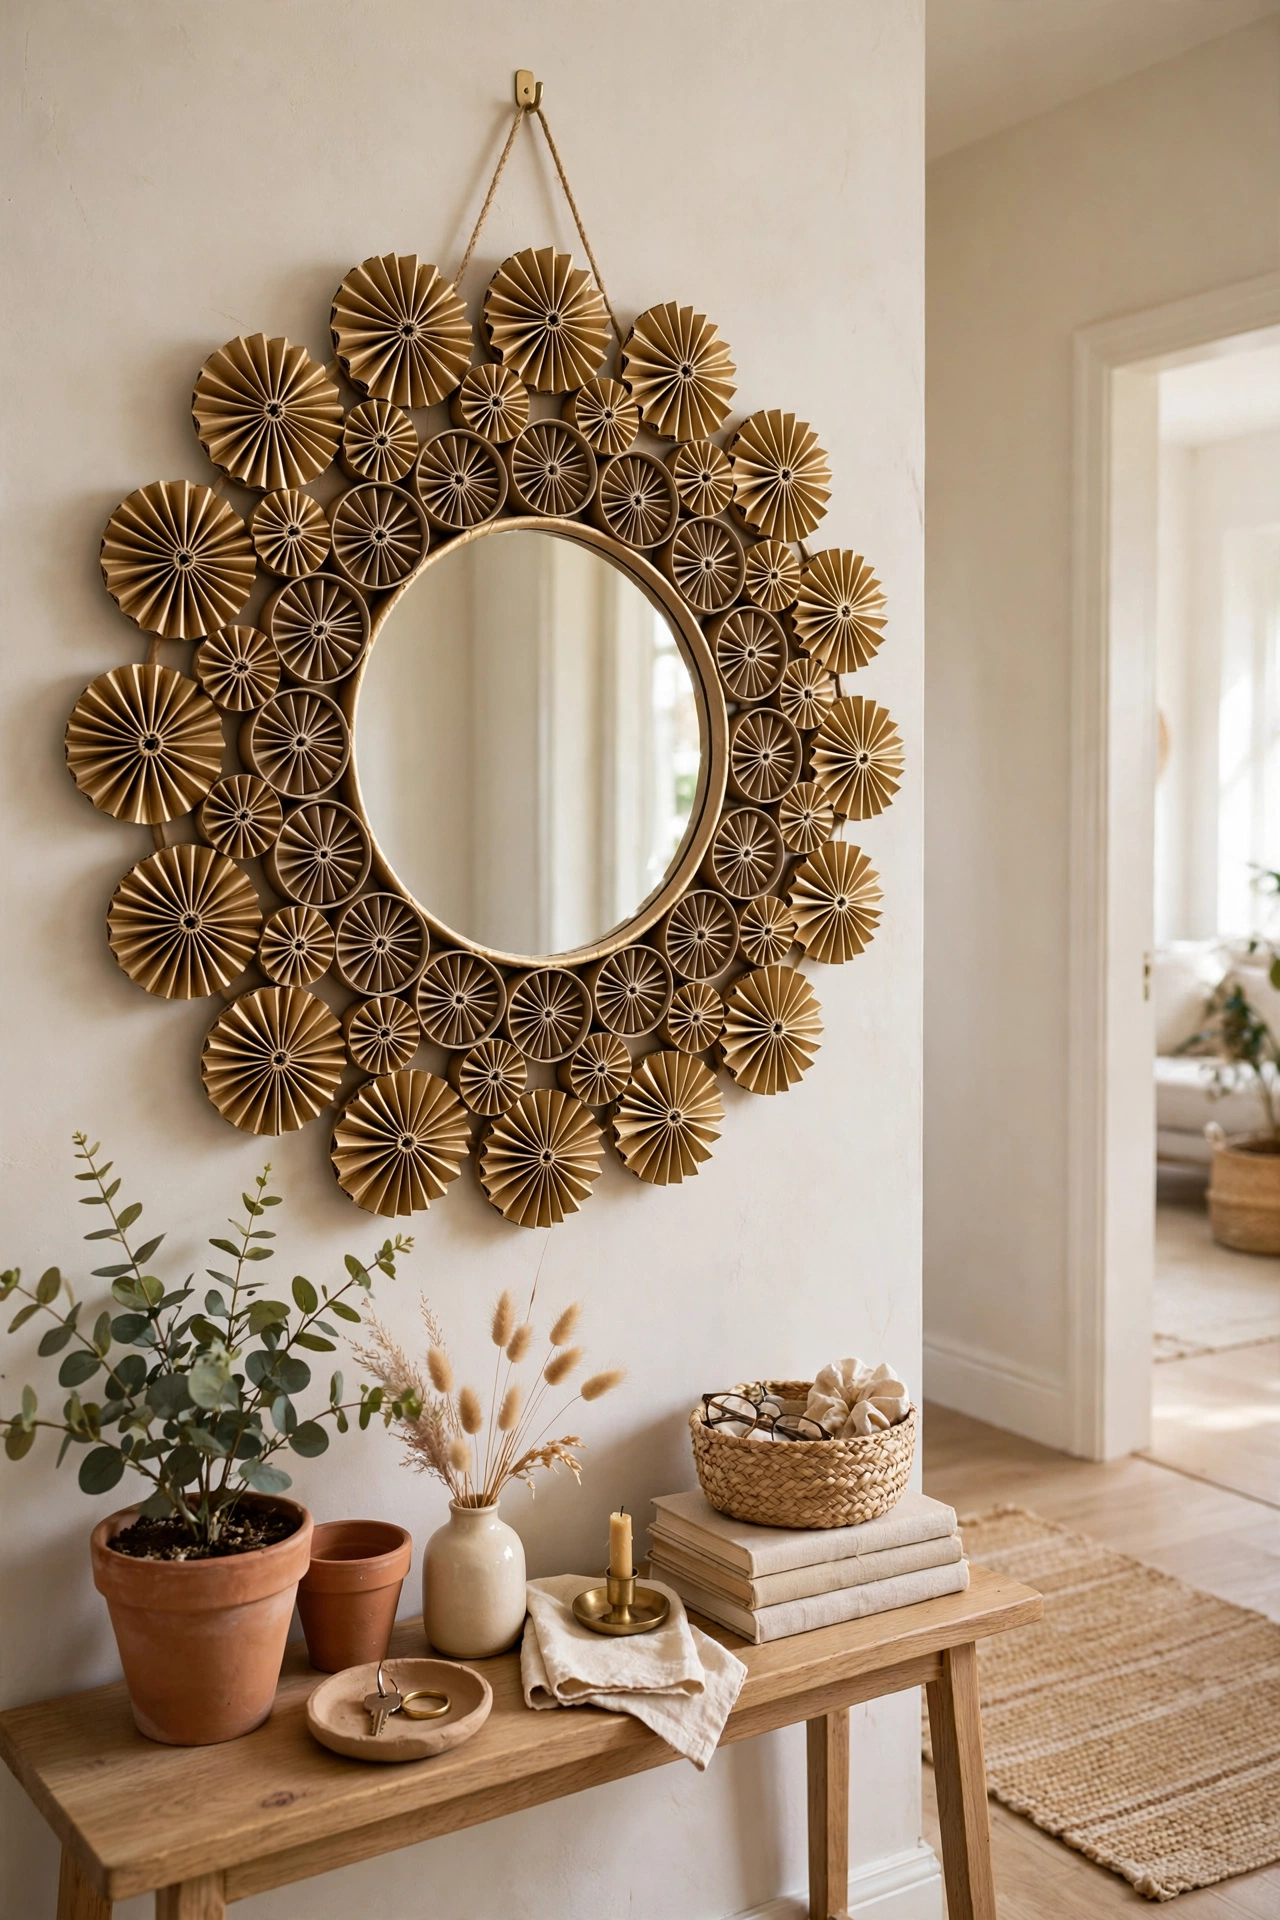
This is my favorite of the ten, and the one that gets the most disbelief. Buy a cheap round mirror (mine was a 7-euro one, 30 centimeters across). Cut tubes into 2-centimeter rings, paint them all gold — metallic gold spray paint, two light coats — and glue them in a sunburst pattern around the mirror, overlapping slightly. Mount the mirror on a round piece of cardboard first, then glue the rings around the edge.
The finished frame is about 55 centimeters across and it hangs in my hallway. It looks like the sunburst mirrors that cost 60 euros and up. The gold paint is doing all the heavy lifting here — metallic finishes hide cardboard better than any other paint. Don’t skip: paint the inside edges of the rings too. From an angle you can see inside them, and raw brown cardboard inside a gold ring ruins the illusion instantly.
6. Gift Boxes and Small Storage from Flattened Tubes
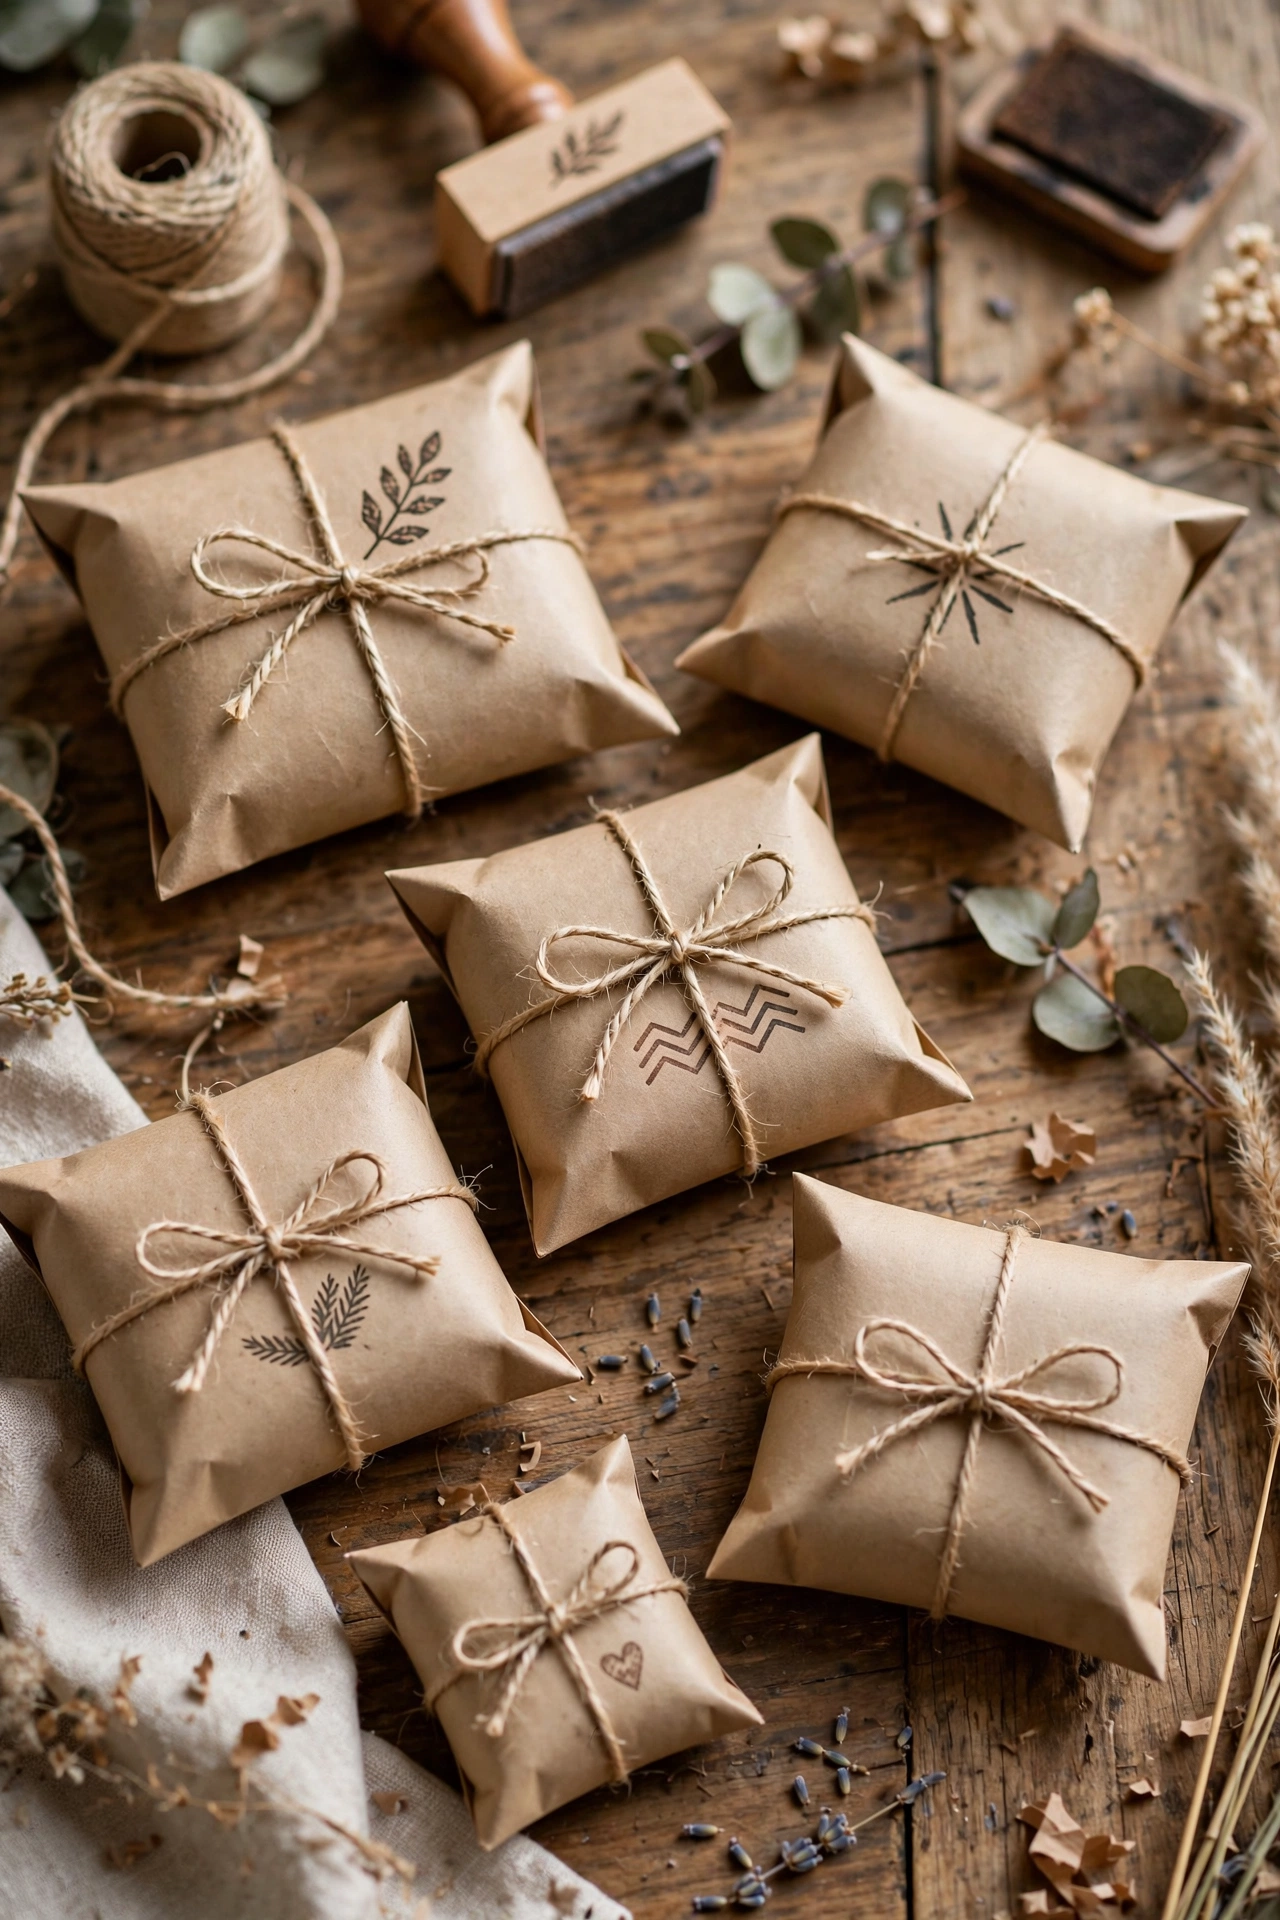
Flatten a toilet paper roll completely, fold the ends inward on both sides — pinch, crease, done — and you have a pillow box. Decorate with a stamp, a strip of washi tape, or just tie twine around it. I make these every December for small gifts: jewelry, gift cards, homemade cookies in a wax paper liner. They take about two minutes each and people always ask where the boxes came from.
And the tenth craft, the simplest one: cord organizers. Flatten a tube, decorate it however you like, and roll each charging cable inside one. Label the end with a marker. My drawer of tangled cables became a neat row of labeled tubes in one evening, and I’ve never gone back. It’s not glamorous, but of all ten crafts on this list, it’s the one I use every single day.
So that’s the tube museum’s greatest hits: wall art, vases, lanterns, organizers, a mirror frame, and gift boxes. Start with the honeycomb wall art if you want something beautiful, or the cord organizers if you want something useful — both take under an hour, both cost next to nothing, and both might just make you start saving your tubes too.
What Three Years of Tube Crafts Taught Me
If you take nothing else from this list, take these four lessons — they apply to every single craft above. First: paint the cut edges. I mentioned it at the start because it’s the single biggest difference between “school project” and “home decor.” Raw cardboard edges scream their origin; painted edges disappear. Second: commit to one finish per piece. The crafts that look best are all one color, or one material — all matte black, all jute, all gold. Mixing finishes is where things start looking crafty in the wrong way.
Third: scale matters. Small tube crafts — a single ring ornament, one tiny box — tend to look fiddly. Go bigger than feels natural: a 70-centimeter wall cluster instead of a 30-centimeter one, a full set of three vases instead of one. Bigger reads as intentional. And fourth: the sturdier the tube, the longer the craft lasts. Toilet paper rolls are thin; they’re fine for wall art and gift boxes. For anything that gets handled — organizers, the mirror frame — reach for paper towel rolls or double up two toilet rolls glued together. Three years in, my tube bag is still full, my house is still decorated, and my husband has stopped calling it a museum. Mostly.