10 Cute Nail Inspiration Ideas
I used to be the person who walked into a nail salon, pointed at a wall of acrylic butterflies, and walked out two hours and 65 EUR later with nails I couldn’t type with. Then I had a baby, a job, and a life, and suddenly my manicure had to survive dish soap, keyboard marathons, and a toddler’s grip. That’s when I fell in love with the quiet power of a simple, cute nail design — the kind you can do at your kitchen table on a Sunday night with drugstore polish. These are the ten I’ve worn, re-worn, and recommended to friends, tested in real life over the last year.

1. Classic French Tips with a Twist

I wore the traditional white-tip French for years until a nail tech in Munich suggested swapping the white for a soft lilac, and I never looked back. Pastel tips — mint, baby pink, powder blue — keep the clean elegance of the classic but make it feel playful instead of bridal. The technique that finally worked for me at home: paint the whole nail in a sheer nude base, let it dry fully (I mean really dry, go make tea), then use the polish brush’s edge or a thin striping brush for the tip line. My honest mistake the first time was doing the tips too thick, which looked like candy corn. A thin, even line — about two millimetres — is the sweet spot, and a glossy top coat seals it for a solid ten days.
2. Pastel Ombré Nails

The ombré was the first “salon-looking” design I managed at home, and it still makes me feel unreasonably proud. I use a cheap triangle makeup sponge — the kind that comes in a bag of thirty — and dab two pastel shades (my favourite combo is peach melting into lavender) onto the nail in overlapping layers. You build the gradient in three thin passes rather than one heavy one, cleaning the cuticle edges with a cotton bud dipped in remover between coats. It looks complicated but takes about twenty minutes for both hands, and the soft fade hides tip wear beautifully, so it still looks good at day twelve when I’d normally be picking at chips.
3. Polka Dot Nails

Polka dots are my answer to the question “what do I do when I have ten minutes and zero artistic skill.” A nude or white base, then dots in one accent colour — I reach for coral in summer and forest green in winter. The bobby-pin trick genuinely works: the rounded end gives you perfectly uniform dots, and the smaller the pin head, the daintier the result. I’ve learned to do an accent pattern — dots on just the ring fingers, or a single dot centred near the cuticle on each nail — because full polka dots on all ten nails can read a bit costume-party. One design I loved: white dots on a terracotta base for autumn. It got compliments for three weeks straight.
4. Negative Space Nails
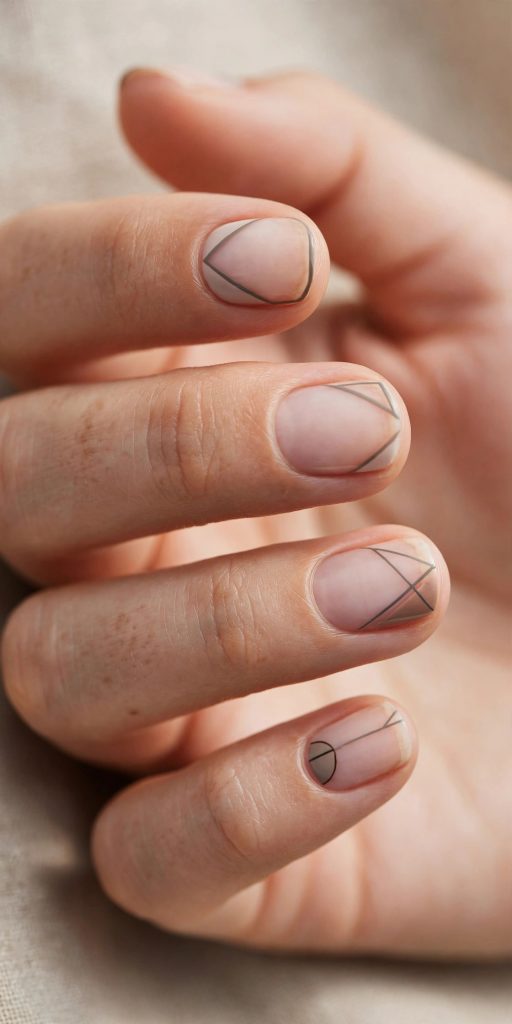
Negative space designs look like they belong in a design museum, but the simplest version is embarrassingly easy. I paint a clear base coat, lay a thin strip of striping tape diagonally across each nail, paint over with a solid colour, and peel the tape while the polish is still slightly tacky. The bare stripe of natural nail left behind does all the visual work. What I learned the hard way: peel slowly and at a low angle, or the colour lifts with the tape. This style is also the most forgiving as it grows out — the regrowth blends into the negative space, so I can stretch it to two full weeks without it looking scruffy. It works with any colour, but black over bare nail is my most-worn combo.
5. Tiny Floral Accents

My mother calls these my “garden nails,” and she asks for them every spring. The method I use: a pale base, then five tiny dots in a circle with a dotting tool for petals, one contrasting dot in the centre. That’s a whole daisy in about fifteen seconds per nail. I keep the flowers small — no bigger than a quarter of the nail — because oversized painted flowers cross into craft-fair territory fast. Stickers are a legitimate shortcut and I have zero shame about using them for the accent nail when I’m in a hurry. My best colour pairing so far: tiny white daisies on a sage green base. It reads fresh and feminine without being saccharine, and it survived a full week of gardening with gloves on.
6. Monochromatic Matte Nails

A matte top coat is the single cheapest way to make a boring colour look expensive — one bottle, about 8 EUR, and every polish I own suddenly has a second personality. My go-to is a muted terracotta in matte; it looks like suede and somehow makes my hands look more elegant. The catch nobody warns you about: matte shows every ridge and imperfection, so a ridge-filling base coat is non-negotiable, and you have to let the colour dry completely before the matte coat goes on or it smudges into a mess. Matte also chips a touch faster than glossy in my experience, so I re-seal the tips every three days. Worth it for the velvet effect, which photographs beautifully.
7. Minimalist Line Art Nails

Line art is where my shaky hands actually became an asset — slightly imperfect lines look intentional and artsy. I do a nude base and draw one thin black curve or a tiny geometric shape per nail with a nail art pen (easier than a brush, I promise). My most complimented version: a single wavy line down the centre of each nail in metallic gold. The pen gives you control that a brush never will, and if you mess up, one swipe of a remover-dipped cotton bud erases it without touching the base. I keep the designs asymmetric on purpose — different squiggle per nail — because matching them perfectly is impossible and trying makes you miserable. It takes five minutes and looks like a gallery opening.
8. Soft Gradient Nails
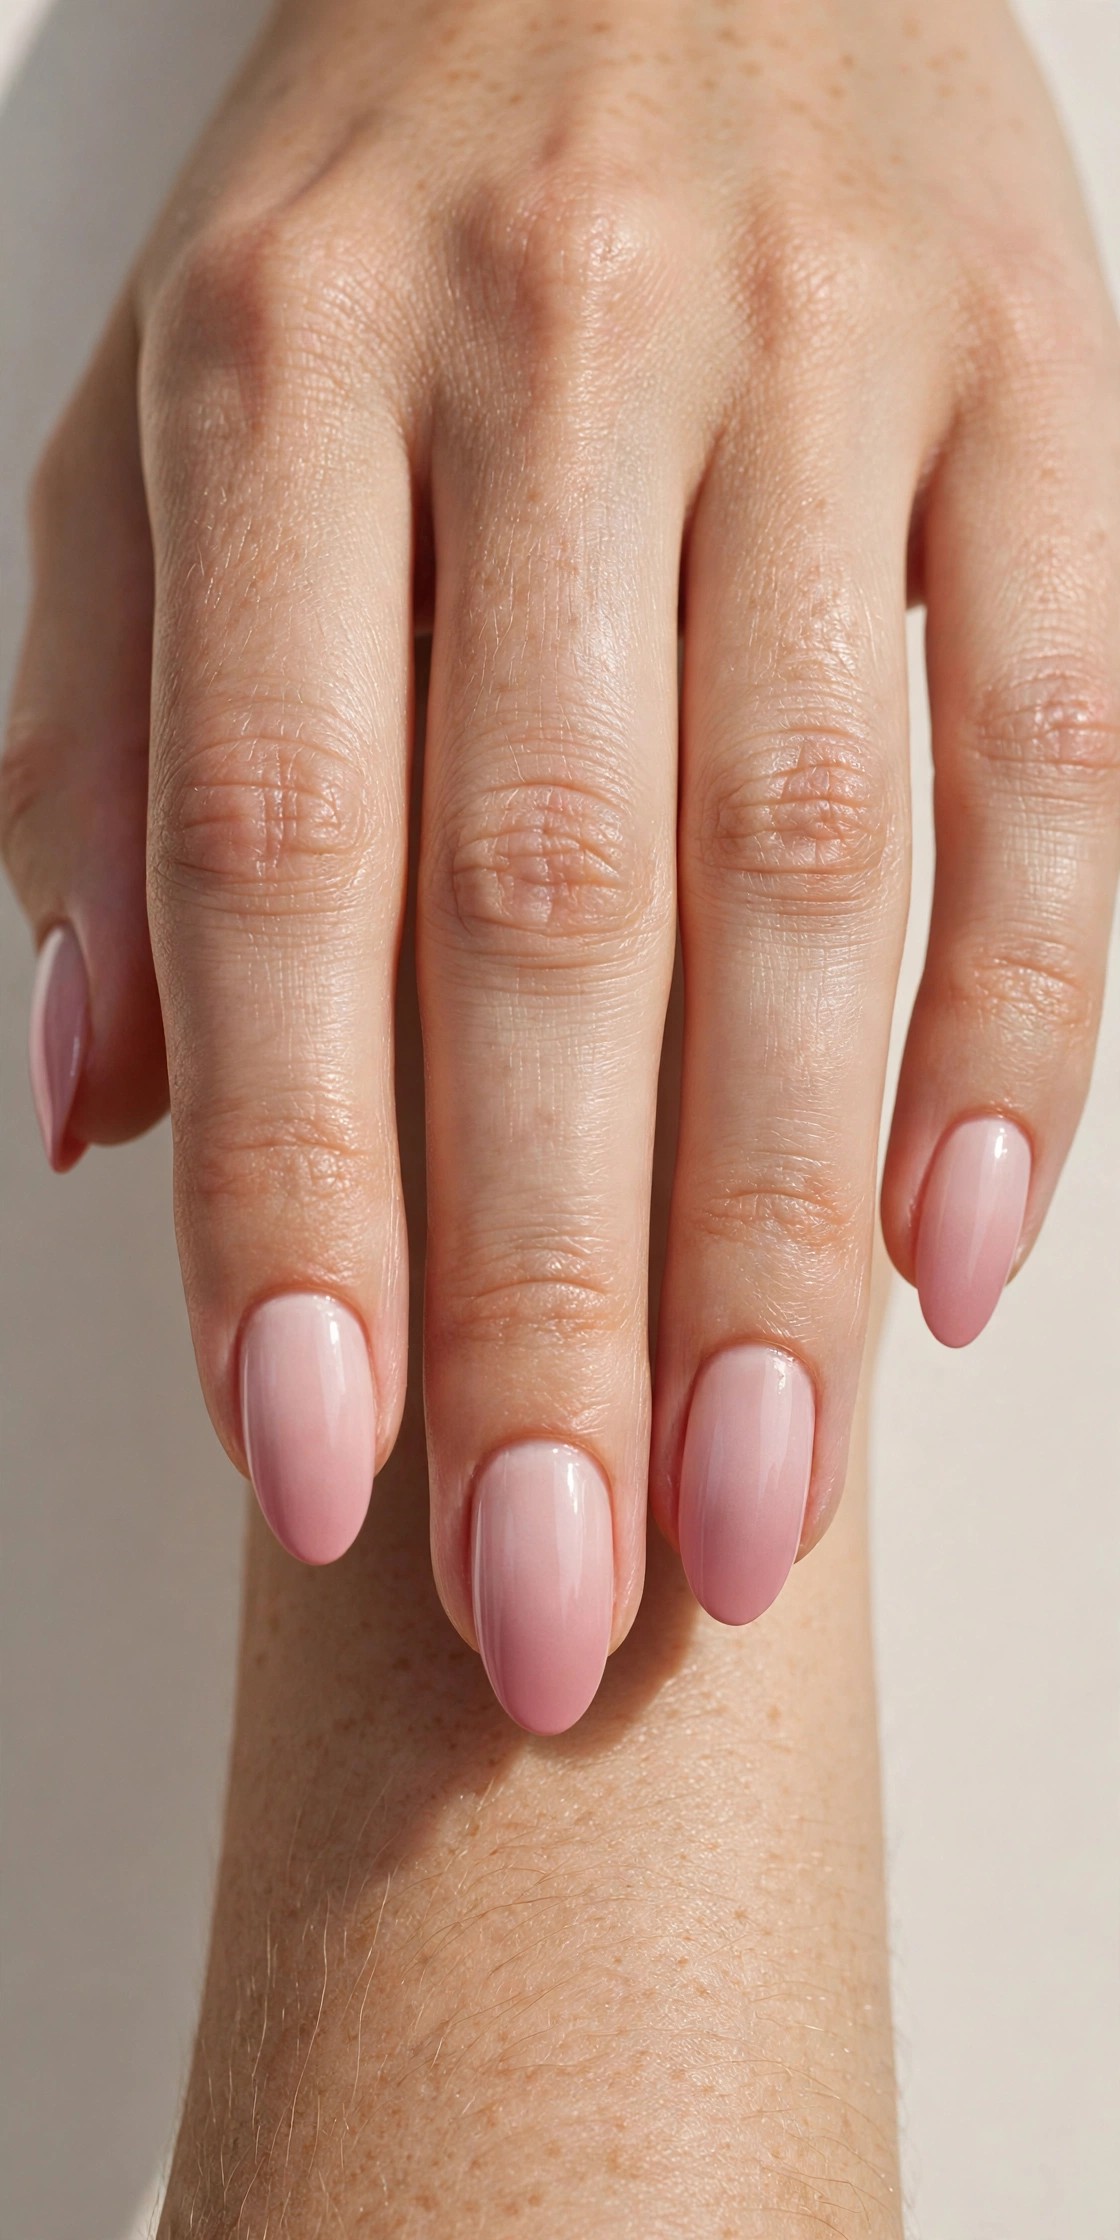
The soft gradient is the ombré’s quieter sibling, and it’s the design I wear when I want colour without commitment. Instead of two bold shades, I blend two close tones — like a blush pink fading into a slightly deeper rose — so the transition is barely there, just a gentle wash of colour. The sponge technique is the same as the ombré, but because the colours are close, any unevenness disappears. I find this one more office-friendly than the pastel ombré, and it layers beautifully under a glossy top coat for a glass-like finish. My tip: do the gradient over a white base coat rather than bare nail — the colours come out richer and you need fewer passes, which means less sponging and less mess on the cuticles.
9. Glitter Tips

Full glitter nails are a commitment — removal takes twenty minutes and half a cotton pad per finger — but glitter just on the tips gives you all the sparkle with none of the regret. I paint a neutral base, then dab glitter polish only on the outer third of the nail, fading it toward the middle with a light touch. The secret is building in thin layers: three whisper-thin coats look like fairy dust, one thick coat looks like a disco ball. I wore this to a New Year’s party over a deep burgundy base and my nails were the most photographed thing after the fireworks. Removal tip: soak a cotton pad in remover, press it on the nail for thirty seconds, then slide off — no scrubbing, no damage.
10. Striped Nails

Stripes were my gateway into nail art because they’re so forgiving — even a wobbly stripe looks deliberate if you commit to it. My favourite version is a single vertical stripe in white down the centre of a coloured nail; it elongates short nails beautifully, and mine are chronically short. Striping tape gives you razor-sharp lines, but I’ve also done it freehand with a thin brush when I couldn’t be bothered to cut tape, and honestly the freehand version has more charm. One combination I return to every autumn: thin mustard stripes on a deep olive base. It sounds odd and looks fantastic. Keep stripes thin — chunky stripes shrink the nail visually — and seal with top coat so the edges don’t lift.
Conclusion
A year of kitchen-table manicures taught me that cute nails don’t need a salon appointment or an art degree — just a steady-ish hand, a dotting tool, and the willingness to redo one nail without redoing all ten. Start with the polka dots or the matte top coat; they’re the easiest wins on this list. Your hands do everything for you; they deserve the ten minutes.