Last November, a friend tore out his old garden shed here in Munich and asked if I wanted the leftover pine boards before they went in the skip. I said yes without a plan, and by the second weekend the planks were stacked against my balcony wall looking faintly guilty. That pile became this: a small fleet of wooden snowmen, made over three evenings with a jigsaw, a pot of white acrylic paint, and a mug of coffee going cold on the windowsill. They turned out so charming that my neighbor knocked to ask where I bought them. These are the ten designs that worked best for me, in roughly the order I made them.
1. Simple Wooden Snowman Cutouts
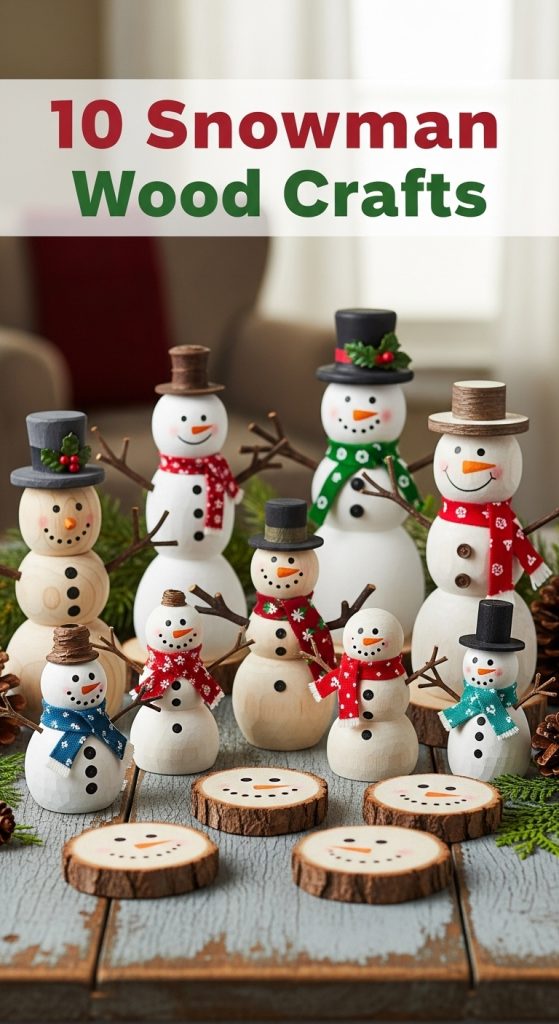
I started with the simplest shape imaginable, three stacked circles traced from a dinner plate, a side plate, and a mug onto thin birch plywood from the Baumarkt, about six euros for a sheet big enough for four snowmen. My jigsaw cut through it like butter, though I learned on the very first one to sand the edges twice, once rough and once fine, because plywood splinters love to announce themselves later through the paint. White acrylic needed two coats with a full hour of drying between them, and I painted the details, coal-dot eyes, an orange carrot nose from a leftover scrap, with a fine detail brush my daughter had in her pencil case. I hung two from the balcony railing with red ribbon and gave the others to my sister, who uses one as a Christmas place card every year now. If you are new to the jigsaw, this is the forgiving project that teaches you how to steer without ruining anything.
2. Layered Wooden Snowman with Buttons and Scarf
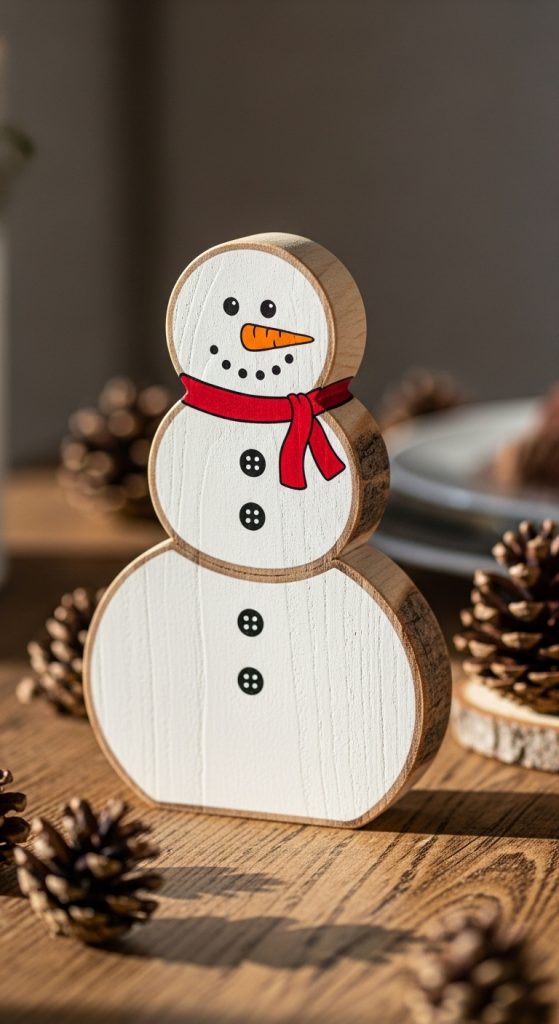
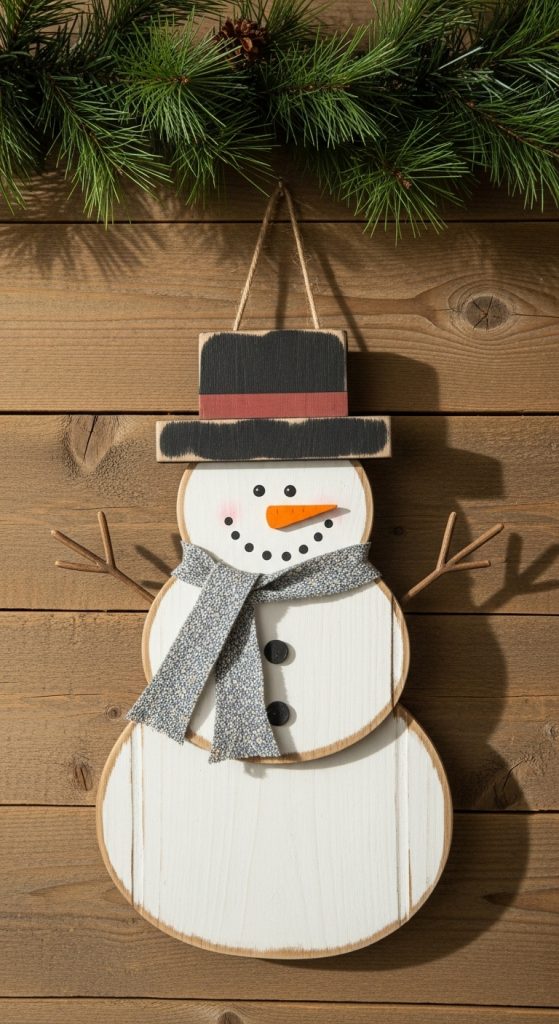
By the third evening I wanted something with a bit more presence, so I stacked three wooden discs of descending size, roughly 18, 13, and 9 centimeters, and screwed them together from the back with short wood screws. The layered look gives a lovely hand-hewn feel that flat cutouts just do not have, and it stands on its own on a shelf without any fiddling. I glued on real buttons from an old sewing tin for the front, three mismatched ones in dark wood and brass, and tied a scrap of grey felt around the neck as a scarf. One honest mistake worth mentioning: my first stack used screws that were a touch too long, and the tips poked through the front disc, so go for screws no more than two-thirds the depth of your wood. Mine lives on the living room windowsill and has survived two winters of dusting without a scratch.
3. Snowman Wooden Signboards
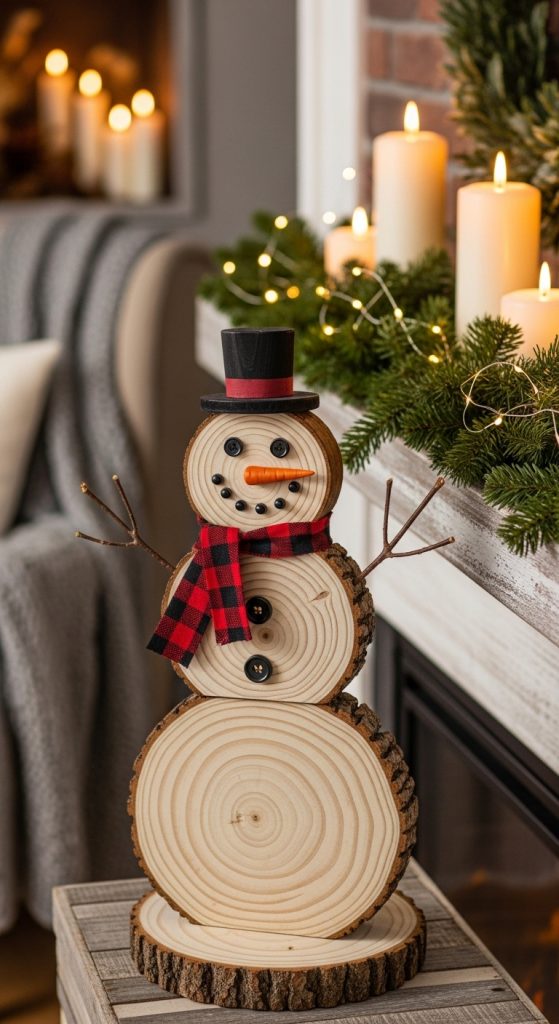
This one came from an offcut that was too short for a proper snowman, so I cut the classic three-circle silhouette a little squatter and stenciled the words “Let it snow” across the middle in navy paint. Freehand lettering was a disaster the first time, my L leaned like the tower of Pisa, so I switched to paper stencils and never looked back. I screwed a small sawtooth hanger on the back and sealed the whole thing with a clear matte varnish, since I wanted it on the front door where Munich winter weather is not gentle. It has hung there through rain and one decent snowfall and still looks fresh. The lovely thing about a signboard is that the lettering makes it feel deliberate and designed rather than just cute, so it works in a hallway that is otherwise all clean lines and no fuss.
4. Wooden Snowman Ornaments
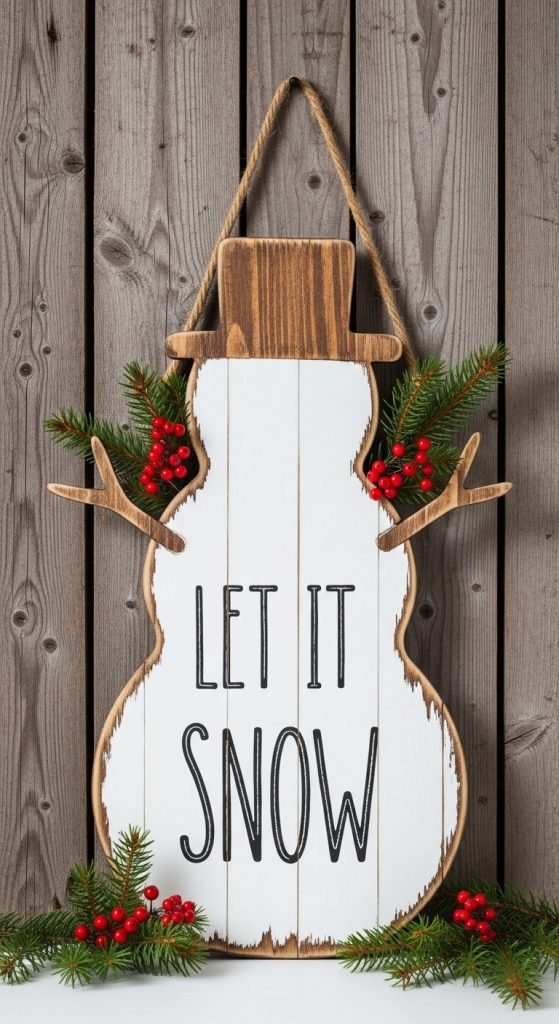
These little ones are perfect for an evening when you only have an hour, and I ended up making a dozen while half-watching a film. I used 4-millimeter craft plywood, traced snowman shapes about eight centimeters tall, and cut them with a craft knife instead of the jigsaw for better control on small curves. A dab of white paint, two dot eyes, a tiny painted scarf in different colors on each, and a drilled hole at the top for twine. My favorite variation: I painted tiny navy snowflakes on a few of them with a toothpick, which sounds fussy but takes seconds and looks surprisingly refined. They went on my tree, five went into gift boxes as tags, and the rest live in a jar on the coffee table from December through February because I could not bear to put them away.
5. Tiered Wooden Snowman with LED Lights
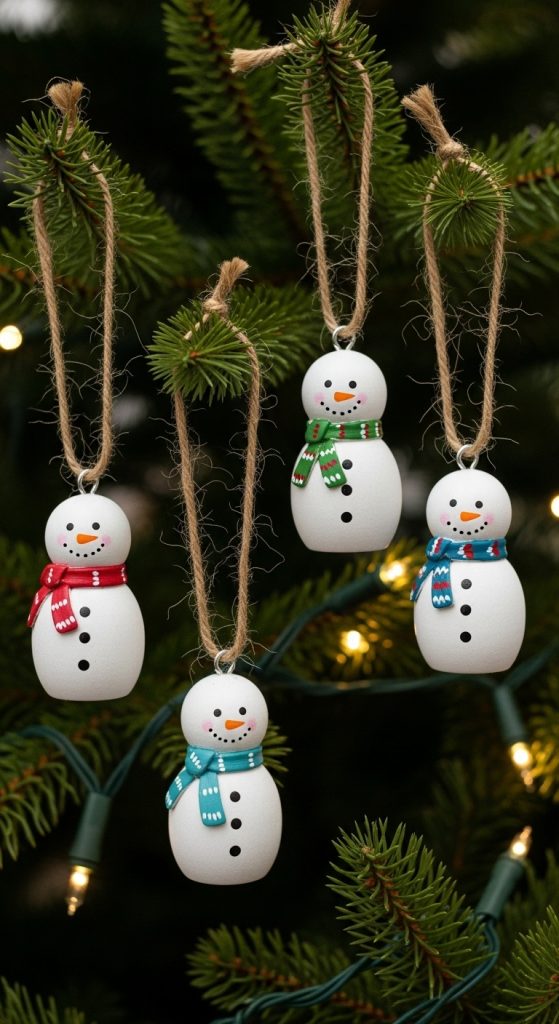
This is the showpiece of the bunch, and honestly the one I was most nervous about. I built the snowman from three hollow-faced plywood rings so I could thread a string of warm-white LED fairy lights through the inside, the battery box hiding neatly behind the base disc. Drilling a small channel for the wire took patience and a steady hand, and I painted the wood a soft off-white rather than stark white so it would not glare against the light. When it is switched on in the evening it glows like a lantern, and I keep it in the hallway where guests see it first. Use warm LEDs, not cool blue ones, unless you want your snowman to look like it wandered out of a hospital corridor. The batteries last the whole season on a few evenings a week, and the build took me one rainy Sunday afternoon.
6. Rustic Wooden Snowman with Twine Hat
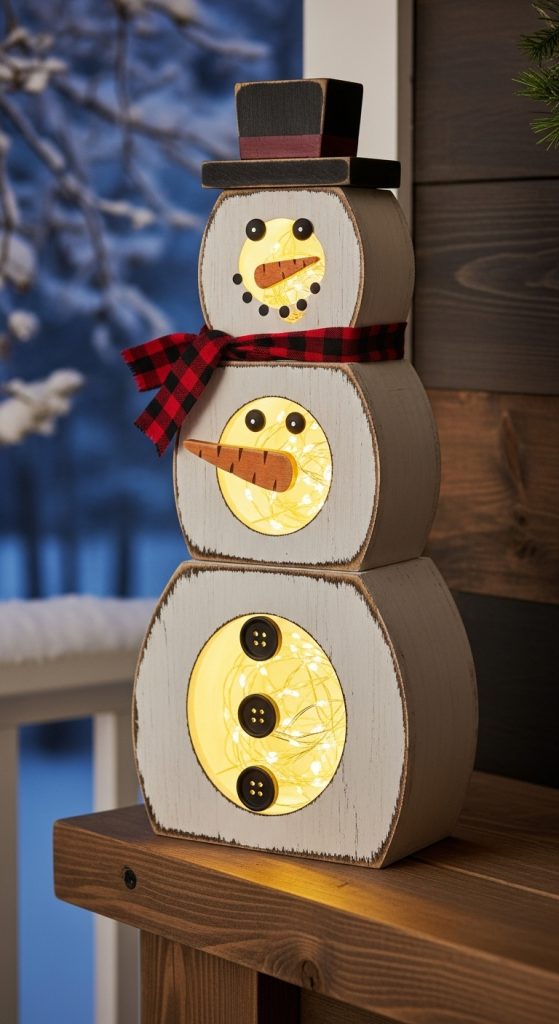
For a more farmhouse feel, I wrapped a cone of jute twine into a little hat and hot-glued it onto a plain white snowman cutout, then tied a scrap of burlap around the neck. The twine hat is the whole trick here: it turns a perfectly fine but ordinary painted snowman into something with texture and personality, and it hides a multitude of paint-edge sins underneath it. I coiled the twine tightly and glued each row as I went, which took about twenty minutes and left my fingertips smelling like hot glue. It sits on my mantel next to a bunch of dried eucalyptus and some pinecones I collected in the Englischer Garten, and that little corner looks like a Christmas card. If your decor runs more rustic than bright, this is the one to try first.
7. Wooden Snowman Centerpiece Blocks
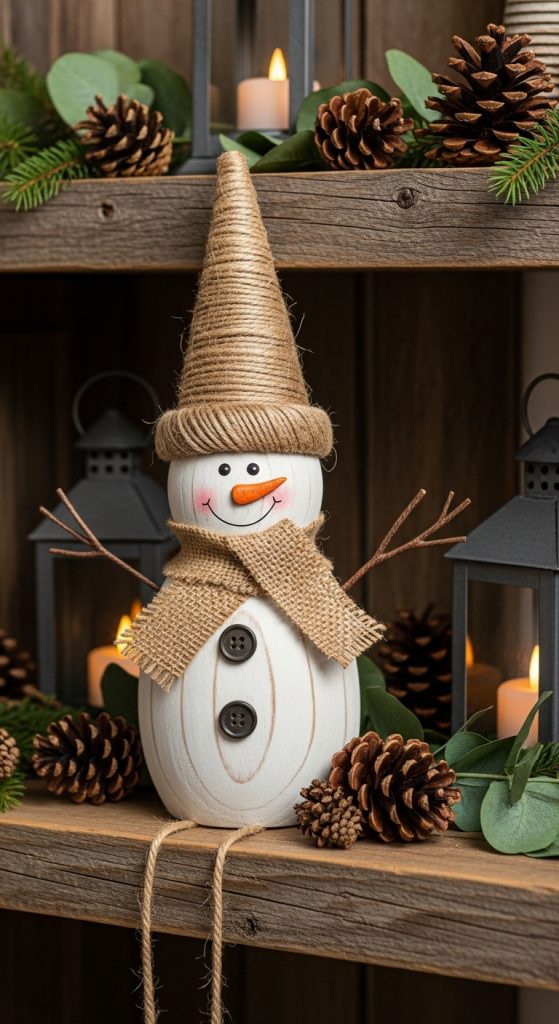
I had a box of leftover building blocks from my daughter’s toddler years, chipped and chewed and no longer pretty enough for play, and they turned into the sweetest table centerpiece. Three blocks stacked largest to smallest, glued, painted white, with a face on the top one and two painted buttons on the middle one, that is the entire build. I added a tiny knit hat from a keychain I bought at a Christmas market for two euros, and suddenly it had character. It sat in the middle of our Advent dinner table surrounded by real fir branches and tea lights, and my mother-in-law asked if I had bought it at a craft fair. This is also the most kid-friendly project here: no saw, no drill, just glue, paint, and patience while the glue sets.
8. Wooden Snowman Candle Holders
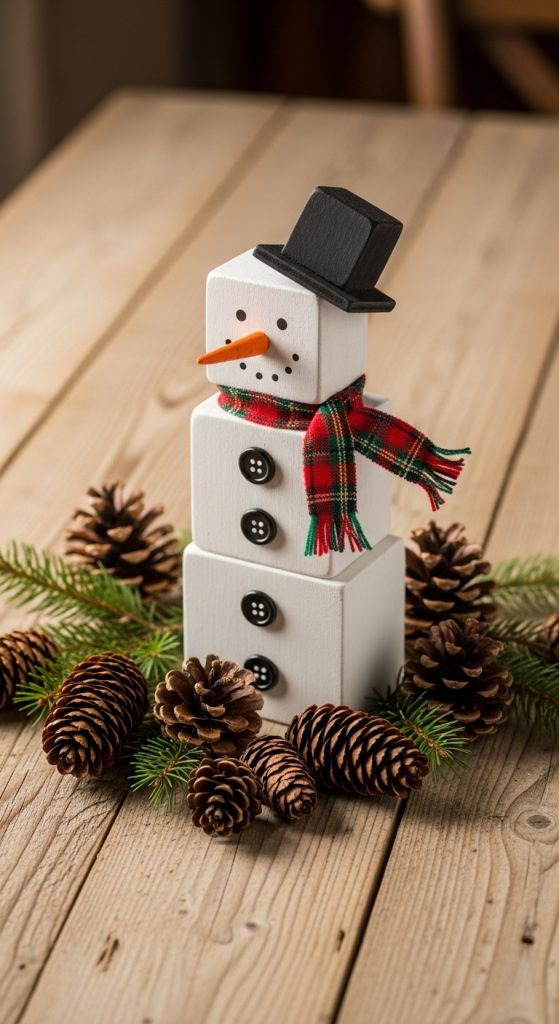
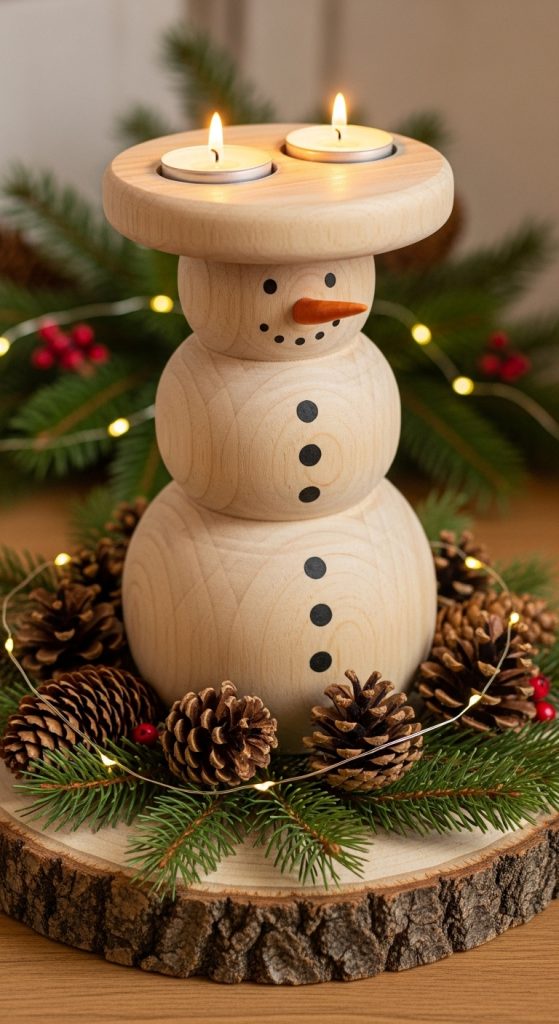
This one needs a little more care because of the open flame involved, so I will be clear: use LED tealights, not real candles, unless your snowman is wide enough to keep wood well away from the flame. I drilled a shallow 4-centimeter recess into the top of a chunky wooden snowman block, painted the face, sealed the wood with a heat-safe varnish, and dropped in an LED tealight. The warm flicker against the painted face at dinner time is genuinely lovely. I made a pair and put them on the dining table flanking a small wreath, and they carried the whole table decoration on their own. The drill bit needs to be a Forstner bit to get a clean flat-bottomed hole, and I clamped the block firmly because drilling into a small round-ish piece by hand is a recipe for wobbling.
9. Wooden Snowman Wall Hanging
Our hallway wall had a sad empty patch between two doorways that needed something wintery but not too Christmassy, since I like decorations that can stay up into February without looking wrong. I made a vertical hanging from three painted wood slices, body, belly, head, joined with twine through drilled holes and finished with a loop at the top. The spacing matters more than you would think: I left about three centimeters between each slice so it drapes naturally instead of sitting stiff. A small fabric scarf at the neck hides the topmost knot, which was a happy accident when I realized the knot looked ugly. It hangs next to a framed winter print and ties the whole hallway together. Total cost was essentially zero since the wood slices came from a pruning pile.
10. Outdoor Wooden Snowman Décor
The grand finale was a full-size snowman for the balcony, cut from 18-millimeter exterior plywood, about 90 centimeters tall, painted with exterior acrylic and sealed with two coats of weatherproof varnish. I mounted it on a simple wooden base with a stake so it would not take flight in a Munich winter storm, and I am glad I did because we had a proper blustery one in January. Solar fairy lights wrapped around the neck charge by day and twinkle at night, which looks magical against the snow. One thing I would do differently: cut drainage channels or at least tilt the base slightly forward, because melting snow pooled at the feet for a day. It has now survived a full winter outdoors and just needs a light touch-up of paint before next season.
Conclusion
What started as a guilty pile of shed planks turned into my favorite winter craft streak in years, and the snowmen are still in their box in the cellar waiting for November. If I had to recommend just one to start with, I would say the simple cutouts: they teach you every skill the others need, and you get something lovely on day one. Happy sawing, and do not skip the sanding.