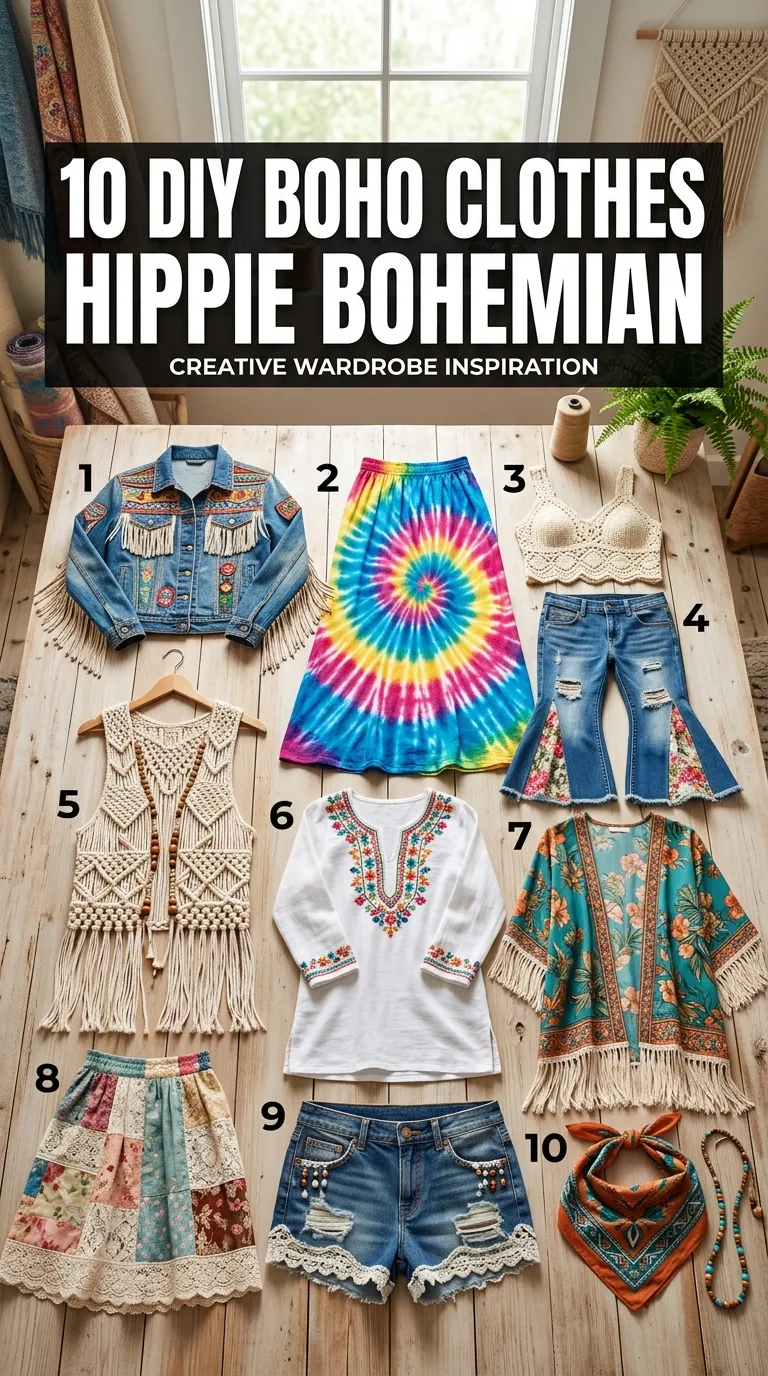
My boho phase officially started in 2017, when I bought a crate of old concert T-shirts at the Flohmarkt on the Museumsinsel and decided to turn them into something more interesting. That crate is long gone, but the habit stayed: fringe, embroidery, tie-dye, patchwork — anything you can glue, stitch, or dye is fair game. These are the ten DIY boho pieces I have actually made or customized in my flat in Munich, including the failures. There were failures. The sandals still make me nervous.
1. Fringe Boho Vest

I found a stiff, boxy denim vest at the Humana on Sendlinger Strasse for four euros and could not walk past it. Fringing it was the obvious move, and cutting the fringe really is as satisfying as it looks — I put on a playlist and spent a Sunday afternoon slicing. My advice: mark your lines with tailor’s chalk first, because my first attempt was done freehand and one side ended up two centimetres shorter than the other, which looks deliberate only in photos. For the back panel I skipped cutting entirely and sewed on a metre of suede fringe trim from Karstadt (about six euros) — much cleaner, and it holds up in the wash. The vest now goes over everything in summer: plain white tees, thin dresses, even a swimsuit cover-up. It took roughly two hours and ten euros total, and it is the single most complimented thing I own that I made with scissors and stubbornness.
2. Boho Embroidered Crop Top

Embroidery was my winter hobby for a while — small enough to do on the sofa, cheap enough to restart when I messed up. The white crop top I embroidered has big, slightly lopsided flowers in coral, mustard, and teal, and I love it precisely because the petals are not symmetrical. If you are starting out, get iron-on embroidery transfer patterns from a craft shop (a set of several designs costs around eight euros); you iron the design on and follow the lines, which takes the guesswork out completely. I used simple stitches — French knots for the flower centres, backstitch for the stems, lazy daisies for the petals — because fancy stitches were not necessary for it to look handmade in the good way. It took me about six evenings in front of the television. One warning: embroidery thread bleeds. I ruined the first top by washing it with a new red pair of socks, so wash your embroidered pieces cold, alone, the first few times.
3. Tie-Dye Boho Skirt

There is something genuinely magical about opening a tie-dyed piece after it has sat wrapped overnight — you never fully know what you are getting, and that is the point. My skirt started as a plain white cotton maxi from Primark that I had stopped wearing. For the colours, invest in fibre-reactive procion dyes instead of the cheap all-purpose kits; they cost more (around three euros per colour bottle) but the colour stays after washing, which matters when the whole garment is the point. I used the accordion fold for bold stripes across the waist blending into a scrunched marble effect toward the hem, in sunset tones: terracotta, deep gold, and a rusty red. The trickiest part is patience — the dye needs to cure wrapped in plastic for at least six to eight hours, and unwrapping early is how you get pale patches. Mine has survived two summers of washing now and still looks rich.
4. Boho Patchwork Denim Jacket

My patchwork denim jacket is less a garment and more a travel diary with sleeves. I started it with a flea-market denim jacket that fit badly everywhere except the shoulders, and the patches fixed that — they go exactly where the worn spots were. I collect patches everywhere: embroidered flowers from the haberdashery section, a cactus patch from a holiday in Portugal, fabric scraps from old skirts cut into shapes. Iron-on patches are fine to start, but do not stop there — I learned the hard way that iron-on adhesive alone gives up in the wash after a season. Stitch around every patch edge with a blanket stitch, even a rough one; the stitching looks boho anyway and the patches stay on for years. My rule now is that the jacket only grows — one or two new patches per trip, never a wholesale makeover. It takes a jacket from boring to unmistakably yours for maybe fifteen euros total if you build it slowly.
5. Beaded Boho Sandals

Honest confession: I approached beaded sandals assuming it would be a twenty-minute project, and it was not. Wrapping thin jewellery wire with beads around sandal straps takes real fiddling, and my first sandal looked noticeably rougher than the second. But the result was worth it — plain flat sandals from the sale rack suddenly looked like something from a boutique. Use proper jewellery wire, not thread; thread stretches, loosens, and then a bead pings across the room mid-walk, which happened to me once on the U-Bahn. Wrap tightly, tuck the ends under, and choose glass or metal beads rather than painted wood, because painted wood chips on the first wet pavement. Mine have turquoise, bone-white, and brass beads, and I wear them with everything from jeans to linen dresses. It is a fiddly afternoon project, roughly three euros of beads and wire per pair, and the only DIY on this list that genuinely makes strangers ask where I bought them.
6. Boho Tie-Front Blouse

This one barely counts as DIY, which is exactly why I love it. Take an oversized blouse — the kind every wardrobe has at least one of — and knot it at the waist. The entire silhouette changes: shapeless to deliberately flowy, anonymous to boho. Fabric matters enormously here; I tried this with a stiff cotton poplin shirt once and the knot looked like a tent peg. Rayon, thin cotton lawn, or that crinkly gauze fabric drapes properly and stays knotted. I wear mine over high-waisted jeans with the straw hat from the photo, but it also works open over a slip dress as a lightweight layer, and it takes the place of a cardigan on mild evenings. Zero euros, thirty seconds, and honestly the highest effort-to-impact ratio of anything I have described here. If you are not sure boho is for you, start with this and see how it feels before cutting or dyeing anything.
7. Boho Leather and Bead Bracelet

I started making bracelets because I had a box of leftover beads from other projects and could not justify buying more, so I forced myself to use what I had. Leather cord in tan and dark brown, glass beads in turquoise and amber, a few brass charms, and a handful of crimp beads to hold things in place. The important thing is the mix — one material alone reads costume, but leather plus glass plus a metal charm together reads boho. I measure the cord as my wrist circumference plus four centimetres for the knot and a sliding macramé closure, which I prefer over clasps because it fits any wrist and never pings open. Making them in batches works well: I made six in one evening while half-watching a film, kept three, and gave three away, which is the correct ratio for this hobby. My wrist stack costs under two euros per bracelet in materials, and the turquoise-and-silver combination I wear most is the one that started the whole thing.
8. Fringe Boho Bag

My favourite crossbody bag was a completely unremarkable tan leatherette bag that I had owned for years — functional, boring, invisible. Sewing suede fringe trim along the flap seam and the bottom edge turned it into the bag I get asked about. The principle is simple: keep the bag plain so the fringe does all the talking. I used pre-made suede fringe trim rather than cutting it myself — about nine euros for two metres, which was enough for the whole bag with some left over. Sew it by hand with a leather needle and waxed thread, because a standard needle will snap on the strap seams; mine bent two needles before I learned this. Go slowly and match your thread to the trim colour so the stitches disappear. One bag, one evening, no dye, no cutting fabric — just trim and patience. It still looks new after a year of daily use, and it goes with literally every boho outfit I own.
9. Boho Kimono or Duster

If I had to pick the single easiest boho win, it would be this: a printed kimono that you throw over literally anything. Mine is a bold paisley in rust and navy, thrifted for seven euros, and it turns jeans-and-a-white-tee — my default uniform — into an actual outfit. The fabric has to flow; mine is a thin viscose that moves when I walk, and that movement is half of what reads as boho. There is barely any making involved, but here is the DIY angle: I shortened the sleeves with a simple hem because they swallowed my hands, and I replaced the cheap belt that came with it with a braided leather cord I made in ten minutes. A kimono also forgives bad hair days, bad laundry days, and bad lighting in photos, which is a lot to ask of a single garment. Keep the print bold — small timid florals disappear — and let the layer do the work while the rest of your outfit stays simple.
10. Boho Wide-Leg Pants

Mine are a paisley print in earth tones with a drawstring waist, and I will say it plainly: they feel like pyjamas and look like I tried, which is the boho ideal in one sentence. I did not sew these from scratch — I shortened a pair of thrifted palazzo pants that were six centimetres too long and took in the waist slightly, which is honestly most of what sewing my own clothes amounts to these days. The waist is the thing that matters most: elastic or a proper drawstring, because a rigid waistband on wide-leg pants sits wrong and ruins the whole relaxed line. Length matters too — they should just skim the tops of your feet in sandals; too long and you are mopping the sidewalk, which I did for a summer before fixing them. Pair them with something simple on top, like a tucked-in plain tank, so the pattern gets the stage. Comfortable, dramatic, and proof that boho rewards the relaxed fit.
Conclusion
Boho is the most forgiving style to DIY, because imperfection is literally the aesthetic — a wobbly stitch or an uneven dye reads as character, not as a mistake. My advice is to start with one piece, something low-stakes like the tie-front blouse or the kimono, and see how it feels before you commit to dye baths and fringe. The best boho clothes are the ones with stories anyway, and stories take a little time.