I first tried wire-wrapped hoops on a rainy Saturday when my plain gold hoops felt too boring for a dinner out, and I ended up at my kitchen table with a spool of silver wire, a jar of seed beads, and far more optimism than skill. That first pair was wonky, honestly, but I wore it anyway, and a friend asked where I had bought it, which is still one of my favourite compliments. Since then I have made dozens of pairs, learning slowly which wraps sit flat, which beads catch the light without weighing the ear down, and how to finish a hoop so it closes smoothly every time. These ten designs are the ones I return to again and again, because they are wearable, forgiving for beginners, and genuinely pretty in real life, not just in photos.
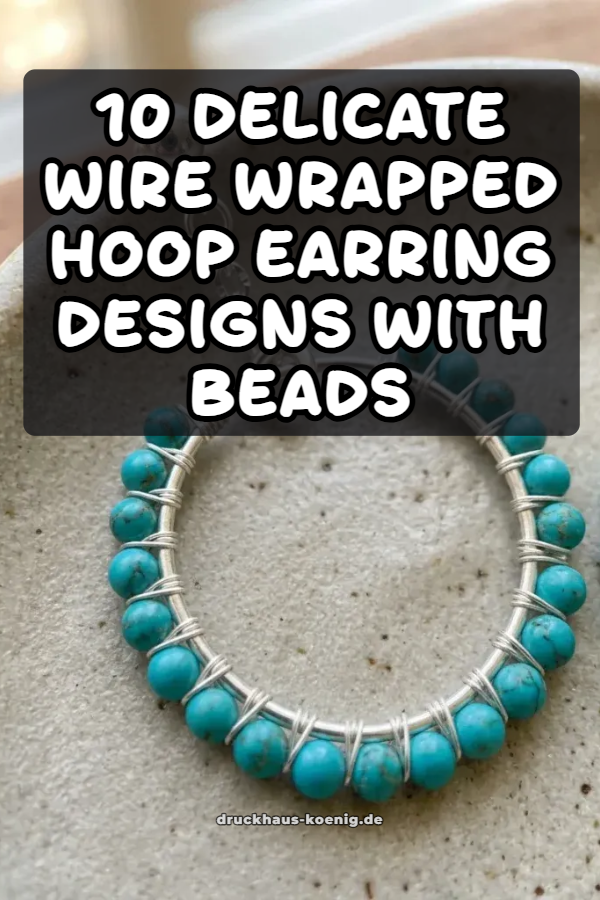
1. The Classic Perimeter Seed Bead Frame Hoop
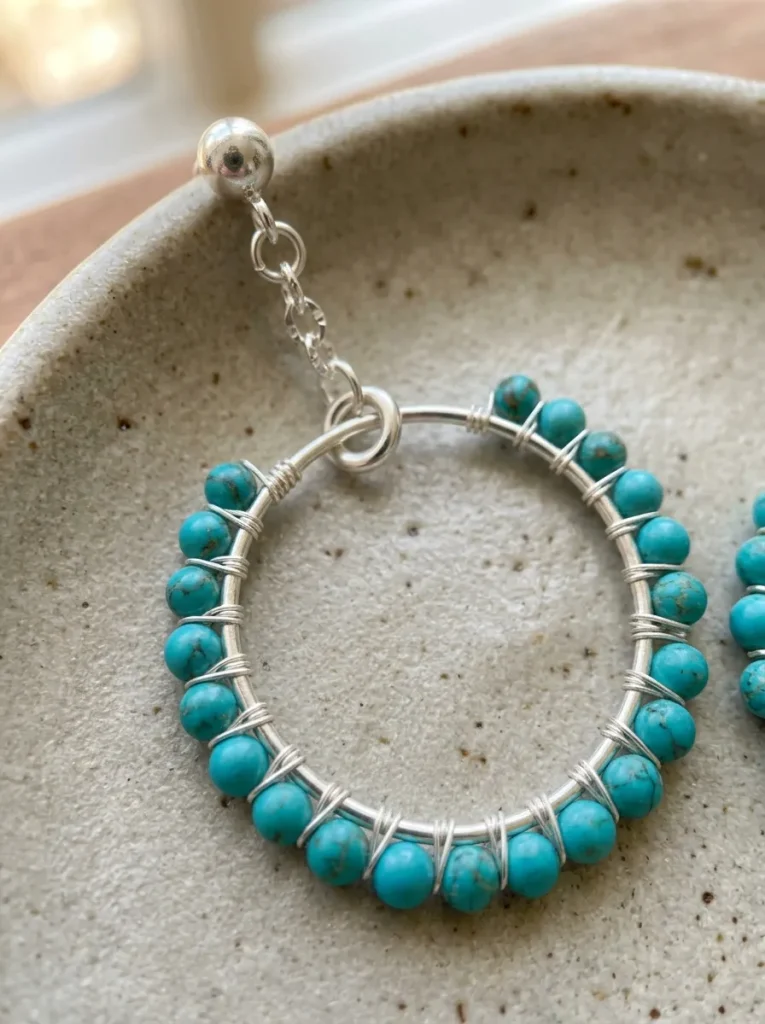
I always recommend this design first, because it teaches you the rhythm of wrapping without asking you to do anything fancy. I use a sturdy hoop base, usually around 25 millimetres, and wrap fine wire around it in even turns, threading a tiny seed bead onto the wire every few wraps so the beads sit neatly along the outer edge like a dotted line.
What I love most is how endlessly adaptable this frame is. Matte beads in cream or dusty rose look soft and quiet for everyday wear, while metallic gold or deep teal beads turn the same hoop into something evening-ready. I keep the wire tension gentle but steady, and I check the pair side by side as I go, because even a few extra wraps on one earring can make them look mismatched. Finished with tucked, smoothed ends, this is the pair I reach for when I want something handmade that still looks polished.
2. Floating Gemstone Center Cluster Hoop
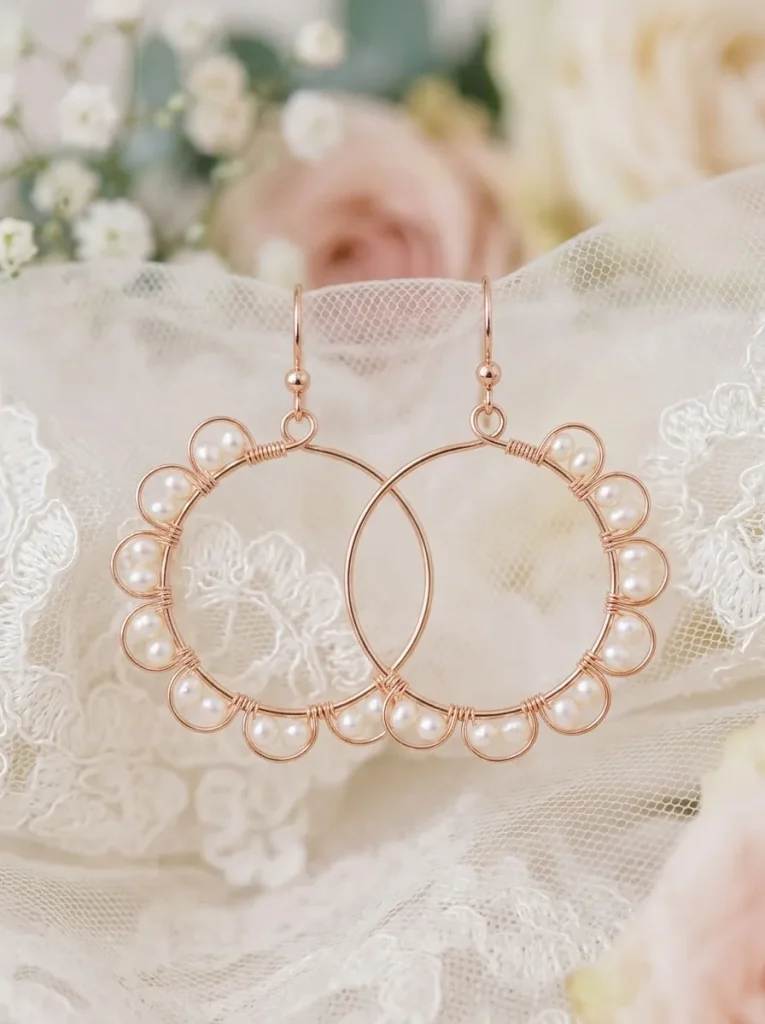
This design looks far more complicated than it is, which is exactly why I enjoy making it. I start with a clean, bare hoop and then build a small cluster of gemstone chips or tiny faceted beads in the centre, suspended on fine wire strung across the middle like a little constellation. The first cluster I made slid to one side because I had not anchored the cross wires properly, so now I wrap each anchor point several times and test the balance before adding the stones, and the cluster stays centred even when I move.
I tend to choose one stone family per pair, perhaps soft amethyst, warm citrine, or pale moonstone, because a mixed jumble can look noisy at this small scale. It is also a lovely way to use up those beautiful little chips left over from other projects, the ones too pretty to throw away but too small for a pendant.
3. The Delicate Pearl Scallop Wave Hoop
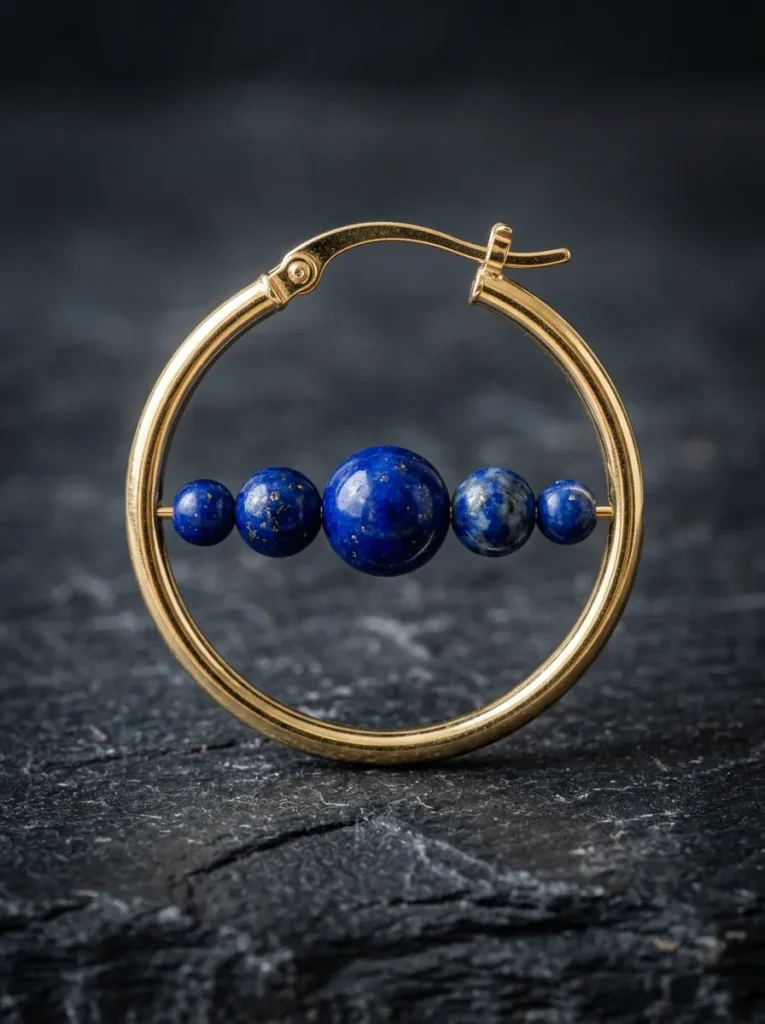
There is something wonderfully old-fashioned about this hoop, in the best way. I wrap the wire along the bottom curve of the hoop in a series of small loops, and each loop cradles a tiny pearl, so the finished edge ripples like a scalloped hem. When I first attempted it, my scallops were all different sizes and the wave looked accidental rather than deliberate, so I started marking the spacing lightly with a pen on the hoop before I wrapped, and that small habit changed everything.
I prefer small freshwater pearls here, around three millimetres, because larger pearls overwhelm the delicate wire and make the earring heavy. The result is soft, romantic, and surprisingly versatile: I have worn mine with a simple white shirt and jeans, and also with a silk dress for a wedding, and they suited both. If you love pearl jewellery but find full pearl studs a little formal, this gentle scallop is a lovely middle ground that still feels special.
4. Ladder-Woven Dual Rim Hoop
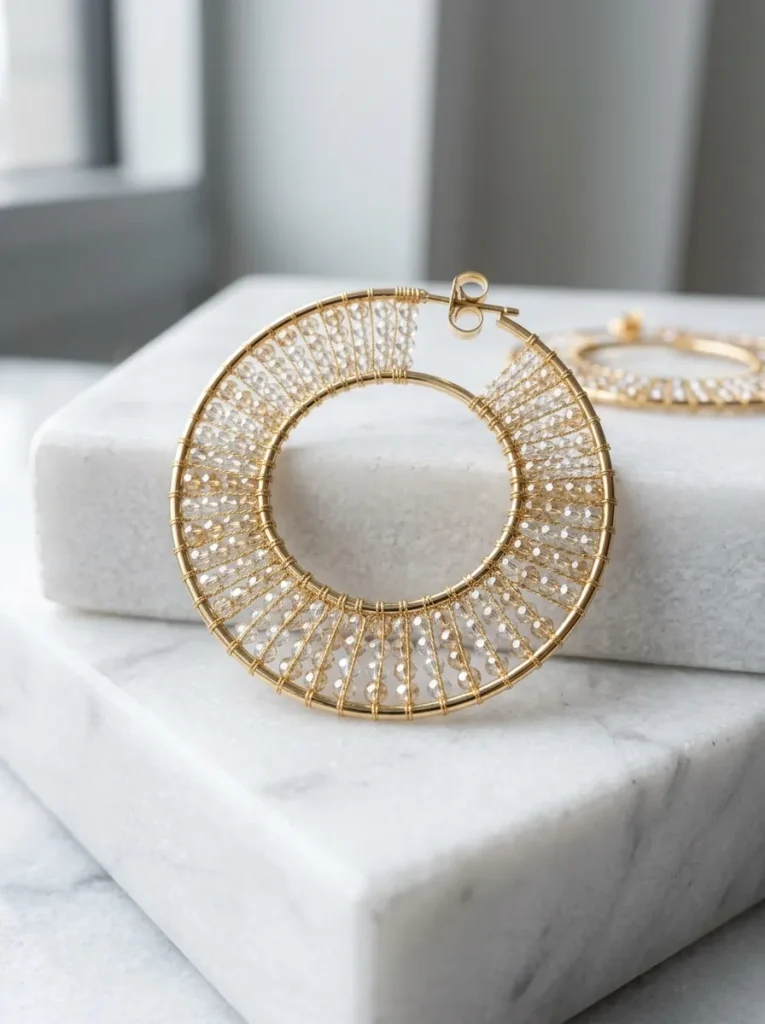
This is the design I make when I want something with real structure, a hoop that looks almost architectural. I use two parallel hoop wires as the rims and weave fine wire back and forth between them like the rungs of a tiny ladder, adding a small bead at intervals if I want a little sparkle. It takes patience, and my first attempt took an entire evening, but there is a meditative quality to the weaving once you find your pace, and the finished hoop feels beautifully solid in the hand.
The trick, I have found, is keeping the two rims evenly spaced all the way around, because any narrowing shows immediately. The finished pair has a lovely woven texture that reads as refined rather than rustic, and it pairs beautifully with a crisp collar or a simple knit, where the texture can really be seen.
5. Cascading Gemstone Fringe Hoop
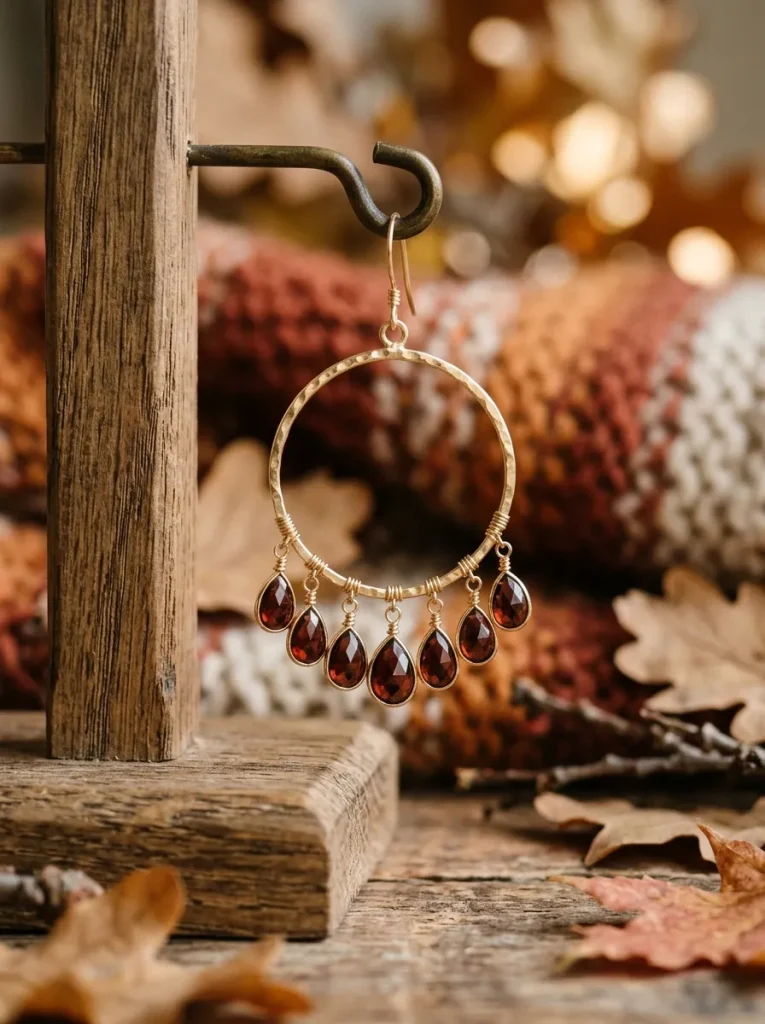
I made my first fringe hoops for a summer garden party, and I have never stopped getting compliments on them since. Short strands of tiny gemstones hang from the lower curve of the hoop, each one finished with a neat wrapped loop, so the earrings move and shimmer with every step. The movement is the whole point here, so I keep the fringe graduated, slightly longer in the centre and shorter toward the sides, which gives a soft, curved silhouette rather than a blunt curtain of beads.
Weight matters more than you might expect, so I use small stones and thin wire, and I always try the pair on and walk around the room before I call them done. In colours like smoky quartz, labradorite, or soft green aventurine, these hoops feel festive without being loud, and they are my favourite choice when I want earrings that do some of the talking for me.
6. The Wrapped Briolette Solitaire Hoop
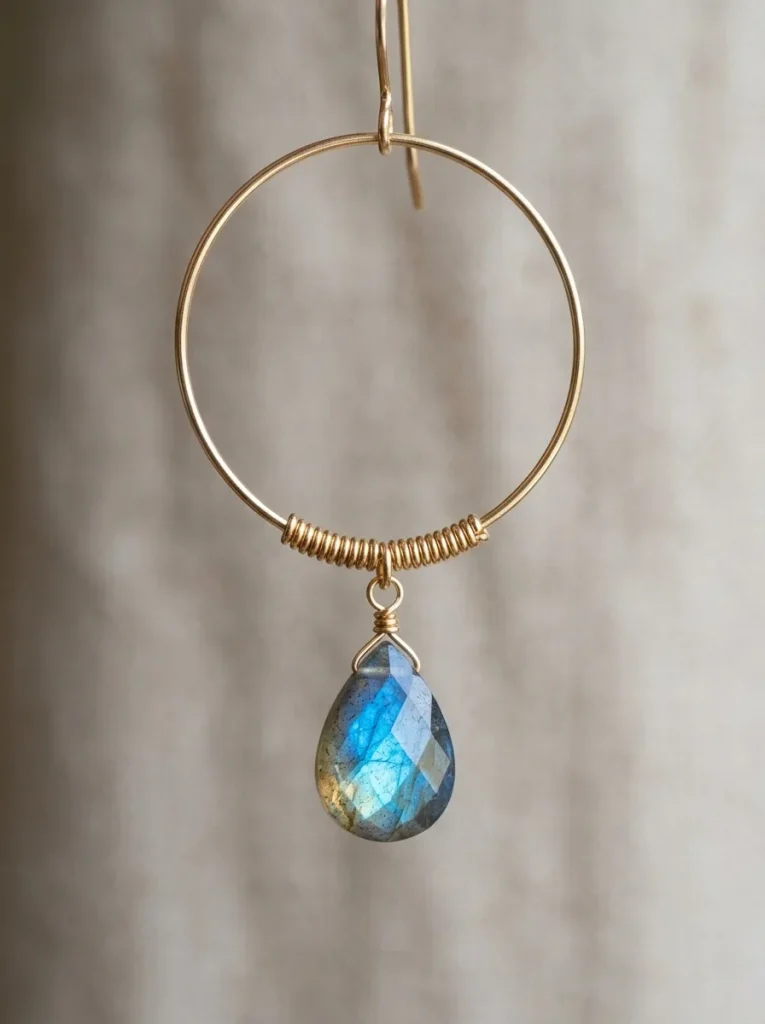
Sometimes one beautiful stone is all you need, and this design proves it. A single teardrop-shaped briolette hangs from the bottom of a slim hoop, held by a careful wire wrap that forms a small cap at the top of the stone. I remember being nervous the first time I wrapped a briolette, because the stone felt precious and the wire felt unforgiving, but working slowly, with the stone cradled in a soft cloth between steps, gave me the confidence to keep going, and the result was far cleaner than I expected.
I choose stones with a gentle, translucent glow for this one, such as rose quartz, aquamarine, or clear quartz, because the light passes through the briolette and makes it look lit from within. It is an elegant, grown-up design, the kind I wear when I want to look put-together without trying too hard, and it also makes a thoughtful gift, since a single stone feels personal and intentional.
7. Spiral-Wrapped Candy Cane Hoop
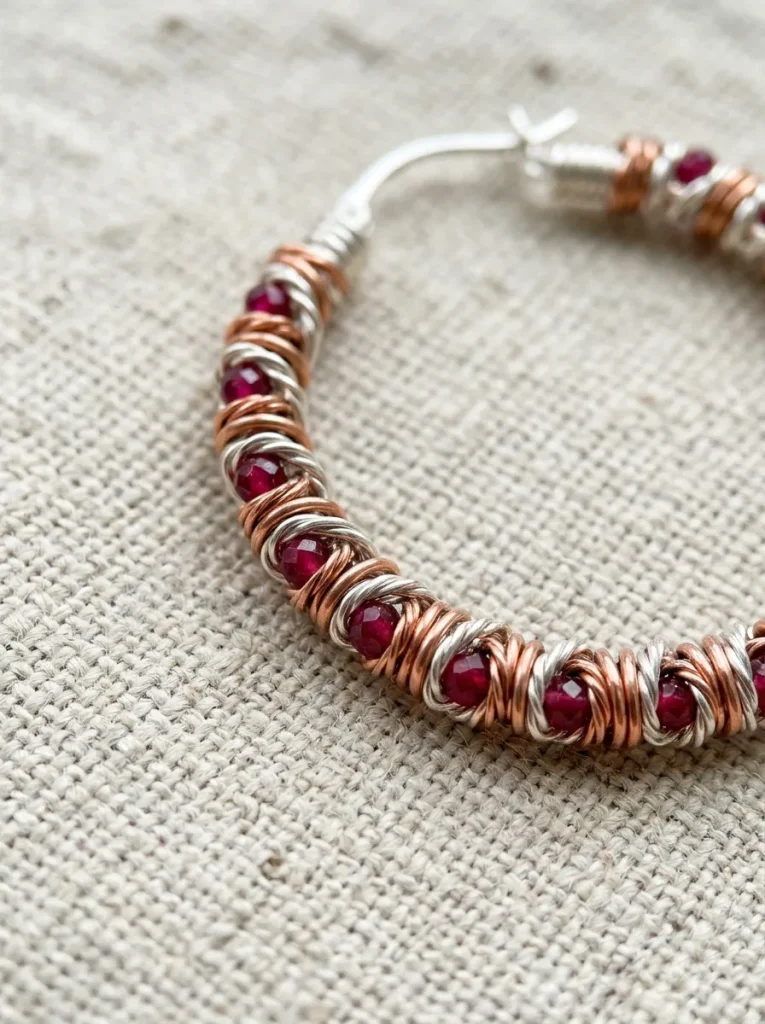
Despite the name, this hoop is not only for the festive season, although it does look wonderful in December. I wrap two contrasting wires around the hoop in a continuous spiral, so the colours twist together like a candy cane stripe, and the effect is playful and eye-catching. My first version used silver and copper, and I was surprised by how warm and rich the combination looked, much less novelty and much more jewellery than I had imagined.
Getting the spiral even takes a steady hand, so I rotate the hoop slowly and keep both wires under the same gentle tension, checking that neither wire rides up over the other. You can also add a few tiny beads into the spiral for extra texture, but I usually leave it clean so the twist itself is the decoration. It is a cheerful design, perfect for lifting a plain outfit, and I often make it in seasonal colour pairs, like silver and deep red for winter or gold and blush for spring.
8. Inner Wire-Woven Mandala Hoop
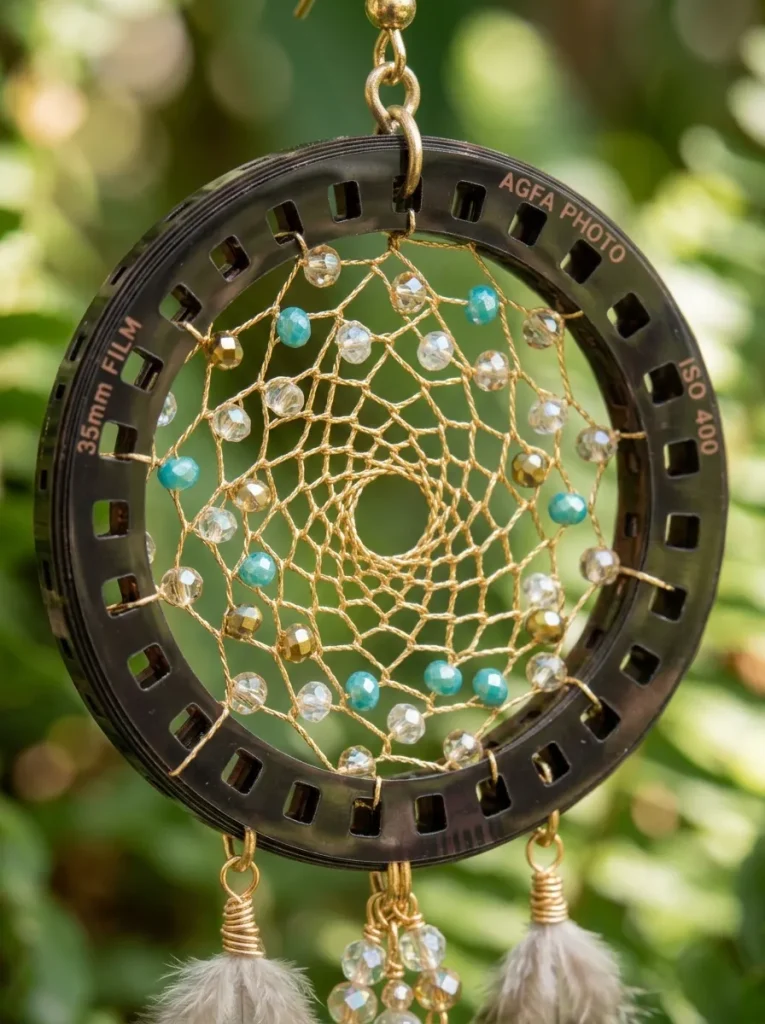
This is my slow Sunday project, the one I make when I want to lose track of time at my workbench. Inside the hoop, I weave a small mandala pattern from fine wire, working outward from a central bead in symmetrical rounds, so the finished earring looks like a tiny piece of lace held inside a frame. It is intricate, and I will be honest, my first mandala was lopsided and I unpicked it twice before it looked right, but that patience is part of the pleasure.
Symmetry is everything here, so I count my wraps carefully and step back often to compare the two earrings. I keep the wire fine and the centre bead small, so the mandala stays airy rather than dense, and the earring remains light enough for all-day wear. The result feels almost meditative to look at, and I love wearing these with simple, uncluttered clothing, where the detailed centre can be appreciated up close. They are not a quick make, but they are deeply satisfying.
9. Organic Asymmetrical Cluster Hoop
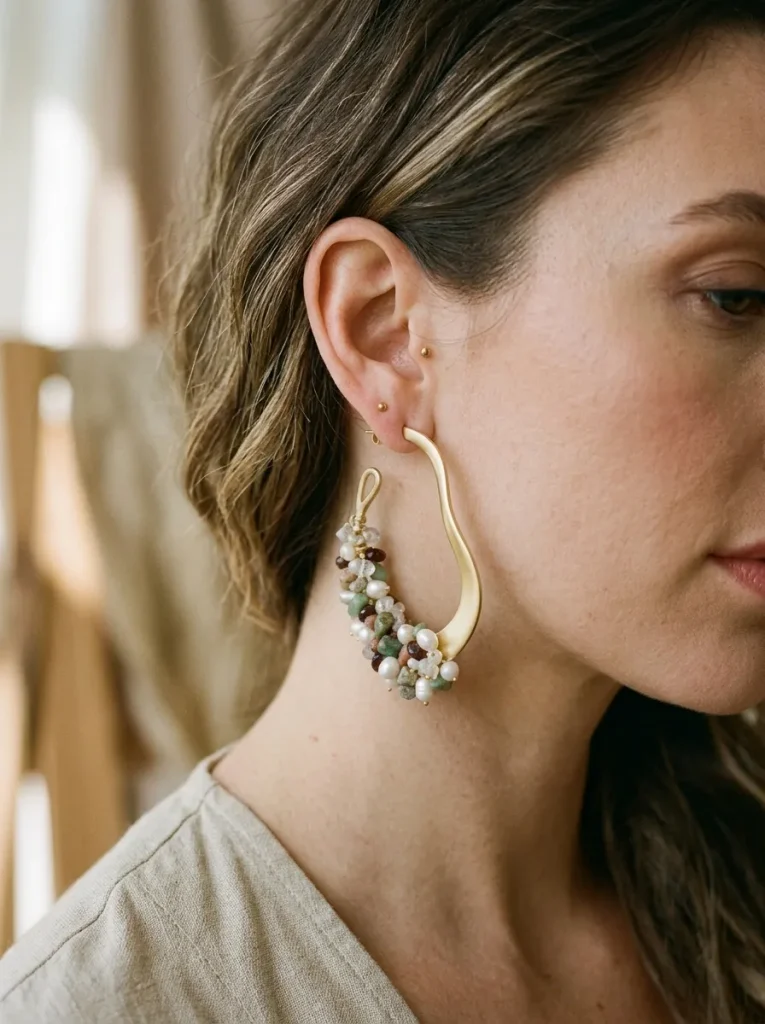
If the mandala is about order, this design is about letting go, and I love it for exactly that reason. I gather a small, natural-looking cluster of beads, pearls, and tiny stones along one side of the hoop, deliberately off-centre, so each earring looks like a little found arrangement rather than a formal pattern. The first time I tried it, I overthought every placement, but once I relaxed and let the shapes guide me, grouping a larger bead with two smaller ones and leaving open space beside them, the pair suddenly looked effortless.
The key is balance without symmetry: both earrings should feel similar in weight and fullness, even though the exact arrangement differs. Worn, these hoops have a lovely artistic, slightly bohemian feel, and they are wonderful for using mixed beads from your stash, because the organic style forgives, and even celebrates, a little variety.
10. The Beaded Huggie Hoop Extension
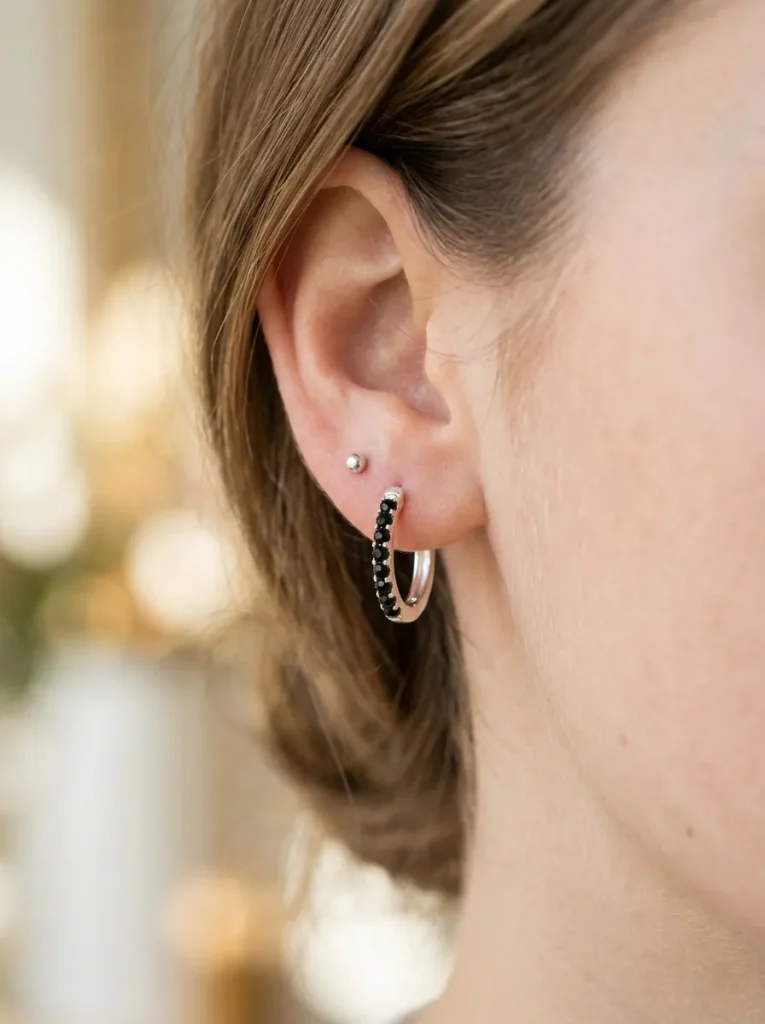
Huggies are the small hoops that hug the earlobe closely, and adding beads to them turns a quiet everyday earring into something with real charm. I wrap tiny beads around a small, snug hoop, keeping the profile low so the earring sits comfortably against the ear and does not catch on scarves or hair. I wear mine almost daily, often stacked with a second piercing, and they have become my most reached-for pair, simply because they go with everything and never get in the way.
Because huggies are small, every bead counts, so I choose beads with a beautiful finish, like lustrous glass pearls or faceted crystals that sparkle in a small space. I also pay extra attention to the closure, testing it several times to be sure it clicks shut securely. If you are new to wire wrapping, this is a wonderful weekend project: quick, satisfying, and something you will actually wear the very next day, which is the best reward of all.
Conclusion
What I have learned from making all ten of these designs is that wire-wrapped hoops reward patience far more than perfection. My early pairs were uneven, my wraps were loose in places, and I still wore them proudly, because each one taught me something I used on the next. Start with the simplest frame, enjoy the slow rhythm of wrapping, and let your bead stash guide your colours. Before long you will have a small collection of hoops that feel entirely your own, and that, for me, is the real joy of making jewellery by hand.