10 Garage Storage Ideas
Two winters ago I opened my garage door and could not find my own bicycle. It was behind a tower of paint cans, a broken chair I had meant to fix, and three boxes of Christmas decorations I had not touched in years. I spent forty minutes moving things around just to reach the bike, and by the time I found it, I had decided something had to change. That weekend I cleared everything out onto the driveway, swept the floor for the first time in years, and started again with a simple rule: everything in the garage gets a place, and if it has no place, it leaves.
I have reorganised my garage twice now, and the second time was much easier because I had learned what actually works. The ten ideas below are the ones that survived both rounds in my own garage, a single garage in Munich that holds two bicycles, a workbench, winter tyres, and far too many tools. They are practical, affordable, and built for real garages that also need to fit a car.
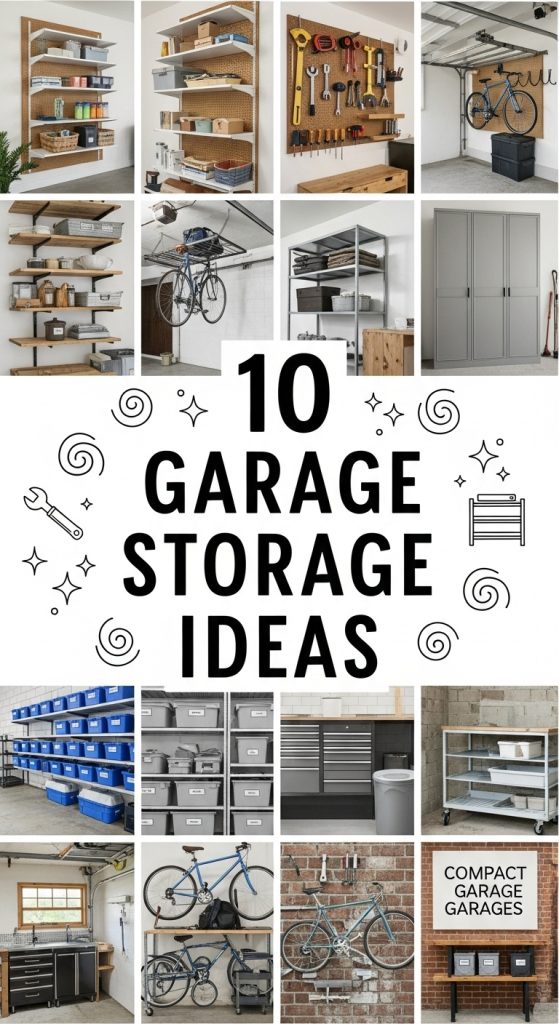
Before You Begin: 3 Things I’d Check First
- Measure the walls and the ceiling: A tape measure and ten minutes will save you buying shelves that are too deep to let the car door open.
- Sort before you buy anything: Empty one shelf at a time, keep what you use, and donate or recycle the rest, because new storage just hides clutter if you skip this step.
- Check the fixings: Heavy shelves need wall plugs rated for masonry or solid timber, so test one fixing with your full weight before you load a shelf with paint cans.
1. Wall Mounted Shelving Units
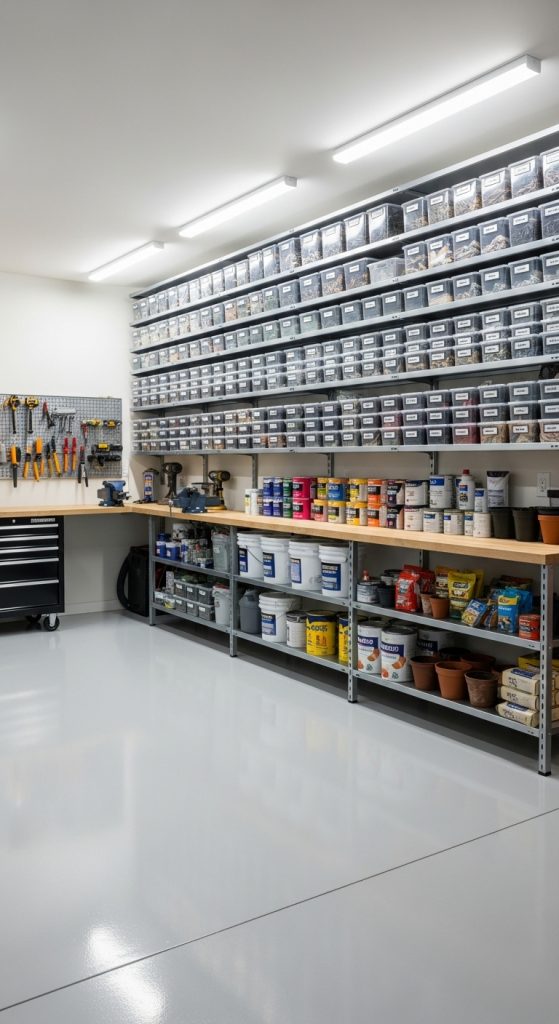
Wall mounted shelves were the first thing I installed in my garage, and they made the biggest difference. I bought two heavy duty steel shelves, each 120 centimetres wide and 40 deep, for about 45 euros each, and fixed them to the back wall with masonry plugs and a spirit level. Within an hour I had paint cans, gardening supplies, and cleaning products off the floor and onto the wall, and I could finally walk from the door to the workbench without stepping sideways. The shelves hold a surprising amount of weight, and I keep the heaviest items on the lowest shelf so nothing is ever above my head.
I group things by use rather than by size: tools on one shelf, car care on another, and garden supplies on the third. Clear plastic bins sit on the shelves for small items, so I can see what is inside without pulling everything down. I also leave a gap of about 30 centimetres between the bottom shelf and the floor, which means I can sweep underneath and slide a crate in when I need to. If you are planning a full garage overhaul, a few garage organization ideas will help you sketch the layout before you drill a single hole, and that planning is worth more than any single shelf. Adjustable brackets are worth the extra few euros, because your storage needs will change and the shelves should change with them.
Beginner tip: Start with one wall and two shelves, and live with them for a month before adding more, because a single well placed shelf teaches you more about your garage than a whole wall of guesswork.
2. Pegboards for Tools
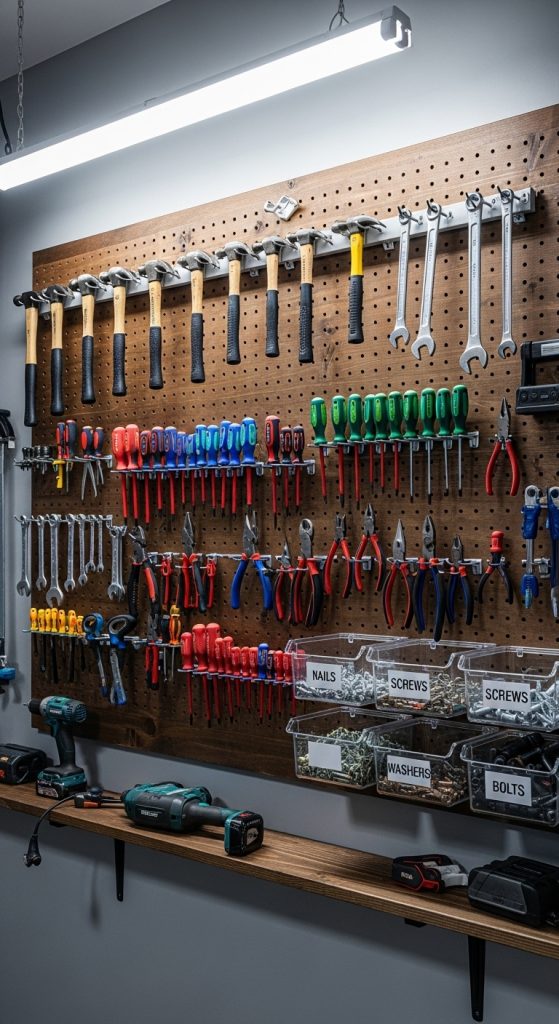
I hung a pegboard above my workbench three years ago, and I still smile every time I reach for a screwdriver and find it exactly where I left it. The board is 120 by 60 centimetres, cost about 25 euros including hooks, and I painted it a deep green before I hung it, which makes the tools stand out and the whole wall look intentional. I arranged the tools by size, with hammers and saws on the left and screwdrivers and pliers in the middle, and I drew a small outline around each tool in pencil so I can see at a glance when something is missing.
The pegboard also holds small baskets for nails, screws, and wall plugs, which used to live in a dozen mismatched jars on the bench. I drilled the board into wall studs with proper screws, because a loaded pegboard is heavy and I did not want it pulling away from the wall. I keep the most used tools at shoulder height and the rarely used ones higher up, so I never have to stretch for a hammer. If you have a partner or children who share the garage, the outlines make it easy for everyone to put tools back in the right place, which is half the battle. A pegboard turns a messy bench into a workshop, and it costs less than a single power tool.
Good to know: A pegboard mounted above a workbench keeps your most used tools visible and within reach, which makes it ideal for a home workshop or a shared family garage.
3. Overhead Storage Racks
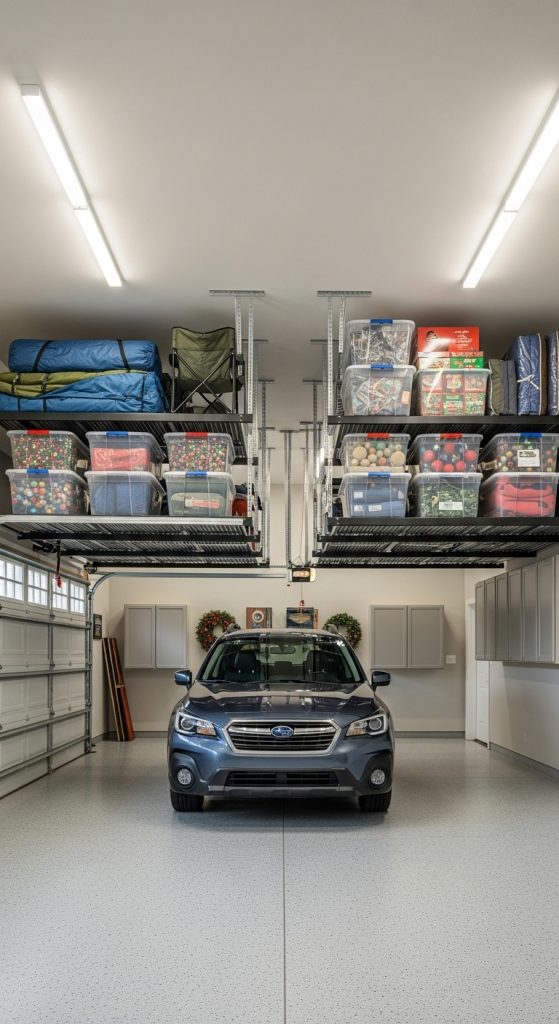
The ceiling of my garage was empty space for years, and then I installed two overhead racks and gained the equivalent of a whole extra cupboard. I bought steel racks rated for 100 kilos each, about 60 euros per rack, and fixed them to the ceiling joists with the heavy bolts that came in the box. I use them for seasonal things I only need a few times a year: Christmas decorations, camping gear, and a set of ski boots. Clear plastic bins sit on the racks, labelled on the side in big letters, so I can see what is up there from the floor without climbing a ladder.
I learned to keep the bins light, no more than about 15 kilos each, because lifting a heavy bin overhead is awkward and unsafe. I also keep a small step ladder permanently in the garage, folded flat against the wall, so I never have to balance on a chair to reach the racks. I check the bolts once a year, in spring, and I have never had a problem. The racks freed up so much floor space that I could finally park the car properly, with room to open both doors, which was the whole point of the exercise. If you have a two car garage, the same idea scales up easily, and a few two car garage organization ideas will show you how to plan rack positions around two parking spaces.
Watch out: Never store anything heavy or fragile above the car, and always use bins with lids, because dust and the odd drip from the roof will find anything left open overhead.
4. Rolling Tool Cabinets
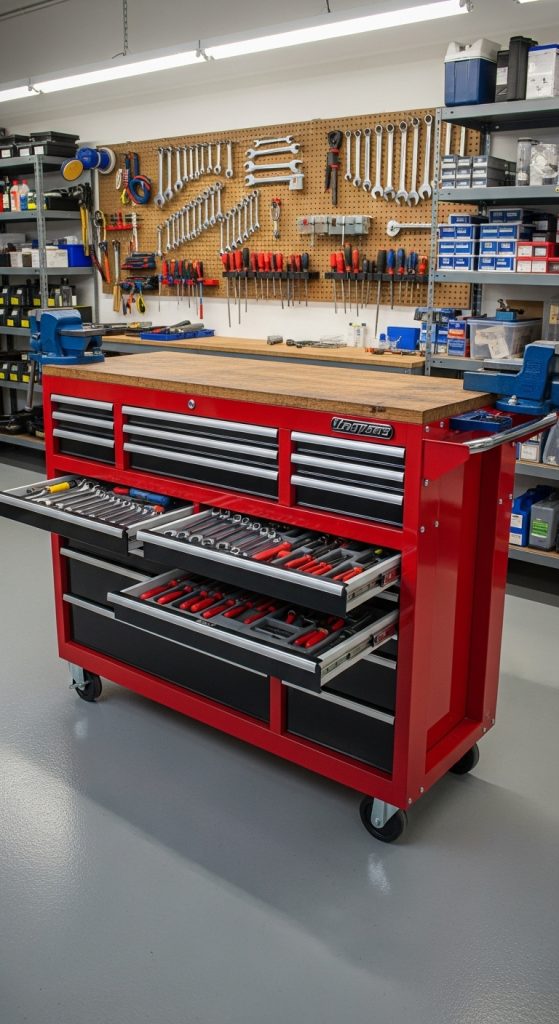
I bought a rolling tool cabinet second hand for 80 euros, and it is the best money I have spent on the garage. The cabinet has five drawers and a top surface that doubles as a small workbench, and I can wheel it to wherever I am working instead of carrying tools back and forth. I organised the drawers by job: screwdrivers and pliers in the top drawer, spanners in the second, drill bits and sandpaper in the third, and so on. I put a small label on each drawer front, which means I never have to open three drawers to find a single spanner.
I always lock the wheels when the cabinet is parked, because a cabinet that rolls away while you are leaning on it is a real hazard. I also keep the heaviest tools in the bottom drawers, which keeps the cabinet stable and stops it tipping when a drawer is pulled out. The top surface is where I do small jobs, like sharpening a chisel or fixing a lamp, and I put a rubber mat on it to stop things sliding off. A rolling cabinet is especially useful if your garage doubles as a workshop, because you can push it against the wall when you need the floor for the car and pull it out again when you want to work. It is the kind of purchase that pays for itself in saved time within a few months.
Try this: Wheel the cabinet to the car when you do a seasonal tyre change, because having every tool at your side turns a fiddly job into a calm half hour in a home garage.
5. Slatwall Storage Systems
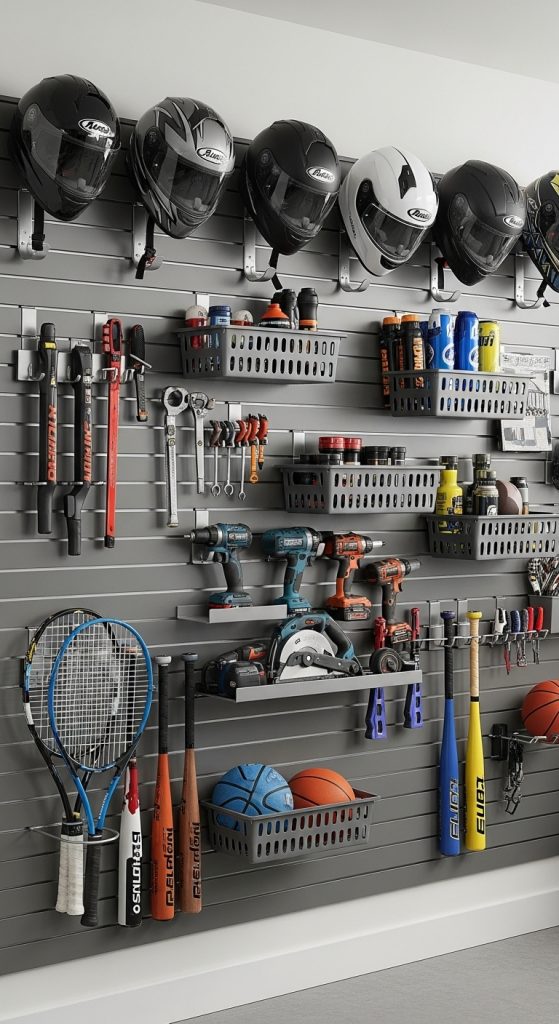
Slatwall panels were new to me until a neighbour showed me his garage, and I have been a fan ever since. The panels have horizontal grooves that take hooks, baskets, and small shelves, and you can slide everything around without tools. I covered one wall of my garage with two panels, about 120 euros in total, and hung power tools, helmets, and a basket for gloves on them. The system looks tidy because everything hangs in straight lines, and it is flexible enough that I rearranged the whole wall in twenty minutes when I bought a new drill.
I chose panels in a light grey finish, which brightens a dark garage and makes it easier to see what is hanging there. I keep the heaviest items, like a circular saw, on the lowest hooks, and lighter things, like dust masks and ear protectors, higher up. I also use small baskets on the slatwall for items that do not hang well, like rolls of tape and tubes of glue. The panels are strong enough for most garage items, but I still check the weight rating before I hang anything heavy. Slatwall is a good choice if you like a clean, shop like look, and it works just as well in a small garage as in a large one, because you can cover a single section rather than a whole wall.
Make it yours: Arrange the hooks around your own most used tools first, and leave a few empty hooks spare, because a slatwall that grows with your projects is far more useful than one filled on day one in a workshop garage.
6. Clear Plastic Storage Bins
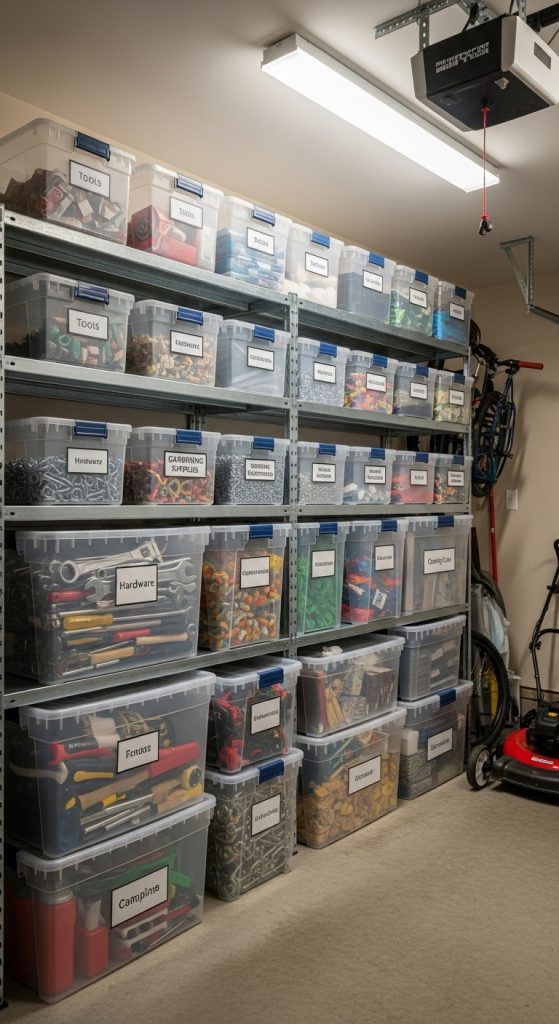
Clear plastic bins are the least glamorous idea on this list and probably the most useful. I own about twenty of them, in two sizes, and they hold everything from holiday decorations to children’s outgrown sports gear. The clear sides mean I can see what is inside without opening the lid, and the lids keep out dust and the damp that creeps into a garage in winter. I bought most of mine for 5 to 8 euros each at a discount store, and they have lasted for years without cracking.
I label every bin on two sides with a marker and a strip of masking tape, so I can read the label whichever way the bin is facing on the shelf. I stack the bins no more than three high, because a taller stack becomes wobbly and the bottom bin is impossible to reach. I also keep a simple rule: if I have not opened a bin in two years, I open it, sort it, and either use the contents or let them go. Bins work best when they sit on shelves rather than on the floor, because a floor full of bins is just clutter in boxes. For a family garage, I give each child one bin for their sports gear, which means balls, gloves, and helmets have a home and the floor stays clear.
Budget tip: Buy bins in one size and one colour so they stack neatly and look calm on a shelf, and a set of ten for around 50 euros will organise a whole family garage for years.
7. Bike Racks and Sports Gear Organizers
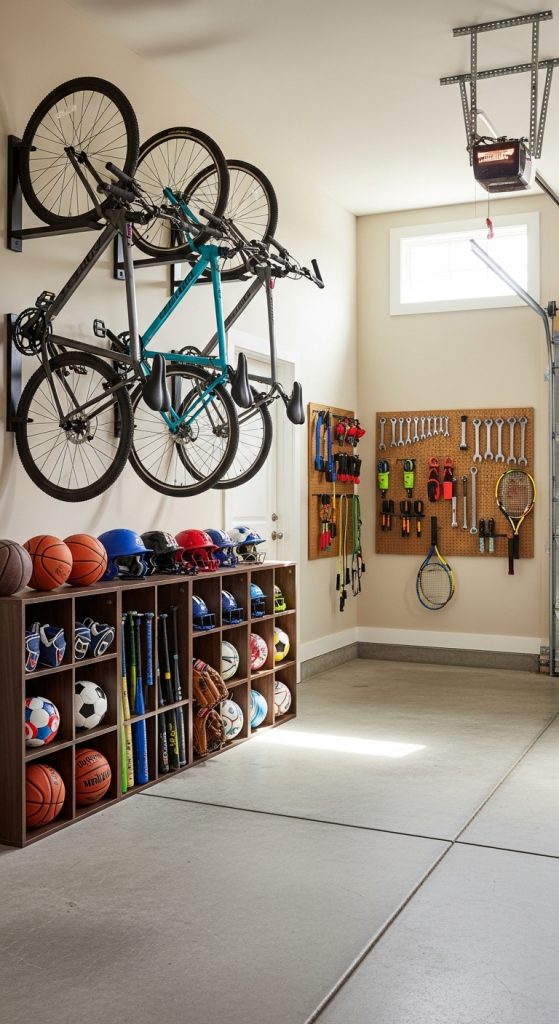
Two bicycles leaning against a garage wall take up an astonishing amount of floor space, and I know this because I lived with it for years. I finally installed two wall mounted bike hooks, about 15 euros each, and hung the bikes vertically by their front wheels. The floor space that appeared was enough to fit a workbench, and the bikes are actually easier to get out now because they are not tangled together. I also added a small shelf with cubbies for helmets, gloves, and balls, so the children’s sports gear has a place to land after practice.
I mounted the hooks into solid wall studs, because a bicycle hanging from a weak fixing is a disaster waiting to happen, and I put a small piece of old carpet on the wall behind each wheel to stop tyre marks. I keep a pump and a puncture repair kit in a basket right beside the bikes, so a flat tyre is a ten minute job instead of an excuse to drive. For families with several children, a freestanding sports organiser with baskets and hooks works well, and I have seen one hold four sets of gear without taking up more than a metre of wall. The key is to store things vertically wherever possible, because a garage floor is the most valuable space you have, and every bike or ball that goes up the wall gives it back to you.
Where it works: Wall hooks and a sports cubby suit a busy family garage perfectly, and they make the school run easier because the children can grab their own gear without asking for help.
8. A Workbench with Built In Storage
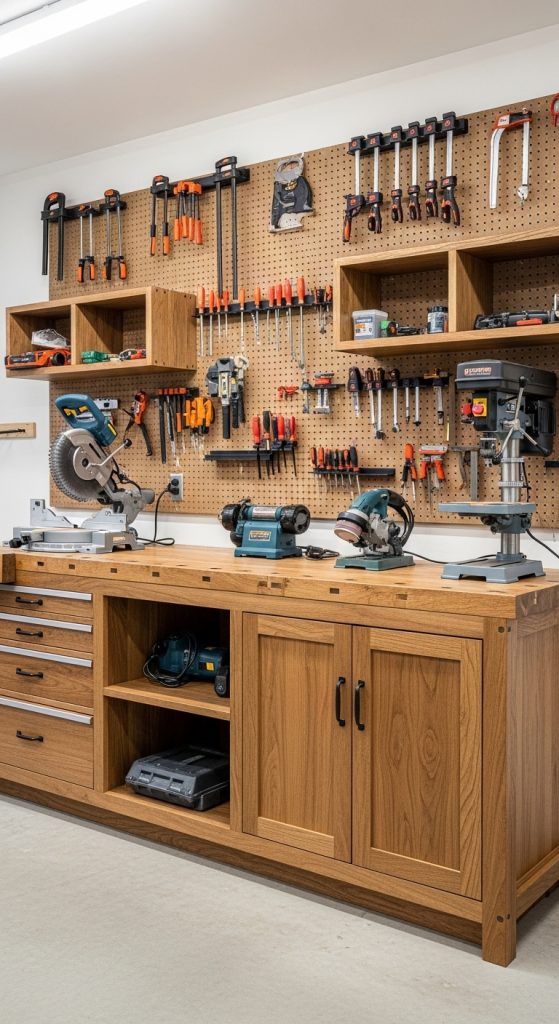
My workbench is an old kitchen worktop on two sturdy legs, with drawers underneath and a shelf above, and it is the heart of my garage. I built it for about 120 euros using a second hand worktop, some timber, and a set of drawer runners, and it has held everything from a broken chair to a bicycle wheel. The drawers hold screws, sandpaper, and glue, and the shelf above holds paint and varnish, so everything I need for a job is within arm’s reach. I keep the bench top clear at the end of every project, because a clear bench invites the next project and a cluttered one puts it off.
I chose a bench height of 90 centimetres, which is comfortable for standing work, and I put a rubber mat on the floor in front of it to save my knees during long jobs. A folding workbench is a good alternative if your garage is small: it folds flat against the wall when you need to park, and opens in a minute when you want to work. I pair my bench with the pegboard above it, so tools hang within reach and the bench top stays free for the actual work. If you are setting up a workshop corner for the first time, a workbench with drawers is the single most useful piece of furniture you can add, and it will change how often you actually use the garage for making and fixing things.
Good to know: A bench height of about 90 centimetres suits most adults for standing work, and a rubber mat in front of it makes a long afternoon of sanding or gluing far easier on your knees in a home workshop.
9. Magnetic Strips and Small Parts Storage
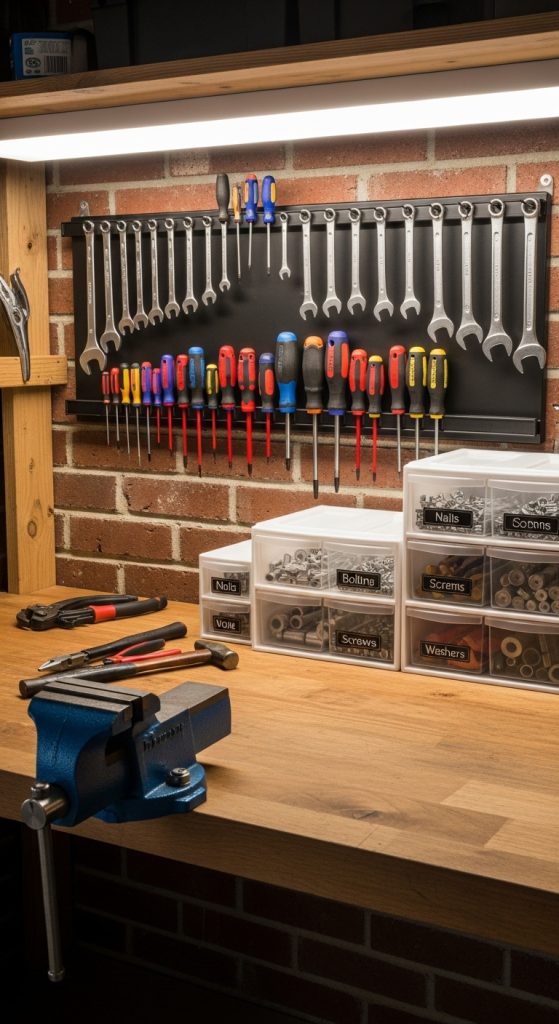
The smallest things in a garage cause the biggest frustration, and for me that was screws, nails, and drill bits. I fixed two magnetic strips above my workbench, about 10 euros each, and now my most used screwdrivers and drill bits hang in a neat row where I can grab them without opening a drawer. I also use small clear jars screwed to the underside of a shelf for nails and wall plugs: the jars hang upside down, I can see what is inside, and I unscrew the jar when I need a handful. It is a simple system, and it has saved me more time than any expensive tool.
I label each jar with a strip of masking tape and a marker, because a jar of 6 millimetre plugs looks exactly like a jar of 8 millimetre plugs until you try to use them. I keep a small parts organiser with divided drawers on the bench for washers, bolts, and brackets, and I sort it once a year, usually in spring, when I do a general garage tidy. The magnetic strips only work for steel tools, so I keep brass and aluminium bits in the jars instead. This is a cheap, satisfying project that takes an afternoon and makes every later project smoother, because you stop losing the small parts that hold the big projects together.
Beginner tip: Start with one magnetic strip and six labelled jars, and sort just one drawer of small parts first, because a small tidy corner will motivate you to finish the rest of a workshop garage.
10. Multi Purpose Cabinets
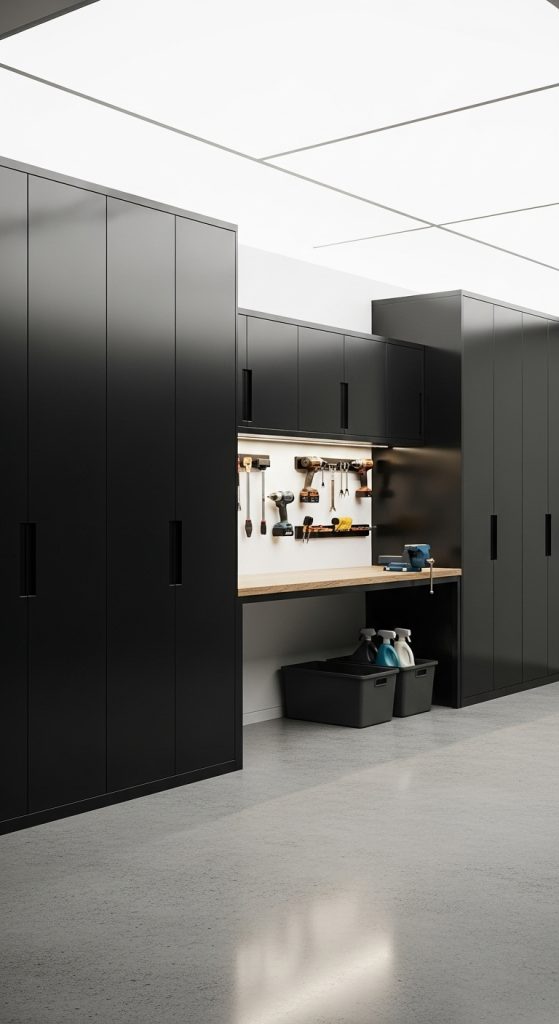
If you prefer a clean look, cabinets with doors are the answer. I bought two tall metal cabinets, about 150 euros each, and they hide everything I do not want to look at: paint, cleaning chemicals, spare parts, and the box of cables nobody can throw away. The doors make the garage look calm and finished, even when the inside is a working mess, and the lockable doors keep chemicals and sharp tools away from visiting children. I put the cabinets against the side wall, where they do not block the car doors, and I left a gap of a few centimetres from the wall so air can circulate behind them.
I organise the inside of each cabinet with small shelves and bins, so the doors do not just hide a pile. I keep chemicals on the lowest shelf, in case of a leak, and tools I use weekly at eye level. I also put a label on the outside of each door, because a closed cabinet you cannot remember is as useless as an open shelf. If your garage also stores household extras, a few basement storage ideas with shelves can inspire the same cabinet and shelf mix downstairs, so the whole house shares one simple system. Cabinets cost more than open shelves, but for a garage that doubles as an entrance to the house, the tidy look is worth every euro.
Try this: Put one lockable cabinet near the garage door for chemicals and sharp tools, because a tidy, safe garage that welcomes you home is worth more than a room full of open shelves.
Conclusion
My garage is not perfect, and it never will be. But I can find my bicycle, my tools, and my winter tyres without moving three boxes, and I can park the car with room to open the doors. That is a bigger change than any single shelf or cabinet, and it came from starting small and building up one idea at a time.
So pick the idea that solves your biggest frustration, measure twice, and start this weekend. Your future self, the one who walks into a tidy garage on a rainy Monday morning, will be very glad you did.